
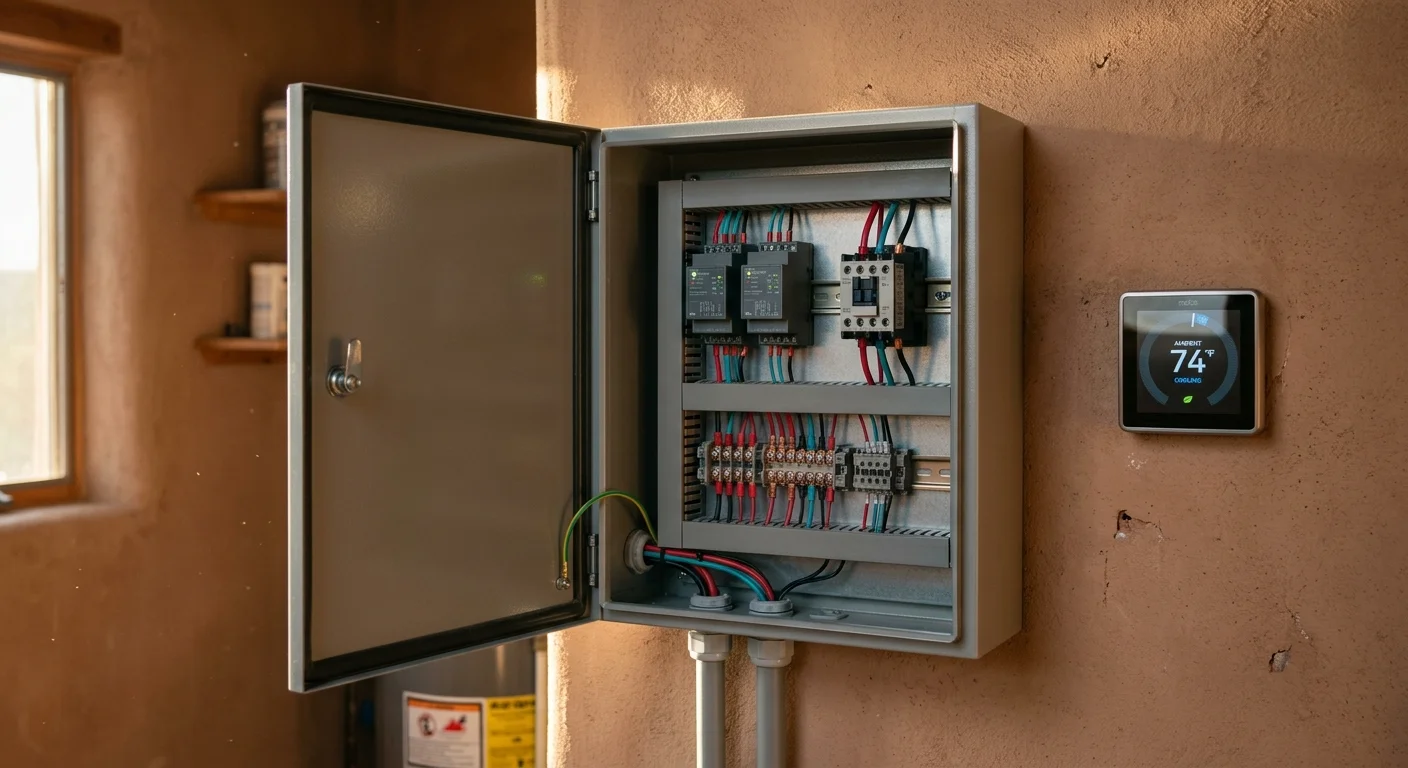
You can slash desert cooling costs by 75% when running an evaporative swamp cooler instead of a 3,500-watt central air conditioner. However, manually switching between systems during sudden monsoon humidity spikes invites high indoor humidity and wasted electricity.
Automating your evaporative cooler central ac switchover with psychrometric wet-bulb logic solves this dilemma by dynamically activating compressor cooling only when outdoor air can no longer support evaporative comfort.
Using dual-channel smart relays with electrical interlocking prevents motor burnouts while creating a seamless, automated transition between line-voltage swamp coolers and 24VAC smart thermostats.

Psychrometric Cooling Logic: Dry-Bulb vs. Wet-Bulb Calculations
Most basic home automations rely entirely on dry-bulb temperature, which is the ambient reading displayed on standard thermometers. For evaporative cooling, this single data point proves dangerously misleading.
Because evaporative systems pull continuous outdoor air into the house, many setups also integrate outdoor smoke and pollen defense automations to force central AC operation when air quality plummets.
Integrating these thresholds into broader weather-based smart home automations allows your system to anticipate outdoor humidity swings before indoor comfort deteriorates.
Evaporative coolers work by forcing hot, dry outdoor air across water-saturated media, converting sensible heat into latent heat through evaporation. The theoretical limit of this cooling process is the ambient wet-bulb temperature.
Relative humidity measures moisture content relative to saturation at a specific temperature. A reading of 50% relative humidity at 80°F represents far less absolute atmospheric moisture than 50% relative humidity at 105°F.
When monsoon moisture invades arid regions, outdoor relative humidity climbs rapidly. Evaporative cooling loses effectiveness when outdoor relative humidity exceeds 50% to 60%, or when wet-bulb temperatures climb past 68°F.
At an outdoor wet-bulb temperature of 72°F, even an industrial-grade evaporative cooler with 80% saturation efficiency cannot produce supply air cooler than 77°F. Inside the home, this creates oppressive, sticky conditions.
Deploying smart humidity controlled cooling requires real-time psychrometric tracking. Your automation system must calculate wet-bulb temperature continuously using local dry-bulb and relative humidity sensor readings.
The best smart home is the one you don’t have to manage.
When the wet-bulb temperature stays below 66°F, your system should lock out compressor-based air conditioning. Evaporative cooling will satisfy indoor comfort thresholds while consuming a fraction of the power.
Once wet-bulb temperatures cross 68°F for more than fifteen consecutive minutes, the automation triggers an orderly transition. The system shuts down the swamp cooler and hands the cooling load over to your central AC.
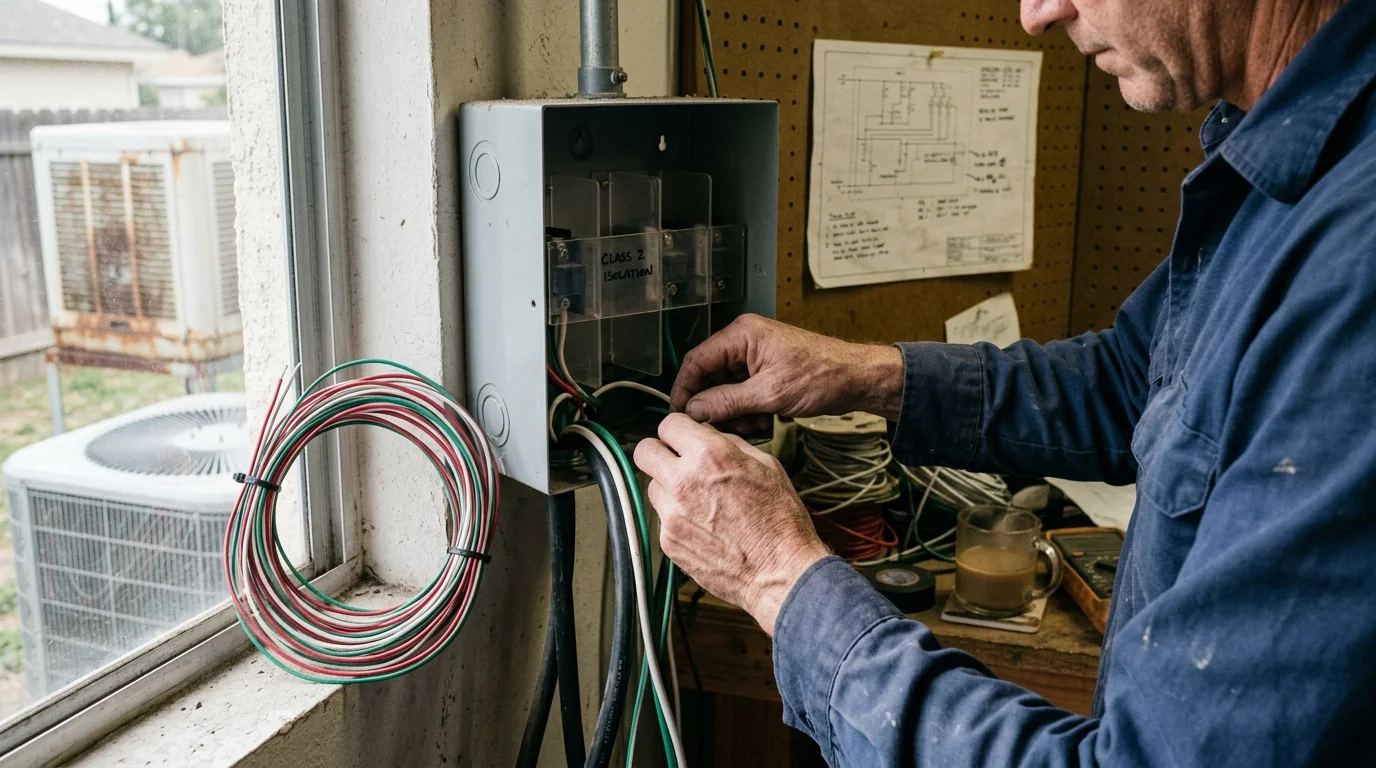
NEC Class 2 Isolation: Bridging 24VAC and Line Voltage
Residential central air conditioners operate on Class 2 low-voltage control circuits powered by a 24VAC step-down transformer. Thermostats switch these millivolt or low-amp signals along standard colored thermostat wiring.
Unlike simple retrofit projects like replacing high-voltage 240V dial thermostats with line-voltage smart controllers, dual-cooling systems require complete physical separation between 120/240V motor feeds and 24VAC thermostat circuits.
In contrast, whole-house evaporative coolers run on 120VAC or 240VAC line voltage. These motors and water pumps draw substantial current directly through multi-conductor romex or exterior conduit.
Connecting line-voltage swamp cooler wiring directly to a standard smart thermostat creates an immediate fire hazard. It will instantly destroy the thermostat backplate and violates National Electrical Code Class 2 separation standards.
According to safety benchmarks outlined in smart home device reviews from Consumer Reports, maintaining strict galvanic isolation between disparate voltage planes is essential for equipment longevity.
You must employ interposing relays or definite purpose contactors to separate the two circuits physically. In this architecture, low-voltage control circuits switch electromagnetic coils that mechanically open and close line-voltage contacts.
This layout protects your smart home infrastructure from inductive voltage spikes generated by cycling blower motors. It also keeps your HVAC modifications completely code-compliant.
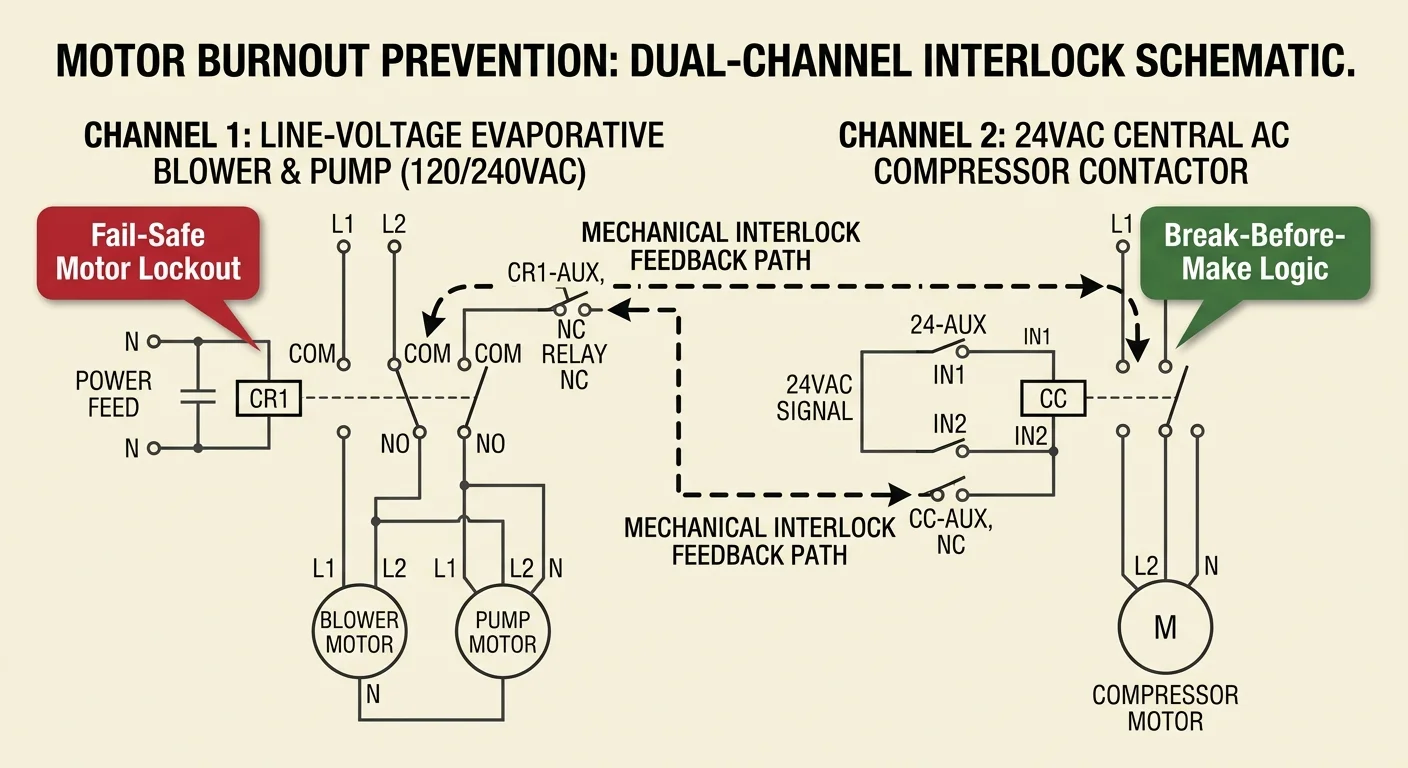
Smart Relay Architecture and Motor Interlock Protection
Whole-house swamp coolers utilize two-speed split-phase or permanent split capacitor blower motors. These motors feature distinct electrical windings for low-speed and high-speed operation.
Energizing both the high-speed and low-speed windings simultaneously causes catastrophic thermal breakdown. The motor will draw excessive locked-rotor amperage, scorching its internal windings within seconds.
Standard rotary wall switches utilize break-before-make physical mechanisms to guarantee mutual exclusion. When automating this motor switching with smart relays, you must reproduce this physical protection.
Smart dual-channel modules like the Shelly Plus 2PM include firmware-level interlock modes. When enabled, turning on Channel 1 automatically commands Channel 2 to turn off instantly.
However, relying purely on wireless signals or firmware configurations introduces points of failure. A frozen micro-controller or faulty over-the-air update could accidentally energize both outputs at once.
The safest implementation pairs smart relays with an external Form C mechanical relay or a definite purpose interlocked contactor. This ensures physical mechanical exclusion regardless of software bugs.
Additionally, proper evaporative cooler operation requires a pump pre-soak cycle. The water circulation pump must run for three to five minutes to saturate the cooling pads before the blower activates.
Smart relays handle this sequence effortlessly. When cooling is called, the pump relay fires first, followed by the blower relay after your designated wetting delay expires.
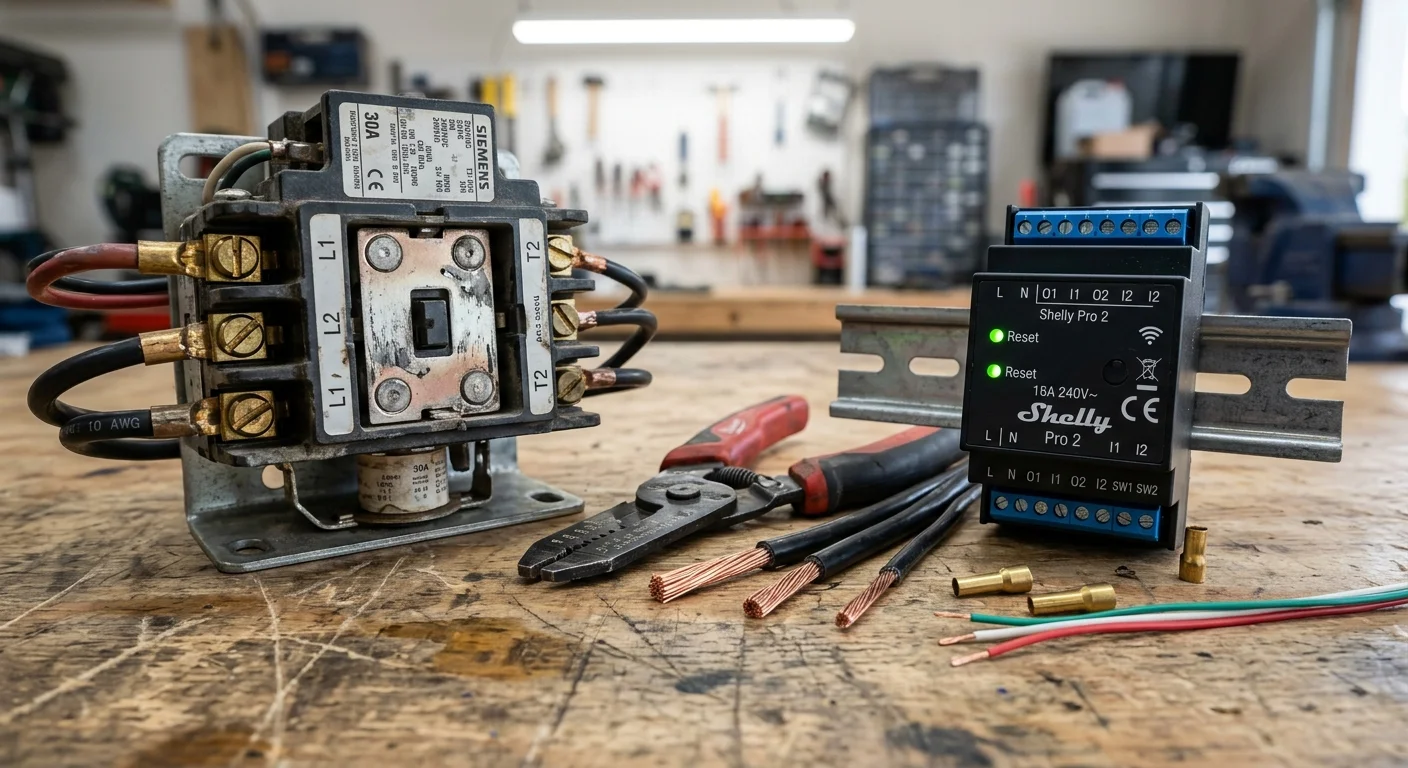
Hardware Comparison: Relays and Contactors for Dual-System Switching
Selecting the correct switching equipment ensures safe, unattended transitions between high-voltage motors and low-voltage controls. The table below outlines field-tested hardware options for automation setups.
If you are retrofitting relay modules into crowded electrical enclosures, review our guide on installing smart relays in shallow metal boxes to ensure proper box fill and heat dissipation.
| Device Model | Operating / Coil Voltage | Contact Rating | Interlock Mechanism | Typical Unit Cost |
|---|---|---|---|---|
| Shelly Plus 2PM | 110–240VAC / 24–30VDC | 10A per channel (16A total) | Firmware-configurable interlock | $26.00 |
| Sonoff DualR3 | 100–240VAC | 10A per gang (15A total) | Motor mode interlock (hardware monitored) | $22.50 |
| Functional Devices RIB2401B | 24VAC / 120VAC coil | 20A SPDT (Form C) | Physical break-before-make contacts | $24.00 |
| Packard C230A Contactor | 24VAC coil | 30A Inductive / 40A Resistive | External mechanical interlock bar required | $16.00 |
The Shelly Plus 2PM offers precise real-time power metering, allowing you to monitor pad saturation and motor load anomalies. It fits neatly into standard deep junction boxes mounted near your swamp cooler disconnect switch.
For high-amperage installations running 1-horsepower 240V blower motors, heavy-duty contactors provide superior durability. Use smart relays to switch the 24VAC coils of the Packard contactors rather than routing motor current through smart pucks directly.
The Functional Devices RIB series provides pre-packaged electrical isolation within a NEMA-rated enclosure. Its single-pole double-throw design creates a fool-proof physical interlock between low and high motor speeds.
Thermostat Integration: Ecobee, Nest, and Staging Strategies
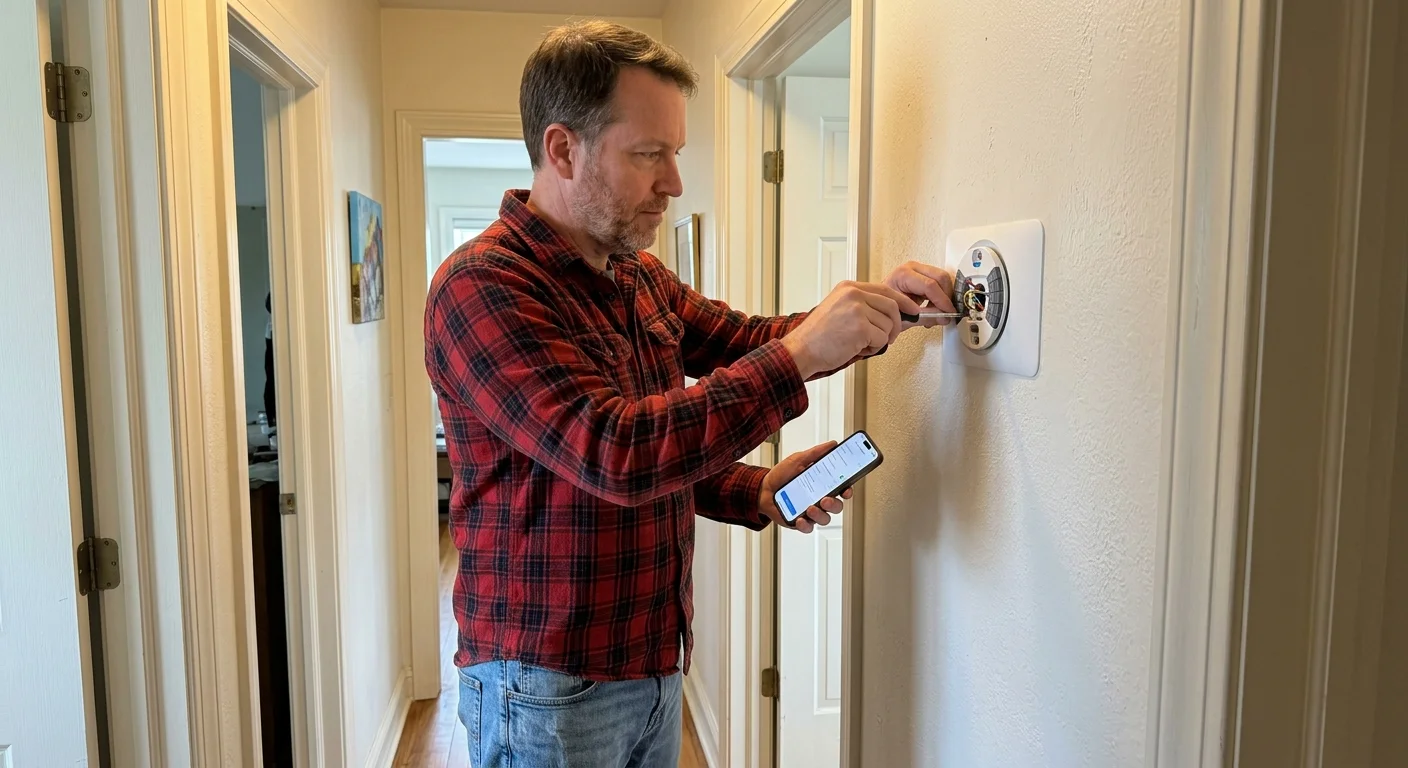
Integrating dual cooling systems into a unified interface prevents household confusion and conflicting cooling commands. Smart thermostats handle multi-stage HVAC equipment, but swamp coolers require unconventional configurations.
If your property features independent ductwork or dampers, configuring smart thermostats for multiple zones allows you to run swamp cooling in common living areas while keeping bedrooms on central AC.
This staging strategy mirrors principles used when calculating the economic balance point on smart thermostats for hybrid heat pump systems, switching cooling sources dynamically based on operational efficiency.
Selecting certified smart thermostats through Energy Star provides the granular multi-stage terminal control required to execute dual-fuel cooling configurations effectively.
The Ecobee Smart Thermostat Premium features auxiliary staging terminals (Y1, Y2, and ACC+). You can configure Y1 to engage the evaporative cooler relay while designating Y2 for central AC compressor engagement.
Ecobee allows you to adjust staging delays and temperature deltas. If Y1 fails to drop the indoor temperature within thirty minutes, the thermostat naturally escalates to Y2.
Google Nest thermostats offer less granular software staging control. Because Nest uses proprietary algorithms to determine staging ramps, relying solely on its internal logic can trigger premature central AC compressor cycling.
With Nest units, route the cooling call (Y1) into an intermediate smart home controller like Home Assistant. Let the home hub read the thermostat state, calculate outdoor wet-bulb values, and route the call accordingly.
Ensure your smart thermostat connects to a dedicated C-wire. Parasitic power-stealing across intermediate isolation relays destabilizes the thermostat logic board and causes relay chatter.

Worked Example: Automation Script and Payback Analysis
Consider a 2,000-square-foot home in Tucson, Arizona running a 3.5-ton 14 SEER central AC and a 6,500 CFM evaporative cooler. The compressor and air handler draw 3,600 watts under full load.
Combining this automated switchover with peak TOU curtailment scripts ensures your home sheds high-wattage compressor demand whenever utility electricity rates peak.
The evaporative cooler draws 510 watts on high speed, plus 40 watts for the submersible water pump. Running the swamp cooler yields a net demand reduction of 3,050 watts every hour.
During a July heatwave, the outdoor dry-bulb temperature reaches 101°F at 2:00 PM with 18% relative humidity. Using Stull’s psychrometric equation, the outdoor wet-bulb calculates to 65.2°F.
Because the wet-bulb remains below the 68°F comfort threshold, the automation software activates the swamp cooler pump and high blower speed. Indoor temperatures stabilize at 74°F.
At 5:30 PM, an outflow boundary from a nearby storm raises outdoor humidity to 56%, while dry-bulb drops to 92°F. The wet-bulb temperature spikes to 76.1°F.
The automation script detects the wet-bulb crossing the 68°F cutoff for ten consecutive minutes. It systematically switches off the evaporative cooler and activates the central AC contactor.
Over a ninety-day summer season, dynamic psychrometric switching yields 680 operating hours on evaporative cooling that would otherwise run on compressor power. At $0.15 per kilowatt-hour, this saves 2,074 kilowatt-hours annually.
The financial return is rapid and measurable:
- Shelly Plus 2PM smart relay: $26.00
- Packard C230A 24VAC contactor: $16.00
- Functional Devices RIB2401B isolation relay: $24.00
- Zigbee outdoor temperature and humidity sensor: $18.00
- Total hardware expenditure: $84.00
- Annual energy savings: $311.10
- Project payback timeline: 24.3 days of cooling operation
Beyond utility savings, this automated staging significantly reduces runtime hours on your expensive central AC compressor. This mitigation extends compressor service life across several desert cooling seasons.
Step-by-Step Installation and Wiring Guide
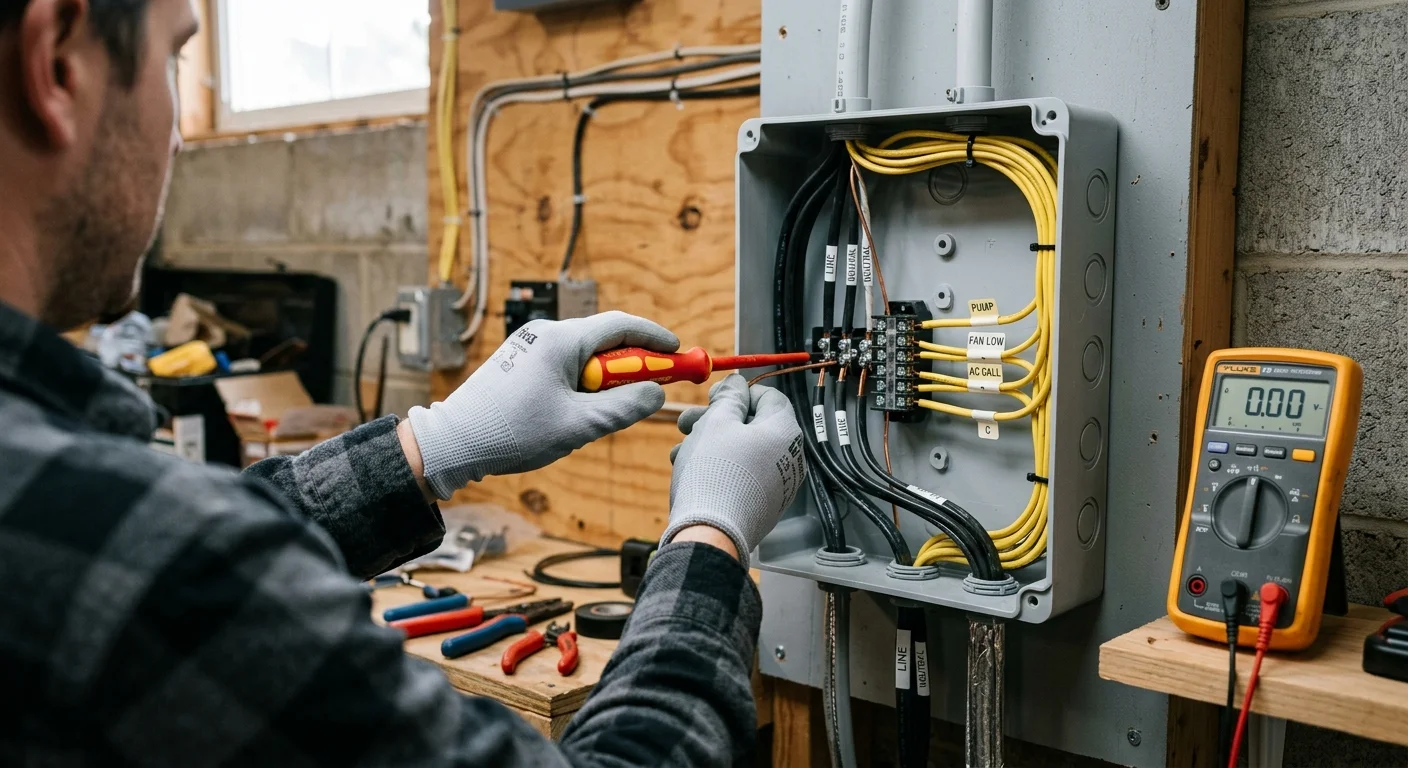
Prioritize safety before starting any electrical installation. Evaporative coolers operate on fatal line-voltage circuits; disconnect all relevant circuit breakers and test with a calibrated non-contact voltage tester.
- Switch off the circuit breakers feeding the evaporative cooler line voltage and the central HVAC furnace air handler.
- Mount a weather-resistant NEMA enclosure adjacent to the swamp cooler rooftop or ground disconnect switch.
- Install the Shelly Plus 2PM relay inside the enclosure, feeding its line and neutral terminals from the 120VAC supply.
- Configure the Shelly device settings via local web interface to activate Button Interlock mode before landing motor leads.
- Route Channel 1 output to the coil of the Functional Devices RIB2401B Form C relay to control high and low blower speed windings.
- Connect Channel 2 output directly to the evaporative cooler water pump circuit to control pad saturation independently.
- Mount your outdoor weather-shielded temperature and relative humidity sensor in a shaded north-facing location away from direct sunlight.
- Pair the smart relay and outdoor sensor to your local smart home automation hub using MQTT, Zigbee, or Matter protocols.
- Wire the 24VAC isolation contactor coil to the auxiliary cooling output of your smart thermostat backplate.
- Deploy the psychrometric wet-bulb calculation automation script in your home automation platform.
- Test the interlock operation by sending simultaneous high-speed and low-speed commands to confirm mutual hardware exclusion.
- Verify the pump pre-soak sequence by commanding cooling and timing the five-minute pump advance before blower ignition.
If you feel uncomfortable working inside electrical breaker panels or sizing contactors, hire a licensed electrician. Faulty wiring can permanently damage your HVAC equipment and create dangerous fire risks.
Frequently Asked Questions
Can I connect my swamp cooler directly to an Ecobee or Nest thermostat?
No, you cannot safely connect line-voltage swamp cooler wiring to smart thermostats. Smart thermostats switch 24VAC Class 2 control circuits, whereas swamp coolers run on 120VAC or 240VAC line voltage. You must install interposing relays or contactors to bridge the two voltages safely.
What wet-bulb temperature should trigger the switch to central air conditioning?
Set your cutoff point between 68°F and 70°F wet-bulb temperature. Above 68°F, evaporative cooling pads cannot drop incoming supply air below 74°F without raising indoor relative humidity to uncomfortable, clammy levels above 60%.
What happens if both the high and low speeds of a swamp cooler turn on at once?
Energizing both motor windings simultaneously creates a dead electrical short across the motor coils. The blower motor will draw massive locked-rotor current, overheating and burning out the internal stator windings within a few seconds.
Do I need to leave windows open when the swamp cooler runs under automation?
Yes, evaporative cooling relies on positive airflow displacement to expel heat and moisture outdoors. When transitioning between systems, install automated smart relief dampers or motorized upduct vents in your ceiling that open during swamp cooling and seal tightly during compressor air conditioning.
Disclaimer: This article is for informational purposes only. Smart home devices involve electrical connections and data privacy. Always follow manufacturer instructions for installation. For complex wiring or HVAC work, consult a licensed professional.

1 Comment