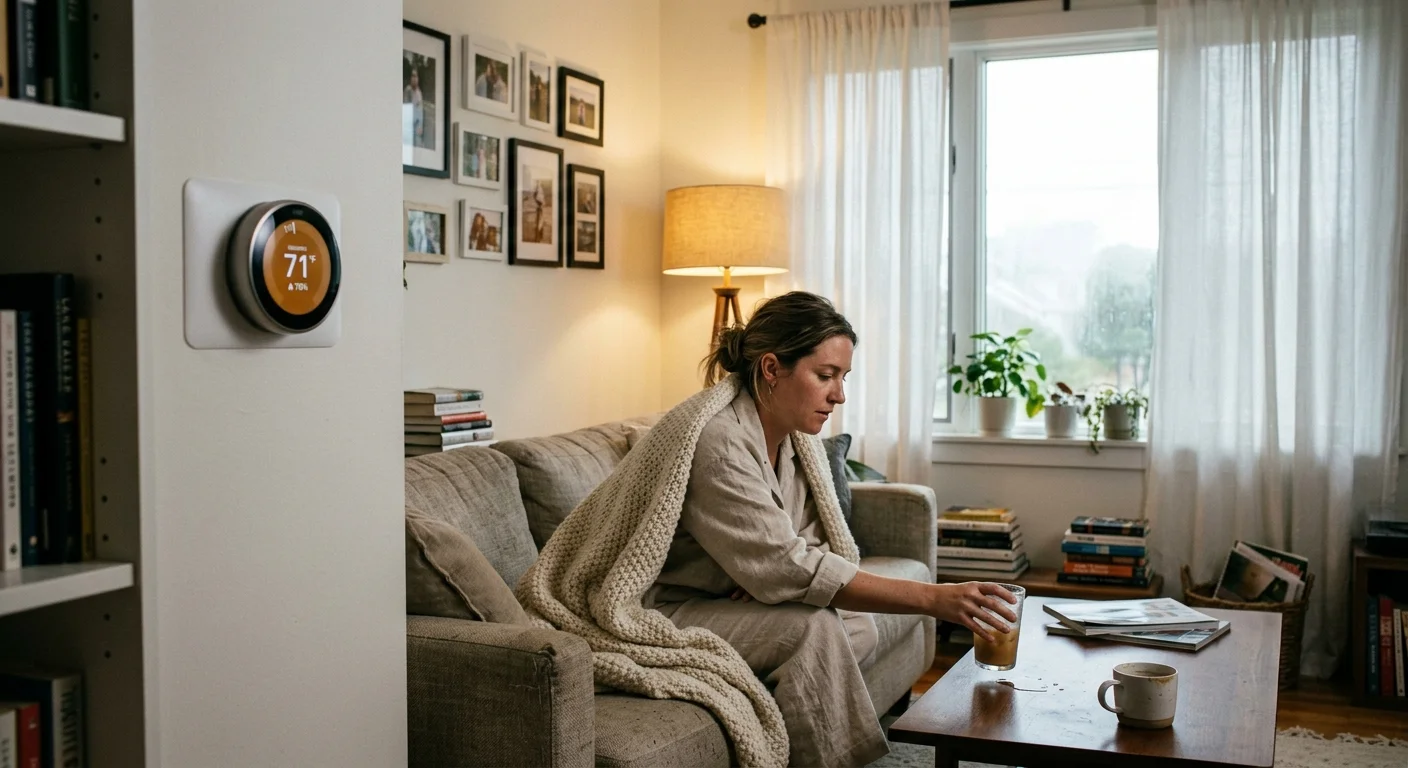
Your thermostat reads 71°F, yet your skin feels sticky and the indoor air feels uncomfortably heavy. Simply forcing an aggressive overcool to dehumidify setting chills your living room into a cold cave without stripping deep moisture.
The permanent thermostat clammy house fix does not require blasting freezing air. It requires wiring your smart thermostat to throttle your variable-speed blower fan speed down by 15% during high-humidity cycles.
Slowing the airflow across your evaporator coil extracts up to 30% more water vapor per cooling cycle. This guide shows you how to lower indoor humidity smart thermostat settings without sacrificing indoor warmth.
The Science of Clammy House Syndrome
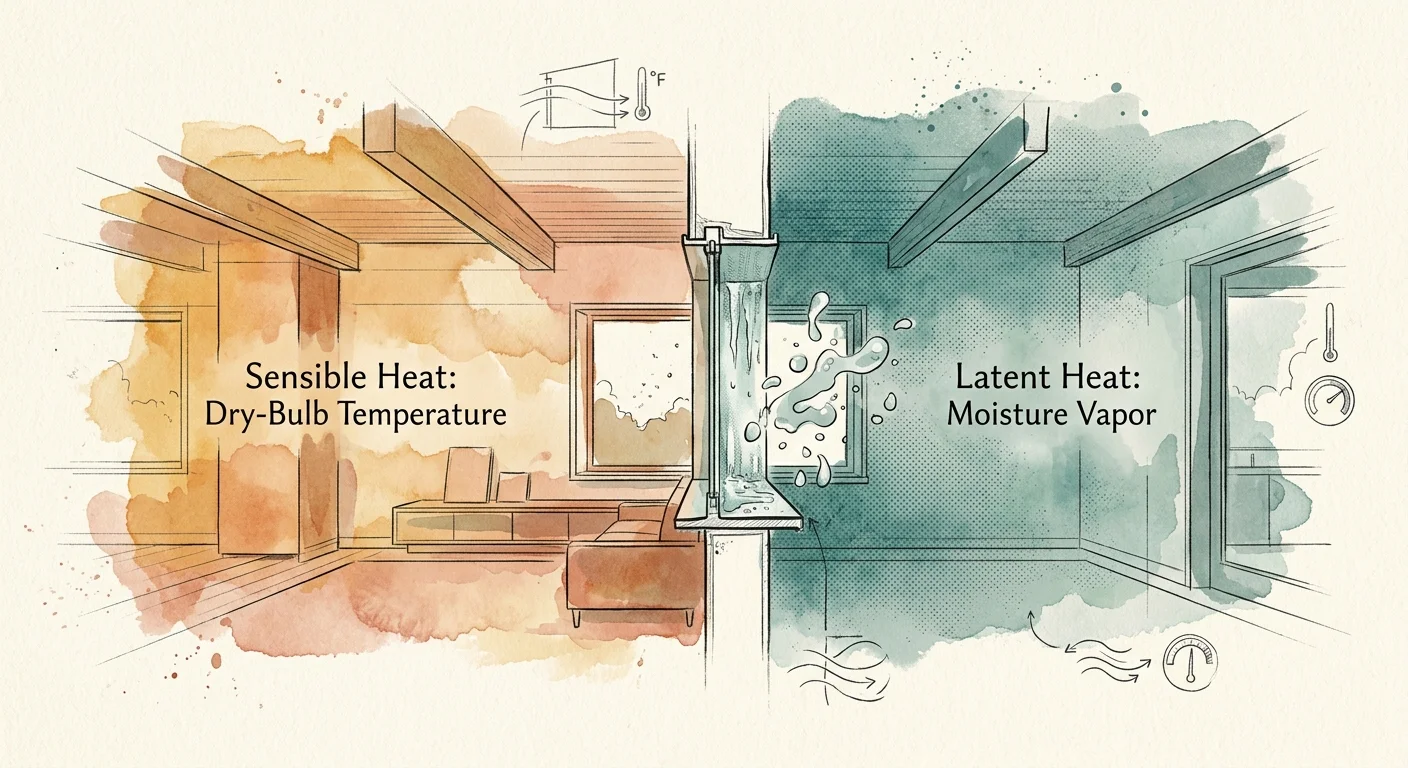
Air conditioners tackle two distinct heat loads in your home: sensible heat and latent heat. Sensible heat is the measurable thermal energy reflected on your dry-bulb thermometer.
Homeowners in transitional climates often encounter similar moisture spikes when running evaporative units and need automated swamp cooler to central AC switching as wet-bulb temperatures climb.
Latent heat represents the invisible energy held within airborne water vapor. Air conditioning systems remove latent heat by condensing water out of the air across cold metal fins.
When outdoor dew points climb above 65°F, your home takes on a massive moisture burden. Modern building codes seal envelopes tightly, trapping cooking moisture, shower steam, and ambient infiltration indoors.
Oversized air conditioning systems compound this problem by cooling homes too rapidly. A compressor that satisfies sensible setpoints in eight minutes shuts down before the evaporator coil reaches peak condensation temperature.
This rapid cycling leaves your indoor relative humidity hovering near 65% or higher. Your skin cannot evaporate sweat efficiently, making 72°F feel muggy and oppressive.
Why Software Overcooling Fails on Its Own
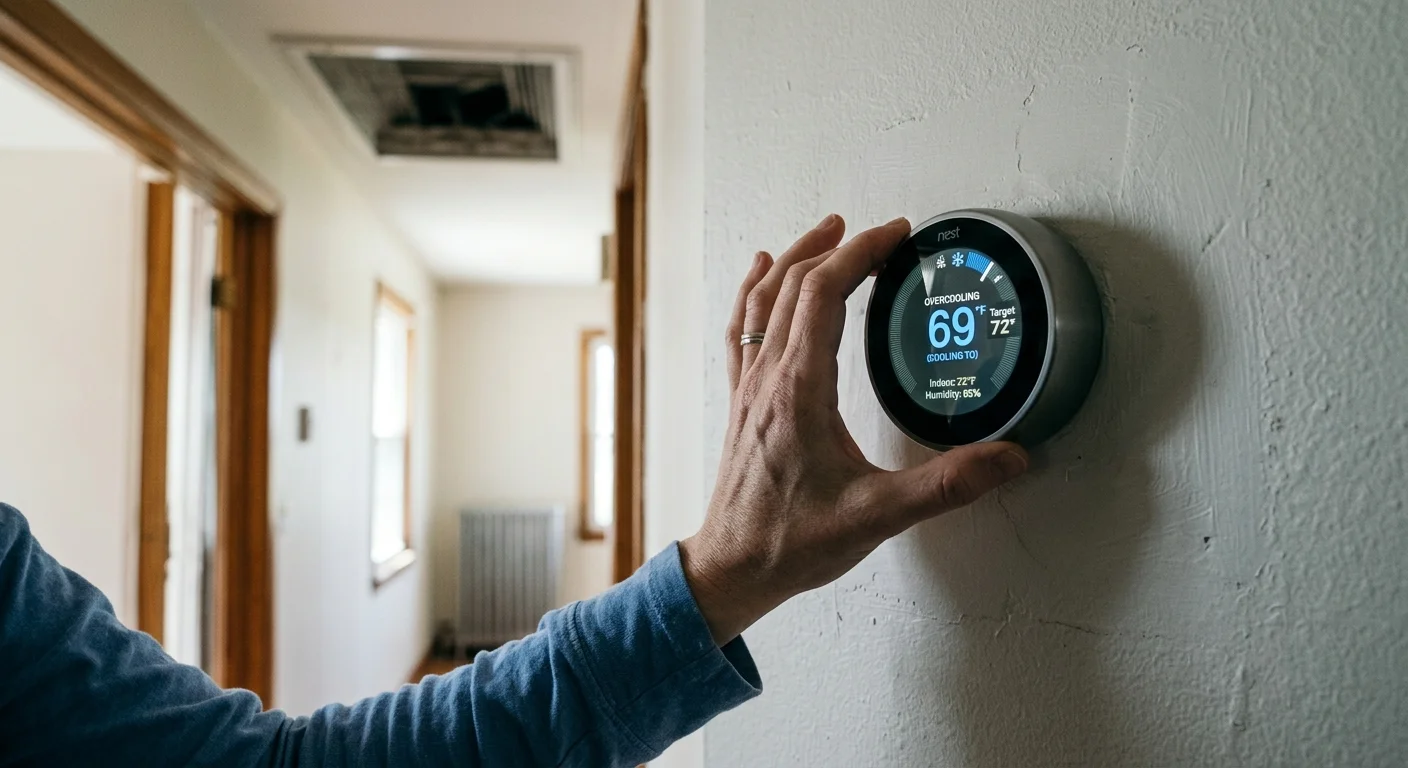
Most modern smart thermostats offer a basic software toggle called overcooling or dehumidification assist. This setting tells the thermostat to ignore your target temperature if humidity remains elevated.
Dialing in physical fan staging alongside energy-saving smart thermostat settings prevents cooling overshoots from drastically inflating your monthly power bill.
If you set your thermostat to 72°F with a 3°F overcool allowance, the system runs down to 69°F. It continues cooling until either the moisture target clears or the temperature hits that hard lower floor.
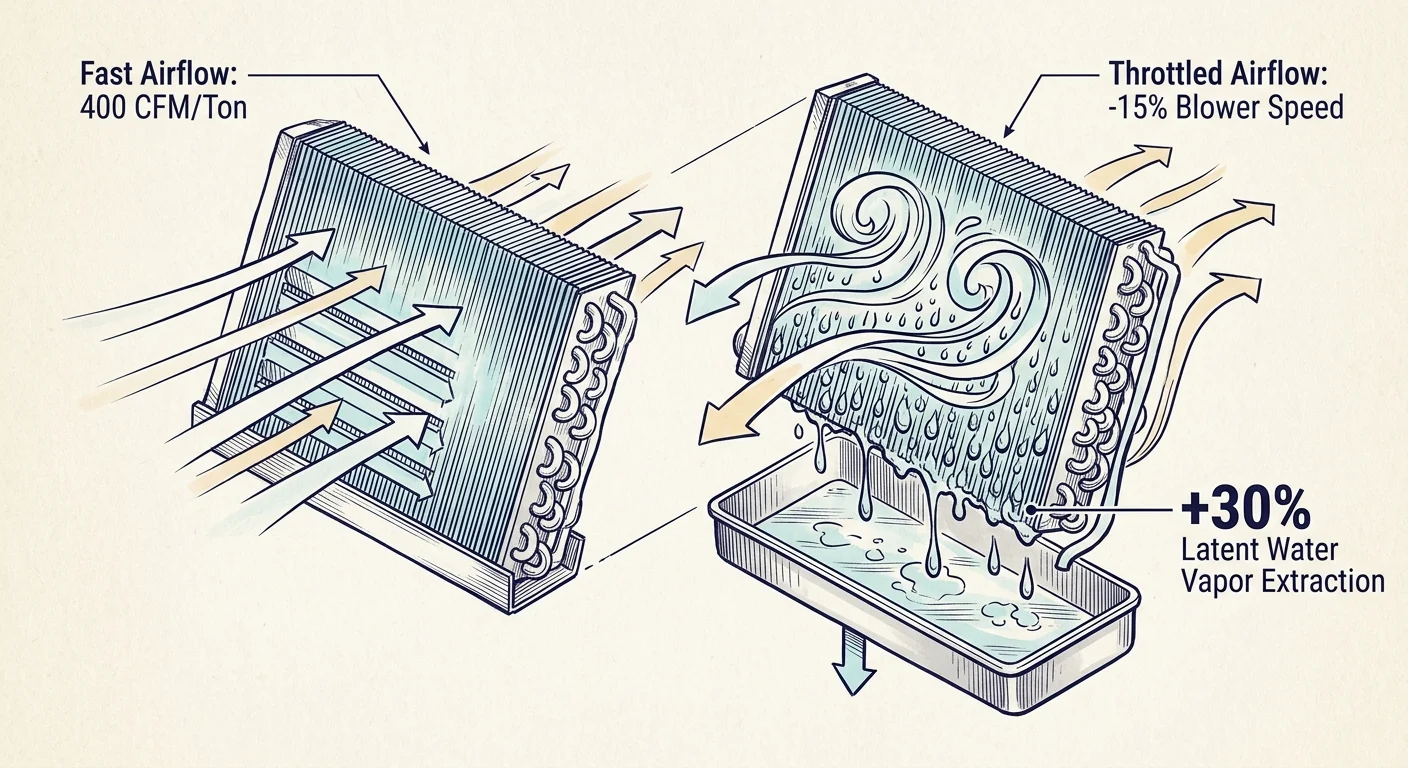
Software overcooling running at standard fan speeds provides poor dehumidification performance. Standard residential systems push roughly 400 cubic feet per minute (CFM) of air per ton of cooling capacity.
At 400 CFM per ton, air passes over the evaporator coil too quickly to strip heavy moisture. The system drops sensible room temperature rapidly while condensing only minimal water volume.
According to efficiency metrics published by Energy Star Smart Thermostats, unbalanced cooling cycles waste substantial electricity while reducing indoor thermal comfort. You end up shivering under blankets inside a cold, damp home.
The Physics of Airflow Modulation and Dew Point Extraction
The solution lies in manipulating the velocity of air crossing your indoor cooling coil. When you reduce airflow from 400 CFM per ton down to 320 or 340 CFM per ton, air lingers on the coil longer.
In homes where ductwork struggle to deliver dehumidified air upstairs, pairing coil modulation with automated duct booster fans helps resolve persistent temperature and moisture imbalances.
Once latent heat is under control, you can use smart thermostat fan circulation cycles to keep air properly mixed throughout multi-story layouts.
This increased dwell time drops the surface temperature of the evaporator coil several degrees closer to the refrigerant boiling point. A colder coil depresses the passing air stream well below its dew point.
Water vapor condenses across the aluminum fins at a significantly faster rate. The system extracts substantial moisture while sensible room cooling slows down dramatically.
The best smart home automations run passively in the background, solving physical comfort problems through precise hardware coordination rather than brute force.
Because the air conditioner runs longer to drop room temperature, it drains pints of water instead of ounces. The resulting supply air enters your ductwork noticeably drier.
Dry air at 73°F feels cooler and more refreshing to human skin than damp air at 69°F. Controlling latent heat lets you raise your thermostat setpoints, reducing wear on your compressor.
Wiring Thermostat Terminals for Blower Dehumidification
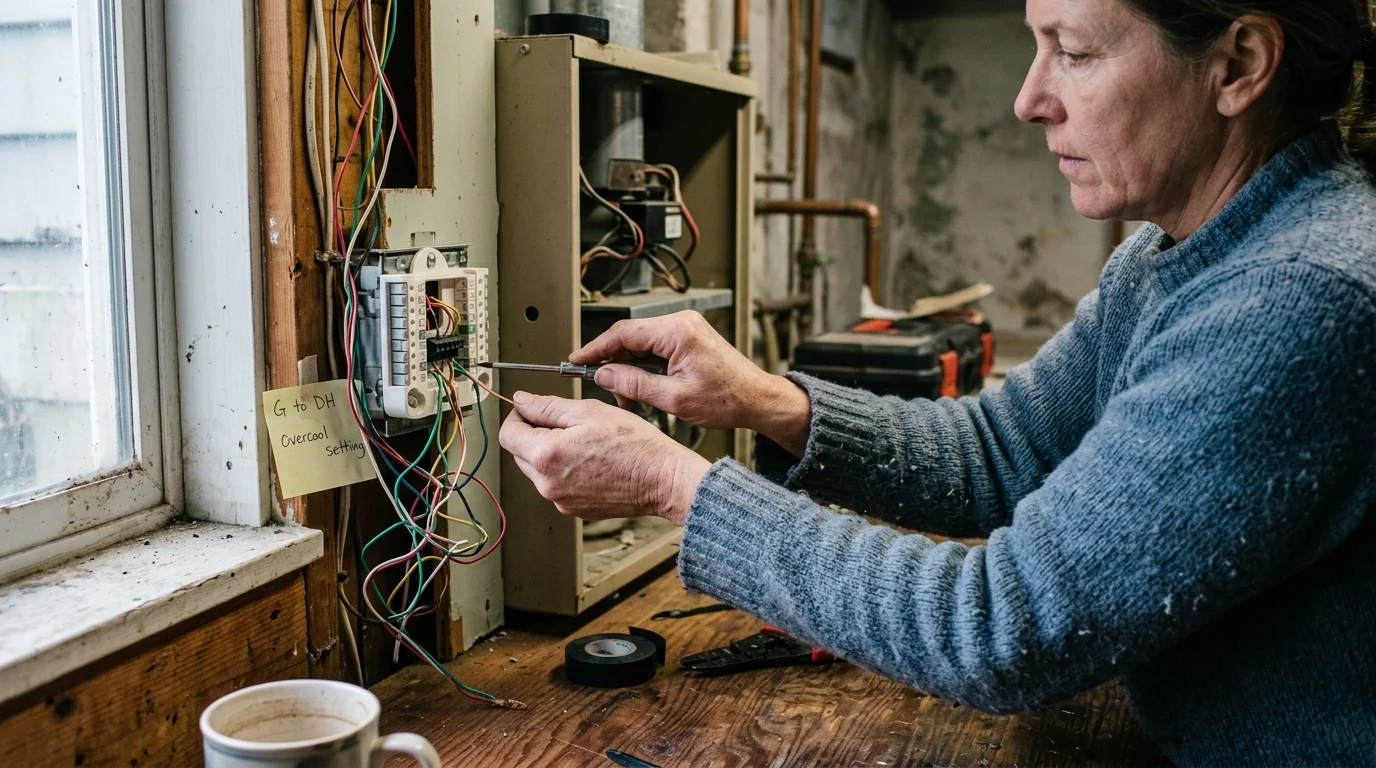
Executing physical blower modulation requires connecting your thermostat to your furnace or air handler control board. You cannot accomplish this over Wi-Fi software commands alone.
Before running extra auxiliary lines, make sure your thermostat baseboard already has reliable 24V power by resolving any underlying smart thermostat C-wire issues.
Modern variable-speed and multi-speed air handlers feature dedicated control terminals for dehumidification. Manufacturers label these terminals as DH, DEHUM, BK, or DS depending on the brand.
Follow these structural wiring steps to integrate your smart thermostat auxiliary relay with your air handler board:
- Switch off high-voltage circuit breakers feeding both the indoor air handler and the outdoor condensing unit.
- Verify electrical silence at the air handler control board using a non-contact voltage tester.
- Locate the low-voltage terminal strip on the indoor blower control board.
- Identify the dedicated dehumidification pin—commonly marked BK on Carrier and Bryant, or DEHUM on Goodman and Trane.
- Remove the factory jumper wire connecting the R terminal to the BK or DEHUM terminal if your board manual specifies cut-jumper operation.
- Run a dedicated 18-gauge copper conductor from your thermostat backplate to the air handler dehumidification terminal.
- Insert the conductor into your smart thermostat auxiliary terminal port, designated as ACC+ on Ecobee, U1 on Honeywell, or the asterisk (*) terminal on Nest.
- Restore electrical power to both indoor and outdoor units once you secure all panel covers.
Control boards use two distinct logic types for dehumidification signaling: Normally Open (NO) or Normally Closed (NC). You must match your thermostat relay setting to your equipment board logic.
Many variable-speed boards require 24VAC continuously at the BK terminal for normal high-speed operation. Cutting the 24VAC signal drops blower speed by 15% into dehumidification mode.
If you fail to configure relay polarity correctly, your blower will run slow during normal calls and blast high speed during dehumidification calls. Always verify board signaling logic in your equipment service manual.
Configuring Ecobee, Nest, and Honeywell Settings
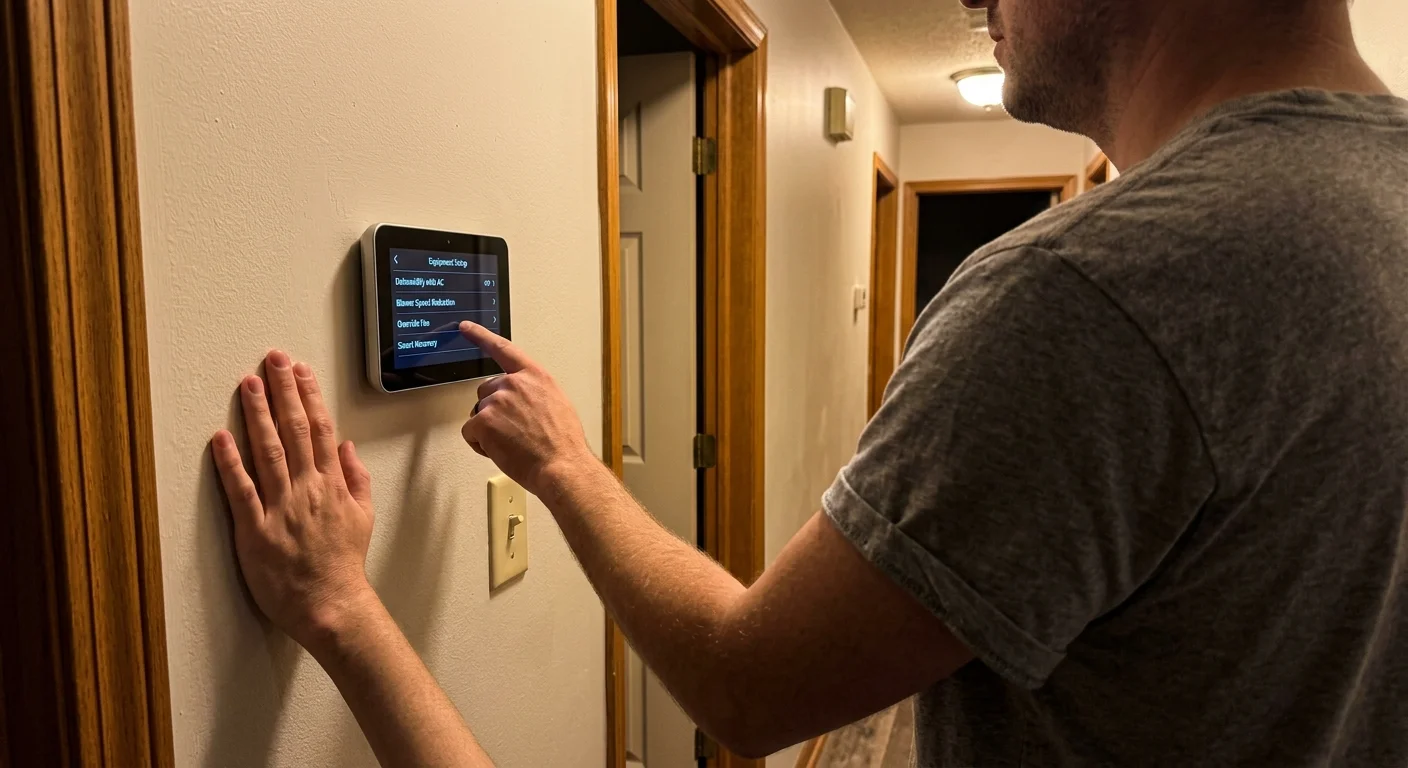
Once you complete physical low-voltage wiring, you must configure the software menus on your smart thermostat. Modern premium models handle dehumidification terminals through internal setup menus.
Independent testing guides from Wirecutter Smart Home emphasize using dedicated accessory relays over simple algorithmic cycling. Dedicated relay wiring gives your thermostat direct mechanical control over indoor equipment stages.
Configure an Ecobee Smart Thermostat Premium using the following interface routine:
- Tap the Main Menu icon on your Ecobee display and select Settings.
- Navigate to Installation Settings and select Equipment.
- Choose Wiring and select the ACC+ terminal.
- Configure the accessory type as Dehumidifier.
- Select whether the terminal energizes on open or close based on your air handler board logic.
- Return to Installation Settings, select Thresholds, and tap Dehumidify using AC.
- Set the Overcool Max threshold to 1.5°F or 2.0°F.
- Set your target indoor relative humidity setpoint to 50%.
For a Nest Learning Thermostat (3rd or 4th Gen), access your settings using the physical dial or home screen:
- Open Settings and rotate the dial to select Equipment.
- Select the asterisk (*) wire terminal and assign its role to Dehumidifier.
- Choose whether the relay energizes when calling for moisture extraction.
- Set your relative humidity target to your desired comfort level.
- Activate the Cool to Dry toggle under Nest Sense settings.
For a Honeywell Home T10 Pro or Prestige IAQ, use the Installer Setup (ISU) menu:
- Press and hold the Menu button to unlock Installer Setup using your device PIN.
- Navigate to ISU Parameter 4000 (Dehumidification Equipment).
- Set the parameter to Low-Speed Fan or Auxiliary Dehumidifier relay.
- Set ISU 4010 to drop fan speed when indoor humidity exceeds target thresholds.
- Configure maximum cooling droop to 2.0°F to prevent excessive chilling.

Engineering Worked Example: Standard Cooling vs. Blower Modulation
Consider a 2,200-square-foot home located in humid coastal Georgia. The home uses a 3-ton (36,000 BTU/hr) central air conditioner paired with a variable-speed ECM air handler.
The thermostat holds indoor sensible temperature at 72°F, but internal relative humidity sits uncomfortably at 68%. This humidity level creates an indoor dew point of roughly 60.5°F.
In Scenario A, the homeowner relies on standard software overcooling without blower modulation. The system runs the standard airflow rate of 400 CFM per ton, totaling 1,200 CFM.
The thermostat calls for a 3°F overcool to strip moisture, running for 16 minutes to drop the room to 69°F. Evaporator coil saturation temperature remains at 49°F due to high airflow volume.
The system condenses roughly 2.1 pints of water vapor before reaching the 69°F temperature cutoff. Indoor relative humidity drops only slightly to 63%, leaving the living space chilly and noticeably clammy.
In Scenario B, the homeowner configures the thermostat to drop blower CFM by 15% through the BK terminal. Total system airflow decreases from 1,200 CFM down to 1,020 CFM (340 CFM per ton).
The reduced air velocity allows the evaporator coil temperature to fall to 42°F. The lower coil temperature creates a sharper thermal gradient across the fins, accelerating moisture extraction.
Sensible heat drops slowly because reduced air volume delivers fewer cooling BTUs per minute into the rooms. The compressor runs for 27 minutes while dropping indoor temperature by only 1.5°F down to 70.5°F.
During this 27-minute low-CFM cycle, the coil strips 5.4 pints of liquid water from the home. Indoor relative humidity plunges from 68% down to 51%, hitting the target threshold.
The homeowner burns roughly 1.35 kWh of electricity during the run, costing approximately $0.20 at $0.15 per kWh. That small electrical investment removes 157% more water while preserving living room warmth.
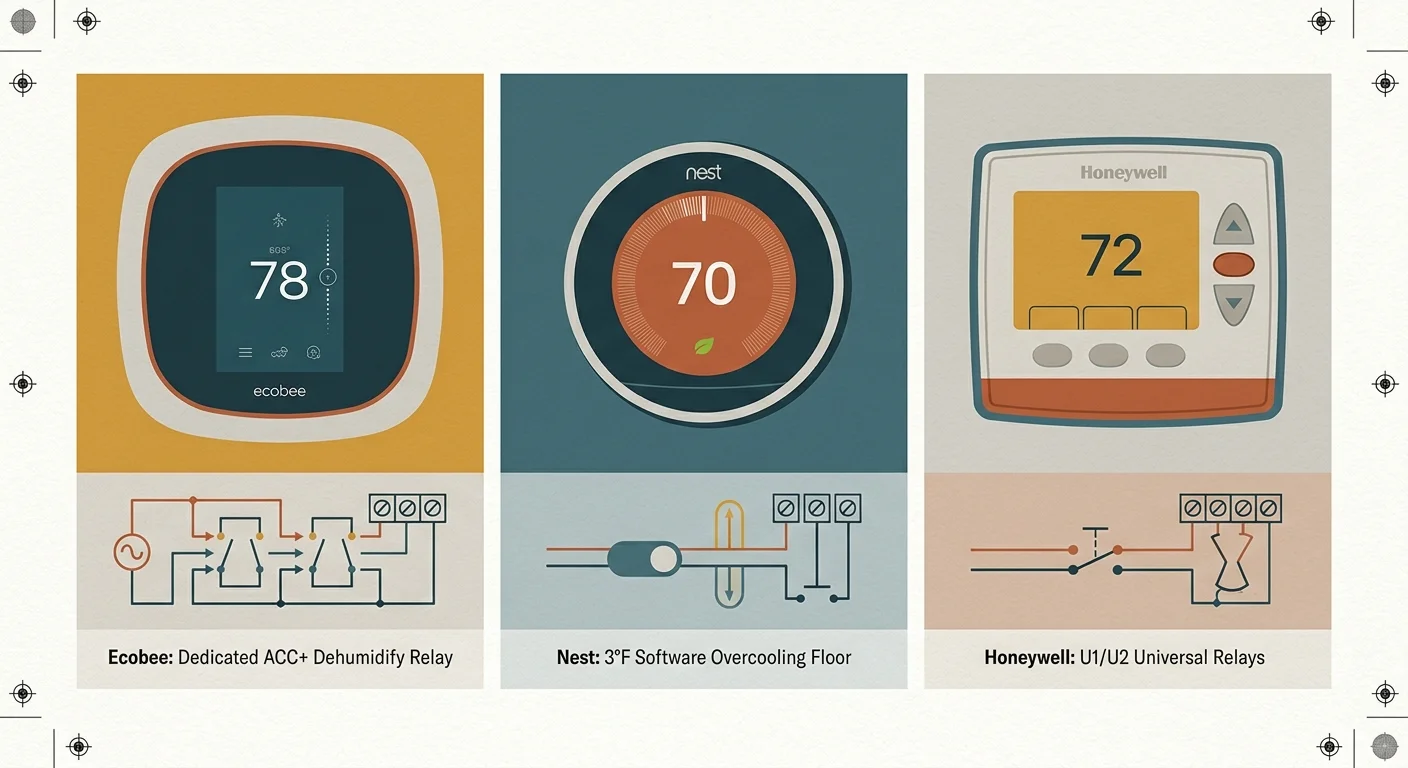
Smart Thermostat Dehumidification Capabilities Compared
Not every smart thermostat possesses the physical internal relays necessary to trigger blower dehumidification terminals. Some popular entry-level models provide software overcooling without any physical auxiliary contacts.
The table below compares high-end smart thermostats on their terminal capabilities, relay logic options, and airflow management features.
| Thermostat Model | Dedicated Terminals | Relay Logic Flexibility | Blower Modulation Control | Max Overcool Adjustability |
|---|---|---|---|---|
| Ecobee Smart Thermostat Premium | ACC+ and ACC- (Dry Contacts) | Normally Open and Normally Closed | Yes (via BK/DEHUM/DS wire) | 0.5°F to 5.0°F in 0.5°F steps |
| Nest Learning Thermostat (4th Gen) | Asterisk (*) Configurable | Normally Open Only | Yes (Requires external relay for NC) | Fixed algorithm (Up to 3.0°F) |
| Honeywell Home T10 Pro Smart Thermostat | U1 and U2 (Configurable Aux) | Normally Open and Normally Closed | Yes (Direct low-speed logic) | 1.0°F to 3.0°F in 1.0°F steps |
| Nest Thermostat (Standard Mirror Finish) | None (No Aux Terminals) | None | No (Software overcool only) | Non-adjustable software limit |
Selecting a thermostat with dual dry contacts simplifies integration with complex variable-speed control boards. Dry contacts isolate your thermostat from proprietary board voltages, preventing blown internal micro-fuses.
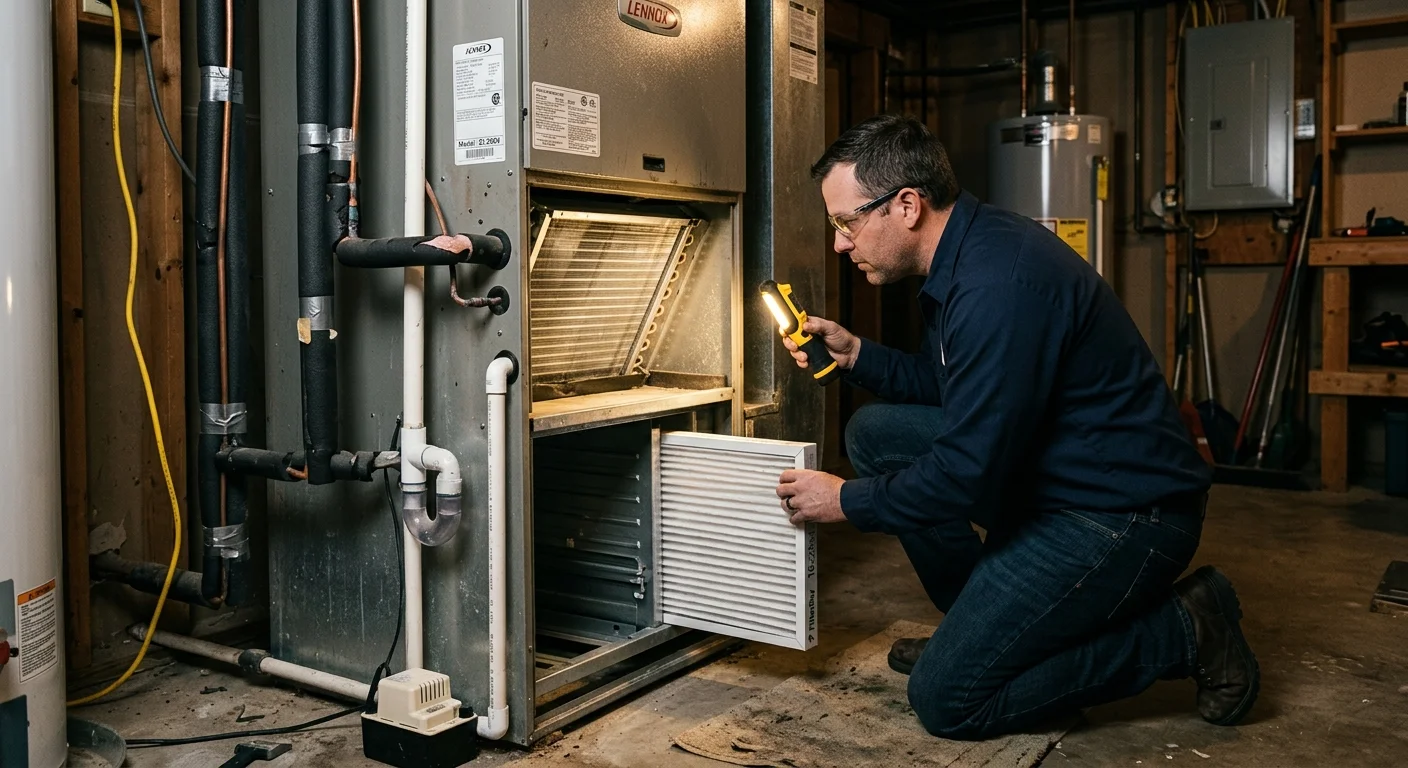
Preventing Evaporator Freeze-Ups and Airflow Restrictions
Slowing your blower fan increases dehumidification performance, but reducing airflow excessively introduces mechanical operating risks. If airflow drops below 300 CFM per ton, the evaporator coil may freeze solid.
Solid ice formation on your indoor coil blocks all air movement through your duct system. Liquid refrigerant can flood past the expansion valve back into the outdoor compressor, destroying mechanical valves.
Smart home device reliability assessments by Consumer Reports Smart Home emphasize monitoring critical system performance thresholds. Always check these operating variables after adjusting blower configurations:
- Inspect your air filter before enabling low-CFM dehumidification modes. A clogged 1-inch fiberglass filter combined with a 15% fan slowdown starves the coil of thermal energy.
- Install a MERV 8 to MERV 11 filter rather than an ultra-dense MERV 13 to avoid excessive external static pressure drops.
- Measure supply and return air temperatures after twenty minutes of runtime. Your temperature split should range between 18°F and 22°F.
- Verify that supply plenums remain above 50°F to eliminate moisture condensation on outer duct metal.
- Check your condensate drain line and clean out algae buildup with distilled white vinegar. Increased dehumidification cycles dump multiple gallons of water into drain pans daily.
If you notice ice forming on the suction line outside, immediately disable low-speed dehumidification settings. Increase your minimum airflow setting on the furnace dip switches to restore safe coil pressure.
Frequently Asked Questions
Can I use overcool to dehumidify if my air handler has a single-speed PSC motor?
You can use software overcooling with a standard single-speed PSC motor, but you cannot modulate blower speed. The thermostat will simply run your system longer at full CFM, which chills your home faster while removing less total moisture.
What is the ideal target indoor relative humidity for summer comfort?
Maintain indoor relative humidity between 45% and 55% during cooling months. Keeping humidity below 55% stops dust mite proliferation and prevents mold growth without requiring excessive electrical energy.
Why does my AC indoor coil freeze when overcool mode is running?
Coil freezing happens when airflow drops below critical CFM levels or your refrigerant charge is low. A dirty air filter, closed supply registers, or excessive fan speed reduction causes coil surface temperatures to drop below 32°F.
Does modulating blower speed for dehumidification increase my electric bill?
Blower speed modulation generally lowers overall monthly cooling costs. Longer, low-speed cycles draw less blower wattage, while lower indoor humidity allows you to raise your sensible temperature setpoint two degrees without sacrificing comfort.
Disclaimer: This article is for informational purposes only. Smart home devices involve electrical connections and data privacy. Always follow manufacturer instructions for installation. For complex wiring or HVAC work, consult a licensed professional.