If you commute during weekday delivery hours, front porch theft turns online shopping into a gamble. Video doorbells only record crimes in progress; they cannot physically protect your deliveries.
Delivery drivers will not fiddle with manual keypads or phone apps during thirty-second stops. A dual-validation drop box using barcode optical scanning and weight sensing is the only hands-free way to secure parcels automatically.
Using an ESP32 microcontroller, an optical scanner, and load cells, you can build a resilient anti porch pirate smart routine for under $75 in electronics.
Why Doorbell Cameras Fail Against Porch Piracy
Suburban homeowners who work away from home face an eight-to-ten-hour window of porch exposure every weekday. Porch pirates exploit this predictable absence by shadowing delivery vans through residential neighborhoods.
Coupling physical vaults with deterrents like automating your porch lighting for safety helps illuminate drop zones after dusk.
According to the SafeWise 2025/2026 Package Theft Report, thieves stole an estimated 104.3 million packages over a twelve-month span. That volume accounts for roughly 250,000 stolen packages every single day across the United States.
Those thefts represent $14.9 billion in direct consumer losses, with individual stolen shipments averaging between $143 and $204. For working commuters, replacing these goods costs hours of customer service claims.
Many homeowners assume a smart video doorbell provides adequate defense. However, Capital One Shopping data indicates that 30 percent of package theft victims had an active doorbell camera installed during the incident.
Furthermore, 38 percent of consumers surveyed report that outdoor security cameras do not effectively deter thieves. High-resolution video footage helps identify what was lost, but it rarely recovers the stolen property.
Physical containment always outperforms passive surveillance when protecting unattended property.
Couriers operate on grueling routes that leave them roughly twenty to forty seconds per drop-off. They do not have time to enter numeric PINs on a lock box or call a homeowner via two-way intercom.
If your drop-off container demands extra labor, drivers simply drop the parcel on the concrete beside it. True porch security requires automated, zero-friction verification that works within existing delivery routines.
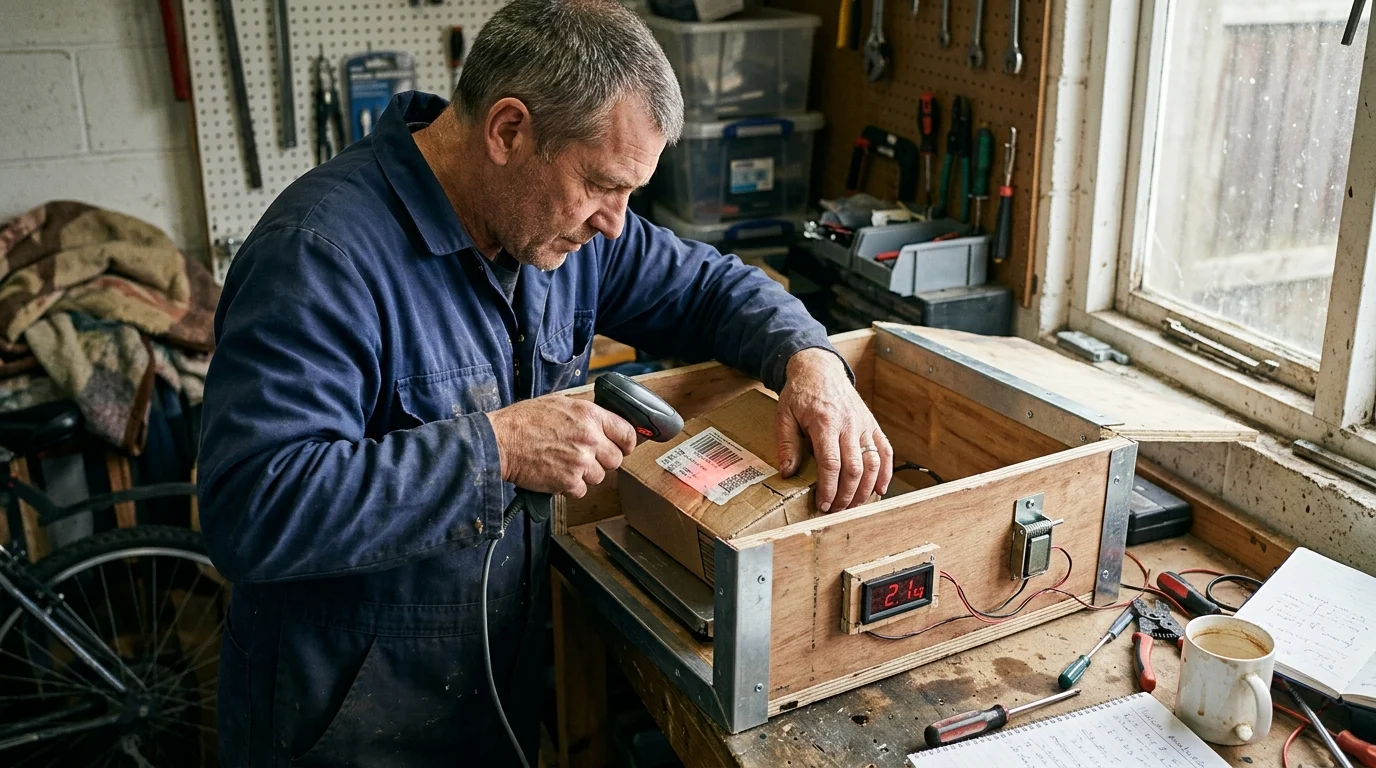
Core Architecture: Barcode Scanning and Mass Verification
An automated package drop vault relies on a deterministic hardware handshake between the carrier shipping label and the box interior. It eliminates keypad codes by reading the carrier label directly.
If you are new to local hubs, learning how to get started with Home Assistant makes managing sensor events and triggers straightforward.
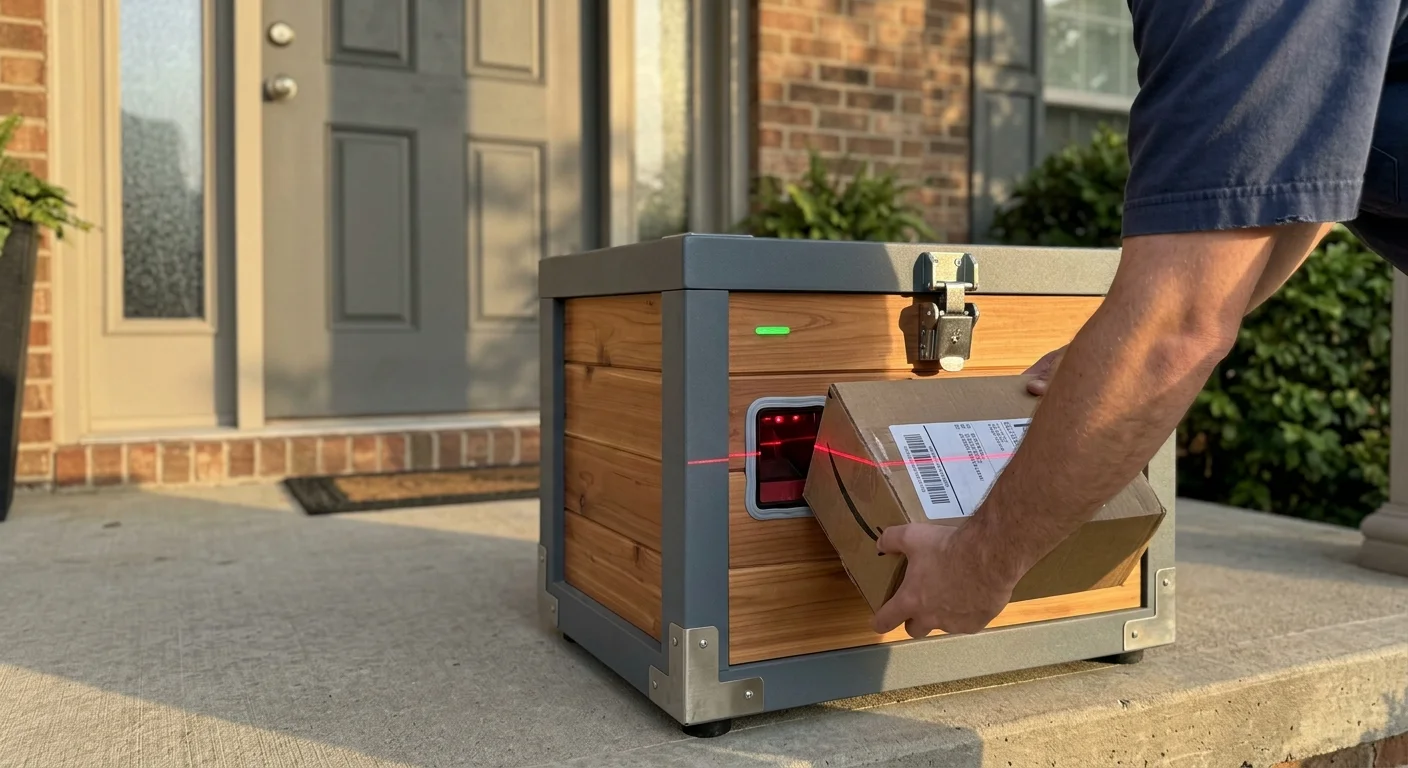
A miniature optical scanner module mounts to the exterior fascia of an insulated trunk. When a courier presents a package, the module decodes the shipping barcode in under 200 milliseconds.
The system controller processes the string and dispatches an actuation signal to a 12V DC solenoid latch. The lid unlatches with an audible click, allowing the driver to raise the lid and deposit the item.
Internal weight verification provides the closing trigger. Four 50-kilogram load cells sit beneath an interior floating deck inside the vault floor, wired directly to a precision amplifier.
Once the courier drops the box, the load cells register the sudden increase in downward force. When the lid shuts, the microcontroller detects the settled mass and re-engages the latch securely.
This closed-loop process delivers several clear advantages over basic timed latch timers:
- Eliminates false cycles caused by passersby scanning random barcodes without depositing a parcel.
- Prevents the vault from remaining unlocked if a courier opens the lid but walks away with the item.
- Differentiates between thin letter mail, lightweight envelopes, and heavy electronic parcels.
- Integrates with your smart delivery box lock ecosystem to log precise arrival weights.
- Triggers immediate mobile alerts confirming not just that a lid opened, but that payload arrived.
This verification chain ensures the container locks only after physical deposit occurs. It forms an impenetrable anti porch pirate smart routine that operates entirely independent of courier compliance.
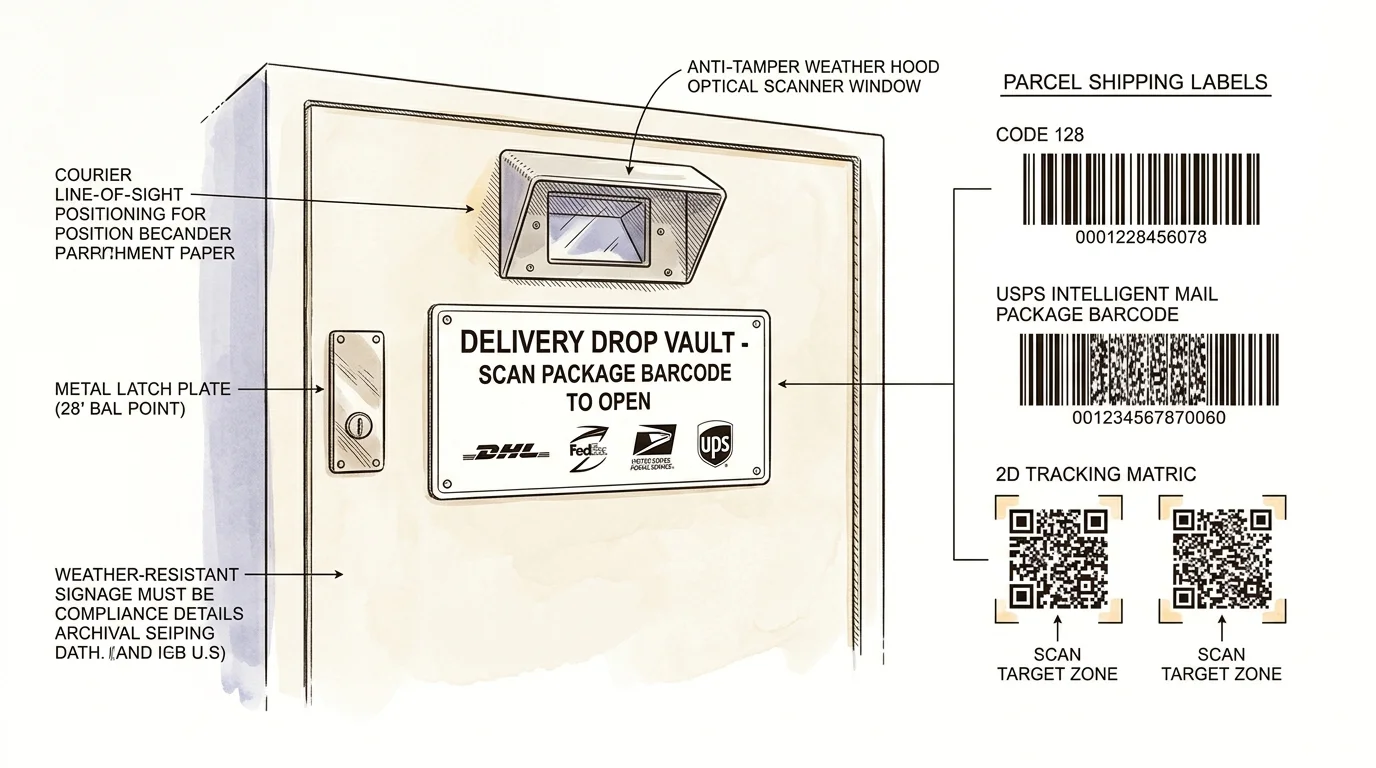
Federal Regulations and Courier Labeling Rules
Before installing any physical delivery container on your property, you must understand federal postal laws. Placing unmetered parcels into the wrong receptacle can lead to delivery rejections or legal issues.
Under 18 U.S.C. Section 1725, unauthorized individuals cannot deposit non-postage mailable matter into an official curbside mailbox. Private carriers like UPS, FedEx, and Amazon Logistics cannot legally touch standard postal mailboxes.
If you label your DIY vault with “U.S. Mail,” private couriers will bypass it completely to avoid federal violations. The container must remain designated strictly as private property.
The United States Postal Service Domestic Mail Manual Section 508 permits porch drop boxes for carrier deliveries. However, carriers require clear exterior identification to use them legally and efficiently.
To keep your installation fully compliant and driver-friendly, follow these labeling rules:
- Apply high-contrast vinyl lettering stating “DELIVERIES ONLY” or “PARCEL DROP BOX” across the lid.
- Never include the words “United States Postal Service” or “U.S. Mail” anywhere on the exterior.
- Position an optical scan icon beside the camera lens with the text: “Scan Package Barcode to Open.”
- Add brief carrier instructions: “1. Scan Label — 2. Place Parcel Inside — 3. Push Lid Closed.”
- Keep the vault within twenty feet of your primary walkway to satisfy courier union delivery limits.
Clear guidance removes hesitation for overworked drivers running behind schedule. It ensures Amazon Logistics, UPS, FedEx, and DHL carriers deposit packages into your vault without questioning protocol.
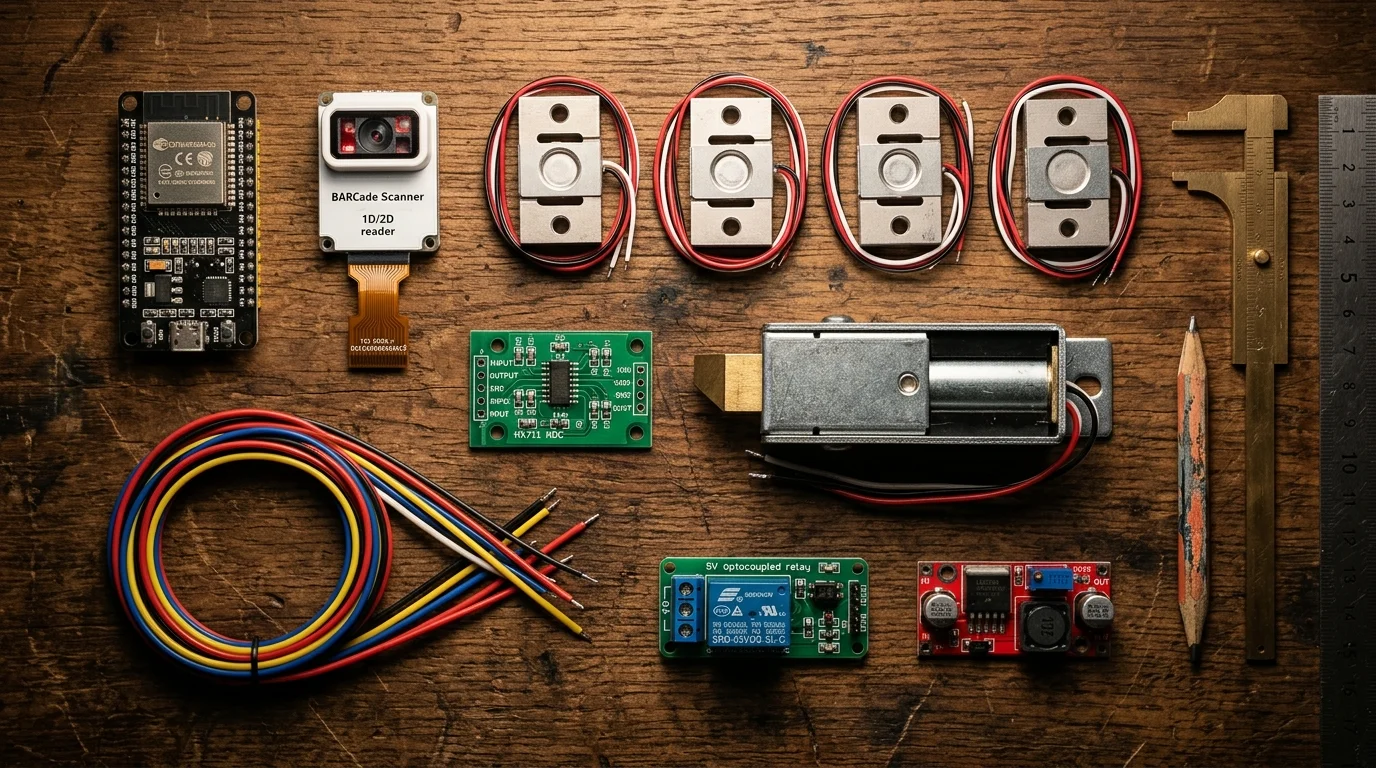
Bill of Materials and Hardware Requirements
Commercial smart package boxes carry steep prices and often force you into recurring monthly subscriptions. In contrast, building your own system costs roughly $45 to $75 in electronics.
The control hardware centers on the versatile ESP32 microcontroller development board. The dual-core processor manages serial data from the scanner while handling Wi-Fi network telemetry.
For barcode capture, the GM65 embedded module reads both standard 1D logistics codes and 2D QR matrices. It decodes Code 128, UPC-A, and Data Matrix labels under broad daylight or complete darkness.
Weight processing relies on four half-bridge strain gauges linked to an HX711 24-bit analog-to-digital converter. This setup handles total loads up to 200 kilograms with reliable 10-gram resolution.
Physical security requires a 12V DC fail-secure solenoid cabinet latch. A fail-secure latch stays mechanically locked during electrical power outages, preventing thieves from prying the lid open.
Here is the complete hardware bill of materials required for this build:
- ESP32-WROOM-32 DevKit V1: Microcontroller board handling serial scanning and Wi-Fi data ($6).
- GM65 Barcode Scanner Module: High-speed optical 1D/2D reader with TTL/UART serial output ($24).
- Four 50kg Strain Gauge Load Cells: Half-bridge force sensors configured in a Wheatstone bridge ($9).
- HX711 24-Bit ADC Board: Differential amplifier for precise load cell signal reading ($3).
- 12V DC Fail-Secure Solenoid Latch: Sloped strike bolt drawing 0.8 amps intermittent current ($9).
- 5V Single-Channel Relay Module: Optocoupler-isolated relay for driving the 12V solenoid ($3).
- LM2596 DC-DC Buck Converter: Steps 12V system power down to stable 5V for the microelectronics ($4).
- 12V 3A DC Wall Power Supply: External grounded power adapter with barrel connector ($11).
- Weather-Resistant Deck Box: 70-to-100-gallon heavy resin trunk acting as physical housing ($75 to $95).
- Plywood False Floor Deck: 1/2-inch exterior-grade sanded plywood sheet cut to interior base dimensions ($12).
According to consumer technology analyses from PCMag Smart Home, building custom microcontroller automations avoids the walled-garden fees common in off-the-shelf security hardware. You retain complete ownership over your home delivery data.
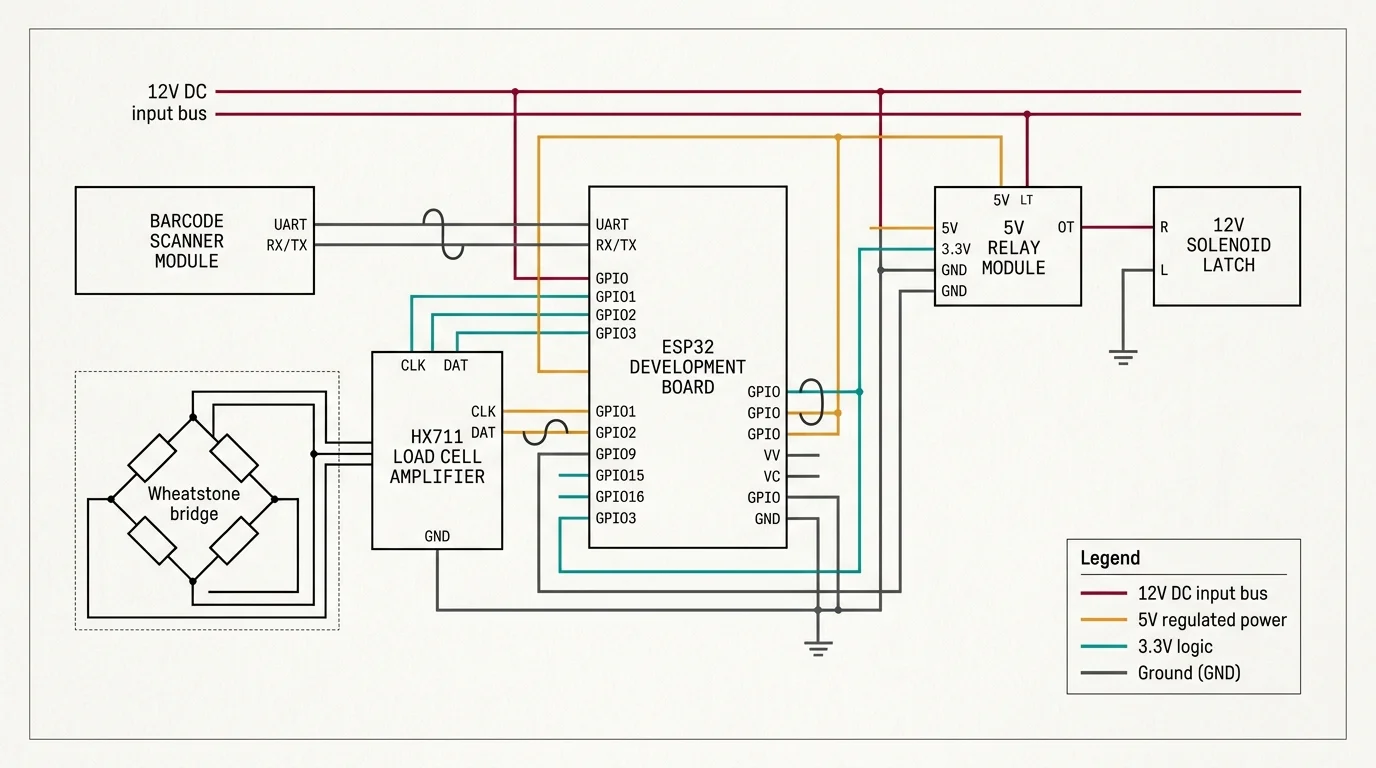
Step-by-Step Electronics Assembly and Wiring
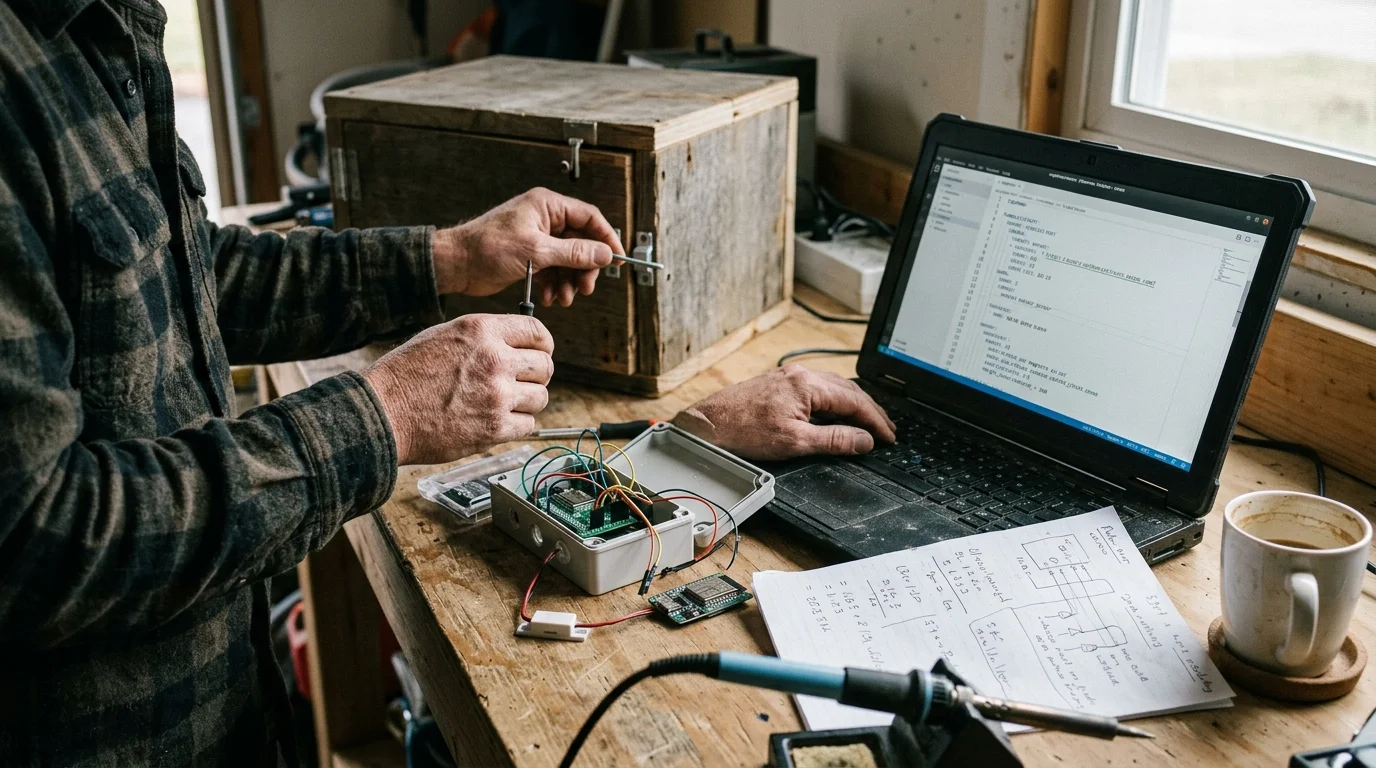
Assembling the electronics requires basic soldering skills and careful attention to power isolation. You must separate the 12V inductive solenoid circuit from the delicate 3.3V and 5V logic lines.
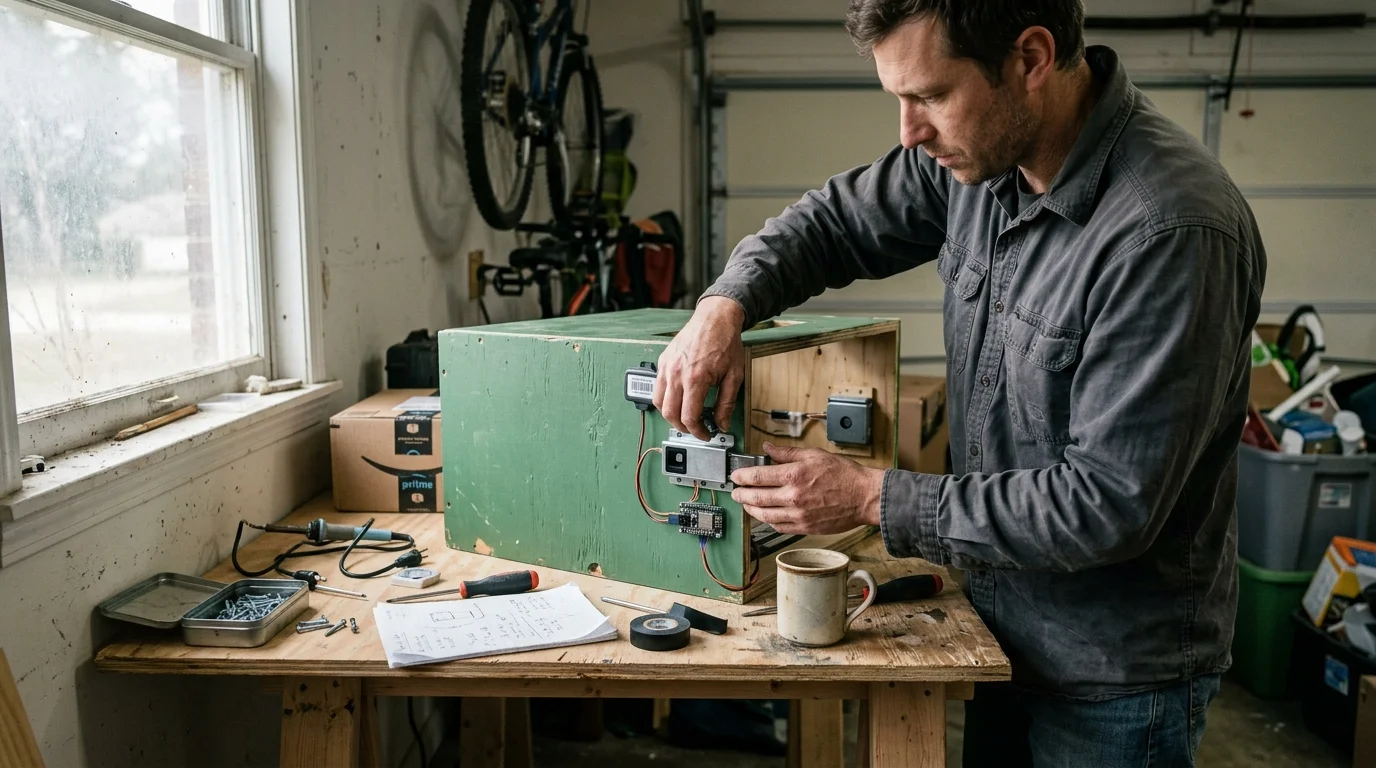
Begin by assembling the floating floor scale inside the trunk. Mount the four 50-kilogram load cells into four machined corners underneath your cut plywood baseboard.
Wire the four half-bridge load cells into a standard Wheatstone bridge loop. Connect the paired signal outputs directly to the E+, E-, A+, and A- terminals of the HX711 amplifier.
Next, drill a 1.25-inch circular cutout on the front face of your resin box for the GM65 barcode reader. Seal the outer rim with clear silicone sealant to prevent water intrusion during driving rains.
Follow these sequential steps to finish your vault wiring harness:
- Mount the ESP32, relay module, HX711, and buck converter inside an IP66-rated plastic junction box.
- Connect the 12V input terminals of the buck converter directly to your main 12V DC power jack.
- Adjust the LM2596 potentiometer screw using a multimeter until the output pins measure precisely 5.0 volts.
- Route the 5V buck converter output to the ESP32 5V/VIN pin and the GM65 VCC line.
- Connect GM65 TX to ESP32 GPIO 16 (RX2), and connect GM65 RX to ESP32 GPIO 17 (TX2).
- Wire the HX711 data pin (DT) to GPIO 21 and the clock pin (SCK) to GPIO 22 on your ESP32.
- Connect the relay control pin to GPIO 23, grounding the relay ground pin to the common system ground.
- Wire the 12V positive line through the relay normally-open (NO) contacts to the positive solenoid lead.
- Attach a 1N4007 flyback diode in reverse bias across the solenoid leads to suppress inductive voltage spikes.
- Install the solenoid strike plate on the upper lid rim, aligning it with the spring latch mechanism.
Fasten the junction box high on the interior rear wall of the trunk. Keep all wiring secured within split loom tubing to prevent snagging when packages drop inside.
Firmware Configuration: ESPHome and Home Assistant Logic
ESPHome firmware simplifies sensor calibration and serial communication on the ESP32 board. It natively transmits state updates to Home Assistant over local Wi-Fi without third-party cloud servers.
Flash your ESP32 using the ESPHome web flasher via USB. Define a UART bus operating at 9600 baud to receive text strings from the GM65 scanner module.
Configure the HX711 component with a known reference weight to establish your baseline calibration factor. Tare the scale with the empty plywood floor installed so the idle state reads zero grams.
Use the following logic flow within your Home Assistant automation engine:
- Listen for incoming serial payloads from the GM65 UART entity matching standard tracking formats.
- Trigger the relay output on GPIO 23 for a fixed duration of twenty seconds to unlatch the lid.
- Instruct your smart doorbell or outdoor camera to capture a high-definition snapshot of the front porch.
- Monitor the HX711 weight sensor entity for an upward mass delta exceeding 100 grams.
- Confirm lid closure using a magnetic reed switch mounted along the upper trunk rim.
- Verify the final weight settled above baseline, then toggle the state helper to “Package Secured.”
- Dispatch an encrypted mobile push notification displaying the verified parcel weight and carrier tracking code.
As documented in smart home security evaluations from Wirecutter Smart Home, local-first automations maintain critical reliability even if your neighborhood ISP suffers an outage. Your vault continues scanning and locking offline.
Worked Example: The Suburban Commuter Build
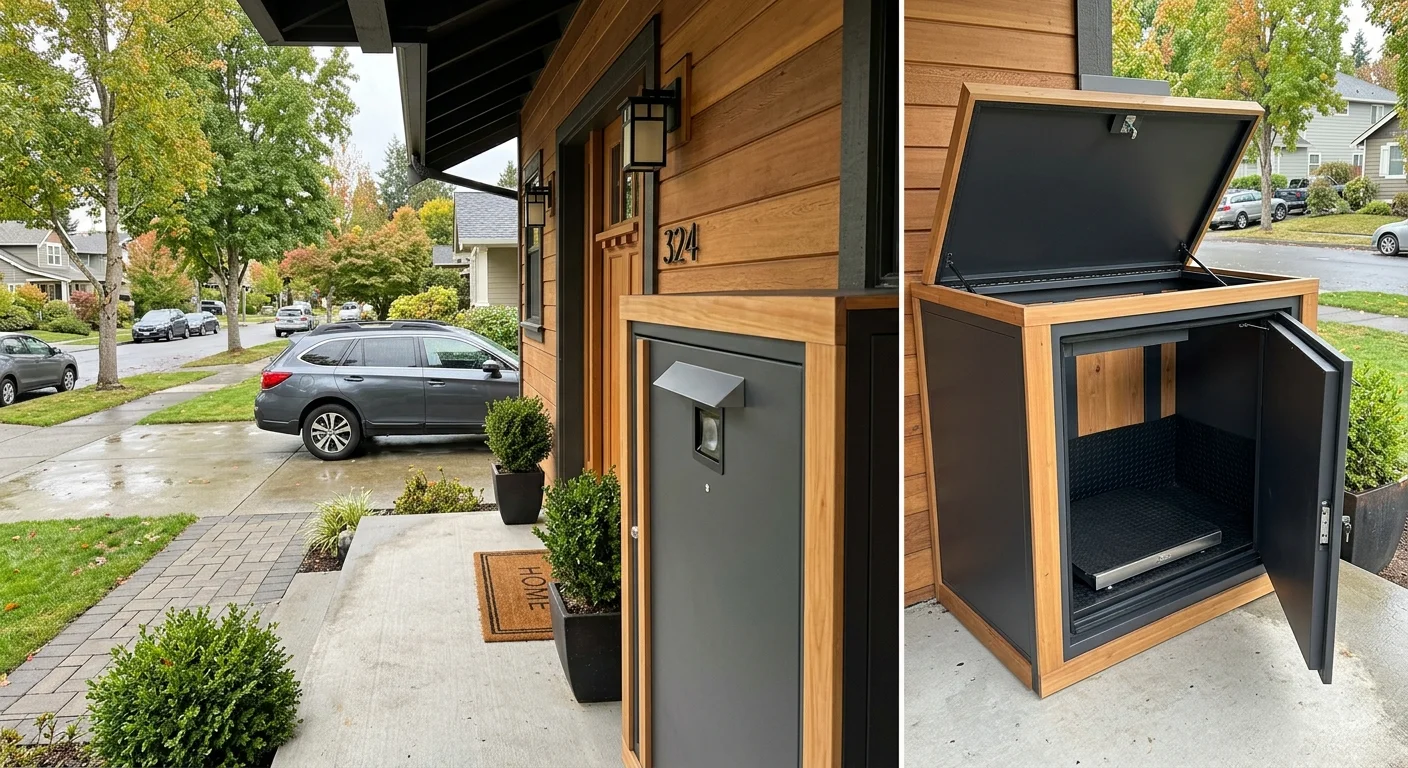
To understand how this system performs in real life, consider Dave, a suburban homeowner living in Naperville, Illinois. Dave commutes 42 minutes each way into downtown Chicago, leaving his house empty from 7:15 AM to 6:15 PM every weekday.
Throughout November, porch pirates stole three deliveries from Dave’s exposed entryway, costing $412 in lost electronics and winter apparel. His video doorbell captured footage of thieves wearing masks, but local police could not identify the suspects.
Dave constructed an automated package drop vault using an 80-gallon Suncast heavy-duty resin deck box measuring 46 inches wide, 21 inches deep, and 24 inches high. He anchored the base directly into his concrete porch using two 3/8-inch sleeve masonry anchors.
His exact component expenditures and calibration metrics break down as follows:
- Suncast 80-Gallon Storage Box: $79.00 purchased from a local home center.
- ESP32-WROOM-32 Board: $6.50.
- GM65 Optical Reader: $26.00.
- Load Cells and HX711 Amplifier Kit: $11.50.
- 12V DC Latch and Single Relay: $11.00.
- Power Supply and Buck Converter: $12.50.
- Miscellaneous Plywood, Anchors, and Loom: $17.00.
- Total Hardware Investment: $163.50.
- Measured Empty Floor Tare Mass: 3.42 pounds (1,551 grams).
- Sensor Calibration Factor: -22850 based on a five-pound reference kettlebell.
On Tuesday, December 12, an Amazon Logistics courier arrived at Dave’s porch at 1:14 PM while Dave sat in an office meeting downtown. The driver noticed the clear instructional decal on the box and presented the shipping label to the optical reader.
The GM65 decoded the TBA tracking barcode in 140 milliseconds, firing the relay and popping the solenoid latch. The courier raised the lid, placed a 4.2-pound carton inside, and closed the lid at 1:15 PM.
The HX711 sensor registered a net weight gain of 1,905 grams, confirming delivery. The ESP32 disengaged the relay, locking the solenoid securely while sending a push alert with the exact weight to Dave’s smartphone.
When an opportunistic porch pirate approached the porch thirty minutes later, they found an empty welcome mat and an anchored, locked resin container. Dave arrived home at 6:15 PM and retrieved his intact parcel using a manual override key.
Commercial Drop Boxes Versus DIY Smart Vaults
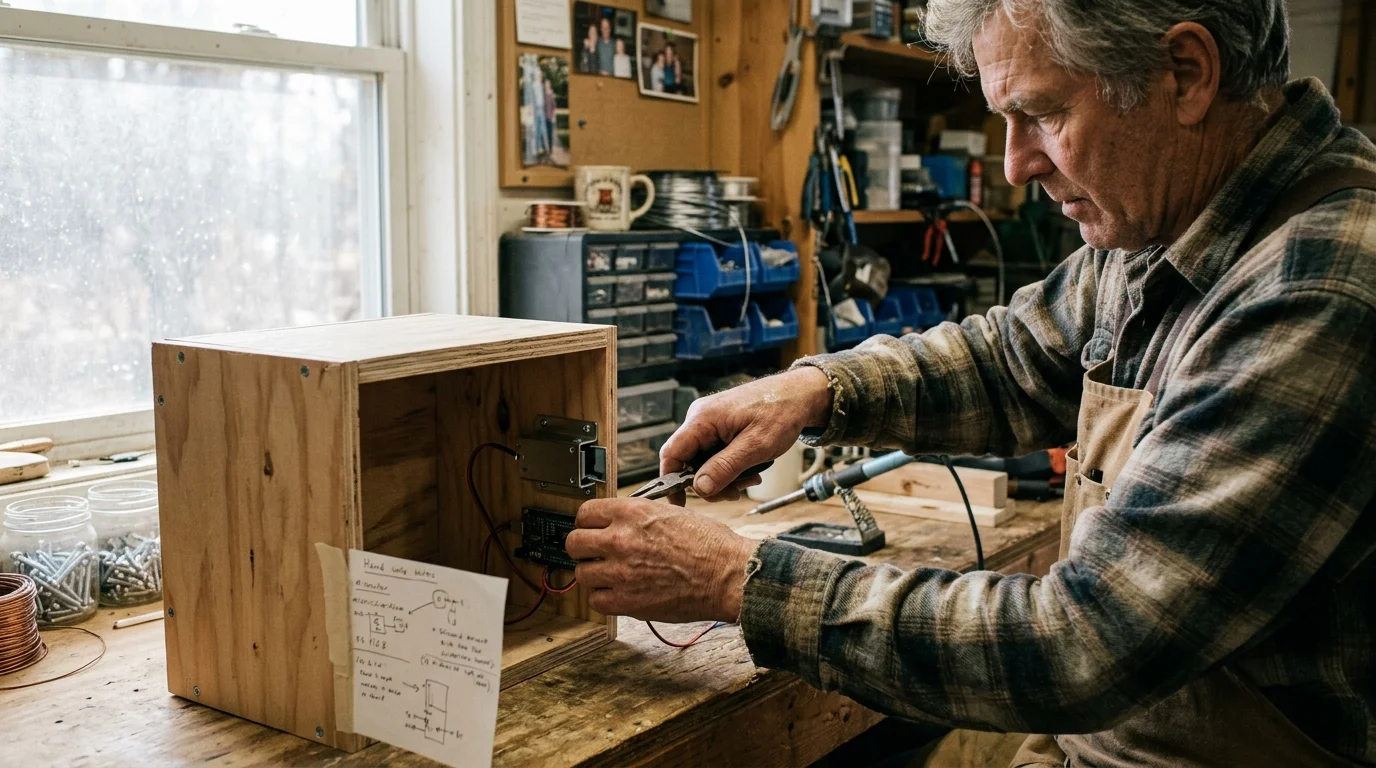
Homeowners often weigh building a custom microcontroller vault against buying an off-the-shelf commercial security box. Commercial models offer factory finishes but introduce severe practical trade-offs.
Commercial units commonly rely on mechanical combination locks or keypad panels. Rushed couriers frequently ignore these pads, leaving boxes unlocked or dumping parcels directly onto porch steps.
The following comparison table examines how a DIY barcode-and-weight vault compares to market alternatives across measurable specifications:
| Solution Name | Hardware Cost | Monthly Fees | Access Mechanism | Verification Sensor | Multi-Carrier Support |
|---|---|---|---|---|---|
| DIY ESP32 Smart Vault | $140 — $175 | $0.00 | 1D/2D Barcode Scan | HX711 Load Cells (Mass) | Universal (All Couriers) |
| Yale Smart Delivery Box | $279 — $329 | $0.00 | Keypad / Smartphone App | Internal Accelerometer | Limited by Courier PIN entry |
| DeliverySafe Locked Vault | $499 — $599 | $0.00 | Backlit Digital Keypad | None (Manual Latch) | Requires Courier Instructions |
| BenchSentry Smart Package Box | $399 — $449 | Optional Cloud | Tracking Code Entry | None (Lid Closure Switch) | Manual Code or Mobile Scan |
As the table illustrates, commercial alternatives demand high upfront hardware investments while lacking real mass measurement. A magnetic lid switch only confirms that a lid closed, not that a parcel was dropped inside.
By engineering your own vault, you achieve genuine weight verification that prevents spoofing. The total system cost remains less than half the price of proprietary lock boxes.
Frequently Asked Questions
How does the barcode scanner handle smudged or wet shipping labels?
The GM65 module uses an integrated 650-nanometer illuminated CMOS sensor that reads damaged, smudged, or low-contrast 1D and 2D barcodes. It decodes reflections through clear plastic tape and handles high-glare surfaces reliably.
Can someone trigger the latch using a random product barcode from their pocket?
You can configure Home Assistant to cross-reference scanned tracking strings against your personal carrier incoming delivery notifications. Alternatively, the internal load cell requirement ensures the box immediately relocks and sounds a chime if no weight settles inside.
What happens to the vault lock during a household power outage?
The system utilizes a 12V fail-secure solenoid strike that stays locked when electrical power disconnects. You can include a hidden mechanical key override cam lock underneath the chassis rim for physical emergency access.
Will rain and freezing winter moisture damage the electronics?
Housing the microcontroller, buck converter, and relay inside an internal IP66 waterproof enclosure prevents moisture damage. Silicone sealant applied around the outer scanner bezel keeps exterior driving rain from penetrating the trunk chassis.
Can the internal load cells distinguish between a package and wind pressure?
Yes, because the floating floor scale rests completely inside the sealed interior of the trunk. External gusts affecting the outer walls do not transfer mechanical downward pressure to the internal load cell platform.
Disclaimer: This article is for informational purposes only. Smart home devices involve electrical connections and data privacy. Always follow manufacturer instructions for installation. For complex wiring or HVAC work, consult a licensed professional.