
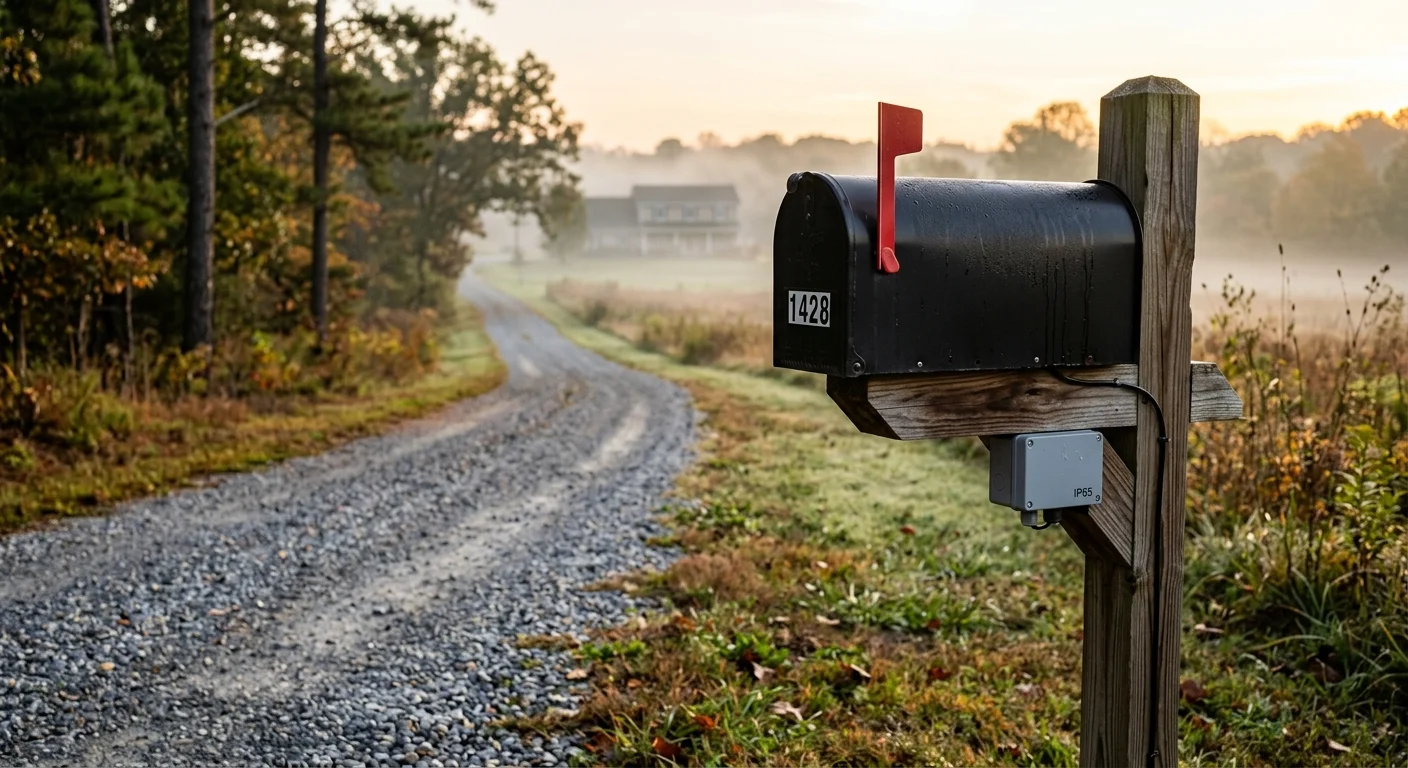
You can track rural mail delivery across a 200-foot gravel driveway without digging electrical trenches or buying expensive commercial monitors. A custom low-power Zigbee build delivers reliable notifications for under $30.
Standard off-the-shelf sensor installations routinely fail because heavy steel curbside boxes create signal dead zones and rapidly deplete small batteries in freezing weather.
By separating an external magnetic reed switch from your radio transmitter and calculating sleep-cycle power draws, you eliminate wireless attenuation entirely while securing dependable multi-year battery performance.
The Gravel Driveway Dilemma: Why Hardwiring and Wi-Fi Fail
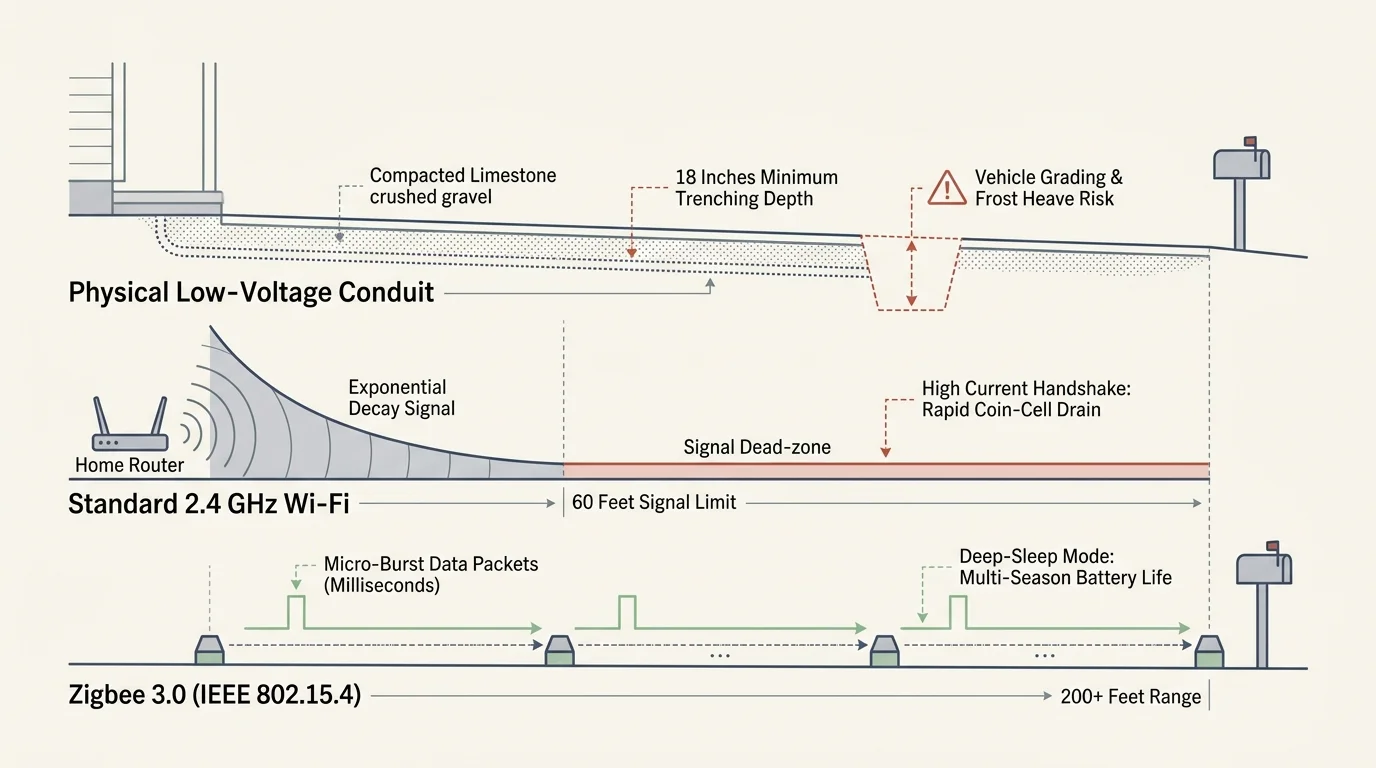
Long rural driveways present unique infrastructure challenges for smart home enthusiasts. Running physical low-voltage wiring requires burying conduit at least 18 inches deep beneath compacted crushed limestone.
Trenching across gravel paths damages vehicle grading and risks severed lines during seasonal driveway maintenance. Hardwired power transforms a basic convenience alert into an expensive excavation project.
Standard consumer Wi-Fi sensors fail in this operating environment. According to hardware testing by PCMag Smart Home analysts, Wi-Fi radios demand high current spikes that drain typical coin-cell batteries in days.
Wi-Fi signals also struggle to penetrate structural house siding and outdoor air past 60 feet. The transmitter stays active for seconds attempting handshake protocols, which quickly drains the battery.
Zigbee protocol provides the solution for long-range, battery-powered sensing. Operating on the IEEE 802.15.4 standard, Zigbee devices transmit short data bursts within milliseconds before returning to deep sleep.
This micro-burst communication enables coin cells to last multiple seasons outdoors. However, deploying Zigbee on a rural curbside introduces another physical barrier: the metal mailbox itself.
The Sub-$30 Bill of Materials
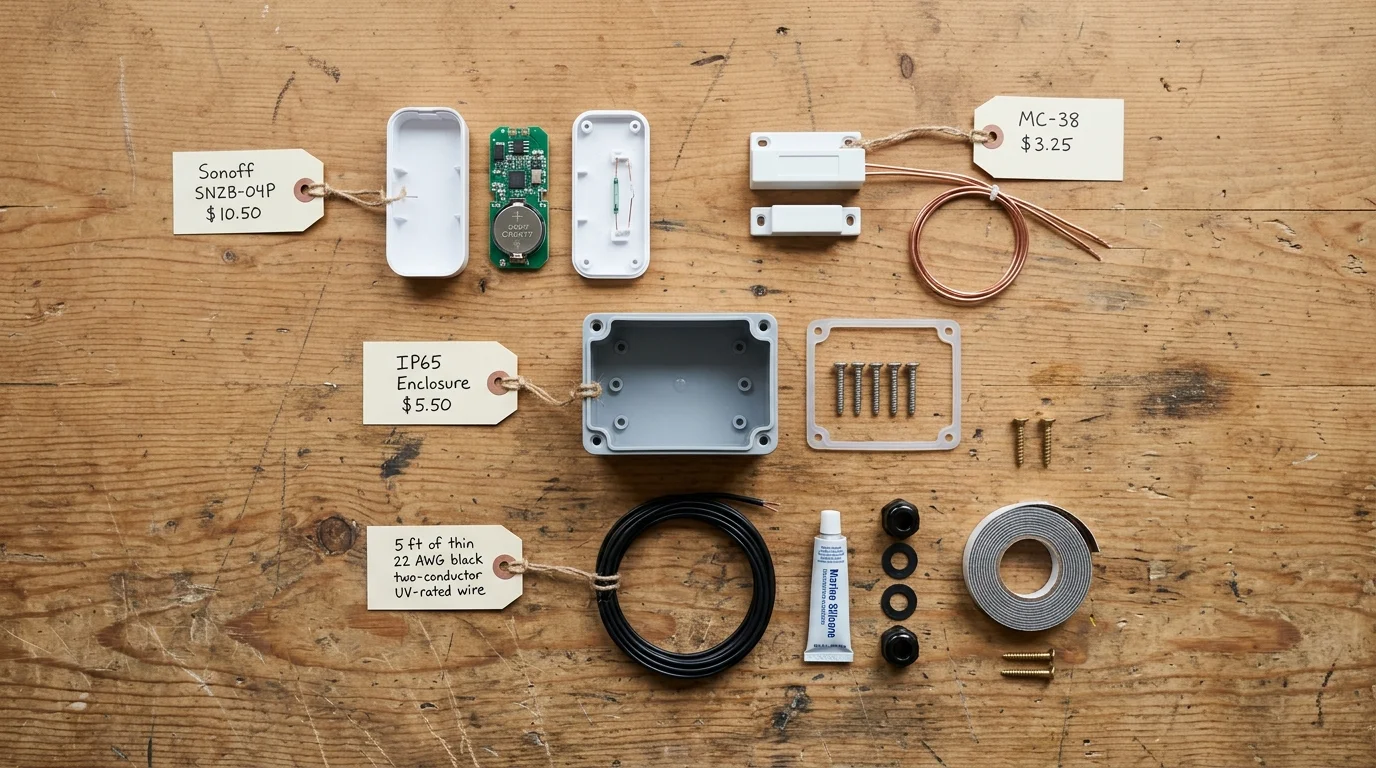
You can assemble this long-range alert system using commercially available components without specialized tools. Every item on this list can be ordered online for standard retail pricing.
The core configuration relies on an inexpensive Zigbee door sensor paired with an external magnetic switch. This separation protects the electronics from moisture while maintaining clear radio transmission.
- Zigbee 3.0 Contact Sensor: Sonoff SNZB-04P or Third Reality Contact Sensor ($10.50).
- Auxiliary Reed Switch: MC-38 surface-mount wired magnetic switch set ($3.25).
- Weatherproof Enclosure: IP65 ABS plastic electrical project box measuring 100x68x50mm ($5.50).
- Connecting Wire: 5 feet of 22 AWG two-conductor UV-resistant outdoor cable ($2.00).
- Mounting Hardware: Heavy-duty outdoor mounting tape and silicone sealant ($4.50).
- Power Source: Panasonic CR2450 3V lithium coin cell ($1.75).
The total hardware expenditure equals $27.50, keeping your budget safely below the $30 threshold. You avoid proprietary subscription hardware and costly solar panels.
Make sure you select the updated Sonoff SNZB-04P rather than older sensor revisions. The updated model uses a larger CR2450 battery, which provides double the energy capacity of standard CR2032 cells.

Beating the Faraday Cage: Separating the Switch and Radio
Curbside postal boxes made of galvanized steel or cast aluminum form an accidental Faraday cage. When you shut the door, the metal enclosure completely surrounds your radio transmitter.
Enclosed steel structures cause signal attenuation between 20 dBm and 40 dBm. A drop of 30 dBm represents a thousandfold reduction in wireless signal power.
The best smart home automations run reliably in the background without demanding human intervention.
When an internal sensor loses signal, its firmware enters a continuous reconnect loop. The radio continuously transmits at maximum power, exhausting its coin cell in roughly three weeks.
You can solve this RF blockage by splitting the sensing mechanism from the transmitter. The magnetic sensor stays at the mailbox door, while the radio stays outside.
- Open the plastic housing of your Zigbee contact sensor to expose the printed circuit board.
- Locate the internal glass reed switch, which looks like a small glass cylinder with two wire leads.
- Solder your two-conductor 22 AWG copper wire directly across the two terminals of the internal reed switch.
- Route the wire through a small rubber gasket hole in the IP65 enclosure.
- Connect the opposite ends of the wire to the screw terminals of your external MC-38 magnetic reed switch.
This simple modification externalizes the contact sensor. The physical reed switch triggers inside the door, while the radio broadcasts outside the metal box.
Hardware Comparison: Contact Sensors vs. Vibration Sensors
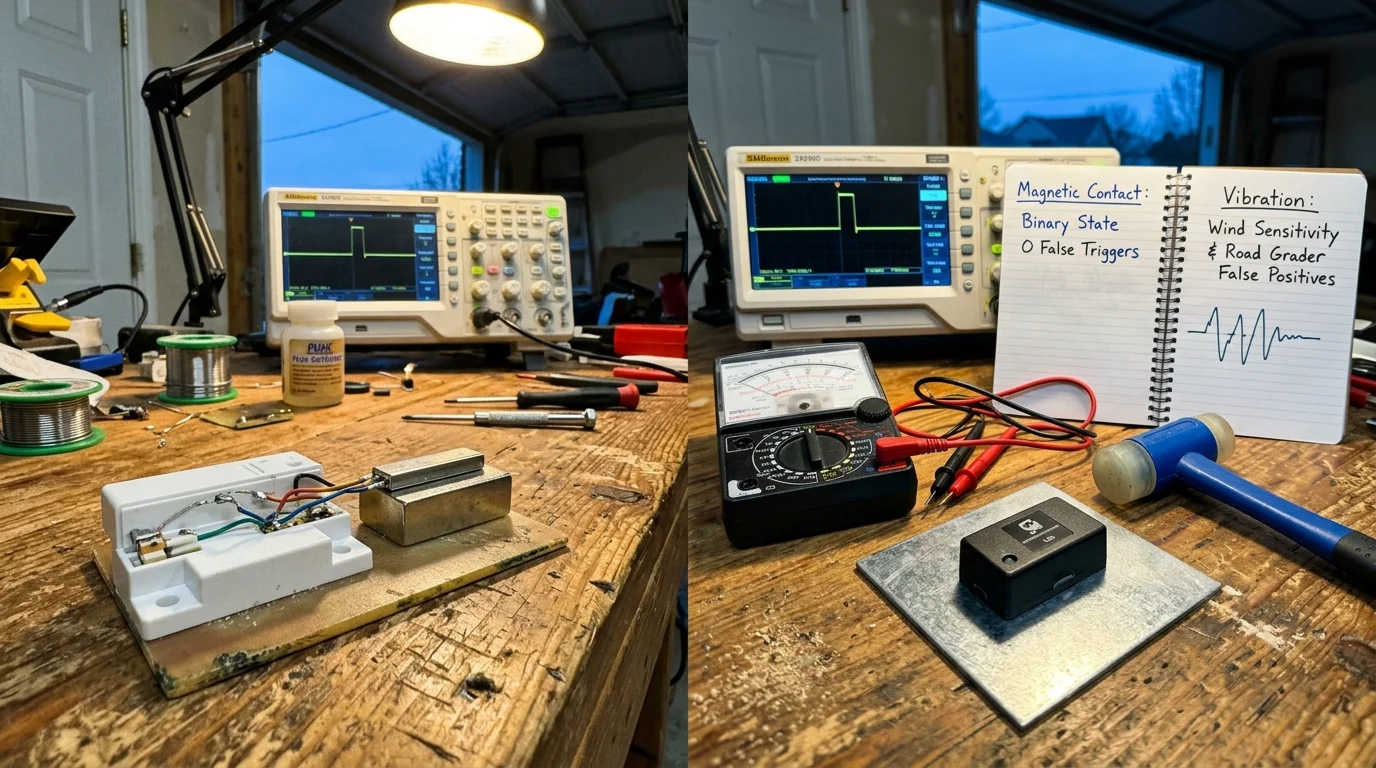
Homeowners often debate whether magnetic contact switches or vibration sensors work better for mail detection. Each approach handles mechanical motion and environmental conditions differently.
A smart mailbox alert long range design must balance trigger sensitivity against false alarm rejection. Road vibration and heavy wind can confuse inferior sensor arrangements.
| Device Model | Sensor Mechanism | Standby Current | Operating Temperature | Unit Price |
|---|---|---|---|---|
| Sonoff SNZB-04P | Modified Magnetic Reed | 2.4 µA | -10°C to 55°C | $10.50 |
| Aqara T1 Vibration | Internal Accelerometer | 5.0 µA | -10°C to 50°C | $19.99 |
| Third Reality 3RCS01031Z | External Reed Terminals | 3.1 µA | -10°C to 50°C | $11.99 |
| Tuya TS0203 Contact | Internal Glass Reed | 4.2 µA | -20°C to 60°C | $8.75 |
Vibration sensors detect when parcels drop onto the metal floor. However, passing heavy farm equipment and strong wind gusts often trigger the accelerometer unexpectedly.
A modified contact sensor provides definitive binary states. The system triggers only when the carrier opens the physical door, eliminating nuisance smartphone notifications.
The Third Reality sensor features accessible internal terminal solder pads. That layout makes it an outstanding alternative if you prefer avoiding intricate circuit board soldering.

Calculating Battery Longevity and Sleep-Cycle Power Draw
Power management determines whether your outdoor automation succeeds or fails. Replacing batteries at the end of a long gravel driveway during winter creates unwanted maintenance chores.
To calculate exact battery lifespan, evaluate the device across its two functional operating modes. These modes are passive deep-sleep monitoring and active Zigbee radio transmission.
Consider a standard Panasonic CR2450 coin cell with a nominal rating of 600 milliamp-hours (mAh). Sub-freezing temperatures degrade nominal lithium capacity by approximately 25 percent.
This thermal drop leaves roughly 450 mAh of usable capacity during harsh winter conditions. Now examine the daily electrical draw from real-world usage.
- Deep Sleep State: Draws 2.4 microamps (0.0024 mA) continuously while monitoring the reed switch.
- Daily Sleep Consumption: 0.0024 mA × 23.9998 hours = 0.0576 mAh per day.
- Active Radio State: Draws 14.5 mA during data transmission bursts.
- Transmission Burst Duration: 110 milliseconds (0.11 seconds) per door movement.
- Daily Delivery Cycle: 2 events per delivery (open and close) equals 0.22 seconds of active transmission.
- Network Heartbeat: One check-in every 4 hours (6 bursts daily at 50 ms) equals 0.30 seconds.
- Total Active Runtime: 0.52 seconds daily (0.000144 hours).
- Daily Active Consumption: 14.5 mA × 0.000144 hours = 0.00209 mAh per day.
Adding sleep draw (0.0576 mAh) and active draw (0.00209 mAh) yields a total daily drain of 0.0597 mAh. Dividing your 450 mAh capacity by 0.0597 mAh reveals 7,537 days of operation.
Battery chemistry limits shelf life to roughly 1 to 2 percent annual self-discharge. Even with self-discharge, your sensor will operate reliably for three to four consecutive years.
Trapping that same sensor inside a metal mailbox triggers repeated transmission retries. The sensor stays awake for 500 milliseconds per retry, draining the cell in under a month.
Step-by-Step Installation Under USPS Regulations
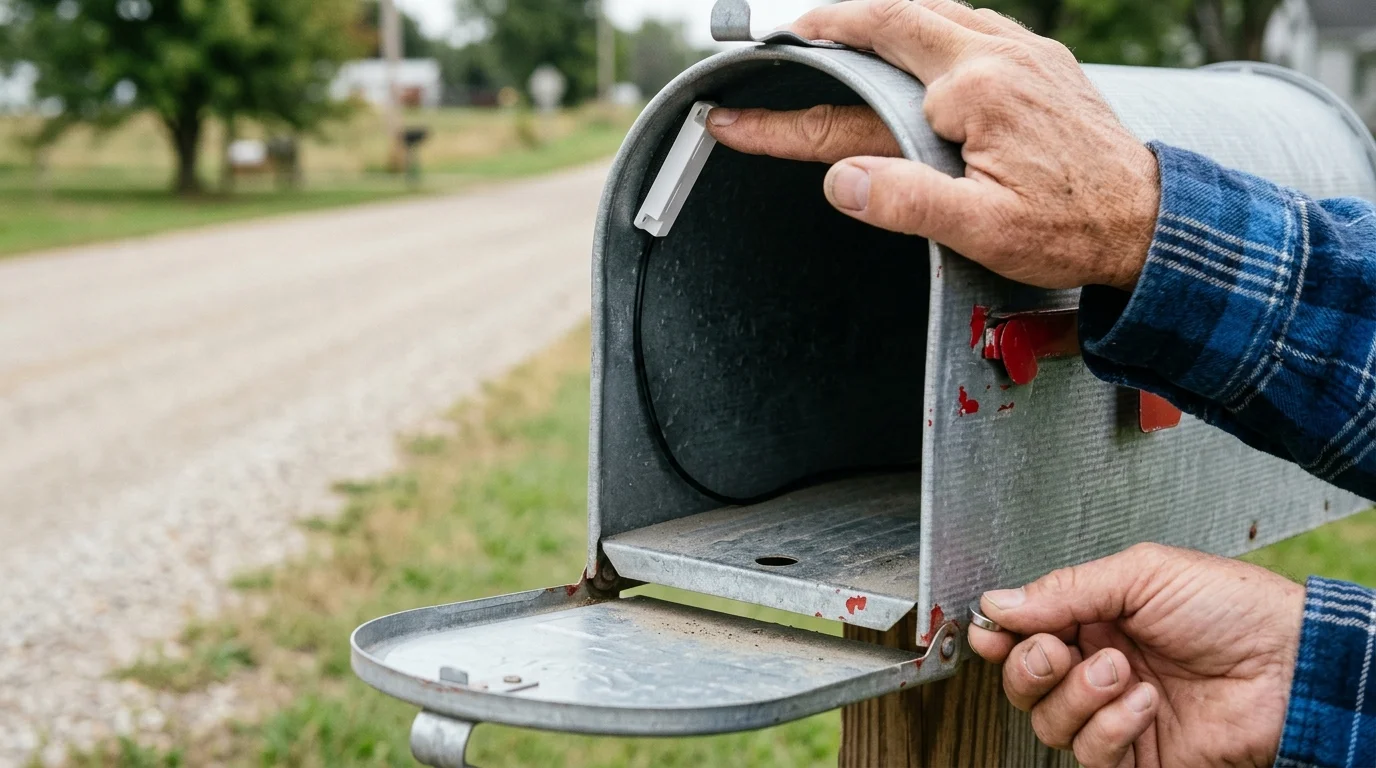
Installing electronics on curbside mailboxes requires following postal rules. The United States Postal Service establishes clear boundaries in standard USPS-STD-7C § 3.1.3.
Accessories must not interfere with incoming mail, pose safety hazards to mail carriers, or reduce interior capacity. The carrier must never be required to reset any smart switch manually.
- Clean the exterior underside of your mailbox mounting board using isopropyl alcohol to ensure strong adhesive bonding.
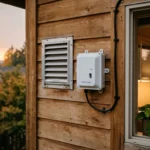
- Mount your IP65 weatherproof project box beneath the wooden support shelf using galvanized exterior wood screws.
- Route your 22 AWG wire through an existing bottom drain hole or wrap it neatly along the lower exterior seam.
- Seal the wire entrance with exterior-grade neutral-cure silicone to prevent insect entry and rain accumulation.
- Attach the wired MC-38 reed switch to the interior side lip using exterior foam mounting tape.
- Fix the accompanying magnet to the interior face of the mailbox door aligned with the switch.
- Test the door clearance to verify that large mail packages slide in freely without snagging on the sensor body.
Placing your radio enclosure under the wooden mounting board hides it from direct rain and direct sunlight. It also keeps your device compliant with postal regulations.
Ensure the spacing between the magnet and switch stays between 10 and 15 millimeters when closed. This spacing prevents false door-open triggers when high winds shake the latch.
Extending the Wireless Bridge Across 200 Feet
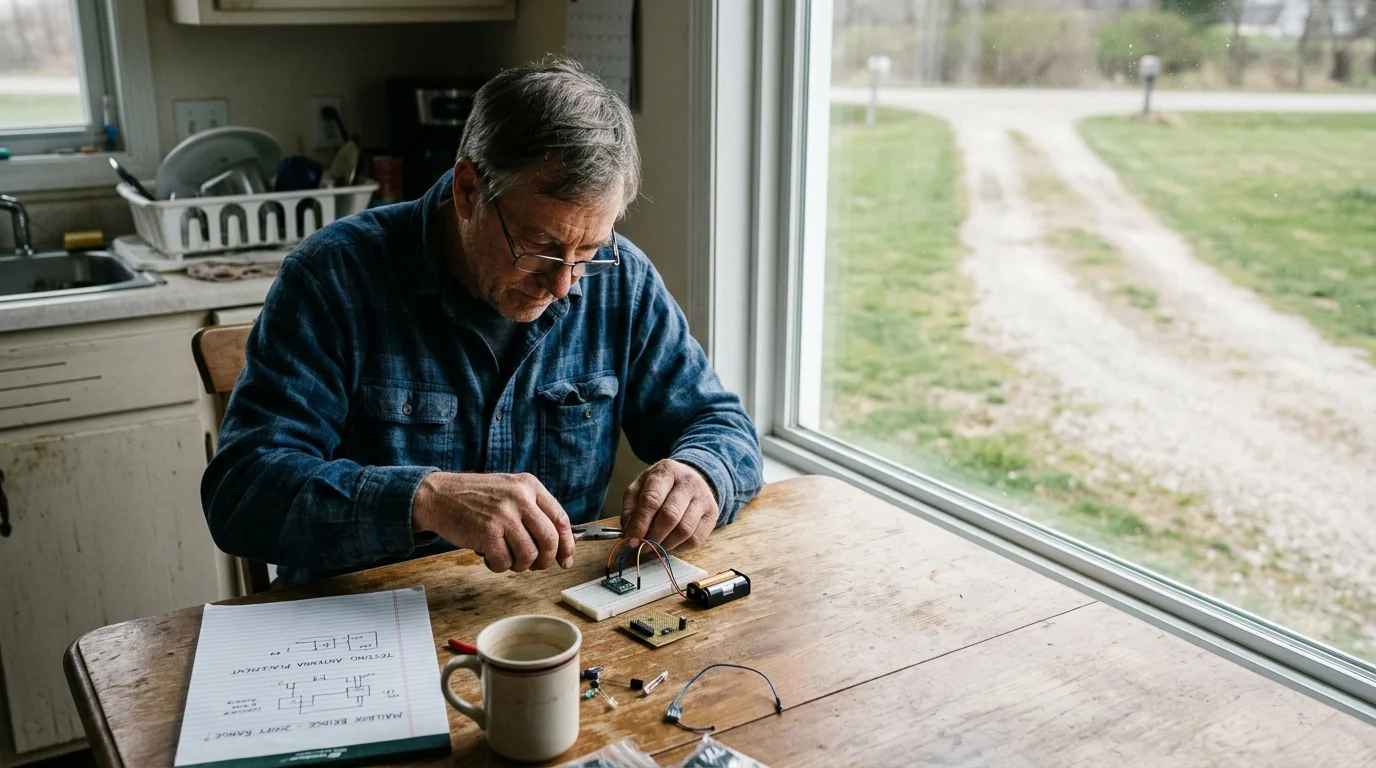
Transmitting 2.4 GHz signals over 200 feet of open driveway requires careful wireless planning. Low-power Zigbee endpoints cannot punch through multiple brick or stone house walls.
You can overcome distance limits using an intermediate Zigbee router device. Smart plugs and hardwired switches act as relay repeaters across a mesh network.
Smart home research from Wirecutter Smart Home confirms that line-of-sight placement improves outdoor wireless stability. Avoid routing your signals through dense masonry or metal garage doors.
Place a dedicated Zigbee repeater on an indoor window sill with direct line of sight to the roadside mailbox. A Sonoff S31 Lite Zigbee smart plug or Aeotec Range Extender works reliably here.
- Position the repeater inside a window directly facing down your gravel driveway.
- Verify open-air line of sight between the window repeater and the outdoor project box.
- Avoid placing the indoor repeater behind metallic window screens or solar-reflective films.
- Confirm your Zigbee network operates on channels 15, 20, or 25 to minimize standard Wi-Fi interference.
In open air, Zigbee 3.0 radios comfortably achieve transmission distances of 300 feet. Establishing an unobstructed line-of-sight bridge allows the sensor to communicate easily across your 200-foot driveway.
Pair the modified sensor beside your hub before mounting it outdoors. This sequencing guarantees proper network discovery before you secure components at the curbside.
Building the Rural Mail Delivery Smart Routine
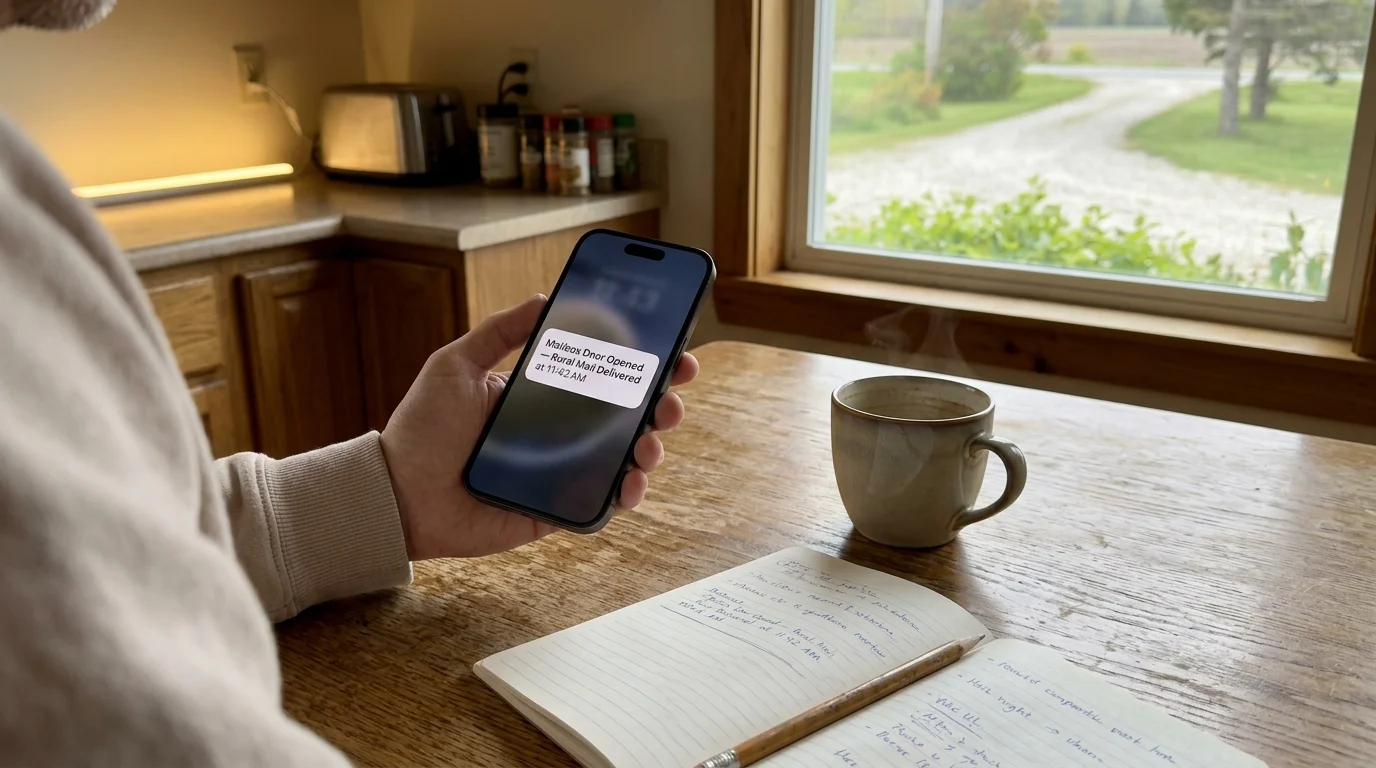
After linking your zigbee sensor metal mailbox build to your smart hub, you can construct an automated delivery workflow. A rural mail delivery smart routine simplifies daily tracking.
You can orchestrate these routines in Home Assistant, Amazon Alexa, or Apple Home via Matter bridges. The automation alerts family members and prevents duplicate driveway check runs.
Configure a dedicated state condition that runs exclusively during customary postal carrier hours. This logic prevents unwanted chimes when you open the box after work.
- Trigger: Mailbox Door Contact changes from
ClosedtoOpen. - Time Condition: Time is between 10:00 AM and 5:00 PM on Monday through Saturday.
- Deduplication Guard: Automation has not triggered within the preceding 60 minutes.
- Action 1: Announce on indoor smart speakers: “The mail has just arrived.”
- Action 2: Send a priority notification to family phones: “Curbside mail delivered at {time}.”
- Action 3: Set smart hallway lights to pulse soft amber for 15 seconds.
- State Helper: Flip an input boolean variable named
mail_deliveredtoTrue.
This conditional logic handles common edge cases smoothly. When the carrier slides open the door, the sequence triggers immediate alerts across your living spaces.
You can create a complementary routine for retrieving the mail. Opening the door between 5:00 PM and 9:00 PM toggles the boolean back to False.
This reset step clears alerts across all dashboard screens automatically. Family members can glance at your interface and immediately see if the box is empty.
Troubleshooting Signal Drops and False Alerts
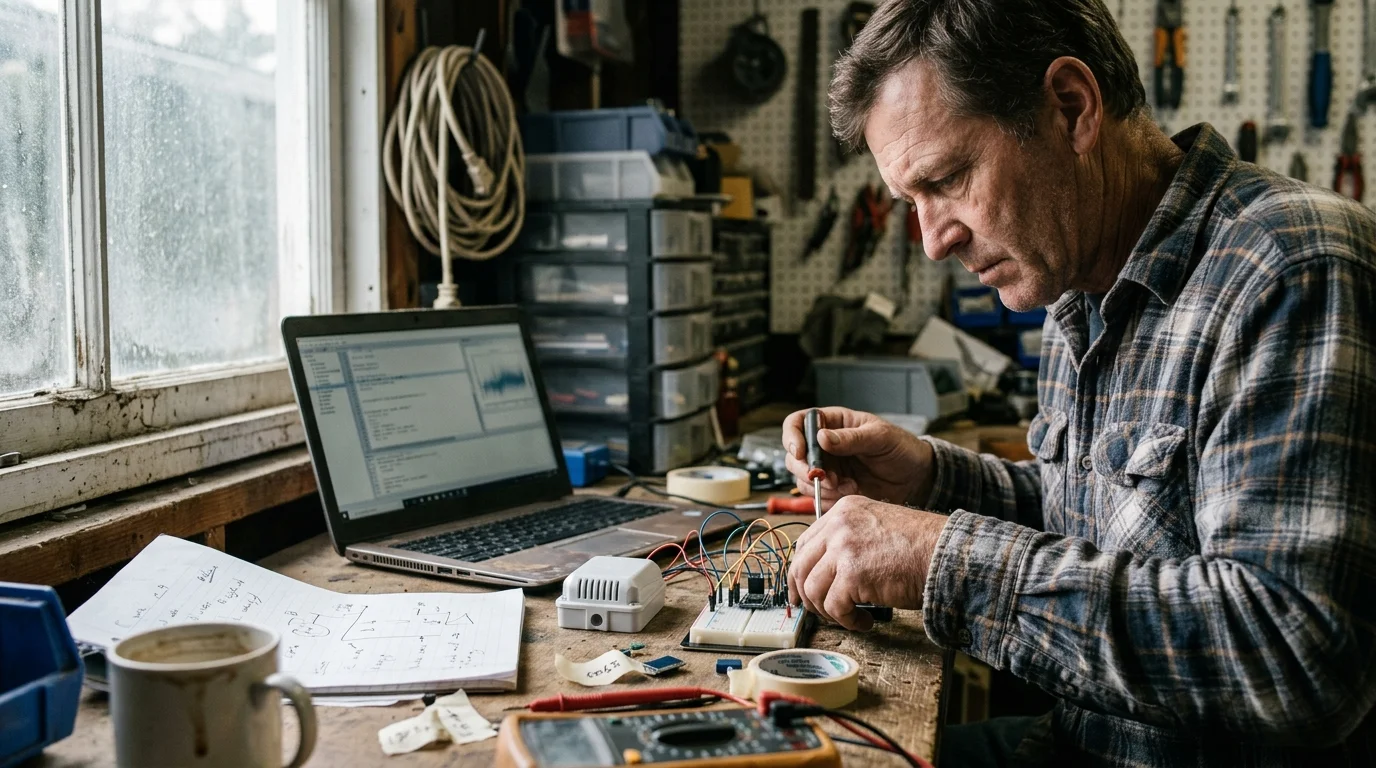
Even properly planned outdoor systems experience minor hiccups during seasonal shifts. Diagnosing performance problems takes simple adjustments to mechanical gaps and network settings.
Gravel driveways change throughout the year. Freezing temperatures, heavy rain, and seasonal foliage can introduce subtle interference that requires fine-tuning.
- False Deliveries on Windy Days: Increase the spacing gap between the magnet and switch by 2 to 3 millimeters, or use a wider-gap industrial magnetic switch.
- Sudden Offline Warnings: Replace old zinc batteries with industrial-grade lithium coin cells rated for temperatures down to -20°C.
- Intermittent Signal Drops: Move your indoor Zigbee router plug to an upper-story window facing the street for better vertical line-of-sight clearance.
- Delayed Alert Notifications: Adjust the debouncing time within your home hub to 500 milliseconds to reject fast mechanical bounce.
- Heavy Rainfall Interference: Thick raindrops on vegetation absorb 2.4 GHz radio energy; elevate your project box 12 inches higher on the post.
Pay close attention to moisture management inside the outdoor project housing. Drill a 2-millimeter weep hole in the lowest point of the enclosure to prevent trapped condensation.
Check the project box seals before each winter season begins. Applying dielectric grease around the rubber gaskets seals out moisture and keeps your components dry.
Frequently Asked Questions
Will high-temperature summer weather damage an outdoor Zigbee sensor?
Direct summer sun can warm metal boxes above 120°F. Mount your project box beneath the wooden support post to shade the enclosure and extend component life.
Can postal carriers tell that a smart sensor is installed?
No, because the small reed switch stays tucked along the interior door seam. The electronics remain hidden underneath the post and comply fully with USPS-STD-7C regulations.
Why pick Zigbee over LoRaWAN for a rural smart mailbox alert?
LoRaWAN offers greater wireless distance, but the gateways cost over $80. A Zigbee build keeps your setup under $30 while covering driveways up to 250 feet.
Does a magnetic reed switch create a fire risk inside a mailbox?
No risk exists because the sensor operates on a 3V coin cell with microamp currents. The circuit generates negligible electrical energy and cannot create sparks.
Can I pair this mailbox sensor with an outdoor security camera?
Yes, your smart hub can use the mailbox door trigger to reposition an outdoor pan-tilt-zoom camera toward the driveway and begin recording instantly.
Disclaimer: This article is for informational purposes only. Smart home devices involve electrical connections and data privacy. Always follow manufacturer instructions for installation. For complex wiring or HVAC work, consult a licensed professional.


1 Comment