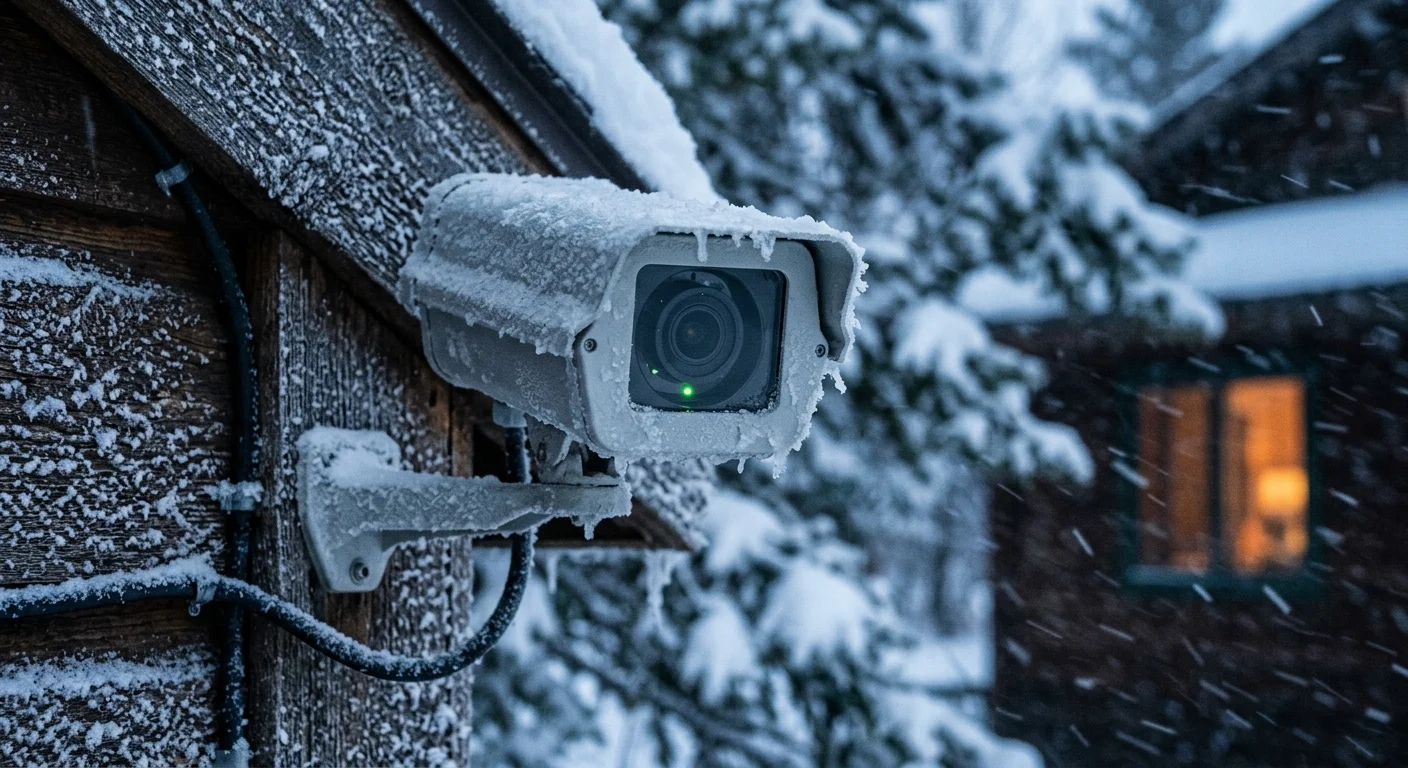
When winter temperatures plunge past -25°F across northern Minnesota and Canada, standard battery-powered security cameras fail completely within hours. Typical advice tells you to bring devices indoors or rely on solar trickle charging, but sub-zero physics makes those fixes useless.
Trickle charging below freezing permanently ruins standard lithium-ion cells through internal lithium plating. Continuous surveillance in extreme cold requires thermostatic positive temperature coefficient (PTC) heating strips, insulated NEMA enclosures, and intelligent cold-weather battery management systems with low-temperature cutoffs.
This engineering guide details how to build and configure a ruggedized enclosure that keeps your outdoor surveillance running during multi-day sub-zero blizzards.
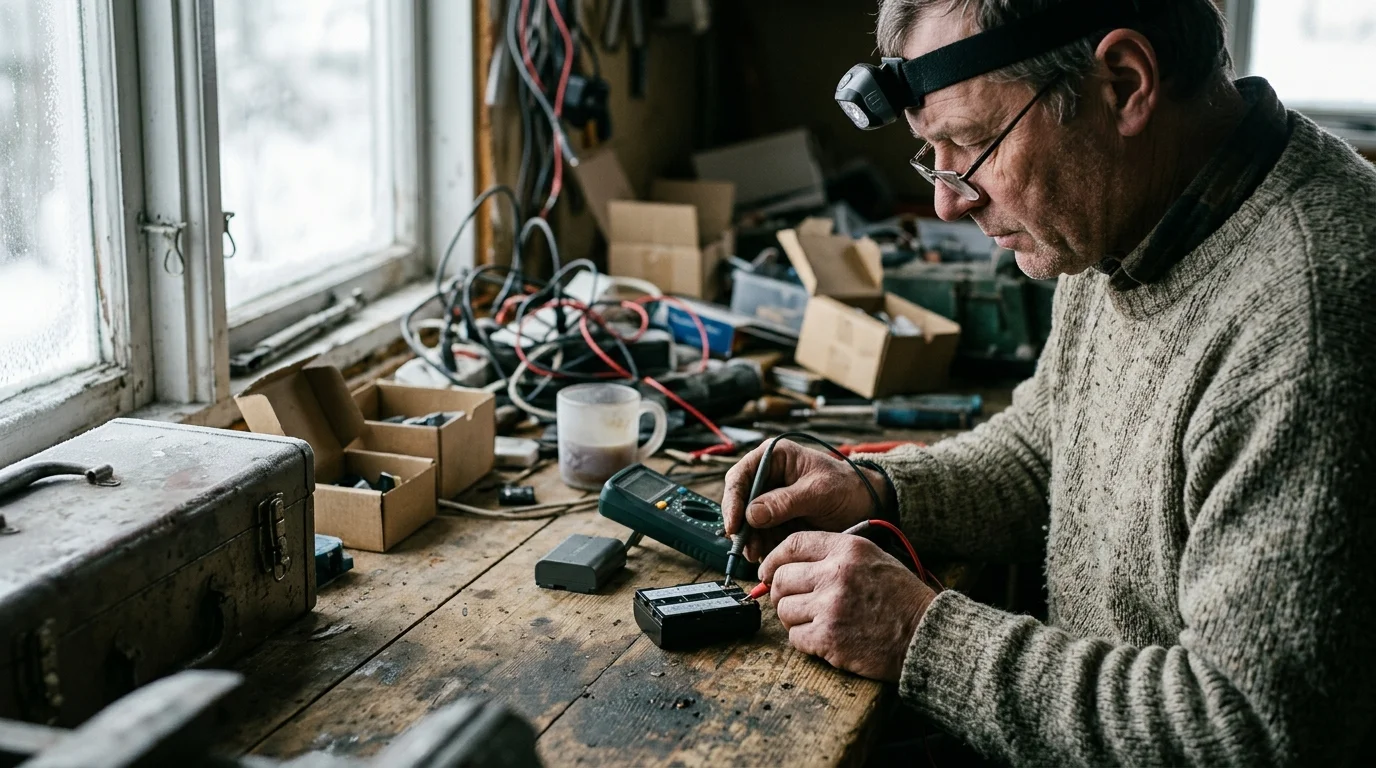
The Physics of Battery Failure: Why -25°F Destroys Lithium Cells
Sub-zero temperatures cripple liquid electrolytes within standard lithium-ion camera batteries. As ambient temperatures drop below -20°F, electrolyte viscosity surges, drastically slowing lithium ion transfer between the cathode and anode.
Because extreme winter cold snaps frequently coincide with electrical grid failures, review our smart home power outage survival guide to ensure your critical surveillance infrastructure stays energized.
This sudden drop in ion mobility causes massive internal electrical resistance. The battery experiences severe voltage sag under normal processor load, dropping its operational output below the camera low-voltage cutoff threshold.
Your camera shuts down instantly; it interprets this voltage plunge as a dead cell, even if the battery holds an 80% state of charge. When you operate an outdoor security camera sub zero, physical chemical reactions freeze long before electronic logic boards fail.
Worse damage occurs when external solar panels attempt to charge frozen cells. Forcing current into a lithium-ion battery below 32°F causes metallic lithium to deposit onto the graphite anode instead of intercalating safely.
This irreversible phenomenon, known as lithium plating, permanently degrades total battery storage capacity. It also forms dangerous microscopic dendrites that can pierce internal separator sheets, producing a catastrophic short circuit once the pack warms up.
- Electrolyte Viscosity Surge: Sluggish ion movement causes sudden operational voltage drop.
- False Depletion Reading: Camera microcontrollers misread resistance-induced voltage drops as complete battery drain.
- Anode Lithium Plating: Sub-freezing charging causes metallic dendrite buildup on battery anodes.
- Permanent Capacity Loss: Single-winter exposure to unheated sub-zero charging cycles destroys up to 40% of cell capacity.
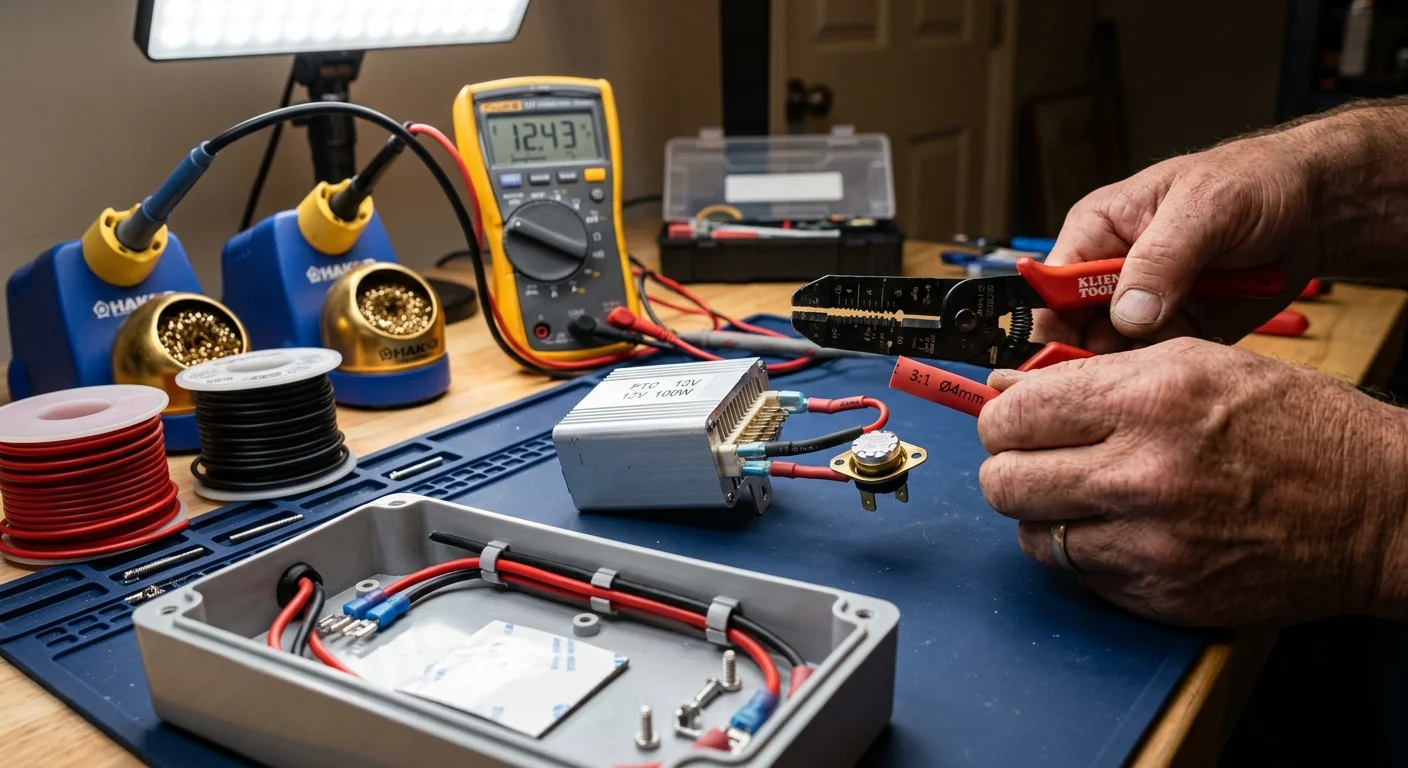
Engineering an Internal PTC Heating Strip Assembly
Maintaining battery function without melting plastic camera housings requires self-regulating thermal control. Positive Temperature Coefficient (PTC) ceramic heating elements solve this problem through inherent electrical resistance physics.
To prevent internal reflection and glare behind sealed enclosure glass, consider turning off integrated camera LEDs and mounting standalone infrared illuminators nearby.
As ceramic PTC stones heat up, their internal electrical resistance spikes exponentially. When ambient temperatures rise toward their engineered setpoint, the heating elements choke off their own current draw without requiring a separate microcontroller.
For outdoor cameras, pair a low-voltage 12V DC silicone heating pad with an inline mechanical bimetal thermostat switch. This switch provides primary on-off control, while the PTC material prevents dangerous runaway overheating inside an enclosed space.
Select heating elements rated between 5W and 15W for compact camera enclosures. A 10W pad draws approximately 0.83 amps on a 12V rail, generating sufficient thermal energy to counter -30°F blizzard conditions without straining your off-grid battery banks.
Affix the flexible heating strip directly to an internal aluminum heat-spreader bracket rather than the camera plastic chassis. Distribute the radiant warmth evenly around the battery compartment to avoid heat-soaking the optical lens array or optical image sensors.
- Operating Voltage: Regulated 12V DC power feed from a dedicated outdoor power supply.
- Power Density: 5W to 10W continuous rating for standard mini-dome or bullet housings.
- Thermal Switch Setpoints: KSD301 snap-action thermostat set to close at 14°F (-10°C) and open at 35°F (+2°C).
- Mounting Medium: Thermal conductive adhesive tape rated to withstand continuous 150°F surface heat.
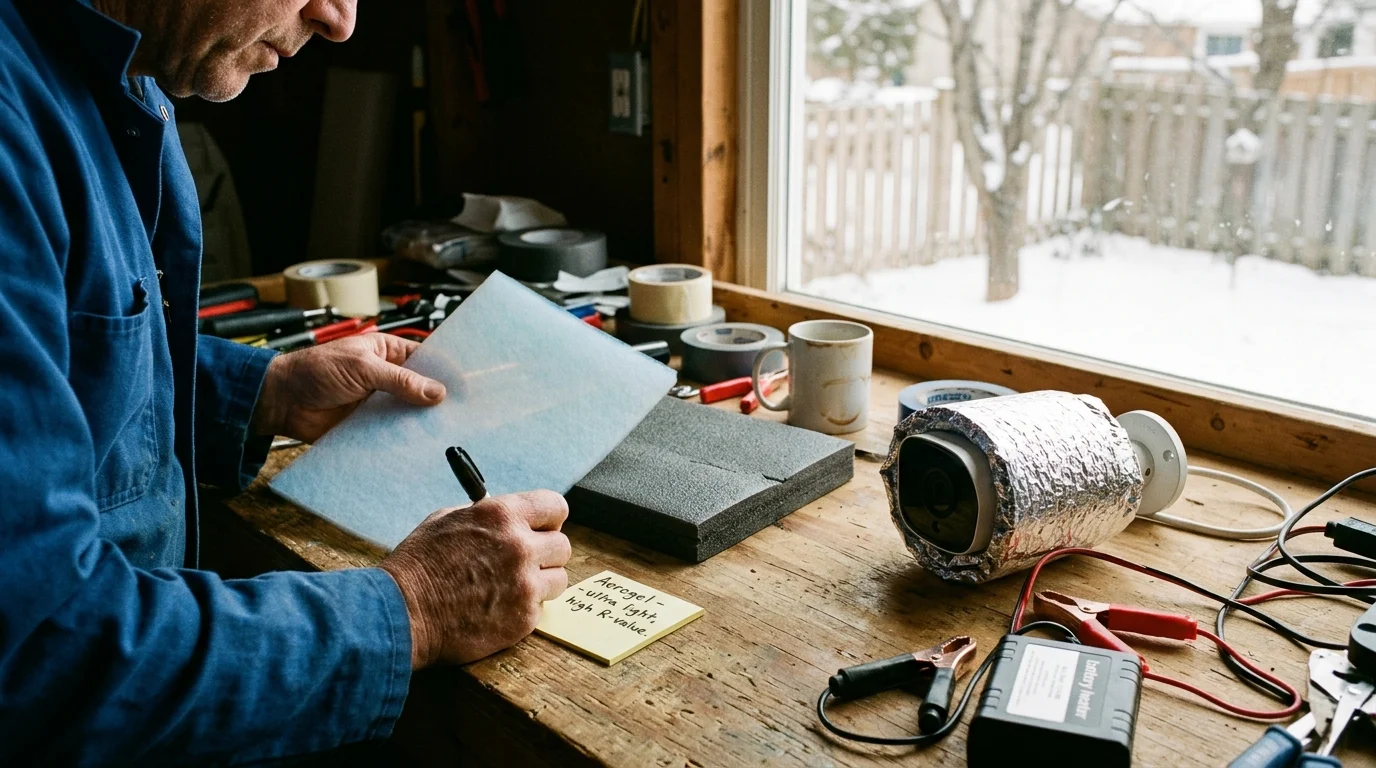
Thermal Insulation Wrap Specs: Aerogel vs. Closed-Cell Foam
A heated security camera enclosure requires high-efficiency thermal insulation to retain heat in high-wind conditions. Space inside compact surveillance enclosures is tight, making standard fiberglass batting useless.
Once your optics stay clear of condensation, calibrate polygonal masking and edge AI confidence tuning to prevent swirling blizzard snow from triggering nonstop false alerts.
Silica aerogel blanket insulation offers the highest thermal resistance per millimeter of thickness available. Products like Pyrogel provide an exceptional thermal conductivity rating of approximately 0.015 W/m-K, delivering roughly R-10 performance per inch.
A 5mm aerogel layer lines the internal walls of a small enclosure without crowding camera mounting brackets. Aerogel repels liquid water while stopping conductive losses through the plastic or aluminum outer walls.
Closed-cell cross-linked polyethylene (XLPE) or ethylene propylene diene monomer (EPDM) foam serves as an economical secondary alternative. EPDM foam provides thermal conductivity ratings near 0.036 W/m-K, requiring 10mm to 12mm thickness to match a 5mm aerogel blanket.
Moisture control inside insulated boxes is critical. Rapid thermal swings cause condensation that fogs camera lenses and corrodes logic boards.
Place a reusable 50g color-indicating desiccant canister inside the enclosure before sealing the gasketed faceplate. Replace or regenerate the desiccant beads whenever the indicator shifts from orange to dark green.
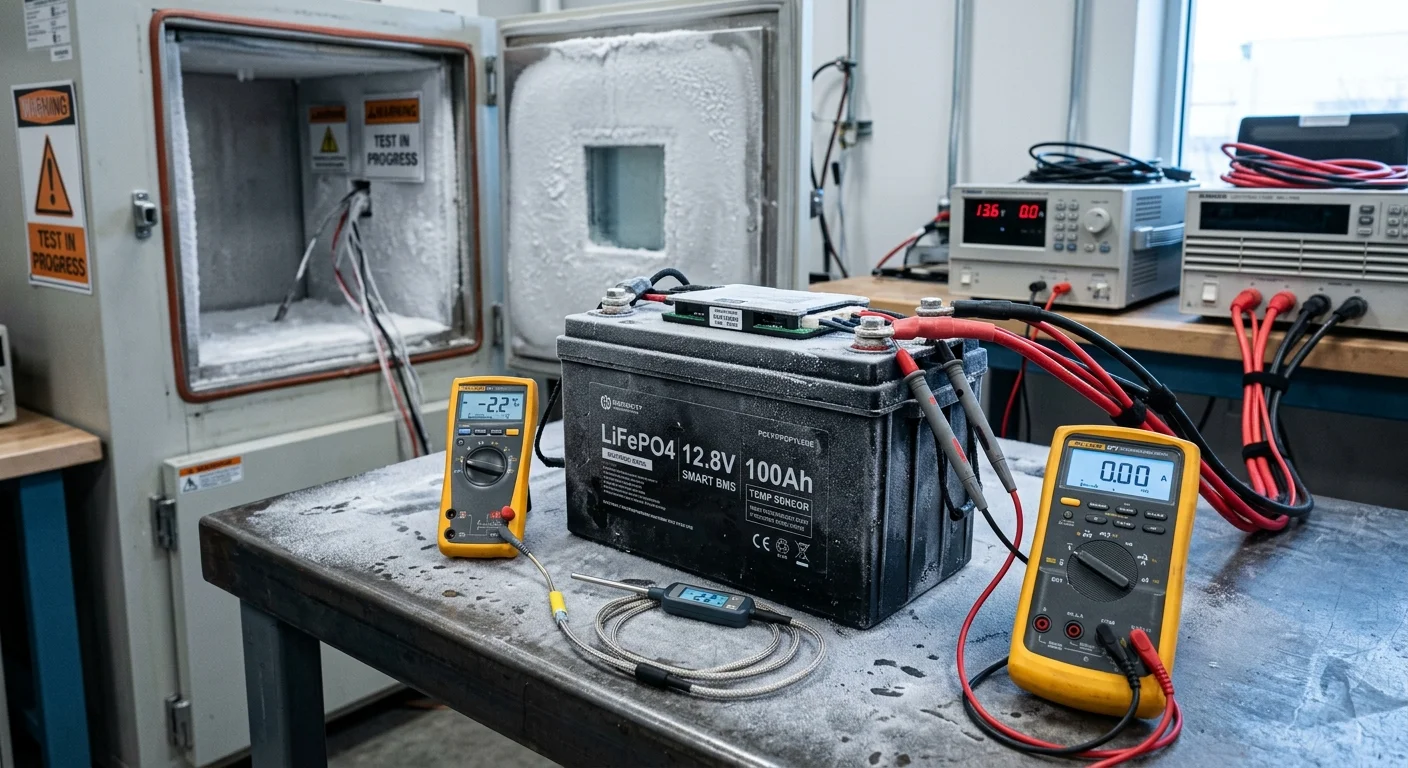
LiFePO4 Cold-Charging Cutoff Limits and BMS Protections
Lithium Iron Phosphate (LiFePO4) chemistry offers superior thermal stability and lifespan compared to standard lithium polymer chemistries. However, operating a cold weather battery camera winter installation using LiFePO4 cells introduces strict thermal operating boundaries.
For centralized management, you can learn how to integrate security cameras with your smart home ecosystem to trigger automated push notifications if battery temperatures hit emergency thresholds.
LiFePO4 cells safely discharge energy across sub-zero conditions down to -4°F (-20°C), though capacity drops roughly 25% at these limits. But charging an unprotected LiFePO4 pack below 32°F (0°C) destroys the internal cell structure almost immediately.
To safely deploy external battery packs in deep-freeze climates, choose a smart Battery Management System (BMS) with built-in low-temperature charge cutoff. The BMS must poll calibrated thermistor probes embedded directly between the central battery cells.
High-end smart BMS units halt solar or mains charging currents the second internal cell temperatures hit 33°F (0.5°C). The BMS continues permitting downstream discharge, keeping your camera powered while protecting the core chemistry.
Advanced systems redirect incoming solar array current into internal heating elements first. Once the heating pads raise internal cell temperatures above 41°F (5°C), the BMS switches current back into battery charging.
The most reliable cold-weather surveillance system is not the one with the biggest battery, but the one with the smartest thermal circuit.
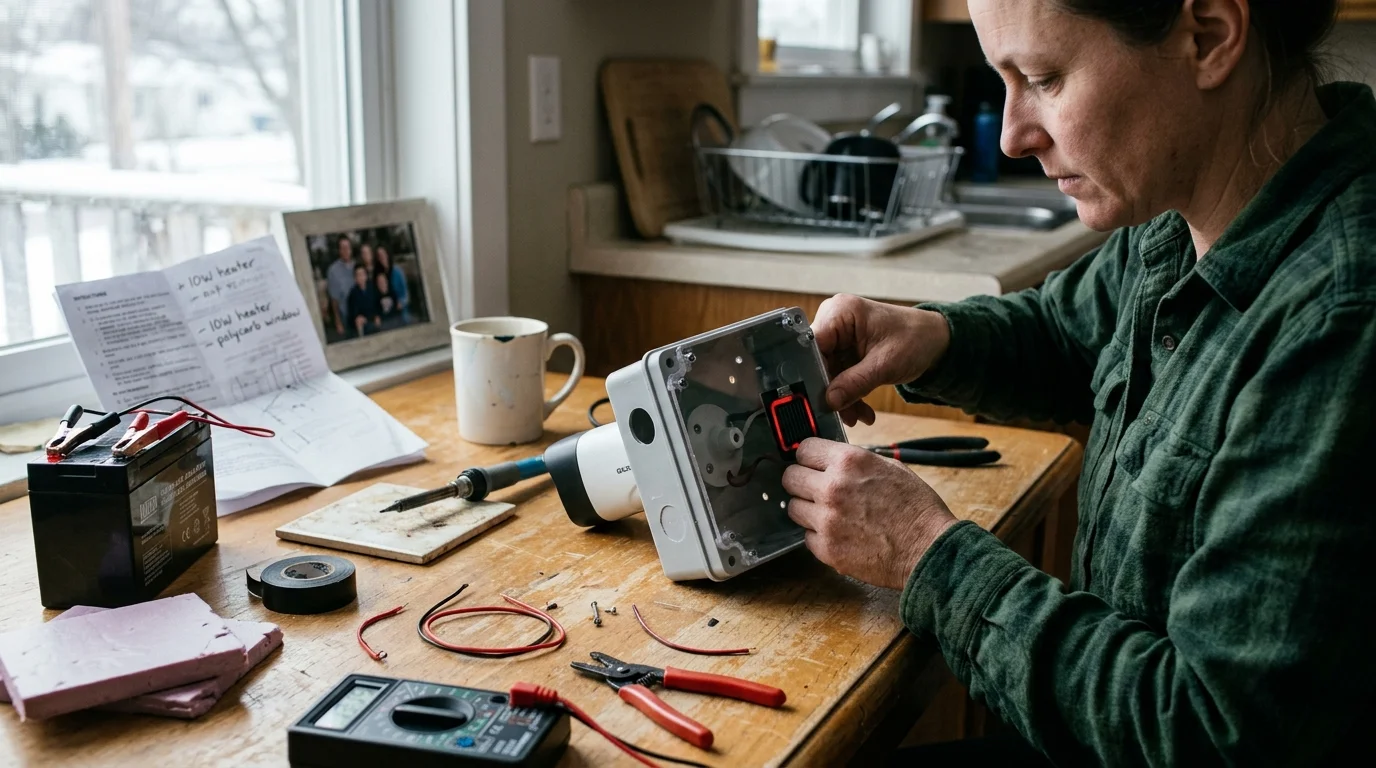
Worked Example: Building a 12V Heated Enclosure for Under $115
This worked engineering scenario builds a ruggedized, heated enclosure designed for deep-freeze locations like northern Minnesota or Manitoba. This build supports continuous operation down to -40°F while housing a standard consumer camera.
If your surveillance setup is stationed far from your main home network, check out our guide on bridging PoE security camera networks to detached outbuildings for long-range data and power delivery.
All pricing reflects current off-the-shelf retail hardware. Assembly takes approximately 75 minutes using standard hand tools and basic electrical equipment.
- Enclosure: Polycase ML-34F NEMA 4X / IP66 Polycarbonate Box ($36.50, 7.5 x 5.3 x 2.8 inches).
- Heating Element: 12V 10W Flexible Silicone PTC Heating Pad, 50x100mm ($11.00).
- Thermostatic Switch: KSD301 Bimetal Snap Switch, Normally Closed below 32°F ($4.25).
- Thermal Barrier: 5mm Pyrogel Silica Aerogel Blanket Offcut, 1 sq ft ($18.00).
- Power Converter: DROK 12V to 5V 3A DC-DC Buck Converter with Micro-USB / USB-C ($9.50).
- Desiccant: 40g Dry & Dry Aluminum Canister Silica Gel ($6.75).
- Power Supply: 12V DC 3A IP67 Outdoor Wall Adapter ($19.00).
- Cabling & Hardware: IP68 Cable Glands and Aluminum Heat Sink Plate ($9.00).
- Total Component Cost: $114.00.
First, drill a 16mm hole into the bottom wall of the Polycase NEMA enclosure. Install an IP68 nylon cable gland to pass the 12V line into the chassis without compromising weatherproofing.
Cut the 5mm aerogel blanket into precise panels using a utility knife. Adhere the panels to the interior back, top, and side surfaces using high-temperature silicone adhesive.
Mount the 10W silicone heating pad directly against a 3×5-inch scrap aluminum sheet (0.063-inch thickness). Wire the heating pad in series with the KSD301 bimetal thermostat directly across the incoming 12V power rails.
Wire the 12V to 5V DC-DC buck converter in parallel with the heating circuit. Connect the 5V USB output to your camera’s USB power input port.
In this system, when ambient temperatures inside the case drop to 14°F, the KSD301 thermostat closes. The 10W pad draws 0.83A, delivering warmth through the aluminum plate until the chamber reaches 35°F, when the thermostat cuts power.
This balanced circuit maintains positive internal operating temperatures during sustained -30°F outdoor cold snaps. It keeps the camera operating smoothly while drawing under 15W total system power under peak heating loads.
Comparing Heated Enclosures and Extreme-Cold Power Solutions
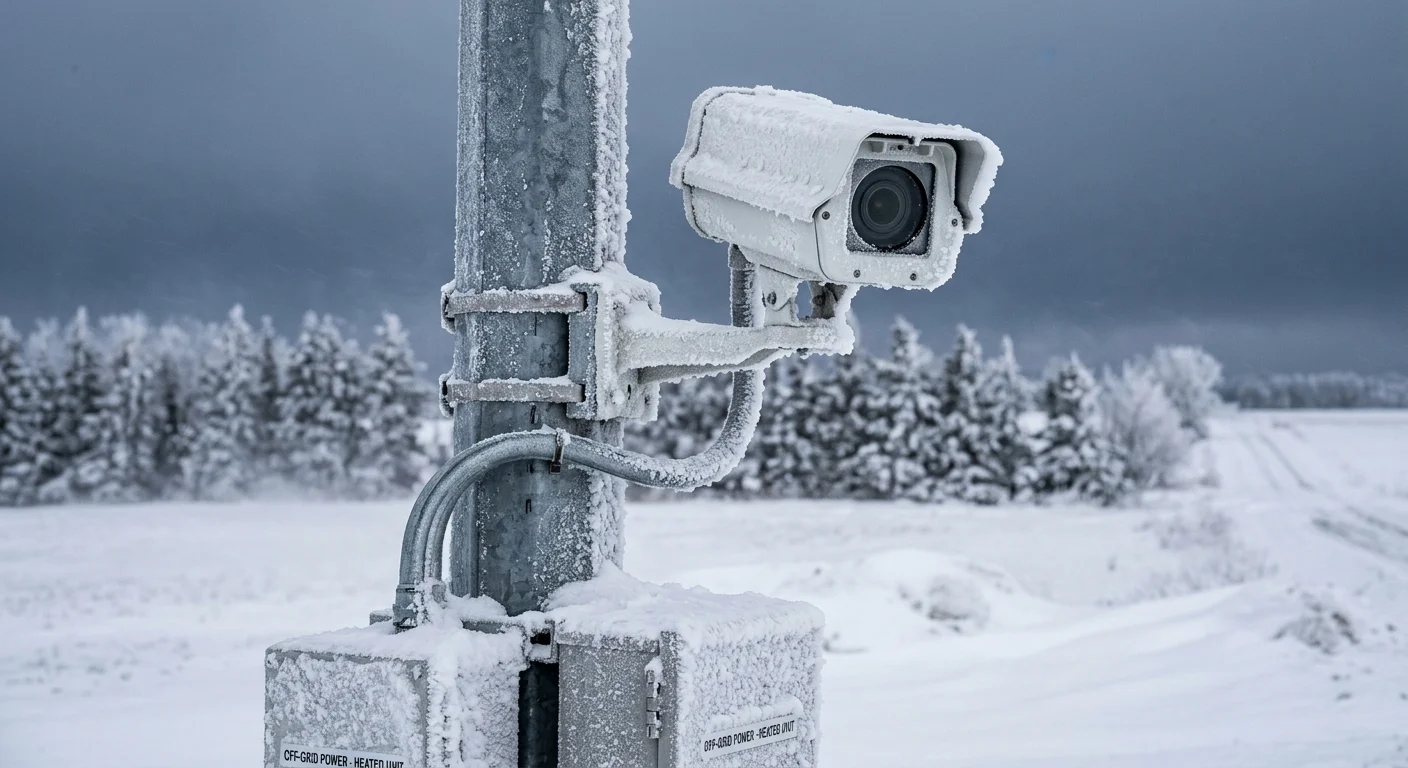
Selecting the right hardware depends on your power availability, installation budget, and winter temperature minimums. The comparison table below evaluates four realistic methods for maintaining camera uptime below -25°F.
| Solution Type | Minimum Operating Temp | Input Power Draw | Primary Defrost Mechanism | Hardware Cost Range |
|---|---|---|---|---|
| Custom Insulated NEMA PTC Enclosure | -45°F (-42.7°C) | 12V DC / 12W-16W | Direct Convective Thermal Shield | $110 – $150 |
| Commercial CCTV Enclosure (Videotec / Pelco) | -35°F (-37.2°C) | 24V AC / 20W-40W | Front Window Resistance Glass Heater | $250 – $550 |
| Self-Heating Smart LiFePO4 External Battery | -20°F (-28.8°C) | 12V DC Solar / Internal | Cell-Surrounding Electric Heat Blanket | $180 – $320 |
| Industrial Direct-PoE Cold Camera | -40°F (-40.0°C) | PoE+ 802.3at / 25W | Internal Logic + Lens Defroster Elements | $450 – $1,100 |
Commercial CCTV enclosures from manufacturers like Videotec use thick cast-aluminum shells and heated optical windows. According to smart home commercial hardware evaluations on PCMag Smart Home, commercial PoE platforms consistently provide superior uptime compared to retail consumer battery gear.
Consumer battery cameras retrofitted with heated battery blankets provide a temporary fix down to -20°F. Once blizzards plunge beyond -25°F with high wind chill, custom-insulated NEMA enclosures or industrial PoE cameras become mandatory.
Hardwiring vs. Power over Ethernet (PoE) in Deep Freezes
Relying on swappable consumer batteries in sustained sub-zero climates introduces continuous maintenance overhead. Stepping outside in a -30°F blizzard to replace a frozen battery pack is frustrating and hazardous.
Transitioning to continuous low-voltage hardwired power eliminates low-temperature chemistry challenges entirely. Running Power over Ethernet (PoE) provides both data and electric power over a single outdoor-rated network cable.
Standard IEEE 802.3af PoE delivers 15.4W at the switch port, which struggles to power both a camera and internal defrosters. Instead, deploy an 802.3at (PoE+) network switch capable of providing up to 30W per port.
This supplemental wattage easily powers an internal optical defroster strip alongside the camera image processor. In deep freezes, commercial security systems rely on the Power over Ethernet standard to guarantee 24/7 video delivery without battery-induced shutdowns.
When selecting Ethernet cable for sub-zero installations, standard PVC jackets become brittle and crack like dry twigs at -15°F. You must run direct-burial CMX-rated cable featuring UV-resistant high-density polyethylene (HDPE) jacketing.
HDPE jacketing retains bend flexibility down to -40°F without fracturing. Reviewers at Wirecutter Smart Home emphasize using properly rated outdoor cabling to prevent water intrusion and cold-weather jacket failure.
- PoE Standard: 802.3at PoE+ (minimum 25.5W delivery at camera terminus).
- Cable Jacketing: UV-stable Black Polyethylene (PE/HDPE) rated down to -40°F.
- Conductor Spec: 23 AWG Solid Bare Copper (avoid cheap Copper-Clad Aluminum / CCA).
- Voltage Step-Down: Industrial active PoE splitter (48V down to 12V DC or 5V DC).
Step-by-Step Field Installation and Cold-Weather Setup
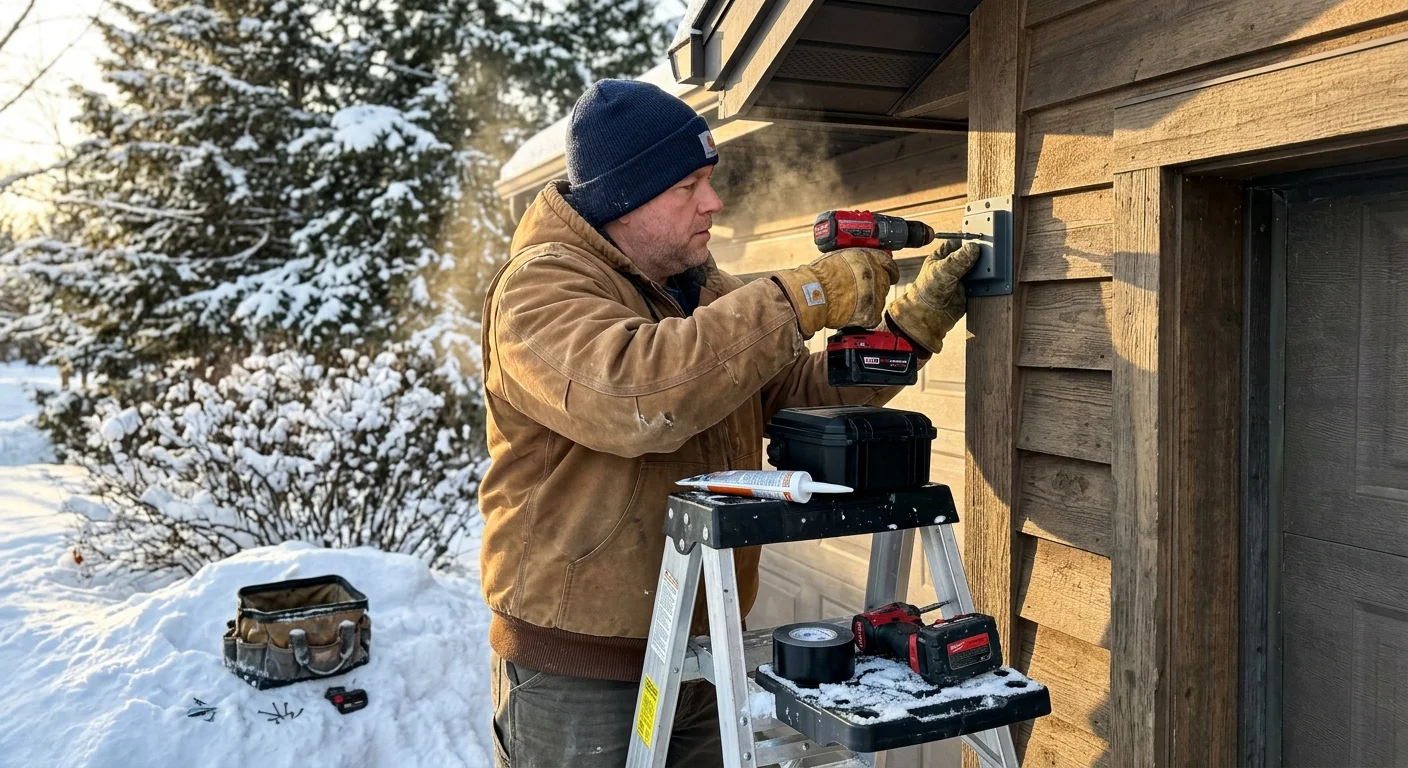
Preparing surveillance hardware for deep winter requires careful assembly before freezing weather hits. Follow this sequential field installation process to guarantee full cold-weather reliability.
- Bake and Dry the Camera Interior: Seal all enclosures indoors within a dry, low-humidity room. Sealing an enclosure outdoors during humid weather traps moisture that will freeze onto the internal lens surface during the first hard frost.
- Install Desiccant Below the Optical Path: Secure your silica canister beneath the camera lens using double-sided acrylic foam tape. Never mount desiccant directly above components, ensuring no powder settles on the image sensor.
- Apply Dielectric Grease to Connectors: Coat all DC barrel plugs, RJ45 ports, and terminal screws with non-conductive silicone dielectric grease. This barrier prevents frost melt from creating pin-to-pin shorts across delicate circuit boards.
- Form an Exaggerated Drip Loop: Shape a generous six-inch downward loop in the power or Ethernet cable directly beneath the housing entry gland. This loop forces melting ice and wind-driven freezing rain to drip harmlessly away from the rubber grommet seals.
- Configure Frame Rates and Compression: Adjust camera software settings to use constant bitrates (CBR) and disable continuous panning functions. Keeping mechanical servos parked preserves grease viscosity and reduces wear on small internal drive motors.
Frequently Asked Questions
Can I wrap my existing battery camera in hand warmers to keep it running?
No, hand warmers rely on chemical oxidation that exhausts oxygen within hours inside a sealed enclosure. They create uncontrolled, uneven heat spikes followed by rapid cooling, causing internal moisture condensation that ruins electronic components.
Why does my outdoor camera say the battery is dead when it was fully charged yesterday?
Sub-zero cold spikes internal battery resistance, causing severe voltage drops when the camera attempts to stream video or trigger night vision. The camera processor measures this low operating voltage and triggers an emergency shutdown to prevent battery damage.
At what exact temperature does standard lithium camera charging become unsafe?
Standard lithium-ion charging becomes dangerous at 32°F (0°C) and below. Forcing electrical current into frozen cells causes permanent lithium metal plating on the battery anode, destroying cell capacity and creating fire hazards.
Will a solar panel keep my battery camera alive during a sub-zero winter?
No, standard solar panels cannot overcome the physical limits of frozen battery chemistry. Without an active heating element, your camera’s internal charging circuitry shuts down below freezing, leaving the battery uncharged despite direct winter sunlight.
Disclaimer: This article is for informational purposes only. Smart home devices involve electrical connections and data privacy. Always follow manufacturer instructions for installation. For complex wiring or HVAC work, consult a licensed professional.