
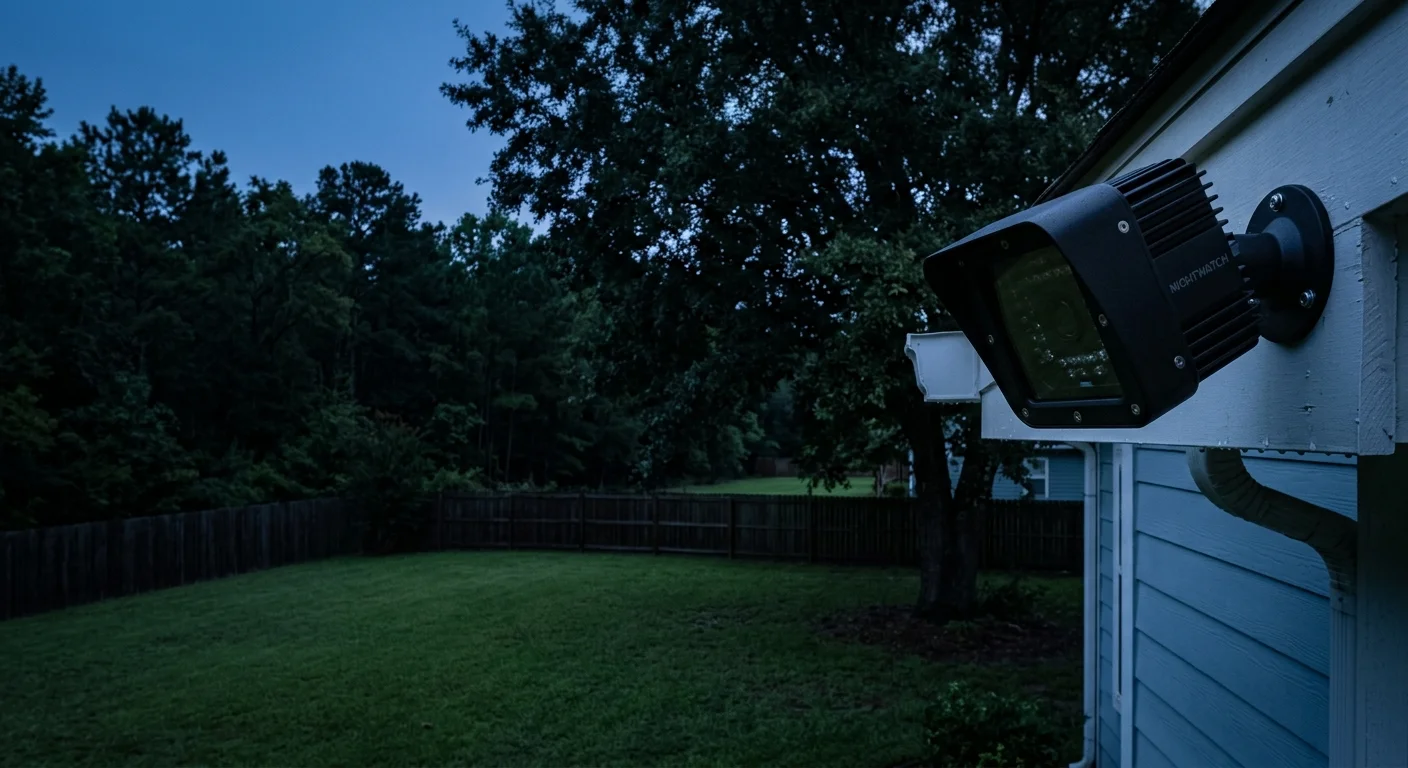
Unlit, 70-foot wooded property lines routinely defeat built-in camera LEDs by reflecting light off foreground leaves and blinding the sensor. Installing an external infrared illuminator for security cameras cuts through the pitch-black perimeter immediately.
Evaluating hardware ratings between indoor vs outdoor security cameras ensures your perimeter setup can handle harsh weather conditions alongside high-powered auxiliary emitters.
Many property owners struggle when onboard IR LEDs flare against hanging branches; decoupled spotlights bypass close-range obstructions entirely. Choosing between an 850nm vs 940nm ir illuminator dictates whether you prioritize maximum illumination distance or complete visual stealth.
Calculating exact spotlight spill and sensor lux thresholds prevents CMOS wash out while solving pitch-black foliage penetration along deep property lines.
The 70-Foot Woodline Dilemma: Why Built-in Camera IR Fails
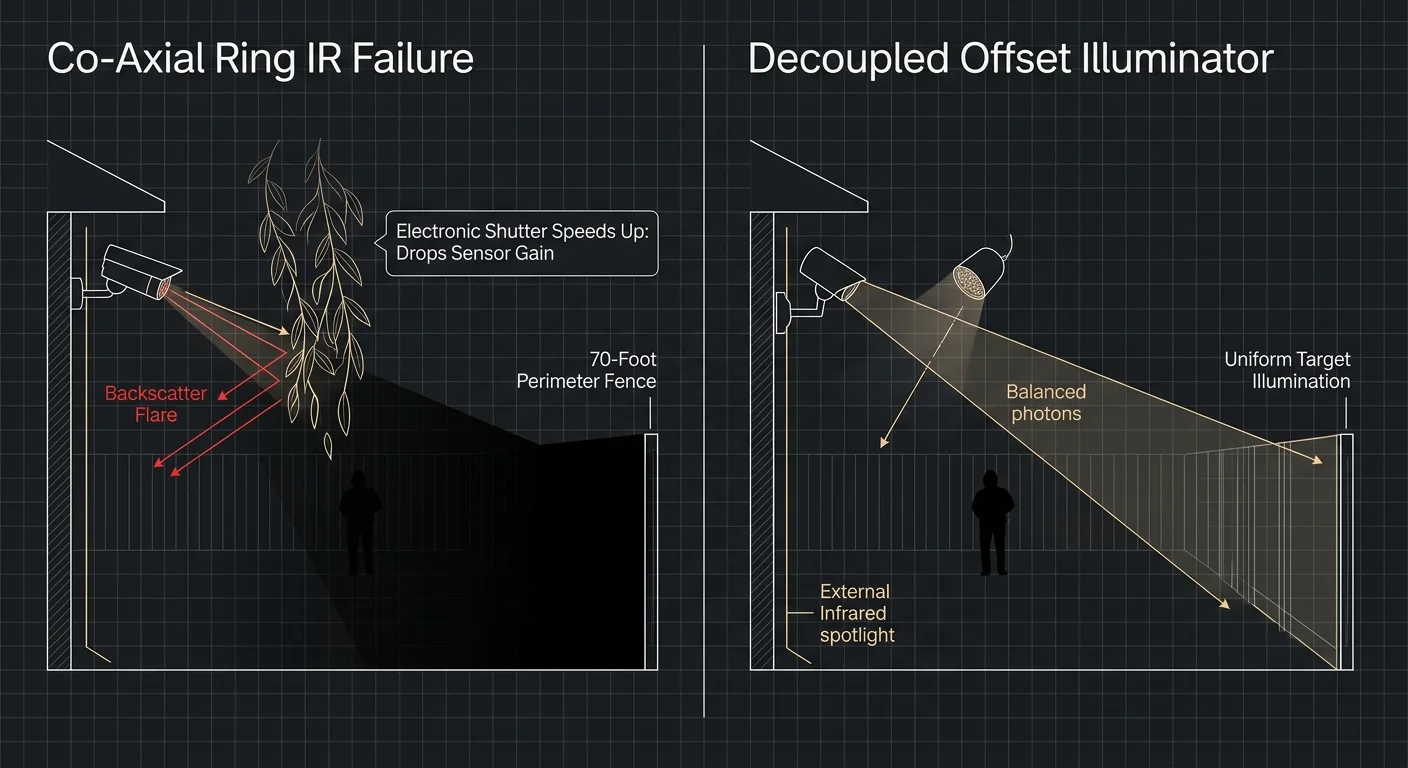
Integrated security camera infrared LEDs sit directly adjacent to the camera lens. This co-axial arrangement works adequately in open, compact yards but collapses along deep, vegetated property boundaries.
In freezing northern climates, keeping outdoor security cameras alive below freezing also requires specialized enclosures and heating elements to protect internal optics from thermal stress.
For expansive boundaries extending well beyond optical reach, pairing surveillance cameras with long-range LoRa beam sensors creates an early perimeter tripwire long before targets reach your video frame.
When foliage extends into the foreground, co-axial light strikes nearby leaves and branches first. Because light intensity follows the inverse-square law, foreground foliage reflects photons back into the lens with disproportionate intensity.
Your camera’s automated exposure system instantly adjusts to this localized optical glare. To avoid overexposing the bright leaves, the camera shortens its electronic shutter speed and drops sensor gain.
This automated shutter reduction plunges your unlit, 70-foot perimeter fence line into complete blackness. An intruder standing near the back tree line becomes entirely invisible against the dark background.
Independent evaluations by analysts at PCMag Smart Home consistently highlight how ring-style onboard LEDs fail on deeply textured perimeters. The camera processor cannot overcome the dynamic range gap between foreground leaves and distant shadows.
Built-in camera emitters create several unavoidable physical problems:
- Co-axial backscatter from floating pollen, rain, and spiderwebs blinding the lens
- Extreme dynamic range clipping between near tree leaves and deep property boundaries
- Insects swarming directly in front of the lens glass due to heat from internal LEDs
- Inadequate optical power throw beyond 30 to 40 feet in wooded terrain
Clearing these blind spots requires removing the illumination source from the camera body completely. Standalone auxiliary illuminators allow you to separate photon emission from image capture.
Spectral Physics: 850nm vs 940nm IR Illuminator Selection
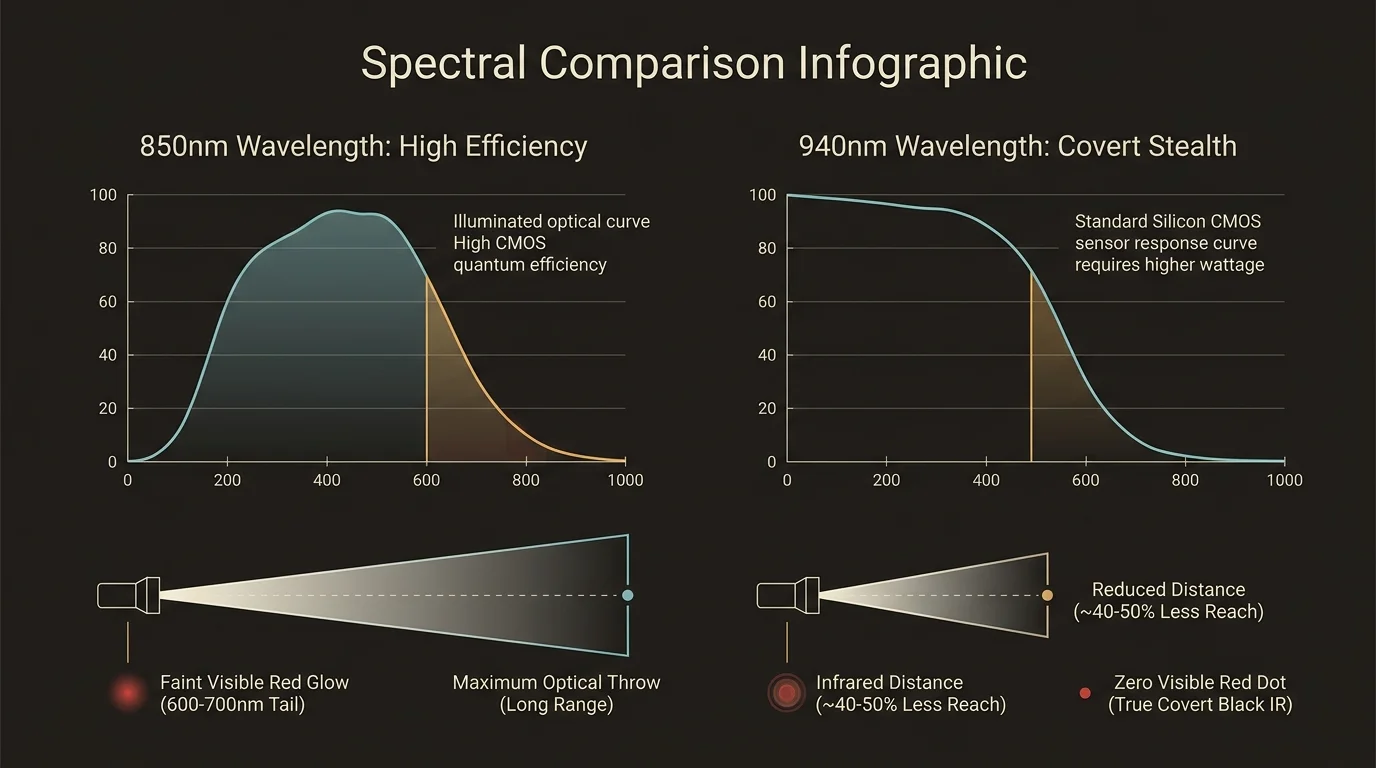
Choosing an auxiliary light source requires evaluating how camera sensors respond to different light wavelengths. Silicon CMOS sensors detect infrared energy, but their quantum efficiency drops sharply as wavelengths increase into the near-infrared spectrum.
Combining covert infrared emitters with strategically placed outdoor smart lighting allows you to balance invisible recording visibility with visible security illumination.
If your perimeter strategy combines covert IR spotlights with visible deterrence, properly tuning outdoor floodlight PIR sensors prevents local wildlife from needlessly tripping bright white floodlights.
An 850nm illuminator produces a faint, dull red glow directly on the diode faces. This wavelength closely matches the peak sensitivity curve of modern security camera image sensors.
Because the sensor captures 850nm photons efficiently, an 850nm lamp requires modest electrical wattage to illuminate deep backgrounds. It casts an intense beam that easily punches 70 to 100 feet through dense backyard timber.
Conversely, a 940nm illuminator operates completely beyond human visual perception. The diodes emit zero visible red glow, making the physical hardware invisible to casual observers in the dark.
However, silicon CMOS sensors suffer a steep reduction in quantum efficiency at 940nm. Most security sensors operate with only 20 to 30 percent of the sensitivity they demonstrate at 850nm.
Compensating for this optical penalty requires roughly triple the electrical power. A 940nm spotlight must output substantially more raw radiation to achieve the same brightness on screen as an 850nm fixture.
Understanding these spectral trade-offs determines your purchase path:
- 850nm Wavelength: Superior distance projection, maximum sensor sensitivity, efficient power draw, faint red emitter glow.
- 940nm Wavelength: Completely invisible emission, ideal for covert observation, shorter functional throw, high wattage requirement.
- CMOS Efficiency Loss: Expect a 60 to 70 percent drop in perceived brightness when running 940nm on standard surveillance sensors.
For an open or wooded 70-foot residential rear line, 850nm represents the standard engineering choice. The visible red glow acts as a psychological deterrent while maximizing depth penetration.
Calculating Beam Angle, Spill, and Coverage Geometry
Purchasing an illuminator with excessive beam spread wastes energy by projecting light outside your camera’s field of view. Conversely, choosing an overly narrow beam creates a harsh spotlight effect with pitch-black margins.
When routing DC power cables along extended fence lines to power auxiliary lights, refer to guidelines for sizing transformers for long low-voltage runs to prevent damaging voltage drop.
When projecting auxiliary illumination along tight perimeter boundaries, configuring legal privacy masking zones ensures your camera does not inadvertently capture footage inside neighboring properties.
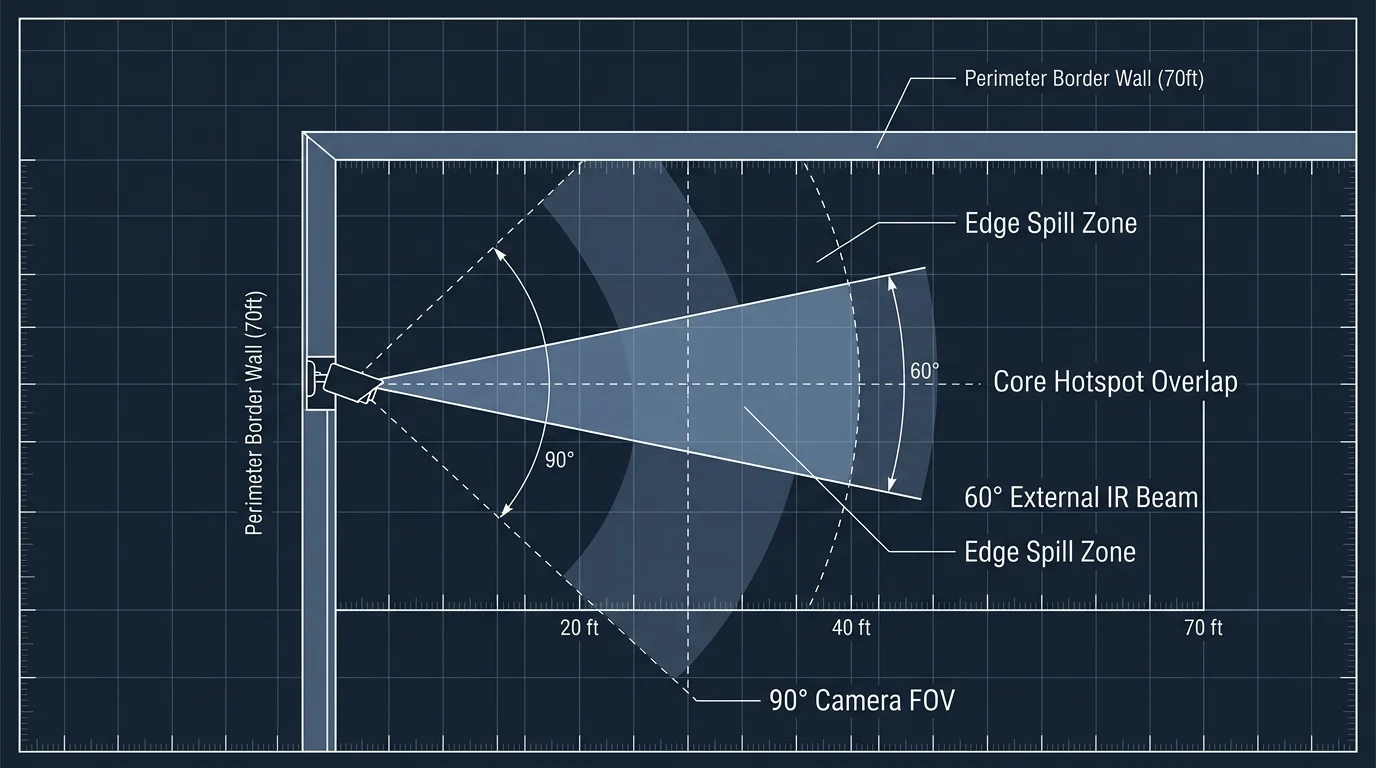
You can calculate the exact illumination spread across your 70-foot woodline using standard optical trigonometry. The horizontal coverage width equals two times the target distance multiplied by the tangent of half the beam angle.
If you deploy a wide 90-degree illuminator aimed at a boundary 70 feet away, the beam spreads to 140 feet wide. Spreading optical output across that massive area dilutes light density below the minimum lux threshold of your sensor.
A narrow 30-degree beam focused at 70 feet delivers a spread of approximately 37.5 feet across your boundary. This concentrated beam angle pools valuable photons precisely where darkness obscures the rear tree line.
Review the geometry for common beam spreads at a target distance of 70 feet:
- 15-Degree Spot: Coverage width of 18.4 feet; creates an intense, narrow corridor ideal for linear fence lines.
- 30-Degree Narrow Flood: Coverage width of 37.5 feet; concentrates lux along specific tree gaps and entry pathways.
- 60-Degree Standard Flood: Coverage width of 80.8 feet; matches standard 4mm camera lenses across average residential lots.
- 90-Degree Wide Flood: Coverage width of 140.0 feet; dilutes intensity, requiring high wattage to penetrate background foliage.
Surveillance sensors require between 0.01 and 0.05 lux of infrared light to generate clear, noise-free monochrome footage. Concentrating your beam preserves this lux threshold across the entire target area.
Avoiding Sensor Washout: Decoupling and Lux Matching
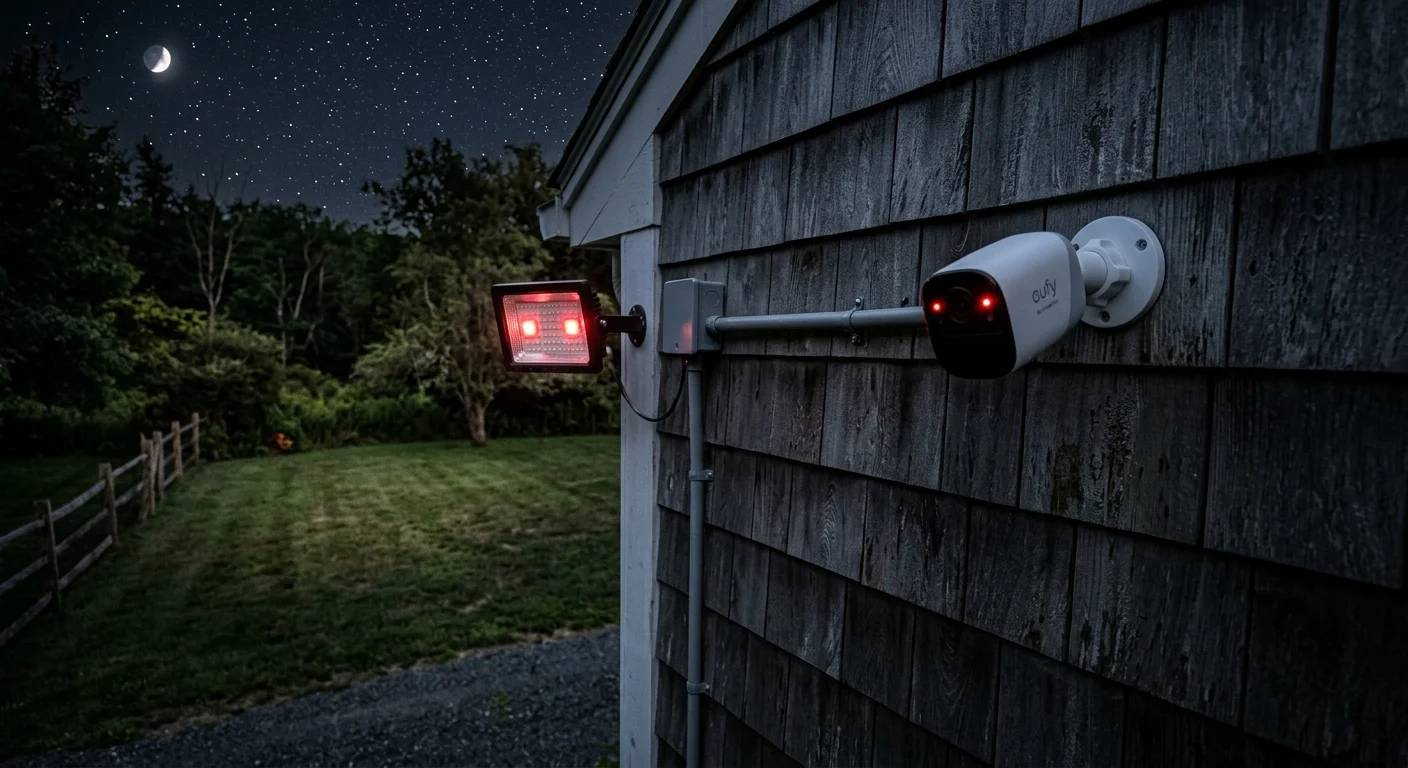
The primary reason homeowners seek to fix camera night vision wash out is excessive reflection blinding the sensor. Decoupling refers to mounting the illuminator away from the camera housing to break the reflective axis.
Mastering how to integrate security cameras with your smart home lets you link clear, decoupled video streams directly to smart sirens and home automation hubs.
Once your lighting is decoupled, setting up motion detection zones allows you to mask out swaying foliage and eliminate false activity alerts.
Mounting an external illuminator 5 to 15 feet away from the camera lens fundamentally alters the angle of reflection. Light reflecting off foreground leaves bounces away from the lens instead of straight back into it.
Decoupling the optical emitter from the camera sensor is the single most effective way to eliminate backscatter, insect noise, and localized foreground blooming.
Once you install a decoupled light source, you must disable the camera’s internal infrared LEDs via software. Leaving internal LEDs active alongside external lights recreates the identical foreground blowout you are attempting to solve.
You must keep the camera in forced black-and-white night mode so the mechanical IR-cut filter remains retracted. With the internal filter pulled aside, the camera absorbs ambient infrared light from your external spotlight.
Proper physical spacing guarantees three distinct technical advantages:
- Insects, dust, and raindrops no longer reflect bright streaks across the camera lens.
- Foreground foliage remains unlit, allowing camera auto-exposure algorithms to open up for dark background shadows.
- Spiderwebs spun across the camera faceplate do not glow or trigger false motion alerts.
Security hardware research featured by Wirecutter Smart Home regularly demonstrates that separate lighting sources improve detection accuracy. Decoupled illumination provides the balanced exposure necessary for onboard artificial intelligence to detect people reliably.
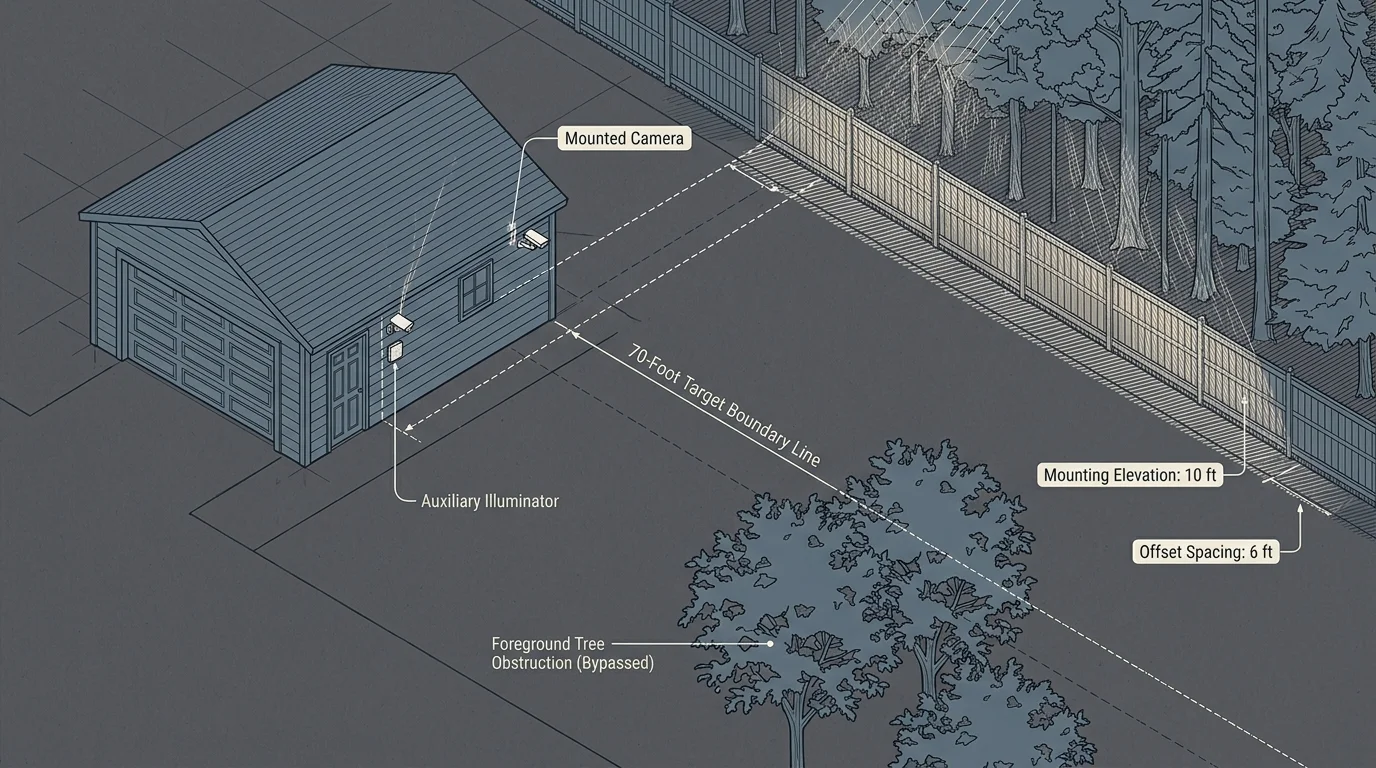
Worked Example: Outfitting a 70-Foot Wooded Property Line
Consider an unlit rear boundary running 70 feet from a detached garage wall to a dense line of oak trees. The owner uses an IP camera equipped with a 4mm fixed lens and a 1/2.8-inch CMOS sensor.
For expansive lots with isolated boundaries lacking main power, building an off-grid security camera array with RTSP storage provides uninterrupted coverage for cameras and auxiliary lights alike.
When positioning cameras on remote structures, review best practices for bridging PoE security camera networks to detached outbuildings to guarantee reliable network transmission back to your NVR.
The onboard camera LEDs caused severe blooming against low-hanging tree limbs 15 feet out, blacking out the fence. The owner deployed an external hardware package on November 12 to resolve the coverage gap.
The installation utilized the following specific components and technical parameters:
- Illuminator: Uniview TR-WE45-A-IN 850nm spotlight (30-degree beam angle, 12V DC, 18W power draw; cost: $64.00)
- Power Delivery: 100 feet of 18/2 direct burial low-voltage wire ($28.00) paired with a 12V DC 3A exterior power supply ($19.00)
- Mounting Hardware: Heavy-duty adjustable aluminum junction bracket mounted 8 feet high on the garage corner ($14.00)
- Total Expense: $125.00 completed in 75 minutes of installation time
The illuminator was mounted 10 feet horizontally away from the primary camera. Aiming the 30-degree beam 50 feet downrange centered the 37-foot optical cone across the rear fence line.
Next, the owner accessed the camera web interface, switched the night vision mode to “Manual/External,” and turned off internal IR LEDs. The camera retained its day/night switching threshold via internal CDS lux detection.
The camera shutter speed was manually locked to a minimum of 1/30 second to avoid motion blur. Gain limits were capped at 42dB to suppress digital grain.
The outcome was immediate: the external spotlight flooded the 70-foot woodline with uniform 0.08 lux equivalent light. Foreground leaves remained dark, and facial features resolved clearly along the previously black boundary fence.
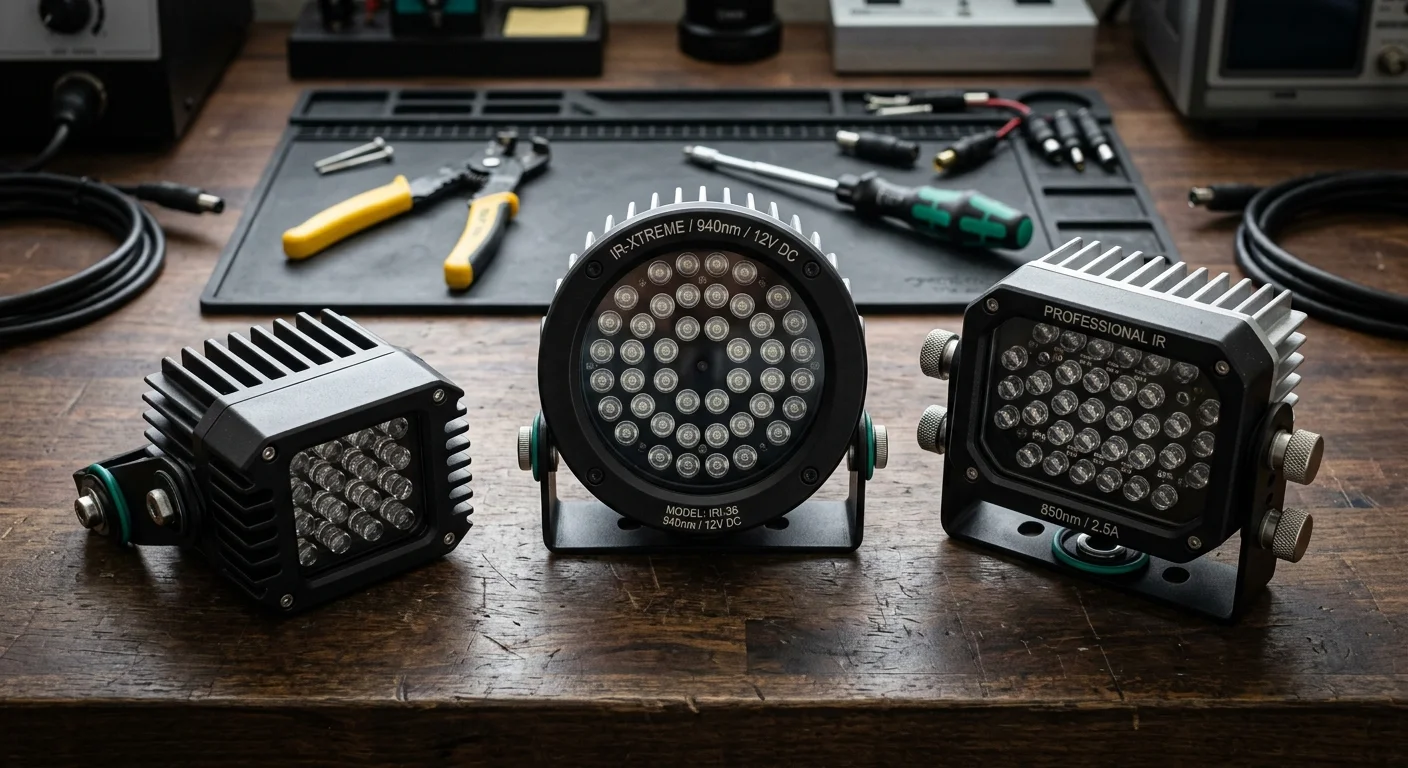
Hardware Comparison: Dedicated Illuminators Evaluated
Selecting the right commercial hardware requires balancing wavelength, beam spread, ingress protection, and power delivery. Low-cost consumer units often exaggerate range by measuring reflection against white walls rather than absorbing foliage.
The following table provides measurable specifications for reliable external illuminators used along residential perimeters.
| Device Model | Spectral Band | Beam Angle | Realistic Foliage Throw | Power Draw | Ingress Rating |
|---|---|---|---|---|---|
| Tendelux BI8 | 850nm | 90 degrees | 45 feet | 12V DC / 12W | IP65 |
| Uniview TR-WE45 | 850nm | 30 degrees | 85 feet | 12V DC / 18W | IP66 |
| Iluminar IRC99-A30 | 850nm | 30 degrees | 110 feet | PoE+ / 24W | IP66 |
| AXIS T90D25 | 940nm | 35 degrees | 65 feet | PoE+ / 32W | IP66 |
| Raytec Vario2 i2-1 | 850nm | 35 degrees | 100 feet | 12-24V / 25W | IP66 |
Notice the performance discrepancy between the AXIS 940nm fixture and 850nm alternatives. Despite drawing 32 watts of power, the 940nm emitter achieves only a 65-foot foliage throw.
The Uniview and Raytec 850nm units project significantly farther while drawing fewer watts. Narrowing the beam angle to 30 or 35 degrees ensures adequate photon saturation across distant woodlines.
Verify that any hardware deployed outdoors carries at least an IP65 ingress rating. Wooded property lines experience heavy morning dew, driving rain, and dropped plant debris.
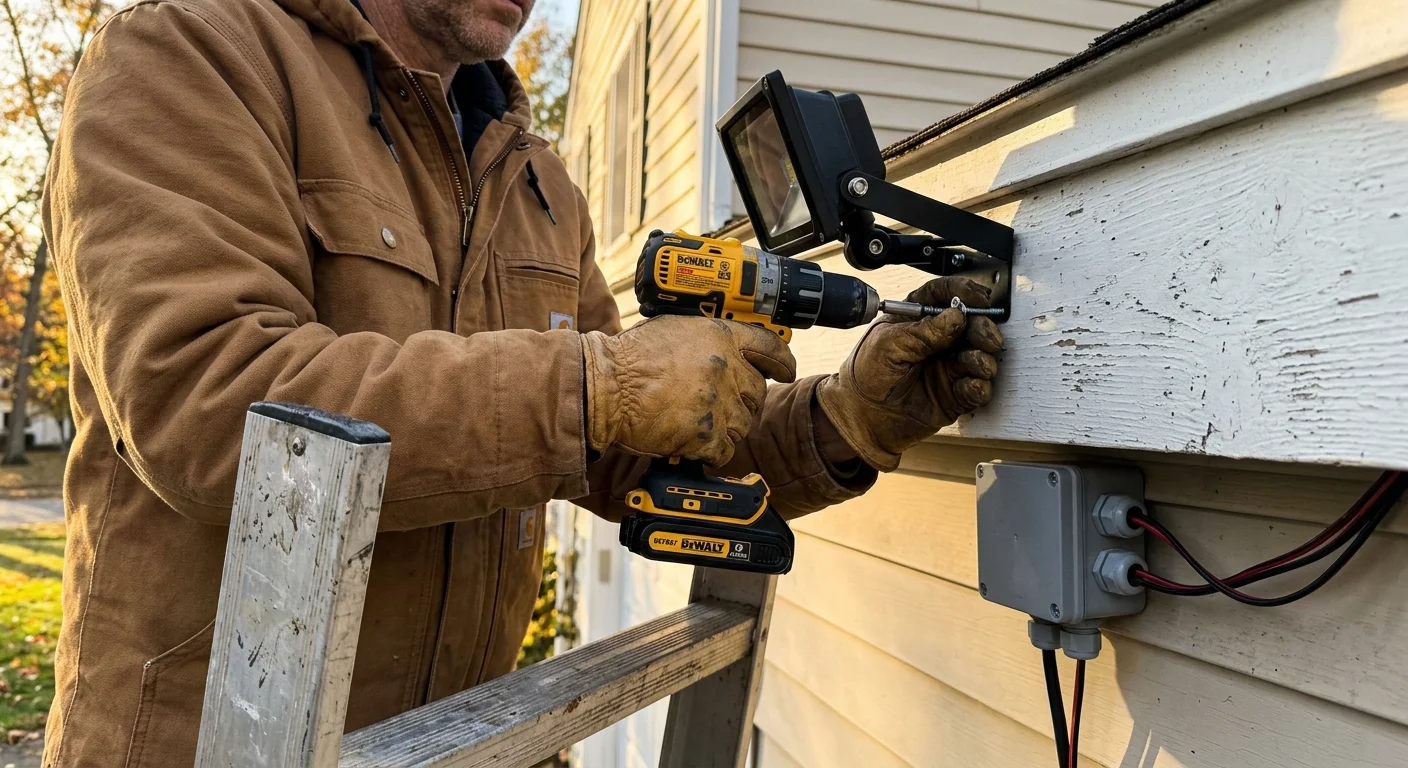
Step-by-Step Installation and Aiming Protocols
Installing an external illuminator requires structured positioning to optimize lighting angles and avoid blinding your camera. Follow this sequence to secure the perimeter cleanly.
- Map Your Spatial Separation: Locate a mounting position 5 to 15 feet to the left or right of your surveillance camera. This separation breaks optical backscatter.
- Run Low-Voltage Power: Pull 18/2 direct burial cable from your exterior 12V DC power transformer to the illuminator bracket. Seal all connections using silicone-filled waterproof wire nuts.
- Secure the Mounting Foot: Anchor the metal bracket to your exterior wall or post using stainless steel wood screws. Ensure the bracket holds firm against heavy wind loads.
- Disable Camera Onboard Emitters: Open your camera management app or browser dashboard. Locate night vision settings and switch internal IR LEDs from “Auto” to “Off.”
- Lock Monochrome Mode: Confirm your camera remains locked in black-and-white night mode when internal emitters shut down. Do not allow it to revert to daylight color processing.
- Conduct Nighttime Aiming: Power on the illuminator after sunset. Loosen the bracket hex screws and align the center of the beam 45 to 50 feet downrange toward the dark woodline.
- Verify Uniformity: Review the camera feed on a tablet while aiming. Adjust horizontal and vertical tilt until the foreground foliage dims and the boundary fence becomes sharp.
Tighten the positioning bolts firmly once you align the beam. Small shifts in alignment can skew coverage across a 70-foot run.
Always route exterior power cables with a low-hanging drip loop directly beneath the illuminator body. Drip loops prevent moisture from migrating along the sheath into the sealed electrical housing.
Fine-Tuning Camera Exposure and Night Vision Settings
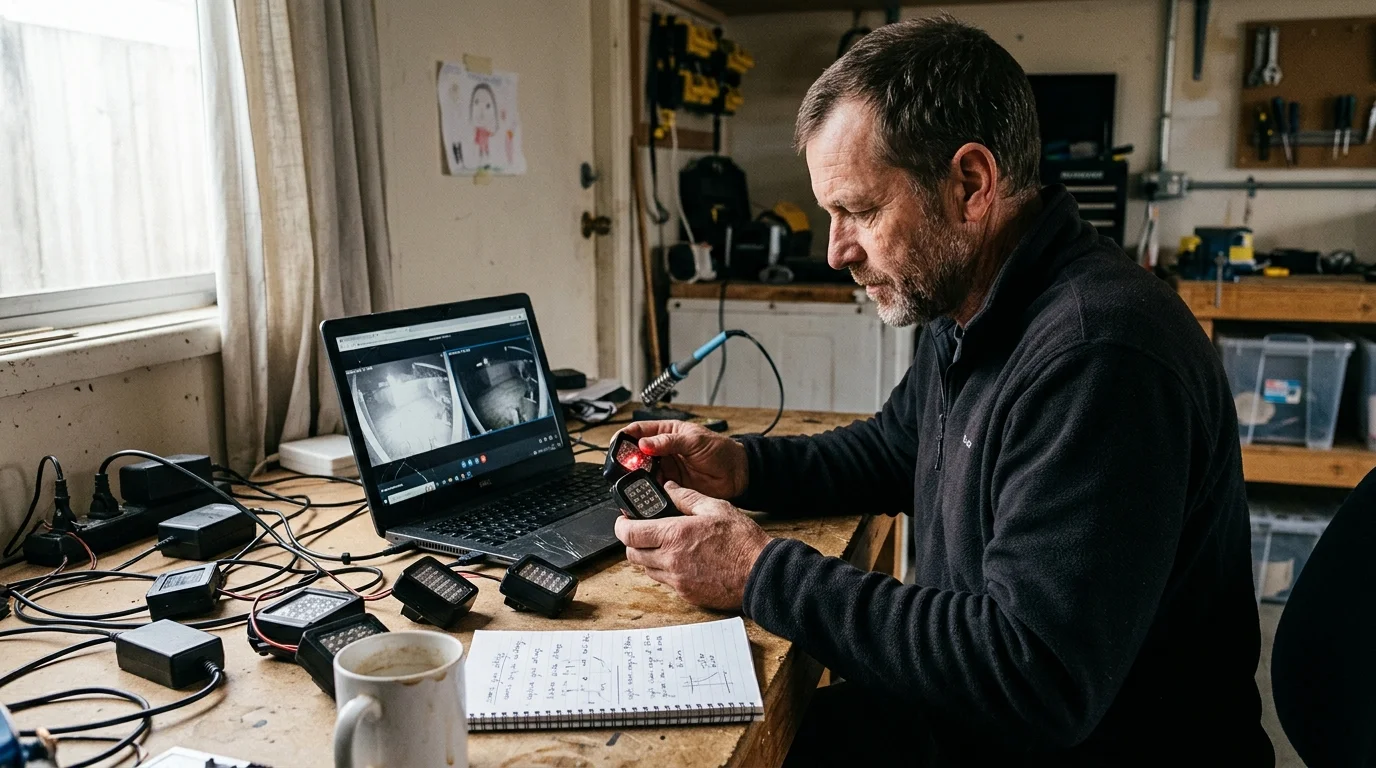
Physical light placement represents only half of the solution; you must also adjust your camera’s internal firmware. Factory default camera settings assume internal LEDs provide light from the lens center.
Navigate to your camera’s image control sub-menu and find the Wide Dynamic Range (WDR) settings. Enable WDR and set the slider between 30 and 50 percent strength.
WDR balances bright patches created by the external spotlight against deep background foliage shadows. Setting WDR too high introduces unwanted digital ghosting around moving subjects.
Next, adjust your electronic shutter parameters. Security cameras left on default auto-exposure often slow the shutter to 1/12 or 1/6 second in darkness.
Slow shutter speeds create excessive motion blur when people or animals walk past your boundary line. Lock your minimum electronic shutter speed between 1/30 and 1/60 second.
Adjust your camera firmware systematically using these target values:
- Day/Night Switch: Set to Day/Night mode via schedule or external photocell instead of automatic internal LED logic.
- Wide Dynamic Range: Enable WDR at 35 percent to balance shadow penetration without introducing image halo artifacts.
- Shutter Speed: Lock between 1/30s and 1/60s to capture clear movement along your fence without motion smear.
- Gain Control (AGC): Cap maximum digital gain at 40dB to prevent excessive sensor noise and speckled compression artifacts.
Once you dial in these exposure controls, your camera will deliver crisp, daylight-like monochrome footage across your entire wooded property line.
Frequently Asked Questions
Will an 850nm or 940nm external illuminator attract swarms of bugs to my camera?
No, provided you mount the illuminator at least five feet away from the camera lens. Insects seek the heat and light emitted by the diodes, drawing them to the external spotlight instead of your camera glass.
Can human eyes see the light beam coming from an external 850nm IR illuminator?
The light beam cast across your yard is completely invisible to human eyes. However, looking directly at the fixture faceplate reveals a faint red glow from the diodes themselves.
Why did my camera switch back to color daytime mode after I turned on the external light?
The camera’s internal photocell detected the sudden jump in ambient light and assumed daytime had arrived. You must access the camera settings and change the Day/Night switch mode from “Auto” to “Night” or black-and-white.
How do I power an external infrared illuminator if I do not have a 120V outlet nearby?
You can run 18-gauge low-voltage landscape lighting wire up to 150 feet from a remote 12V DC power transformer. Alternatively, you can use a commercial PoE-powered (Power over Ethernet) illuminator over standard Cat6 network cable.
Disclaimer: This article is for informational purposes only. Smart home devices involve electrical connections and data privacy. Always follow manufacturer instructions for installation. For complex wiring or HVAC work, consult a licensed professional.
1 Comment