
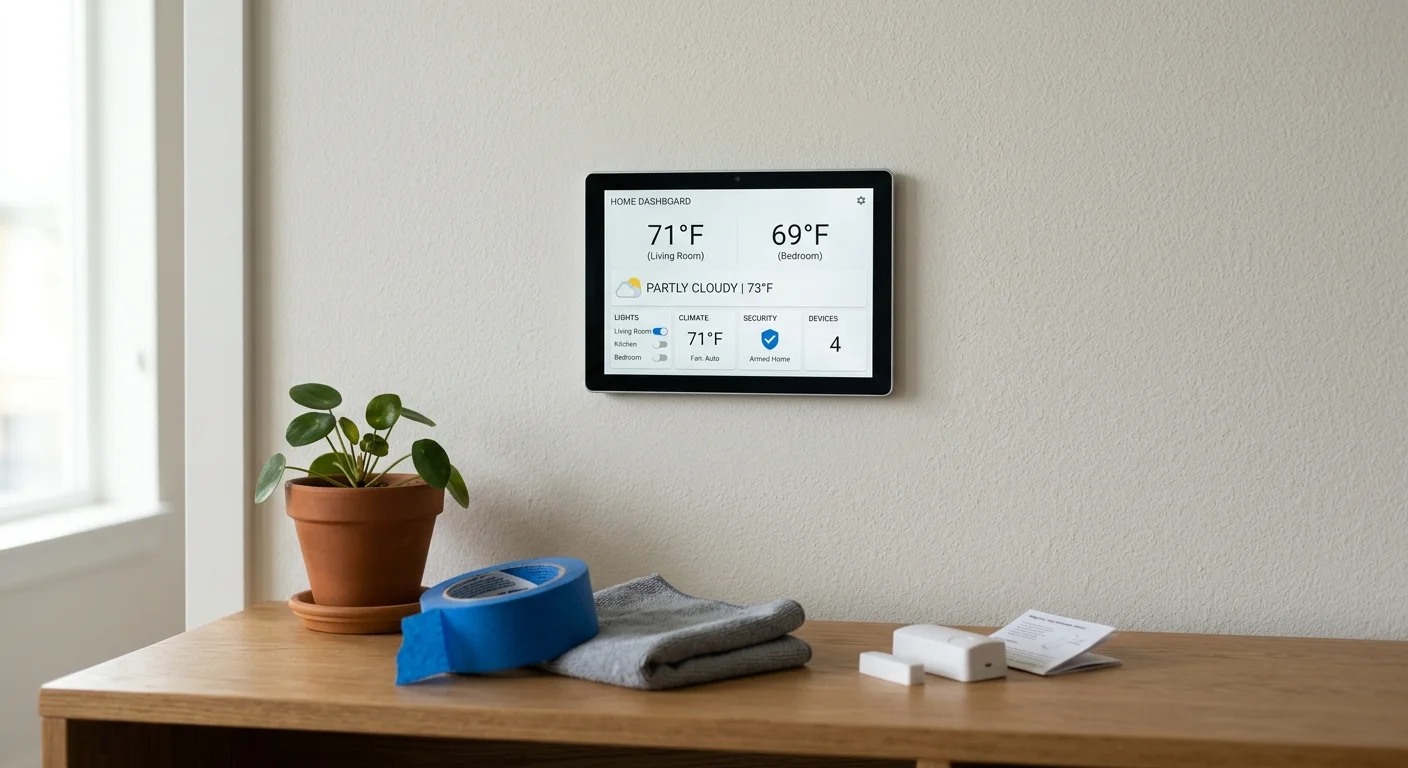
You can mount smart displays, multi-sensors, and chimes without puncturing drywall or sacrificing your security deposit. Success requires managing peel angle and rotational shear instead of relying solely on factory adhesive weight limits.
If you are setting up your first connected apartment, review our guide on where to start with a smart home before buying heavy hardware.
If you are furnishing a leased apartment, consider choosing smart home devices you can take with you to keep future relocations hassle-free.
Most rental wall damage occurs because standard adhesive ratings measure vertical static pull, ignoring the outward leverage exerted by projecting touchscreens.
This guide delivers exact shear load thresholds, safe surface preparation steps, and heat-assisted removal temperatures to mount smart home devices no damage across your entire lease.
Understanding Shear Force Versus Tensile Pull on Rental Walls
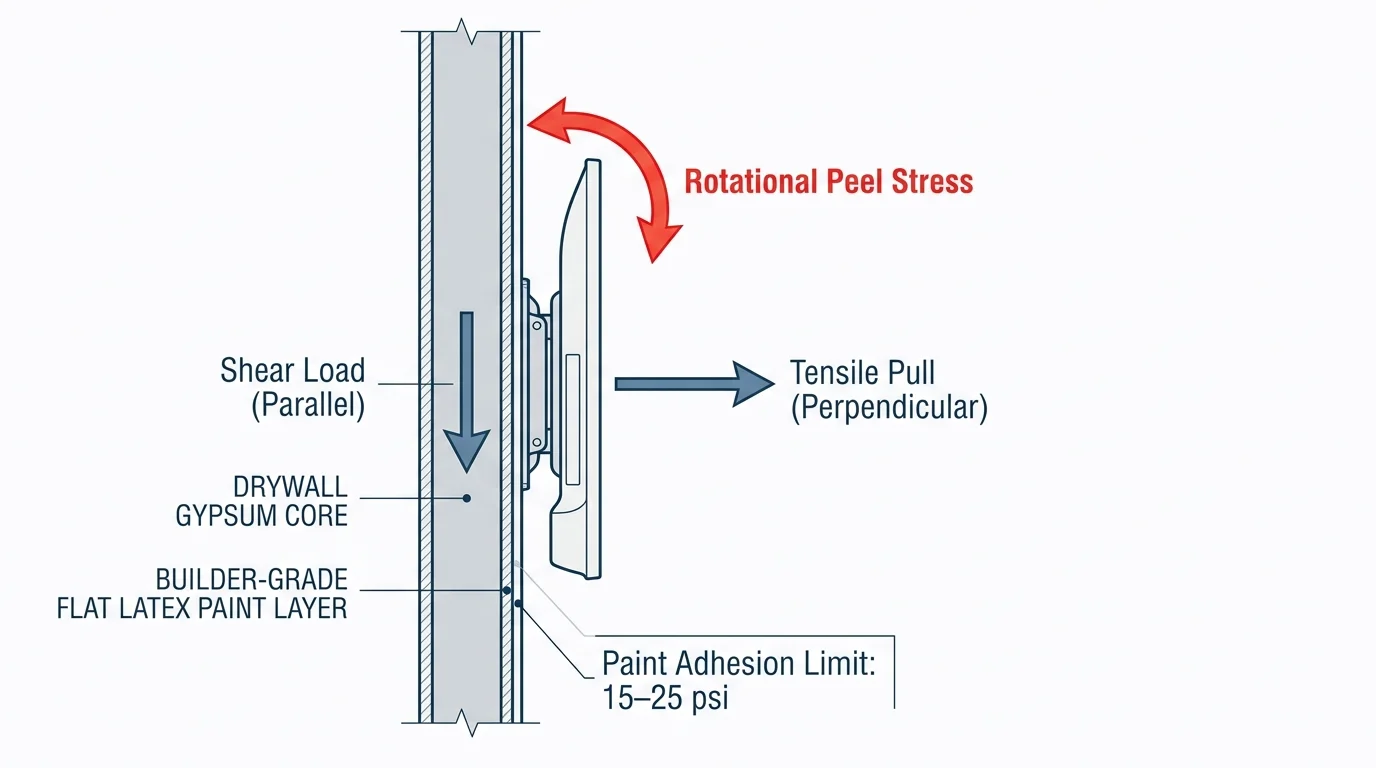
Shear load acts parallel to your wall, pulling straight down toward the floor. In contrast, tensile pull acts perpendicular, attempting to draw the device directly away from the surface.
Smart panels introduce a third, more destructive vector known as rotational peel stress. When a touchscreen projects outward, every tap exerts leverage against the top edge of the adhesive bond.
Standard rental paint adheres to drywall gypsum paper with a bond strength of roughly 15 to 25 pounds per square inch.
Rotational peel concentrates load along a narrow microscopic seam rather than across the entire tape pad. If peel leverage exceeds paint adhesion, the paint layer shears away and your device falls.
Understanding these directional forces allows you to mount smart home devices no damage by neutralizing leverage before it strains paint bonds.
Surface Chemistry: Preparing Rental Latex Paint for Adhesives
Rental properties rely heavily on builder-grade flat latex paint. This porous coating sheds microscopic chalk dust that prevents adhesives from forming long-chain molecular bonds.
If your rental features historic plaster or calcimine coatings rather than modern drywall, explore how to add smart devices to an older home for specialized surface considerations.
Rushing through surface preparation is one of the most frequent smart home mistakes beginners make, often causing adhesive bonds to fail prematurely.
Cooking vapors, household skin oils, and settled dust create a thin non-polar film across living room and hallway walls.
Never clean drywall with standard multi-surface cleaning sprays or citrus degreasers. These products deposit silicone lubricants and surfactant residues that cut adhesive bond strength by half.
Follow this preparation sequence to establish a clean substrate without stripping paint pigment:
- Wipe the target wall area with a dry, lint-free microfiber cloth to lift loose surface dust.
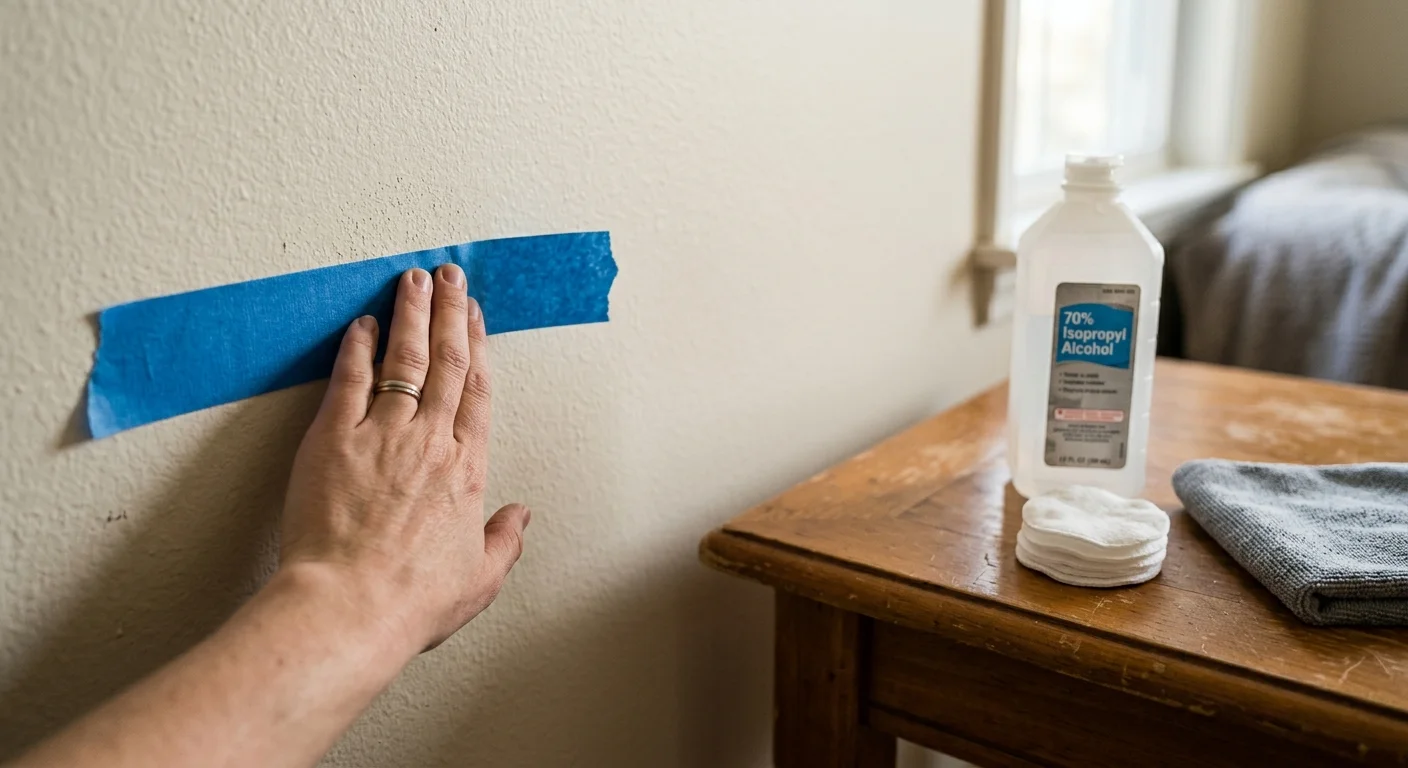
- Dampen a clean cotton pad with standard 70% isopropyl alcohol and wipe the area gently for 5 seconds.
- Wait 10 full minutes for the alcohol and residual moisture to evaporate completely from the drywall.
- Test paint stability by pressing a 2-inch strip of standard blue painter tape and lifting it swiftly.
If loose paint flecks stick to the blue tape during testing, your wall paint is actively chalking. You must avoid heavy smart displays on chalking paint and stick strictly to miniature sensors.
Pressure-sensitive adhesives require physical dwell time to flow into the paint texture. Always wait at least 60 minutes after applying base strips before mounting active hardware.
Adhesive Selection and Weight Limits for Smart Hardware
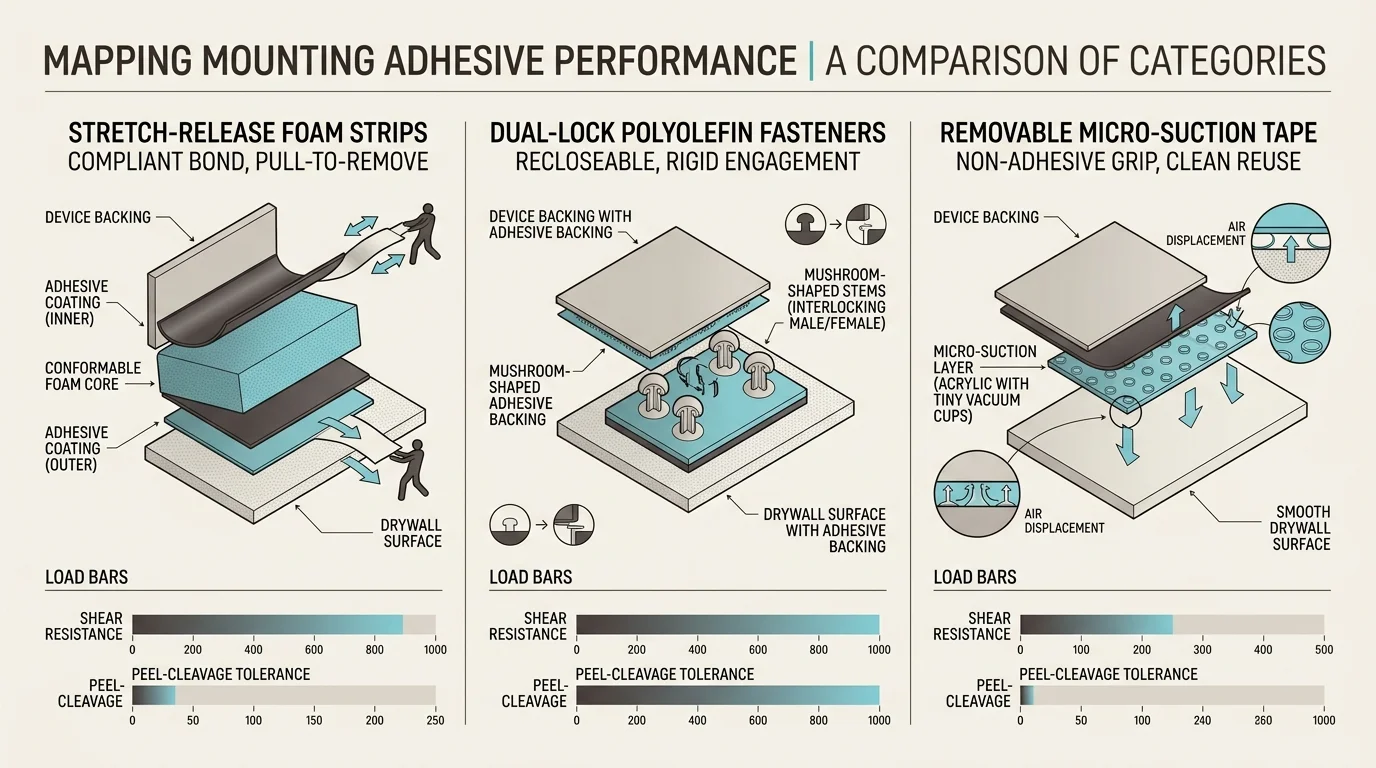
Matching adhesive mechanics to device dimensions determines whether a mount holds or fails. Flat double-sided foam tape performs poorly under dynamic tapping loads.
Interlocking hook-and-loop fasteners outperform smooth foam on drywall. Their rigid plastic stems flex under impact, absorbing kinetic energy before it transfers to the paint surface.
Command strip weight limits smart sensors and panels reliably when you respect mechanical leverage. While manufacturers rate large strips for 4 pounds per pair, that figure assumes zero forward extension.
For devices that extend outward from the wall, you should derate manufacturer capacity ratings by 50 percent. This reduction compensates for continuous rotational torque against the top fasteners.
A renter friendly smart display mount should always feature a flat backplate measuring at least 20 square inches. Spreading adhesive points across a wider footprint reduces the shear pressure on each square inch of drywall.
| Adhesive Product | Static Shear Capacity | Tensile Yield Limit | Max Projection Depth | Surface Damage Risk |
|---|---|---|---|---|
| Command Large Picture Hanging Strips | 4.0 lbs per pair | 2.0 lbs per pair | 1.5 inches | Low (Zero paper tear) |
| Command Medium Mounting Refills | 3.0 lbs per strip | 1.0 lbs per strip | 0.5 inches | Low (Zero paper tear) |
| Gorilla Heavy Duty Mounting Tape | 30.0 lbs per roll | 15.0 lbs per roll | 2.0 inches | High (Tears drywall paper) |
| Clear Acrylic Nano Gel Tape | 5.0 lbs per pad | 3.5 lbs per pad | 0.75 inches | High (Bonds permanently over time) |
Interlocking picture hanging strips provide the highest margin of safety for rental walls. The mechanical decoupling prevents vibration from transferring directly to the paint face.
Acrylic nano gel tapes bond aggressively with high initial tack. However, their bond strength increases over time, making damage-free removal nearly impossible on standard rental drywall.
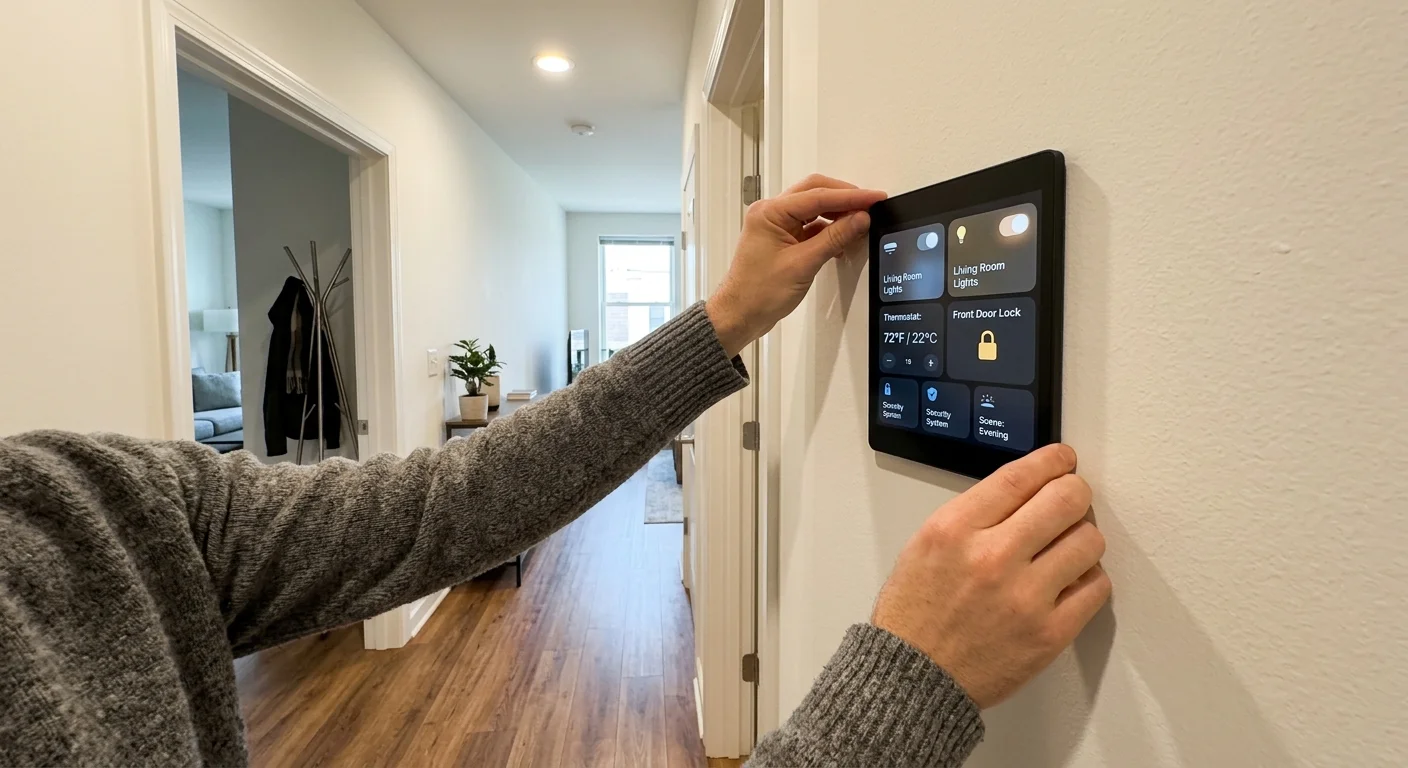
Worked Scenario: Securing an 8-Inch Smart Dashboard Without Anchors
Consider a scenario mounting an 8-inch tablet dashboard in a rental kitchen hallway. The setup runs Home Assistant to control smart lighting, thermostat settings, and door locks.
To protect entryways without risking your deposit, consider pairing your dashboard with no-drill smart locks engineered for leased doors.
The hardware weighs 490 grams (1.08 pounds) and measures 7.9 inches by 5.4 inches. In its custom wall bracket, the assembly extends 1.1 inches outward from the drywall.
A flat-backed acrylic mounting bracket costs $14.99 and provides 38 square inches of rear surface area. Four pairs of Command Large Picture Hanging Strips cost $4.46, totaling $19.45.
Four large strip pairs provide a nominal static rating of 16.0 pounds. Applying our 50 percent leverage derating yields an 8.0-pound safe working capacity for this 1.08-pound display.
This setup creates an effective 7.4-to-1 safety factor, easily absorbing aggressive finger taps. Follow this installation procedure to ensure long-term stability:
- Clean the rear surface of the acrylic bracket and the drywall with 70% isopropyl alcohol for 30 seconds.
- Press four pairs of Command Large strips together until you hear an audible mechanical snap.
- Peel the green liner paper and press the strips onto the four outer corners of the bracket.
- Peel the remaining liners, align the bracket with a bubble level, and press it firmly against the drywall for 30 seconds.
- Slide the bracket upward to disengage the interlocking hooks, leaving the wall-side strips in place.
- Press each wall strip firmly with your thumb for 30 seconds to ensure complete adhesive wet-out.
- Wait exactly 60 minutes before re-aligning the bracket and snapping the interlocking strips back together.
- Insert the 1.08-pound tablet into the bracket and connect its flat ribbon charging cable.
This 14-minute installation isolates dynamic tapping loads across four distinct structural points. The bracket holds firmly without flexing, rattling, or tearing rental paint.
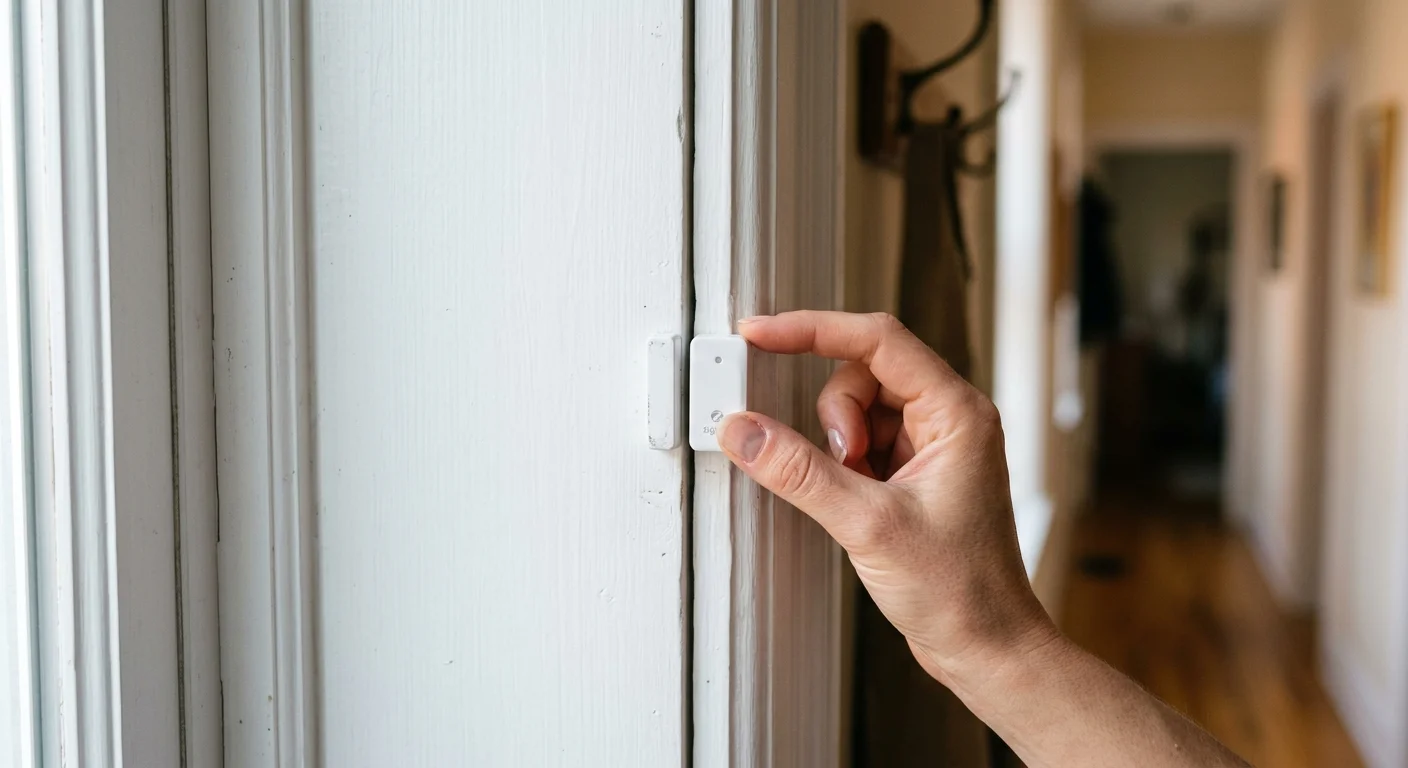
Mounting Zigbee, Z-Wave, and Matter Contact Sensors Safely
Smart contact and motion sensors deliver automation data across Zigbee, Z-Wave, and Matter wireless networks. They trigger lights when doors open and alert you to unexpected motion.
When securing sliding patio doors, see how precise vibration sensor calibration can identify forced entry attempts before magnet contacts ever separate.
Most manufacturers include thick, permanent foam mounting pads in the retail box. These aggressive adhesives will rip drywall down to bare gypsum when you pull them off.
Discard the factory adhesive pads immediately and replace them with Command Small or Medium Refill Strips. Cut the strips so the removal tab hides discreetly behind the sensor casing.
“The best smart home is the one you don’t have to manage.”
As noted in reporting by The Verge Smart Home coverage, regular door slams exert violent shock waves on frame-mounted sensors. Proper placement prevents physical falls and false tamper warnings.
Follow these structural placement rules when installing door sensors:
- Mount the active sensor body containing the radio and battery on the stationary door frame.
- Attach the lightweight passive magnet piece to the moving door leaf.
- Maintain a gap between 0.25 inches and 0.50 inches between the sensor and magnet when closed.
- Position the adhesive release tab pointing downward toward the floor for accessible future removal.
Always mount the heavier battery-holding unit on the stationary door jamb rather than the swinging door. The jamb absorbs closing energy into framing studs, isolating the sensor adhesive from shock.
Multisensors that track temperature and humidity require placement away from heat sources. Direct solar radiation warms adhesive backing to over 100°F (38°C), causing adhesive creep and sudden failure.
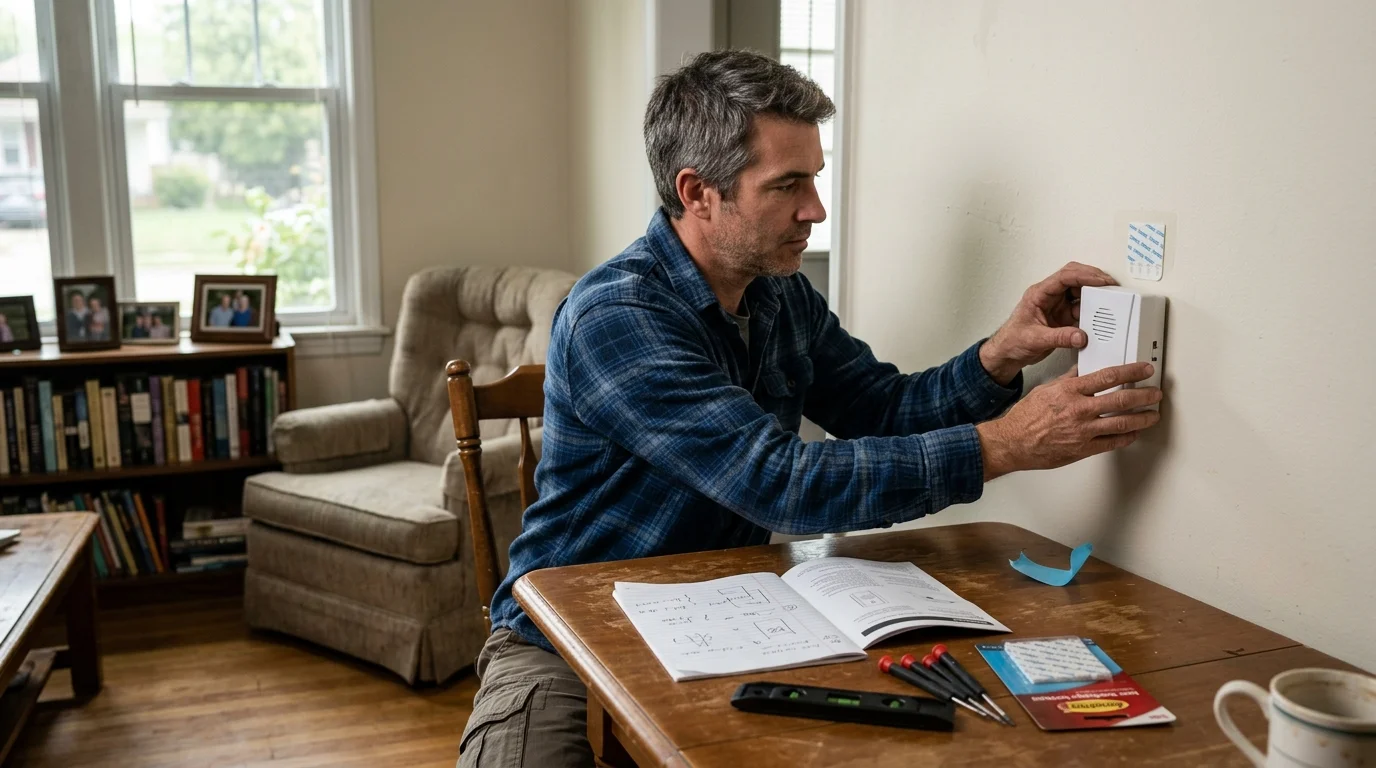
Managing Wireless Chime Boxes and Acoustic Vibration
Wireless smart door chimes and siren modules alert you to visitors and security events. Battery-operated standalone units output sound pressure between 80 and 90 decibels.
You can also tie indoor chime alerts to exterior deliveries when building a long-range smart mailbox alert with peel-and-stick sensors.
When pairing an indoor alert unit with an entryway camera, compare peephole cameras versus battery doorbells to ensure your installation complies with apartment building rules.
Sound energy travels as mechanical vibration through the plastic housing directly into the adhesive layer. Over several months, repetitive acoustic resonance causes micro-fatigue in standard foam tape.
As highlighted in testing from Wirecutter Smart Home, secure chime placement prevents both physical falls and false tamper alerts.
You can protect drywall bonds by decoupling chime vibrations before they reach the paint. Use these acoustic dampening tactics when securing chime boxes:
- Place a thin 1-millimeter silicone washer between the mounting plate and the adhesive surface.
- Use interlocking picture hanging strips rather than flat foam to allow micro-flexibility during chime activation.
- Anchor the chime on an interior partition wall rather than a hollow bathroom door or thin cabinet panel.
- Position the chime at eye level near central living spaces to maintain audio clarity at lower decibel settings.
Lowering chime speaker output from 90 decibels to 75 decibels reduces acoustic vibration energy by 75 percent. That single adjustment significantly extends adhesive life without sacrificing audibility.
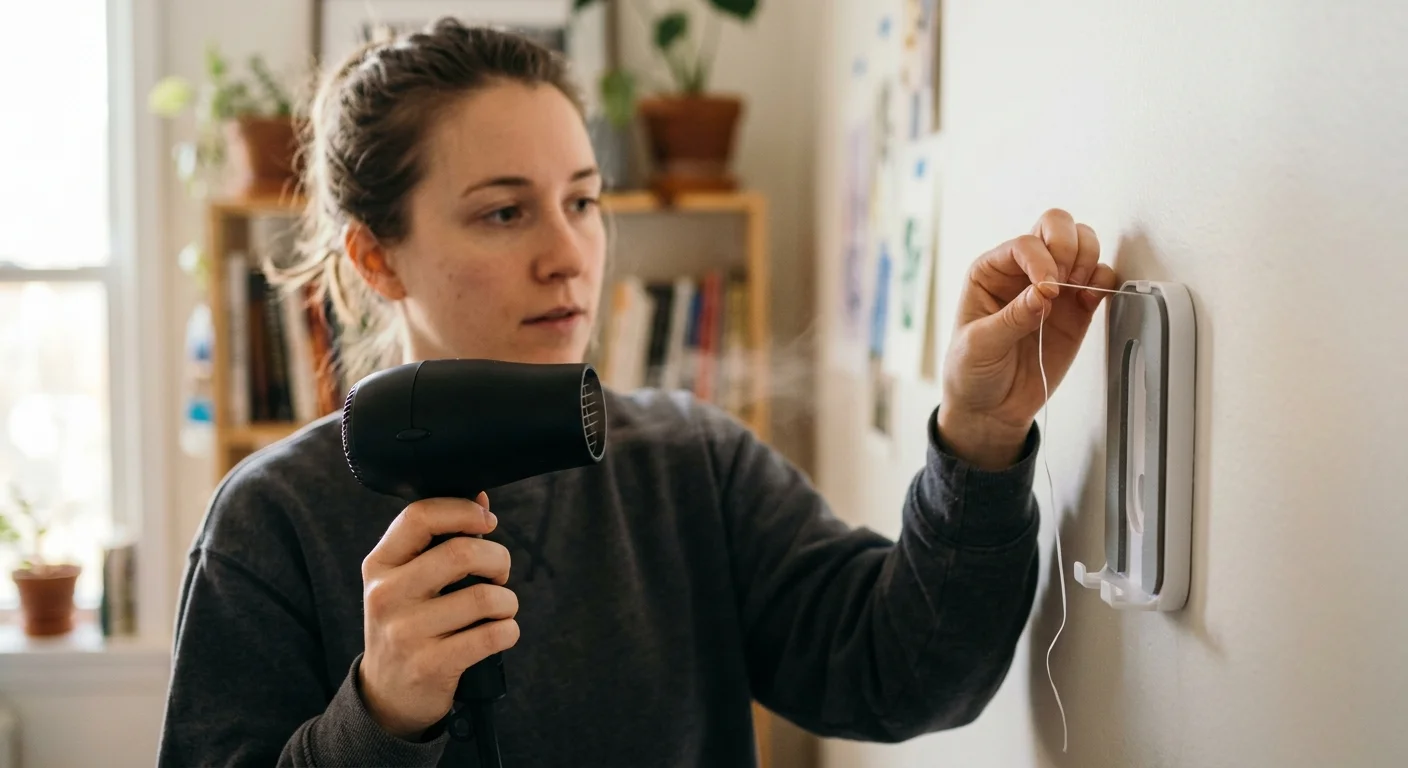
Safe Removal Protocols: Temperature Control and Solvent Use
Security deposits depend on flawless adhesive removal when your rental lease ends. Pulling an adhesive strip outward at a 90-degree angle will peel drywall paper every single time.
Acrylic adhesives soften when exposed to controlled heat, releasing their grip without tearing paint. A standard hair dryer delivers sufficient thermal energy to achieve clean release.
Follow this damage-free removal sequence at move-out:
- Unclip or slide your smart hardware away from the wall-mounted adhesive bracket.
- Direct a household hair dryer on medium heat at the adhesive strip from 4 inches away for 45 seconds.
- Ensure the paint surface reaches a warm temperature between 120°F and 130°F (49°C to 54°C).
- Grasp the exposed release tab firmly with your fingers.
- Stretch the tab straight down, perfectly flush against the wall surface, pulling slowly without angling outward.
- Continue stretching the strip downward up to 12 inches until the bond releases completely.
If an adhesive pull tab snaps flush with the wall, do not pry the mount with tools. Prying gouges soft drywall plaster, creating costly patch-and-paint damage.
Instead, slide a 12-inch piece of unflavored dental floss behind the bracket. Saw downward in a steady back-and-forth motion to slice through the adhesive core safely.
You can then roll the remaining adhesive residue off the paint with your thumb under gentle heat.
Frequently Asked Questions
These answers address common challenges renters encounter when installing and removing smart devices on rental drywall.
How do you remove adhesive strips without peeling rental drywall paint?
Warm the adhesive strip with a hair dryer on medium heat for 45 seconds to soften the bond. Pull the release tab straight down parallel to the wall, never pulling outward into the room.
Can Command strips support a wall-mounted smart display or tablet?
Yes, provided you use interlocking picture hanging strips rather than smooth foam. Use at least four pairs to counter forward leverage and derate the package weight rating by 50 percent.
What should you do if factory sensor tape is too strong for rental walls?
Discard the factory adhesive pad during unboxing and replace it with a removable Command refill strip. This substitution ensures the sensor releases cleanly when you move or replace internal batteries.
Does temperature or humidity affect damage-free smart home mounts?
High humidity and temperatures above 90°F soften adhesive polymers and accelerate tape creep. In humid bathrooms or kitchens, choose water-resistant adhesive strips to maintain a reliable drywall bond.
Disclaimer: This article is for informational purposes only. Smart home devices involve electrical connections and data privacy. Always follow manufacturer instructions for installation. For complex wiring or HVAC work, consult a licensed professional.


1 Comment