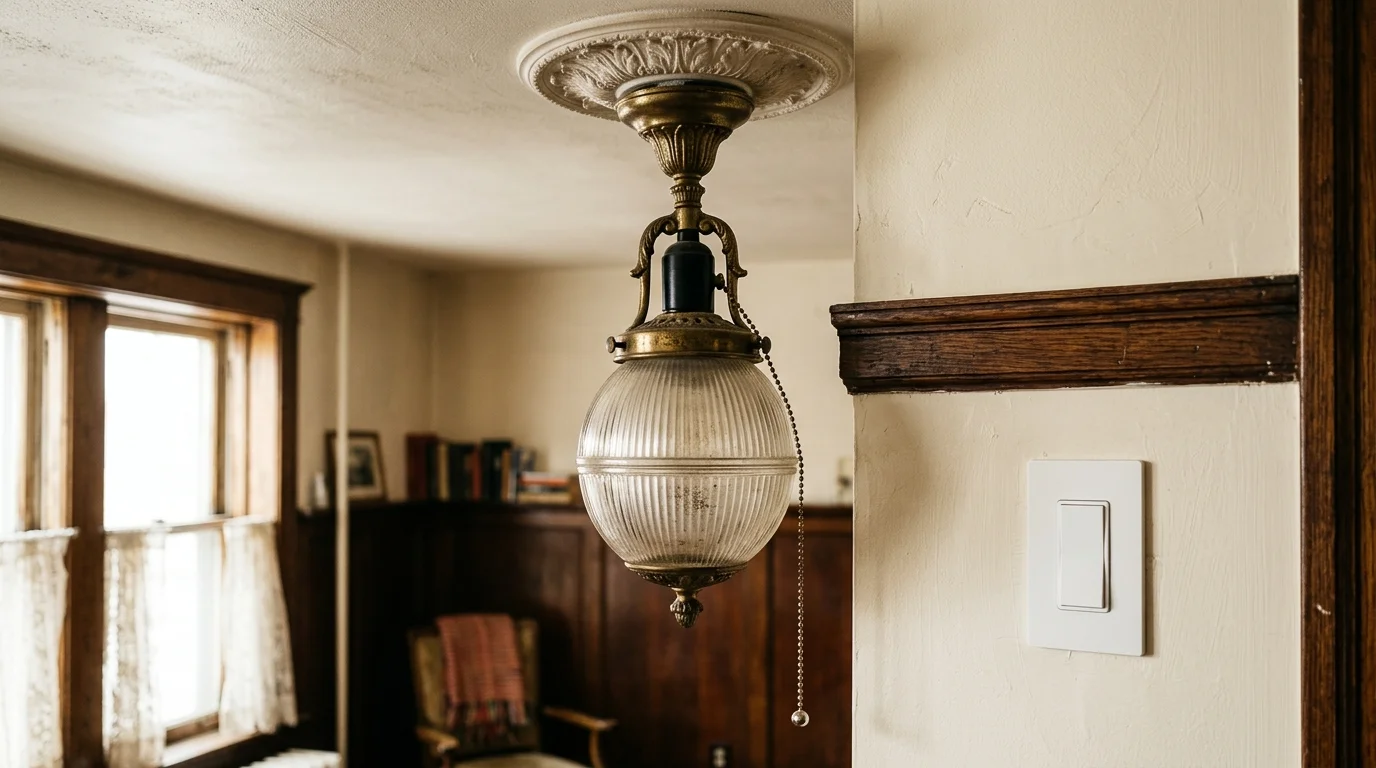
You can control your vintage pull-chain ceiling light from an intuitive wall switch without drilling through plaster or touching building wiring. This upgrade gives you instant room-entry lighting control while protecting your rental deposit.
Most guides advise cutting drywall to run Romex, but 1920s apartments lack switch boxes entirely. You bypass rewiring by decoupling electrical power from physical control directly at the fixture socket.
Leaving your fixture mechanically energized allows a surface-mounted wireless Zigbee switch to provide wall control anywhere in the room within fifteen minutes.
The 1920s Rental Reality: Why Pull Chains Frustrate Modern Living
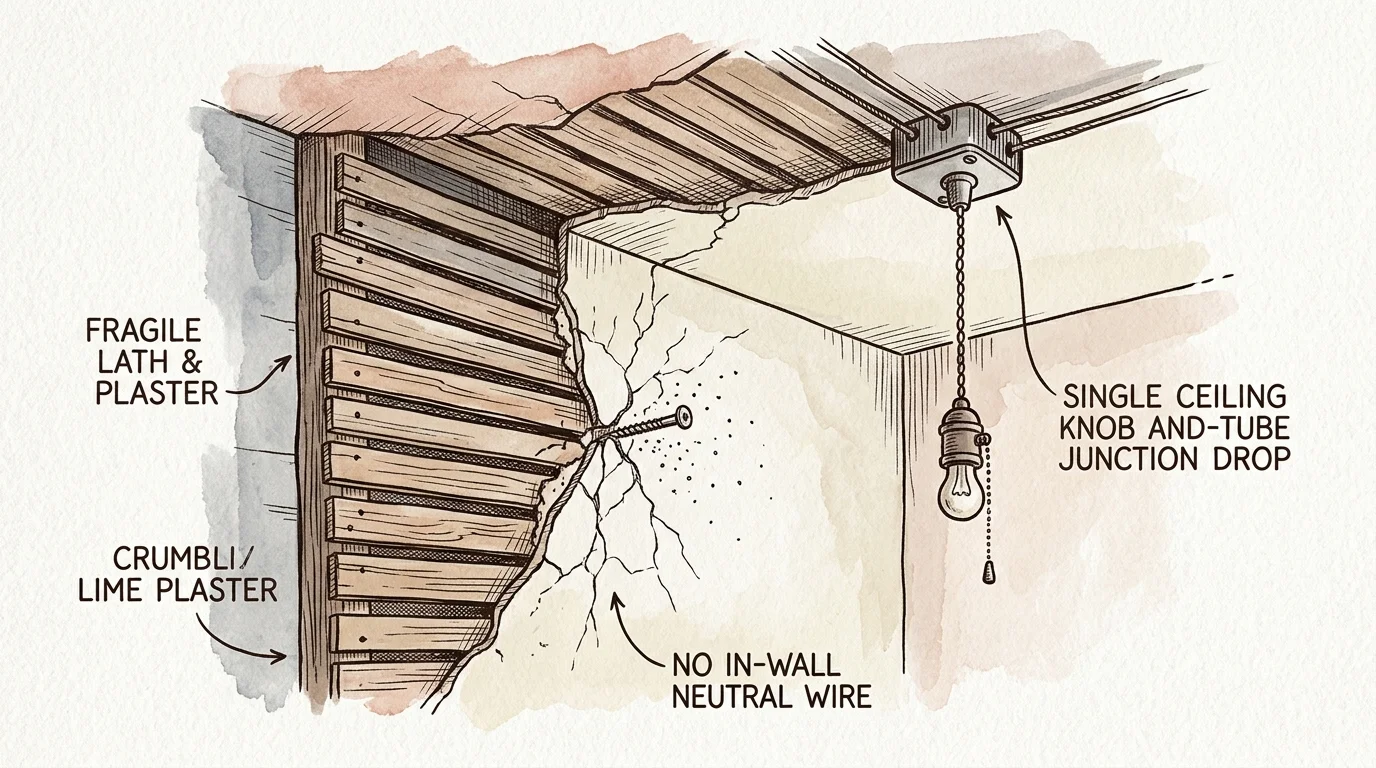
Pre-war apartments offer distinctive architectural character, but stumbling through the dark to yank a ceiling cord creates daily friction. Early 20th-century builders wired electricity directly to ceiling junction boxes to save copper cabling.
Overcoming vintage electrical limitations is a core challenge when learning how to add smart devices to an older home, especially when preserving historic plaster is essential.
Drilling into fragile lath-and-plaster walls generates hazardous silica dust and fractures brittle wall surfaces. Plaster repair costs will quickly forfeit your security deposit when you move out.
Standard smart switches also demand in-wall neutral wires that historic branch circuits lack. Finding a viable renter smart switch no neutral method requires an entirely surface-level strategy.
You do not need to persuade your landlord to approve expensive wall-chasing renovations. Modern hardware lets you retain the original luminaire while enjoying automated, wall-mounted illumination.
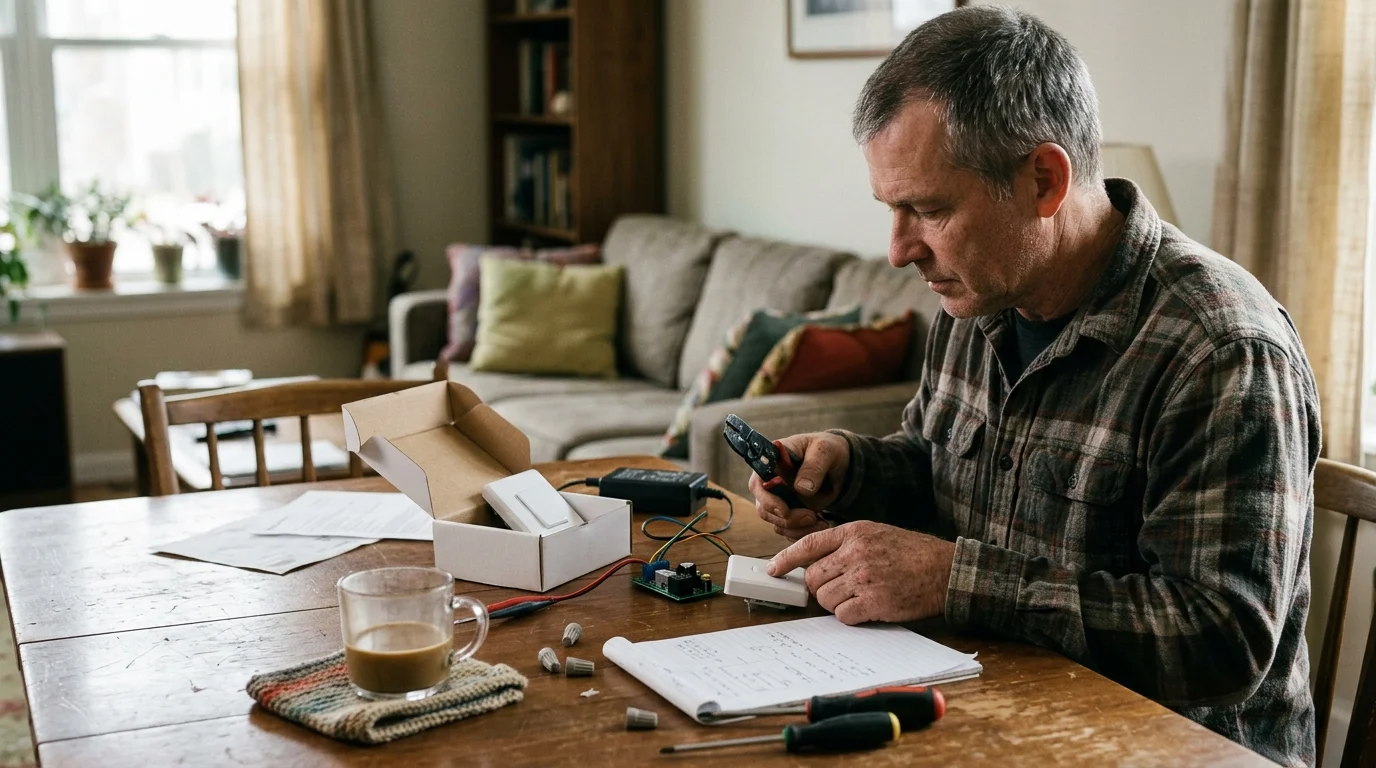
The Decoupled Control Strategy: How to Convert Pull Chain Fixtures Safely
The secret to modernizing vintage luminaires lies in decoupled switching architecture. Traditional installations use wall switches to physically sever high-voltage alternating current feeding the lamp.
Decoupled systems keep electrical current constantly available at the socket. Instead of cutting electricity, your wall controller transmits low-latency wireless data commands to the receiving device.
To establish this system, you simply turn the fixture chain to the closed position. The socket remains permanently hot, transferring switching duties to software control.
According to smart home hardware evaluations by Wirecutter Smart Home, decoupled smart bulbs provide exceptional reliability in rental properties where rewiring is prohibited.
This layout prevents annoying power drops that disconnect smart gear from your home network. You preserve the vintage aesthetic while achieving responsive bedside or entryway switching.
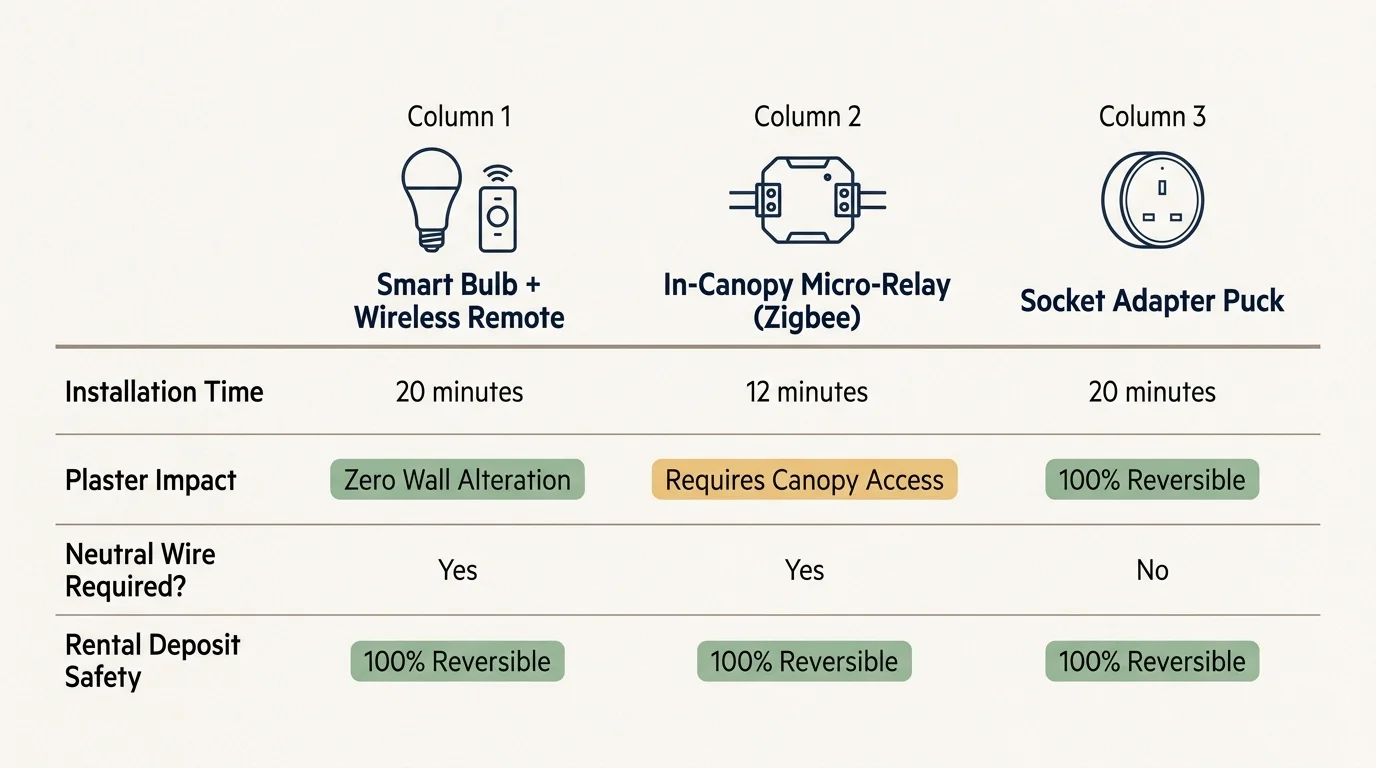
Comparing Hardware Solutions for Renter Smart Switch No Neutral Setups
Three primary equipment categories enable you to convert pull chain fixture hardware without structural changes. Choosing the right path depends on shade clearances and aesthetic goals.
Smart light bulbs represent the most straightforward path for renters. They thread directly into standard medium Edison screw sockets and require no tools.
Screw-in smart socket adapters fit between the original socket and a standard bulb. They add physical length, which can crowd shallow vintage glass globe shades.
Ultra-compact micro-relays sit inside the ceiling canopy itself using tension clamps. While completely invisible, they require dropping the brass ceiling canopy down the downrod.
| Hardware Combination | Communication Protocol | Physical Space Requirement | Battery Longevity | Average Hardware Cost |
|---|---|---|---|---|
| Philips Hue White Ambiance E26 + Hue Dimmer Switch | Zigbee / Bluetooth | Standard A19 envelope (4.4 in x 2.4 in) | 3 to 5 years (CR2032 coin cell) | $55.00 |
| Aqara T1 E26 Smart Bulb + Aqara Wireless Remote Switch H1 | Zigbee 3.0 | Standard A19 envelope (4.5 in x 2.4 in) | 5 years (CR2450 coin cell) | $48.00 |
| Sonoff SlampherR2 Base + Sonoff SNZB-01P Wireless Button | Wi-Fi (Base) / Zigbee (Button) | Adds 1.3 inches to bulb depth | 2 years (CR2477 coin cell) | $32.00 |
| Third Reality Smart Bulb + Third Reality Surface Wall Switch | Zigbee 3.0 | Standard A19 envelope (4.3 in x 2.3 in) | 2 to 3 years (2x AAA batteries) | $34.00 |
For shallow milk-glass globes from the 1920s, dedicated A19 smart bulbs offer the highest clearance. They maintain original bulb geometry without risking contact with fragile antique glass.
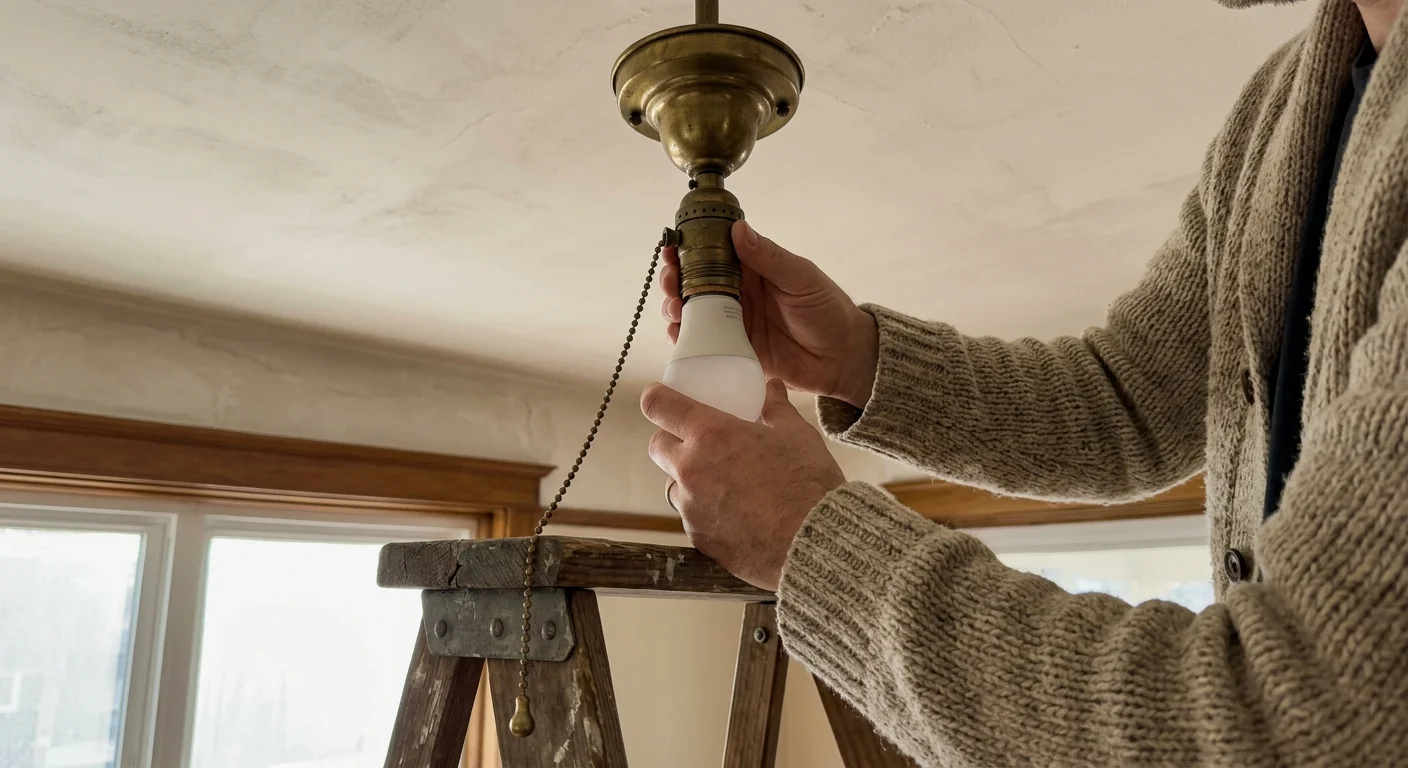
Step-by-Step Installation: Converting Your Fixture in 15 Minutes
You can execute this hardware conversion using basic household supplies and non-destructive adhesives. Follow this sequence to establish reliable smart lighting pull chain operation.
- Shut off circuit power: Flip the branch circuit breaker in your electrical subpanel. Verify the lamp socket is completely unpowered using a non-contact voltage tester.
- Remove vintage components: Unscrew the antique glass globe shade carefully. Back out the existing incandescent or halogen bulb from the threaded Edison socket.
- Set the pull switch to energized: Pull the vintage chain firmly until the internal switch clicks into the active closed circuit position.
- Lock the chain physically: Slide a 1/8-inch plastic cord clamp over the upper bead against the fixture housing. This prevents anyone from accidentally tugging the chain off.
- Install your smart receiver: Thread your chosen smart LED bulb securely into the brass socket. Restore branch circuit power at your service breaker panel.
- Pair the wireless controller: Open your automation app, initiate device discovery, and pair the battery-backed switch with the luminaire bulb.
- Mount the switch flush: Clean your wall trim with isopropyl alcohol. Affix the wireless switch using removable polyurethane mounting strips.
Always inspect the interior brass socket casing for corrosion or crumbling paper insulation. If the socket interior shows degradation, notify your building superintendent before continuing.
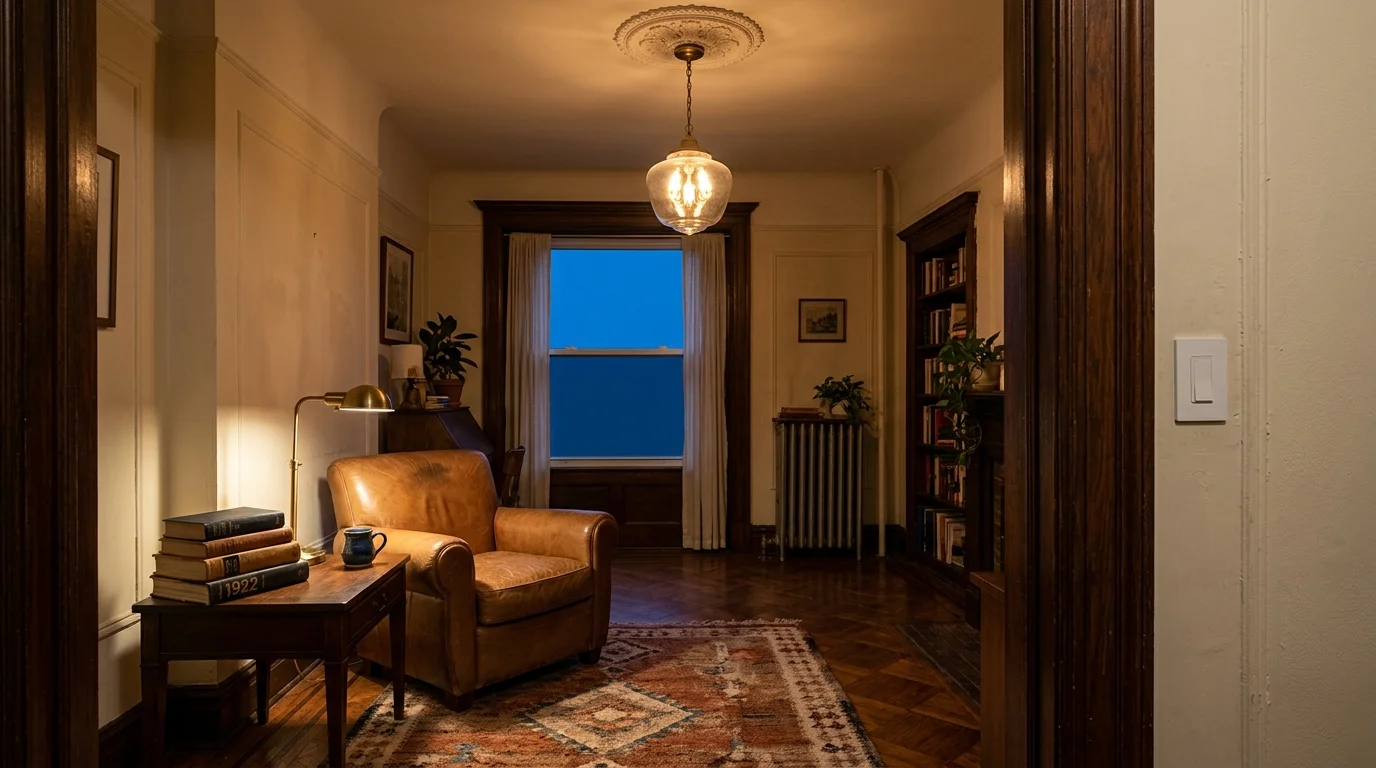
Worked Example: Converting an Authentic 1920s Living Room on a Budget
Consider a 14-foot by 16-foot living room inside an authentic 1928 brick multi-family apartment. The ceiling holds a single-socket brass pull fixture controlled solely by a dangling six-foot cord.
Once your main fixture is operational, you can explore how to set up smart lighting zones in your home to group it alongside accent lamps and table fixtures seamlessly.
The space features 9-foot plaster ceilings, decorative picture-rail molding, and zero wall switch boxes near the primary door. Entering at night previously required walking eight paces blind across hardwood flooring.
- 1x Philips Hue White Ambiance A19 75-Watt Equivalent Bulb (1,100 Lumens): $27.99
- 1x Philips Hue Wireless Smart Dimmer Switch with surface baseplate: $27.99
- 1x Command Medium Picture Hanging Strips (Pack of 4 pairs): $4.29
- 1x Nylon bead-chain retainer lock (1/8-inch diameter): $1.25
The entire procurement cost totals $61.52 before local sales tax. The physical installation took exactly twelve minutes from breaker shutoff to final remote mounting.
The wireless switch baseplate measures 4.5 inches tall by 2.75 inches wide. It mounts flush against the hallway door casing, matching the historical woodwork height perfectly.
The 1,100-lumen output brightens the entire 224-square-foot room effectively. Idle power consumption of the bulb on constant standby measures merely 0.4 watts on electrical monitoring meters.

Wireless Protocols: Why Zigbee and Thread Beat Wi-Fi for Battery Switches
Wireless transmission protocols dictate whether your battery switch responds instantly or suffers noticeable lag. Selecting the proper radio standard directly affects everyday convenience.
If your building uses complex shared internet, review our guide on connecting headless smart devices to captive portal apartment Wi-Fi networks before onboarding any Wi-Fi-dependent hardware.
Wi-Fi battery buttons disconnect from local access points to conserve power between presses. Reconnecting to your router introduces two to five seconds of frustrating latency before the lamp activates.
Zigbee and Thread switches remain in an ultra-low-power receptive state continuously. They transmit commands almost instantly, triggering lighting changes within 80 milliseconds.
The adoption of the universal Matter Smart Home Standard allows Thread devices to bridge seamlessly across Apple Home, Google Home, and Home Assistant platforms.
Performance benchmarks documented by PCMag Smart Home confirm that mesh networks route commands locally. This ensures your light switch operates normally even during home internet outages.
Each mains-powered smart bulb you install doubles as a mesh signal repeater. This self-healing network delivers robust signal coverage throughout deep pre-war apartment layouts.
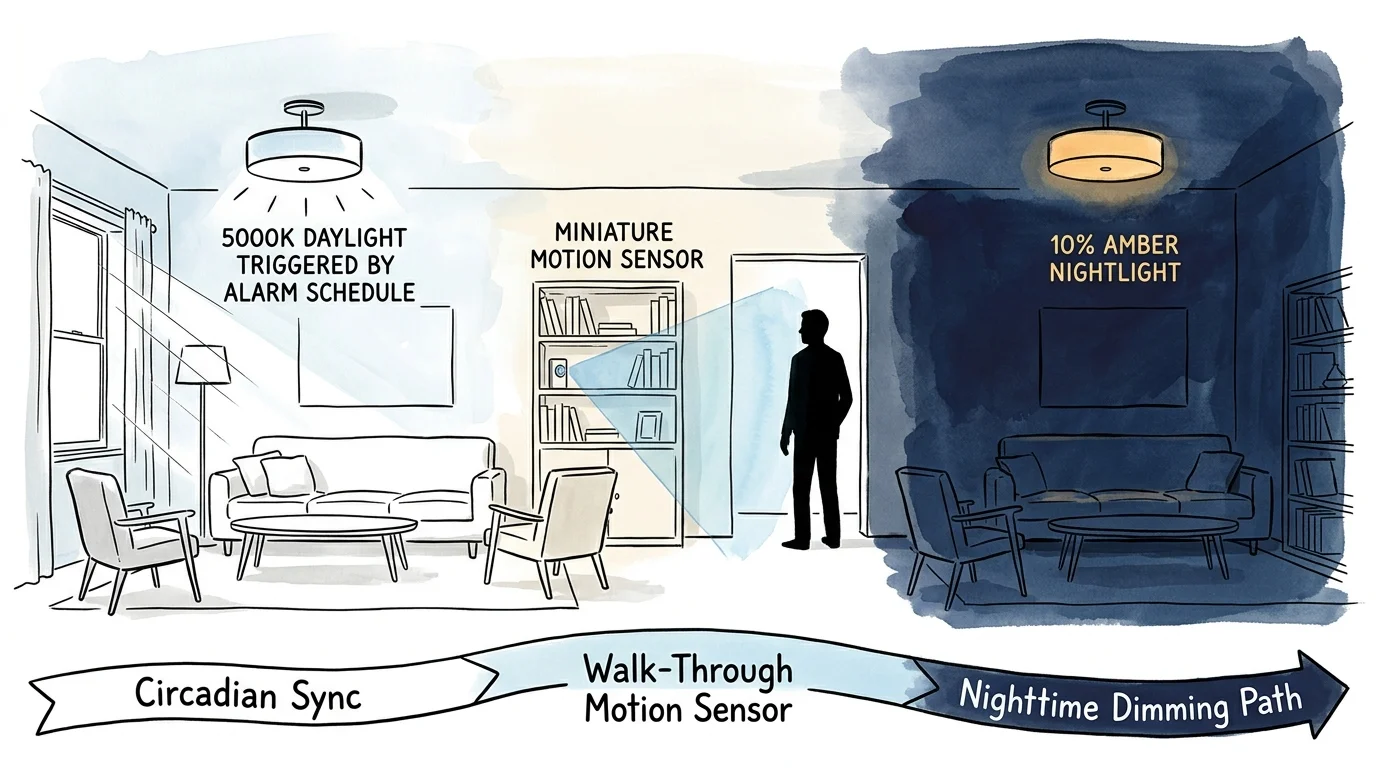
Advanced Automations: Schedules, Dimming, and Motion Sensor Pairing
Once you decouple switching from raw line voltage, your ceiling fixture integrates into dynamic home routines. You gain access to capabilities traditional toggle switches cannot deliver.
Circadian rhythm lighting automations shift color temperatures smoothly throughout the day. Your fixture emits crisp 5,000 Kelvin daylight at noon and shifts to soothing 2,200 Kelvin warm white by 9:00 PM.
- Entryway illumination: Pair an adhesive wireless door contact sensor on your door frame to trigger light instantly upon arrival.
- Nightlight mode: Program a double-click on your wireless switch to illuminate the ceiling bulb at five percent brightness after midnight.
- Automated vacation cycles: Set the fixture to toggle randomly between dusk and 11:00 PM while traveling to simulate occupancy.
- Hands-free shutoff: Configure an ambient light sensor to extinguish the ceiling fixture when natural window sunlight exceeds 300 lux.
These conditional automations function seamlessly in the background without physical interaction. You enjoy luxury modern lighting intelligence without altering historic building architecture.
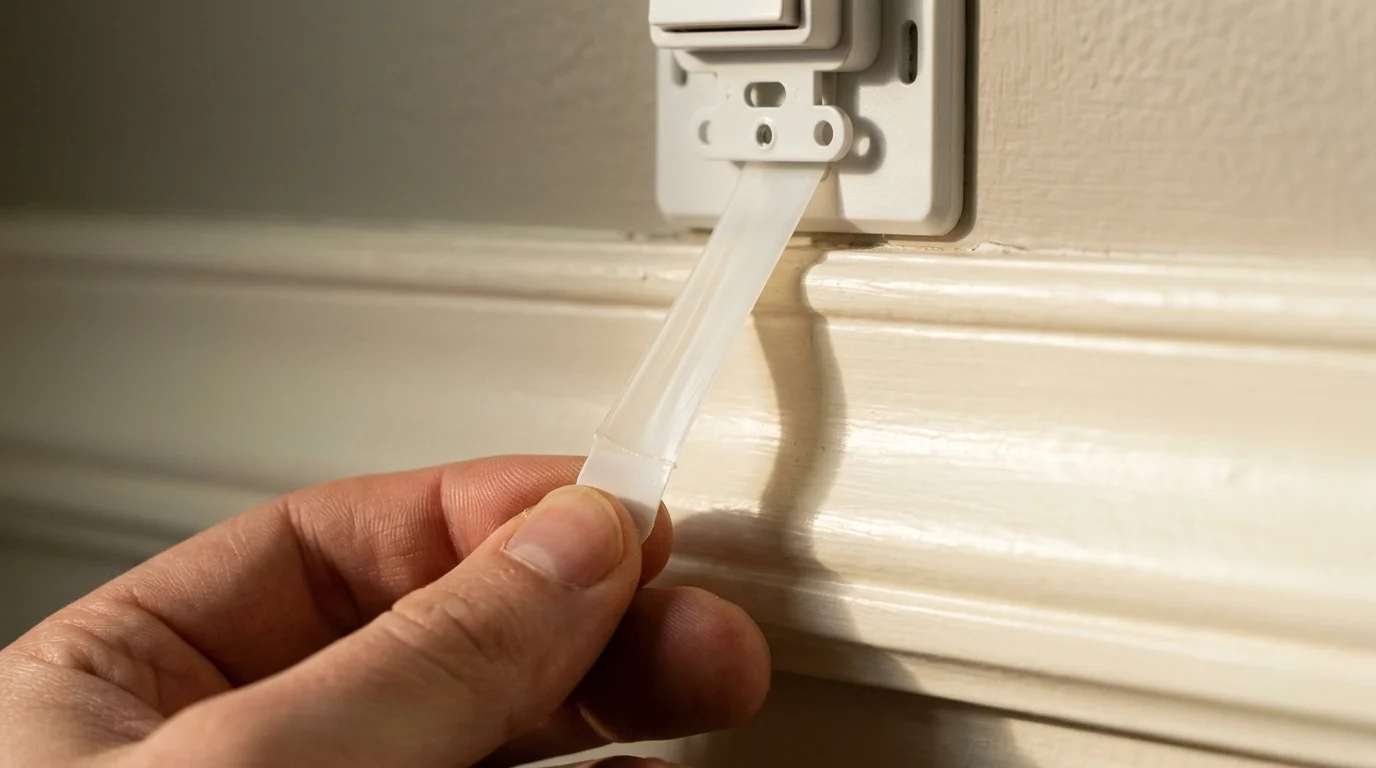
Move-Out Restoration: Leaving Zero Footprint on Antique Trim
Preserving original plaster finishes guarantees full return of your rental deposit when your lease expires. Removing your smart installation requires only five minutes and zero patch materials.
Standard foam adhesives tear vintage wall paint and degrade brittle plaster surfaces. Always apply damage-free synthetic rubber adhesive strips explicitly rated for clean removal.
- Slow vertical release: Pull adhesive release tabs straight downward against the trim surface without lifting outward to prevent finish stripping.
- Residue cleanup: Wipe away any remaining adhesive binder using a microfiber cloth lightly dampened with 70 percent isopropyl alcohol.
- Chain release: Unclamp the plastic bead retainer from the fixture and pull the cord to confirm mechanical switching remains fully functional.
- Pack equipment: Remove your smart bulb, reinsert a budget warm-white LED incandescent replacement, and test standard manual operation.
Your ceiling fixture returns to its exact original condition. You carry your complete connected lighting system forward to your next home without leaving a single mounting hole behind.
Frequently Asked Questions
Can I leave a pull-chain light fixture turned on permanently?
Yes, leaving the mechanical pull chain engaged keeps line voltage at the socket continuously. Smart LED bulbs draw negligible standby current and are engineered specifically for uninterrupted line voltage.
What happens to the smart light if someone accidentally pulls the chain?
Pulling the chain cuts mechanical power, taking the smart bulb offline. Simply tug the chain once more to restore line voltage, and the bulb will automatically reconnect to your network within seconds.
Do I need a separate hub to control my converted pull-chain light?
Direct Wi-Fi or Bluetooth smart bulbs function without extra equipment. However, Zigbee or Thread installations require a compatible bridge or smart speaker hub to process wireless wall switch signals.
Will smart socket adapters fit under enclosed vintage milk-glass shades?
Socket adapters add roughly one to two inches of length to the bulb base. For enclosed antique globes, install an all-in-one A19 smart bulb instead to maintain original factory dimensions.
Disclaimer: This article is for informational purposes only. Smart home devices involve electrical connections and data privacy. Always follow manufacturer instructions for installation. For complex wiring or HVAC work, consult a licensed professional.