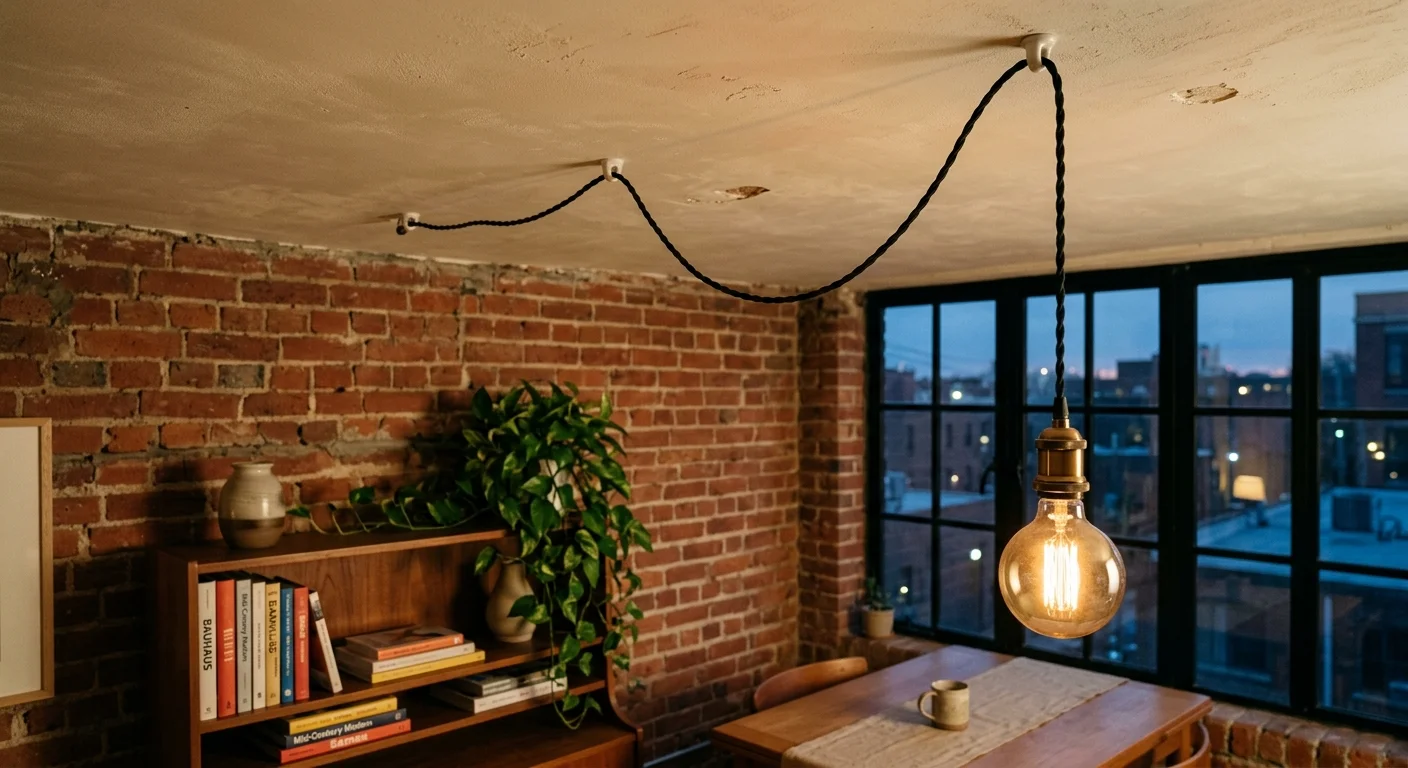
Renters living in a 1920s brick studio face a difficult lighting layout: bare plaster ceilings, zero overhead electrical junction boxes, and strict lease bans on drilling. Attempting to hang overhead swag fixtures with adhesive hooks invites disaster when perpendicular tensile load tears historic plaster keys.
Building a portable setup of smart devices you can take with you solves dark living zones without risking your security deposit. This walk-through details what to buy, pairing, app settings, and safe placement in exact sequence.
Selecting Lightweight Hardware and Bulbs
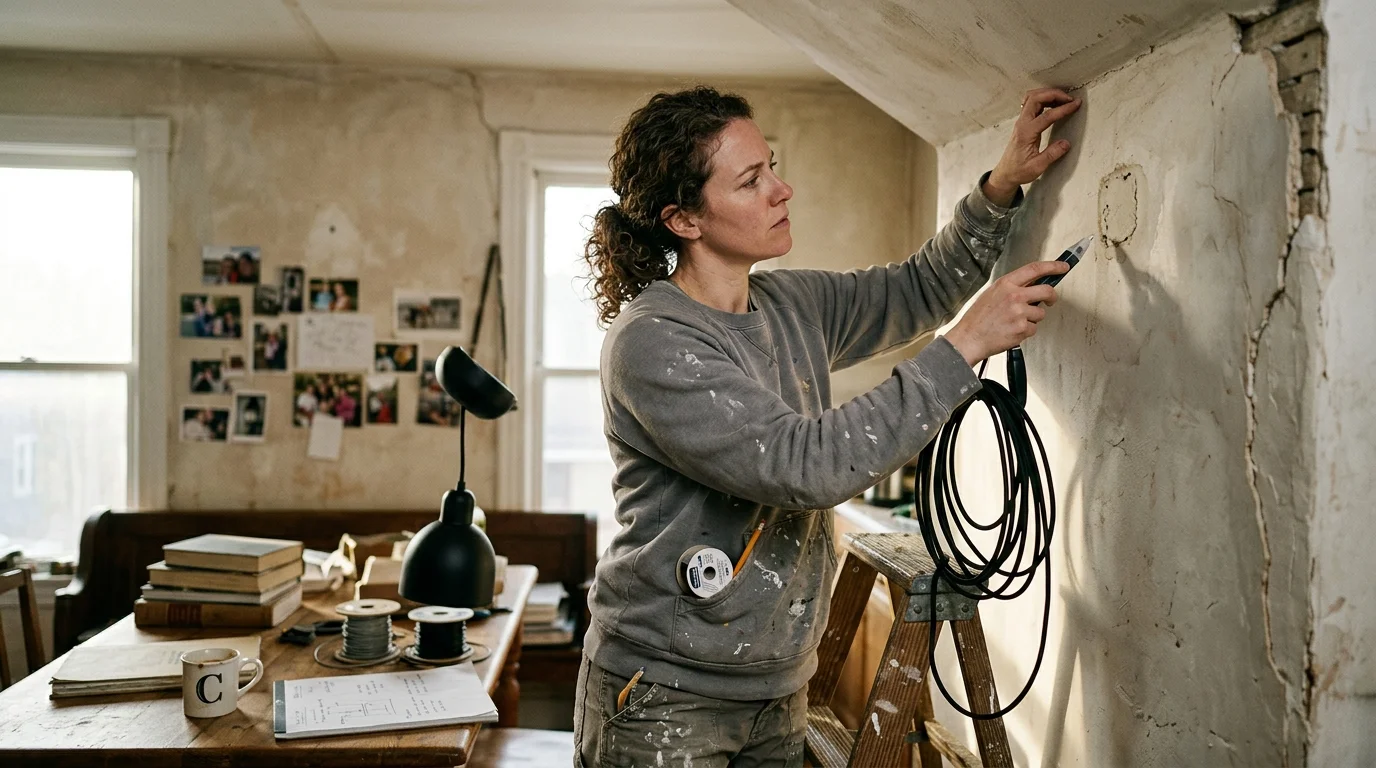
Pre-war studio apartments built between 1900 and 1930 feature lime plaster and wood lath that crumble under drill vibration. Overhead swag fixtures require mechanical fasteners into joists, but when drilling is prohibited, a floor-standing arch lamp or wall-mounted sconce arm provides non-destructive overhead suspension.
Never buy adhesive hooks like 3M Command Picture Hangers for overhead ceiling loads. Adhesive strips hold wall shear well, but tensile ceiling pull and horizontal cord drag tear them free from vintage plaster.
Standard smart bulbs emit only 800 lumens, leaving cavernous studio ceilings dim. Choose high-output bulbs producing 1,100 to 1,600 lumens to illuminate functional zones from a single pendant drop.
The Philips Hue White & Color A21 delivers 1600 lm at 16.0 W using Zigbee and Bluetooth, weighing 168 g. The LIFX Color A21 provides 1600 lm at 14.5 W over Wi-Fi (802.11 b/g/n), weighing 210 g.
For lighter fixture drops, the Wyze Bulb Color A19 produces 1100 lm at 12.0 W on 2.4 GHz Wi-Fi, weighing 75 g. The Nanoleaf Essentials A19 delivers 1100 lm at 9.0 W, weighing roughly 105–120 g (3.7–4.2 oz).
Independent testing from Wirecutter Smart Home reviews confirms mesh protocols outperform standard Wi-Fi bulbs. The Matter smart home standard enables local control over Thread without cloud lag.
Pair your bulb with a spun aluminum wide-cone shade (9.0 ounces / 0.56 lb) and a braided rayon cord with porcelain socket (12.0 ounces / 0.75 lb). Avoid heavy pressed glass globes weighing three to five pounds.
A sample two-pendant setup requires $268 total: two Hue bulbs ($130), two cloth swag kits ($54), two aluminum shades ($48), and mounting channels ($36). Confirm current prices on the maker’s page before buying.
What to check before moving on: Weigh the assembled bulb, socket, and shade on a kitchen scale to verify total weight stays under 2.5 pounds. Confirm your bulb wireless protocol matches your home router or Thread border router.
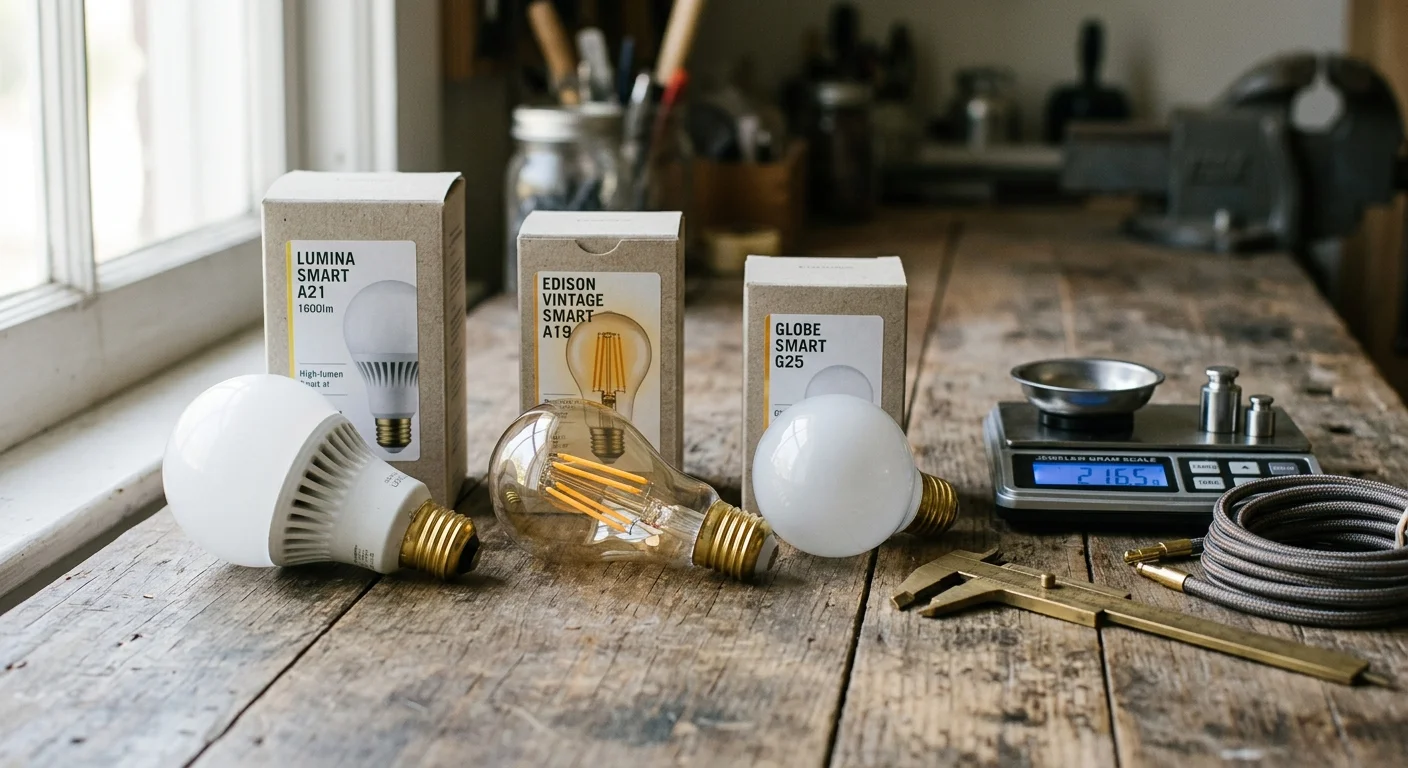
Benchtop Pairing for Bulbs and Wireless Switches
Pair your smart bulbs at desk level before hanging cords overhead. Screwing a bulb into a swag socket on a work table ensures quick access to pairing buttons and QR codes.
Screw the bulb into the swag socket and plug the cord into a baseboard outlet near your Wi-Fi router or smart hub. Open the companion mobile app and scan the Matter QR code or start Zigbee device discovery.
Name each bulb according to its intended zone, such as Dining Swag or Living Area Pendant. Assign the bulbs to their respective studio rooms in the app interface.
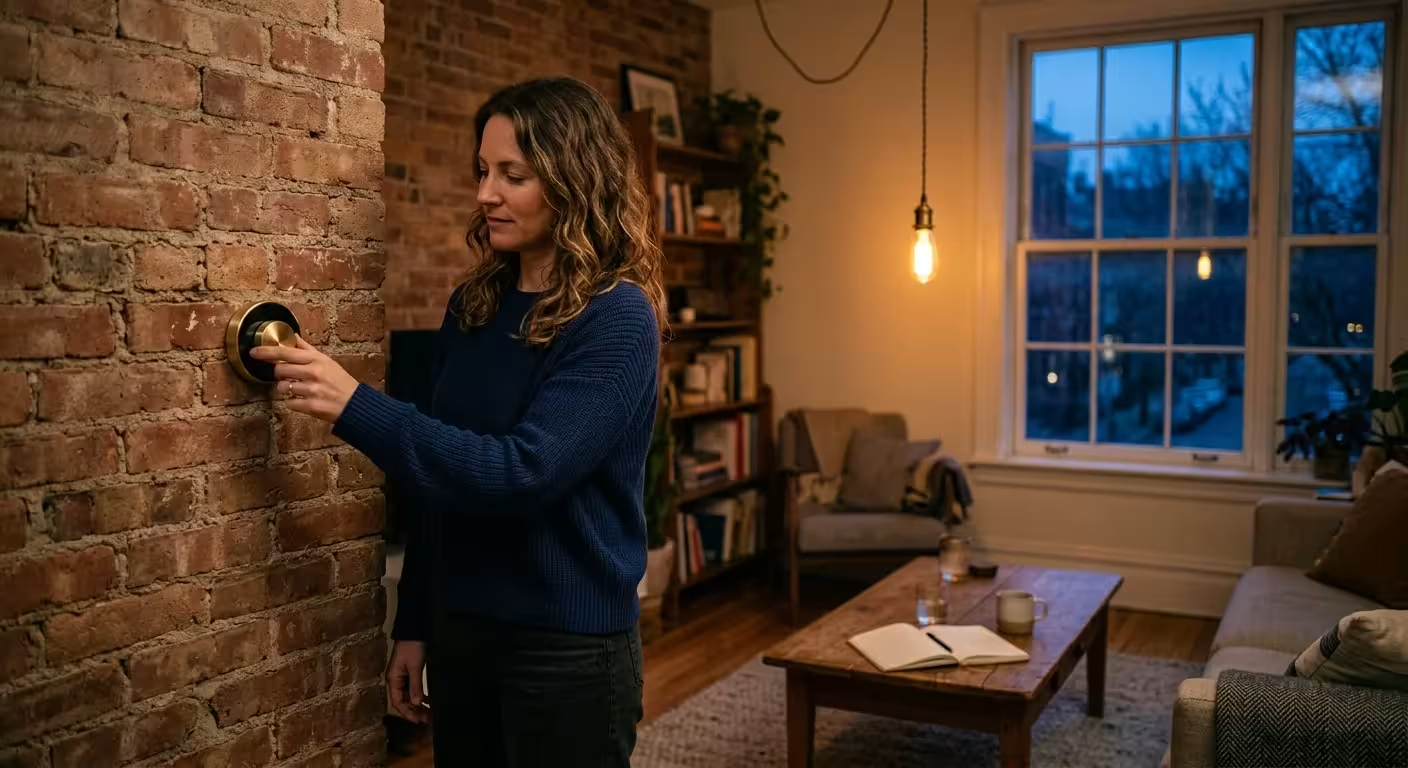
Because swag pendants plug into baseboard outlets, pre-war studios lack entryway light switches for overhead fixtures. Battery-powered wireless remotes like the Lutron Aurora or Hue Smart Dimmer solve this issue without running in-wall Romex wiring.
Pair the wireless dimmer in your smart lighting app and link it directly to your newly added pendant bulbs. Mount the switch bracket near the entry door using removable adhesive tape.
What to check before moving on: Toggle the wireless switch to ensure the smart bulbs respond instantly with zero connection lag. Confirm the bulbs show a solid connection status in the app and respond to smooth dimming commands.
Configuring Daily Automations and Lighting Scenes
Dividing an open studio layout into distinct lighting layers separates sleeping, working, and dining areas. Smart bulbs let you shift brightness and color temperature automatically throughout the day.
Program your lighting ecosystem with automated schedules aligned to natural circadian patterns. Automations eliminate manual adjustments while optimizing focus during remote work hours.
- 07:30 AM (Wake Up): Bulbs brighten gradually over 15 minutes from 1% amber to 80% cool white (5000K).
- 12:00 PM (Midday Focus): Pendants hold 100% output at 4500K daylight balance for active daytime task lighting.
- 06:00 PM (Dusk Wind-Down): Pendants drop to 2700K warm incandescent tone at 60% intensity to ease visual strain.
- 10:30 PM (Nighttime Retreat): Bulbs fade to 10% candlelight warmth (2000K) to prepare your eyes for sleep.
If you use an entryway magnetic door contact sensor, configure an automation linking it to your swag pendants. Opening the door after sunset instantly turns on overhead lighting to welcome you inside.
What to check before moving on: Trigger each scheduled scene manually within the lighting app to verify smooth color transitions. Check that the dimming range steps smoothly between 1% and 100% without flickering.
Suspending Swag Pendants and Routing Cords Safely
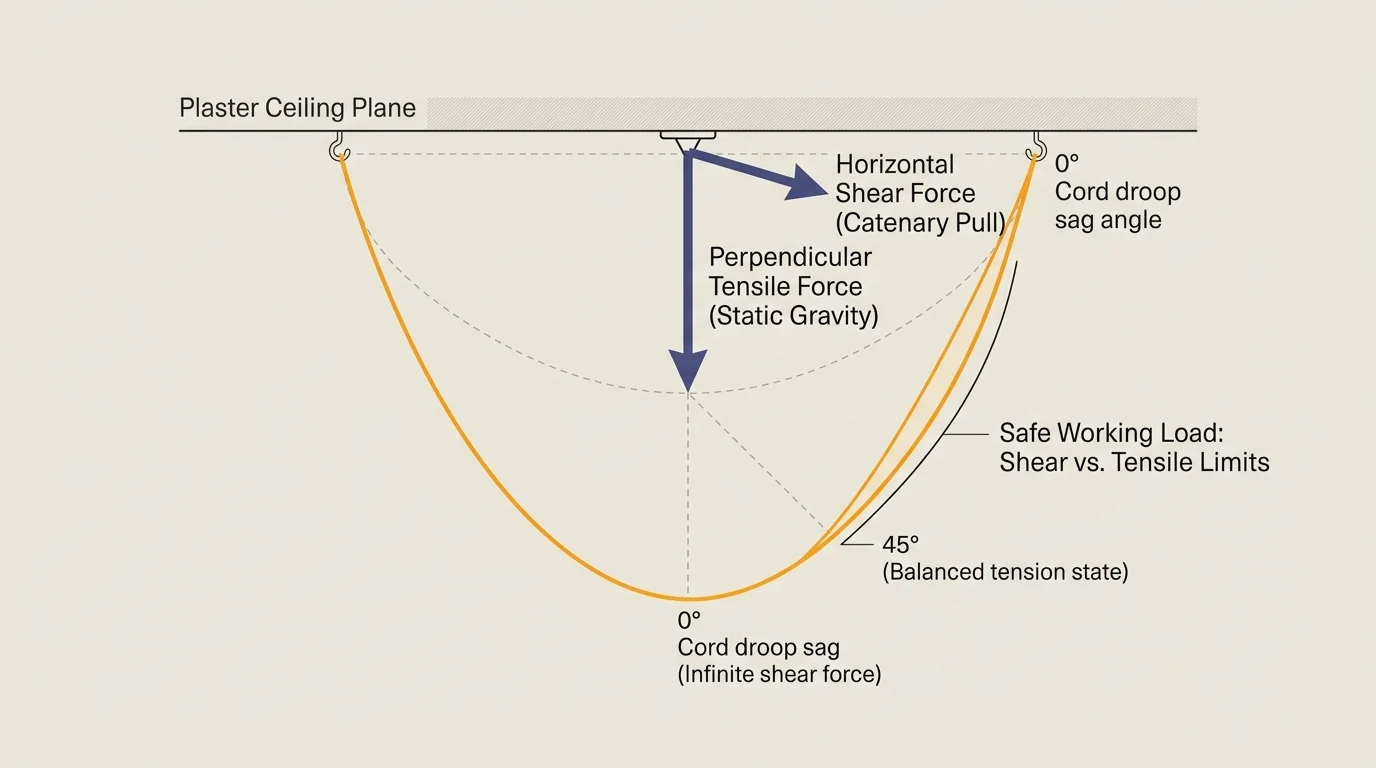
Hanging a swag cord involves static downward gravity and catenary horizontal pull. Pulling the cord sideways toward an outlet creates horizontal shear following the formula H ≈ (w_cord × L²) / (8 × D).
In this parabolic relationship, w_cord is cord weight per foot, L is span length, and D is drape sag depth. As drape sag approaches zero, horizontal tension spikes dramatically, risking structural failure.
Maintain a minimum cord drape sag ratio of 1:6 between support points. If your horizontal span measures 5.0 feet, allow at least 10 inches (0.83 feet) of drape sag to minimize horizontal pull.
Where drilling into ceiling joists is banned by lease terms, suspend the pendant using a floor-standing arch lamp frame or a wall-mounted sconce arm. When mechanical fastening is permitted, use a joist screw hook or rated toggle bolt.
Drop the socket 24 to 30 inches below the ceiling, positioning the shade seven feet above the finished floor. This suspension height optimizes illuminance and avoids lighting empty upper air.
Never apply permanent acrylic tapes like 3M VHB 5952 to vintage plaster, as removal delaminates paint. Use freestanding floor or furniture cord channels to guide drops along baseboards.
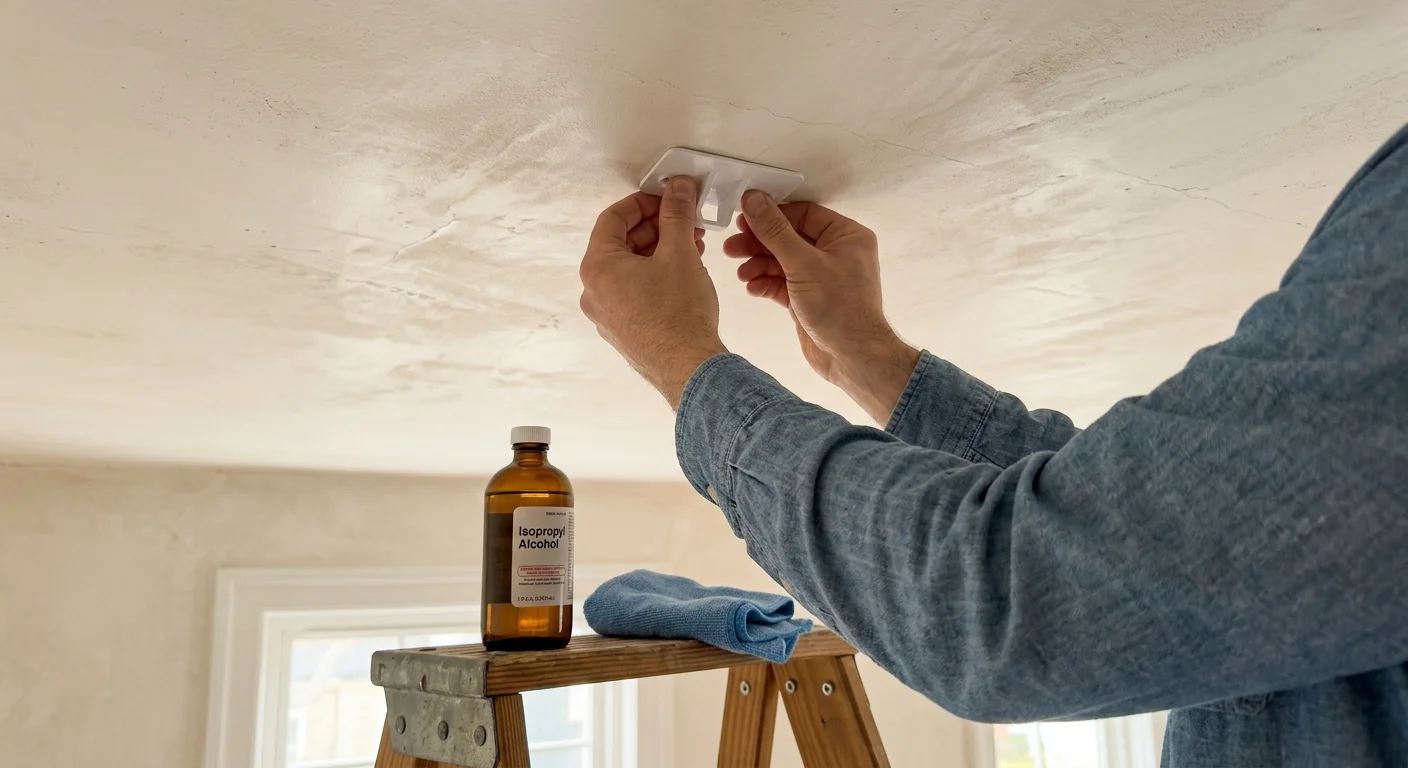
On sound, smooth modern paint, stretch-release adhesive cord clips route cords neatly after wiping the surface with 70 percent isopropyl alcohol. Never place adhesive clips overhead on plaster ceilings.
What to check before moving on: Confirm the socket hangs seven feet above the floor with visible 1:6 drape sag. Tug the cord gently near the outlet to ensure baseboard tension remains completely static.
Distributing Balanced Lumens Across Studio Zones
Pre-war studio apartments feature high nine-foot ceilings or 9.5-foot ceilings that dilute overhead illumination. Under the inverse-square law, hanging a bulb at nine feet reduces desk-level light by 21 percent compared to eight feet.
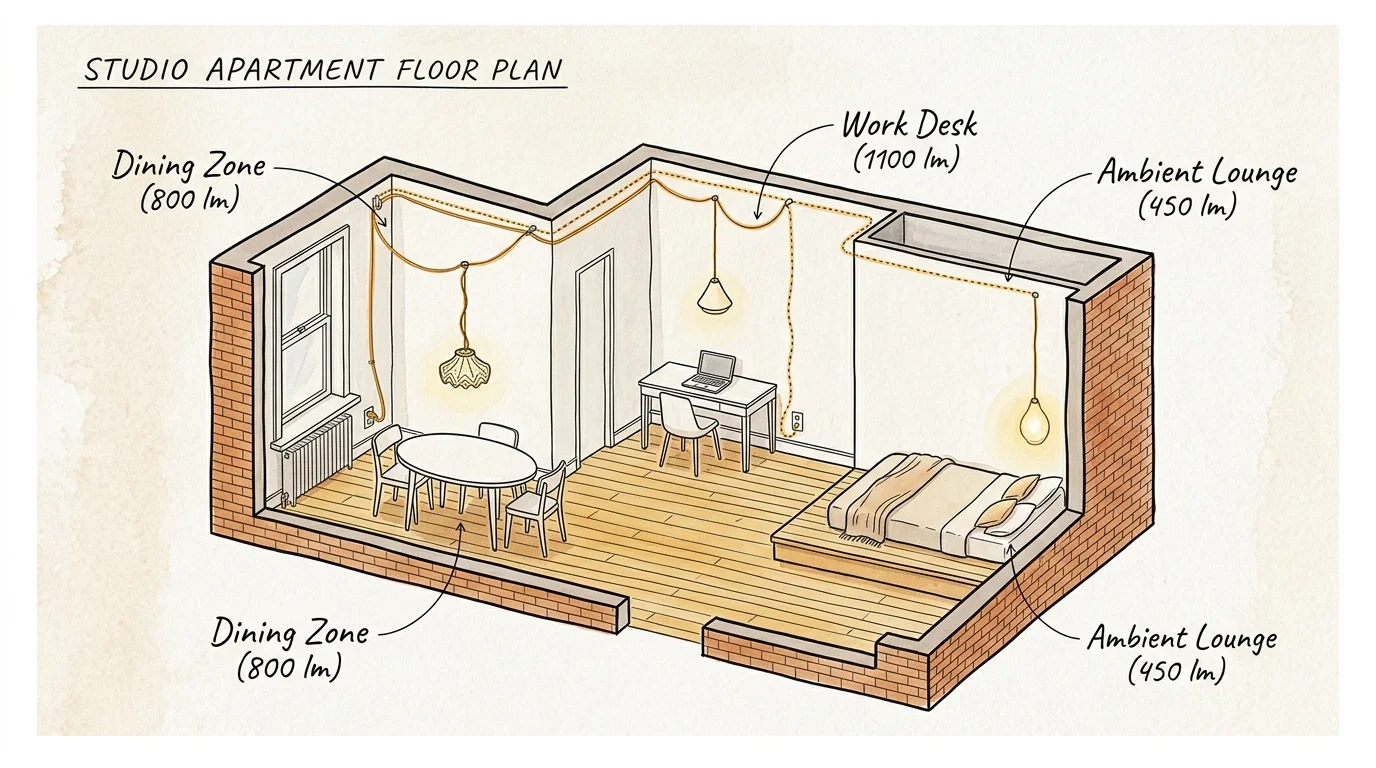
Consider a typical 350-square-foot pre-war studio layout measuring 14 feet wide by 25 feet long. The space contains a 180-square-foot living area, an 80-square-foot kitchen alcove, and a 90-square-foot sleeping nook.
With only two active perimeter baseboard outlets, lighting must be calculated accurately using foot-candles. Target 15 to 20 lumens per square foot for sleeping, 25 to 30 for living, and 40 to 50 for desk tasks.
At 25 lumens per square foot, the 180-square-foot central living area requires 4,500 total lumens. Suspending two swag pendants provides balanced multi-point illumination across the main seating area.
Equipping both pendants with Philips Hue A21 bulbs provides 3,200 overhead lumens. An existing supplemental floor lamp delivers the remaining 1,300 lumens to achieve complete room balance.
Weighing the luminaire confirms: the cord and socket weigh 12.0 ounces (0.75 lb), the shade weighs 9.0 ounces (0.56 lb), and the bulb weighs 5.9 ounces (0.37 lb). The total 26.9-ounce (1.68 lbs) assembly hangs safely within equipment limits.
Completing this full lighting setup requires roughly 105 minutes from benchtop pairing to final cord routing. Confirm current bulb specifications and prices on the maker’s page before assembling your hardware.
What to check before moving on: Walk through each studio zone to verify even light coverage without harsh shadows. Ensure baseboard cords sit firmly inside channels and present zero tripping hazards near walkways.
Frequently Asked Questions
Can adhesive hooks safely hold a pendant light on an unpainted ceiling?
No—never use wall-shear adhesive hooks or tape to hang a pendant light on any ceiling, painted or unpainted. Anchor overhead swag pendants only with mechanical ceiling fasteners (a joist screw hook or rated toggle bolt), or use a floor-standing arch lamp or wall-mounted sconce arm when drilling is prohibited.
What happens if a swag cord lacks sufficient slack?
A cord pulled taut increases horizontal pull on the wall clip and ceiling hook as sag approaches zero. Leave generous sag in the swag cord so the ceiling hook carries the vertical fixture weight cleanly without straining wall cord clips.
Can I hang a glass globe shade from an adhesive swag setup?
Never hang any pendant or glass shade from ceiling adhesives. Heavy vintage-style pressed glass globes (often three to five pounds alone) require framing-anchored mechanical ceiling hardware rated for the full weight; for standard swag hooks, stick to lightweight shades like spun aluminum, rattan, or fabric.
How do I remove adhesive tracks without tearing 100-year-old plaster?
Never apply permanent structural acrylic tapes like 3M VHB 5952 to painted or historic plaster walls, because heating them with a hair dryer will not release the bond cleanly and removal delaminates paint and plaster. Use freestanding floor or furniture cord channels instead, or stretch-release Command Cord Clips only on sound, smooth modern paint, following the maker’s slow stretch-release instructions.
Disclaimer: This article is for informational purposes only. Smart home devices involve electrical connections and data privacy. Always follow manufacturer instructions for installation. For complex wiring or HVAC work, consult a licensed professional.