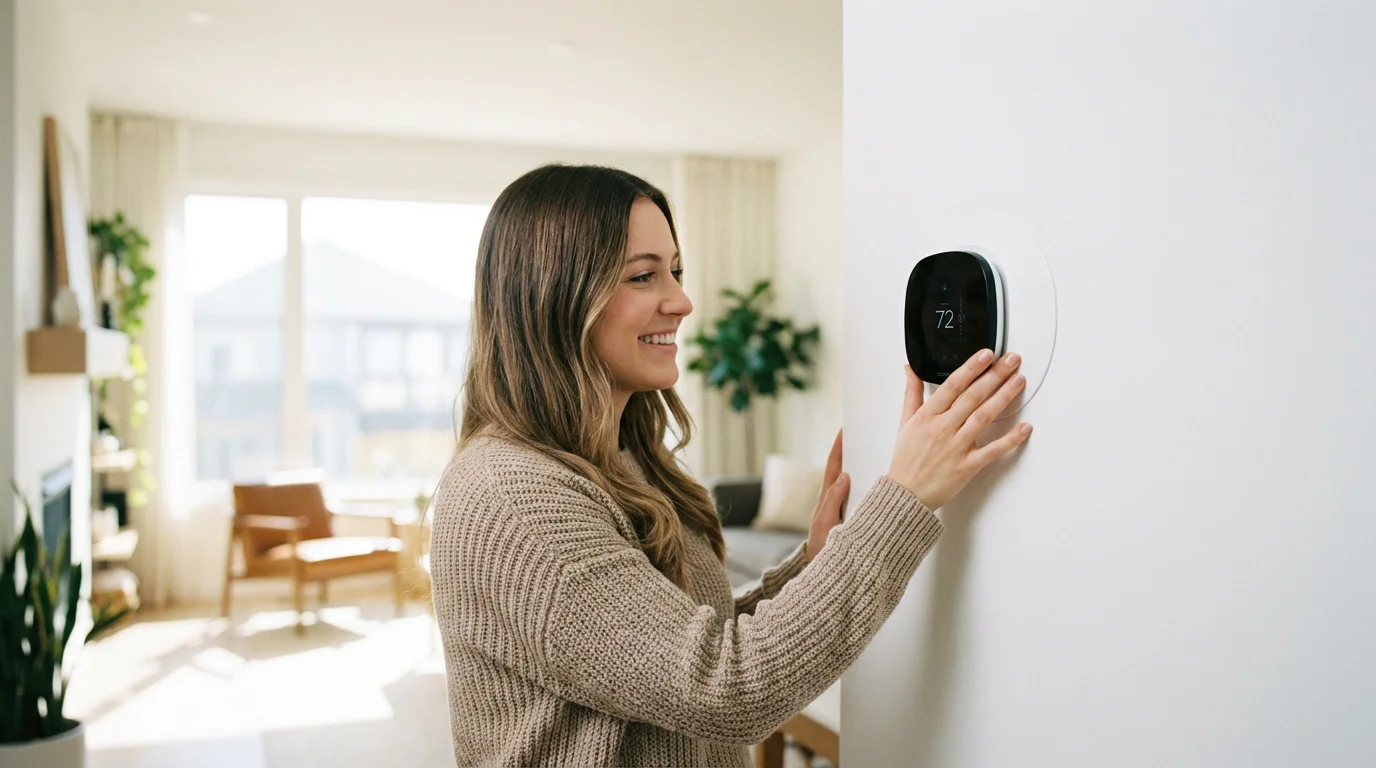
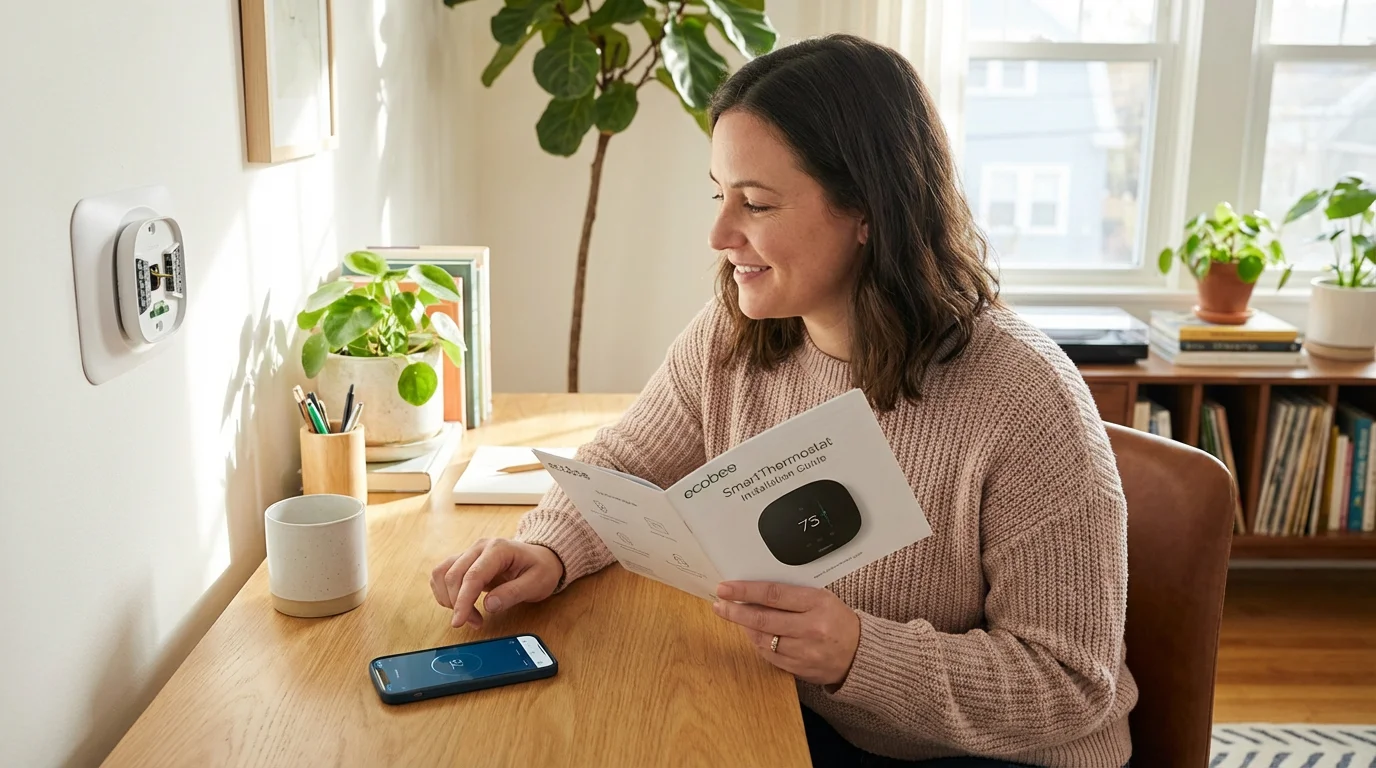
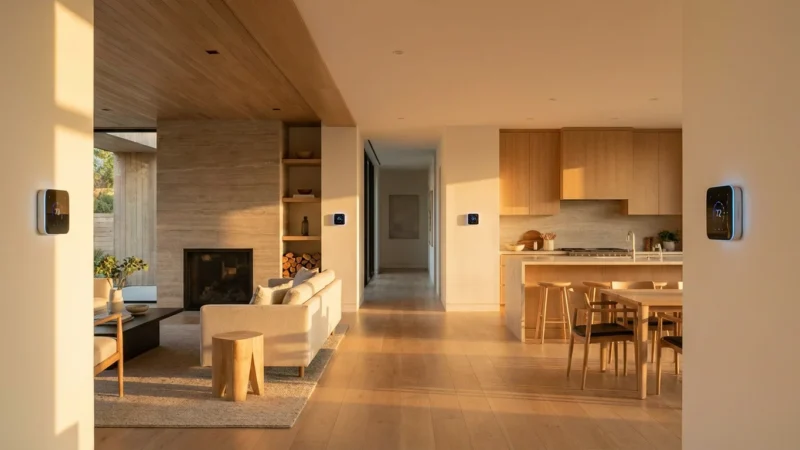
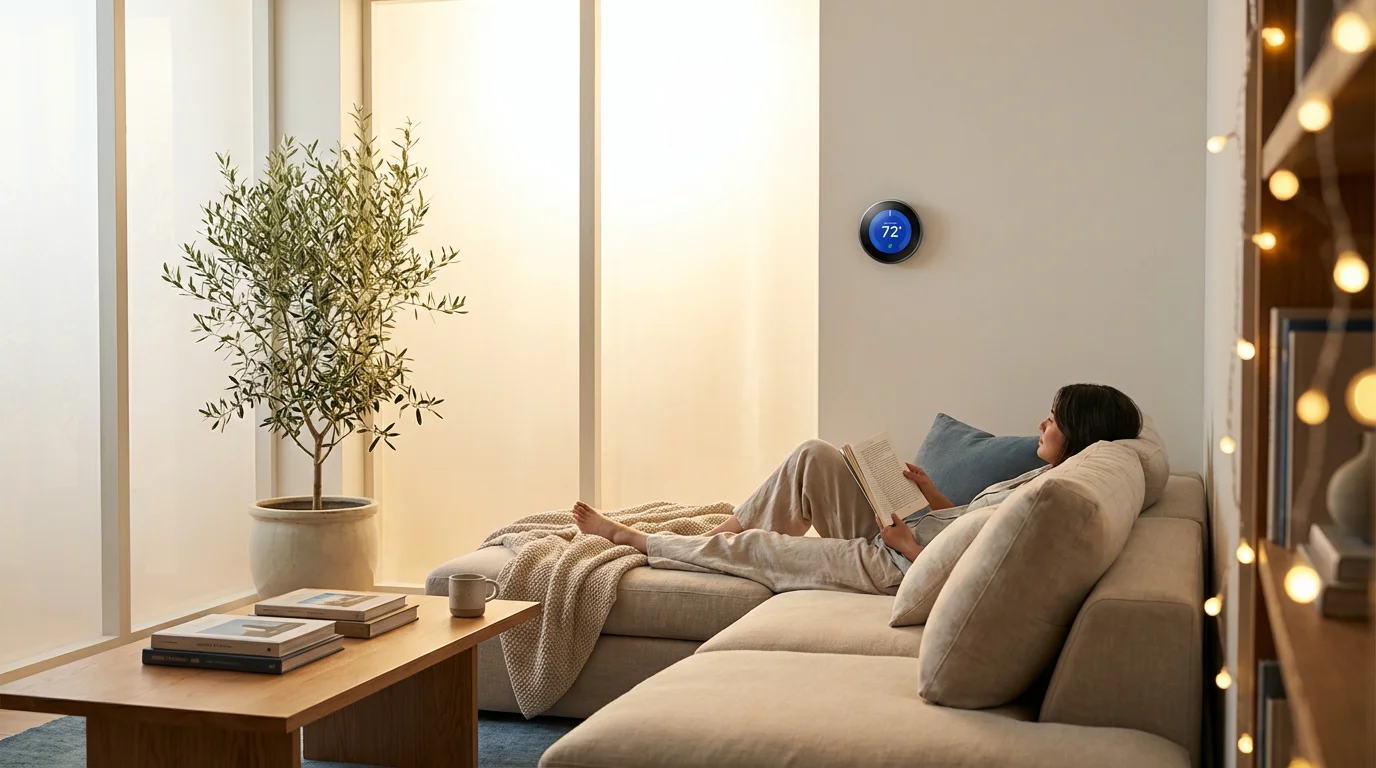
Upgrading your standard thermostat to a smart device is one of the most impactful changes you can make to your home environment. It moves beyond simple temperature control into the realm of home automation, energy efficiency, and predictive comfort. Among the leaders in this space, the Ecobee smart thermostat stands out for its reliability, included room sensors, and broad compatibility with major smart home platforms.
Setting up this device correctly is a foundational step for anyone interested in comprehensive smart home energy monitoring to help lower monthly utility costs.
While the hardware is impressive, the prospect of dealing with electrical wires and HVAC control boards intimidates many homeowners. The good news is that the installation process is engineered for the DIY enthusiast. You do not need an electrical engineering degree to get this running; you simply need patience, the right tools, and a clear understanding of your current system.
This guide provides a comprehensive, step-by-step walkthrough of the installation process. We will cover everything from identifying your wiring to configuring the software for maximum savings. Whether you are installing the premium SmartThermostat with Voice Control or the budget-friendly Ecobee3 Lite, the fundamental steps remain the same.
Pre-Installation: Compatibility and Safety
Before you unscrew a single plate from the wall, you must verify that your system works with an Ecobee and that you can perform the installation safely. Smart thermostats require specific power delivery that older, mechanical thermostats did not need.
If your home uses several units to control different floors, you may want to research smart thermostats for multiple zones before starting your project.
Step 1: Verify System Voltage
Ecobee thermostats are designed for low-voltage (24V) systems, which constitute the vast majority of modern residential HVAC setups in North America. They are not compatible with high-voltage (line voltage) systems. If your current thermostat has thick wires with wire nuts, is labeled 110V or 240V, or controls electric baseboard heaters directly, you cannot use a standard Ecobee.
Step 2: The Tool Kit
Gather everything you need before starting. Having these tools within arm’s reach prevents unnecessary trips to the garage while your AC is off.
- Smartphone: Critical for taking photos of the old wiring and running the Ecobee app.
- Phillips and Flathead screwdrivers: Small sizes (precision drivers) are often helpful for terminal screws.
- Drill and bits: 3/16-inch bit for drywall anchors.
- Labels: Ecobee includes wire labels in the box, but masking tape and a sharpie work in a pinch.
- Pliers: Needle-nose pliers help straighten curved wires.
Safety is non-negotiable. Locate your breaker box and turn off the power to your HVAC system (both the furnace and the air conditioner). Verify the power is off by adjusting your current thermostat and ensuring the system does not engage.
Mapping Your Existing Wiring
The most critical moment of the installation happens before you install the new device. You must accurately map the current wiring configuration. Do not rely on wire colors alone; industry standards exist, but installers sometimes ignore them. Always look at the terminal labels on the old thermostat base.
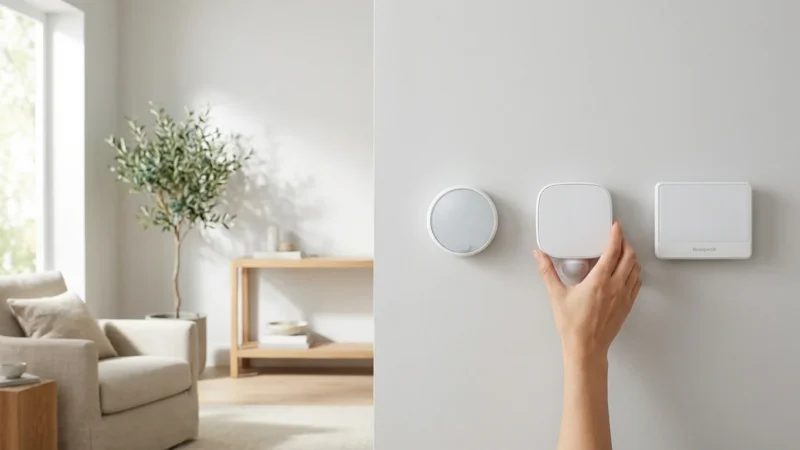
If you are still deciding on hardware, reviewing the differences between Nest vs Ecobee vs Honeywell can help you understand the unique wiring requirements for each brand.
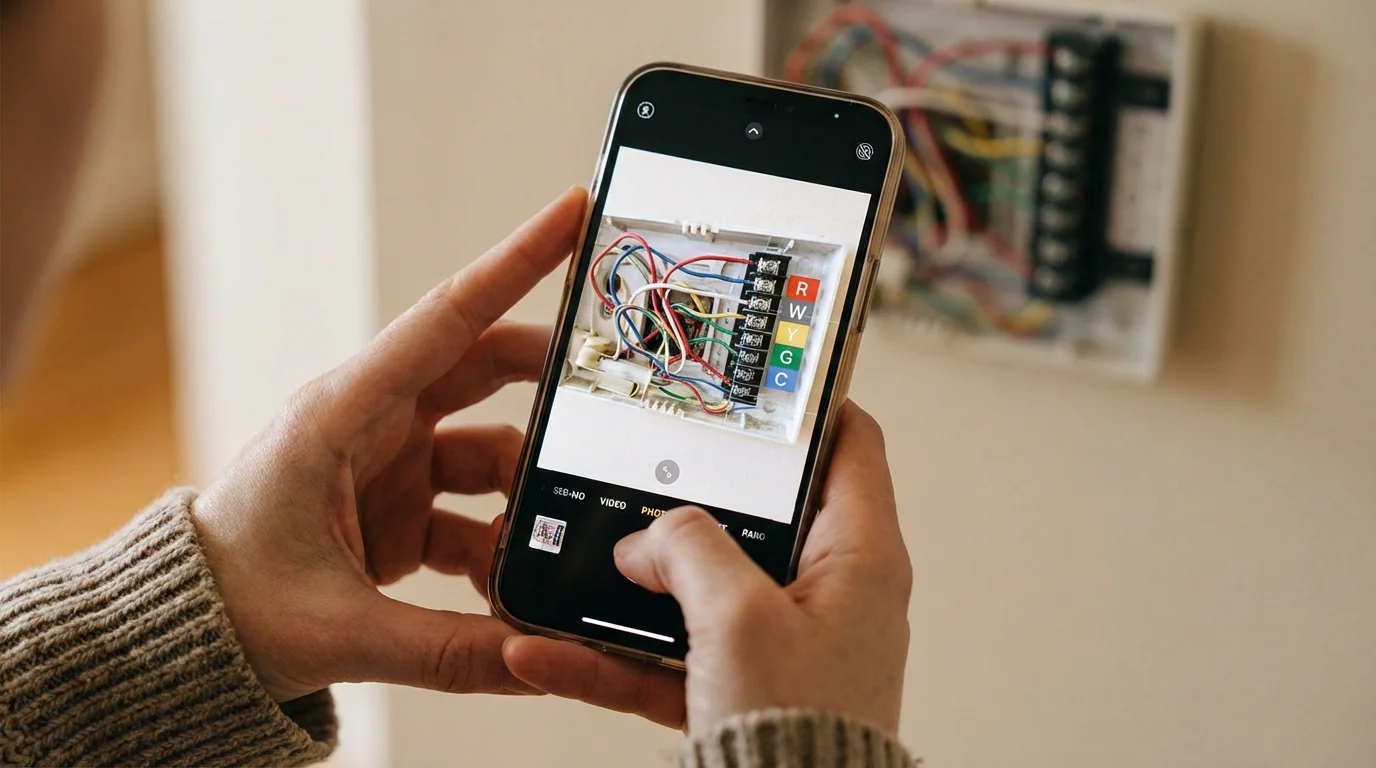
- Remove the Faceplate: Pull the old thermostat off the wall to reveal the backplate and wiring terminals.
- Photograph the Wiring: Take a clear, well-lit photo of the wires connected to the terminals. Make sure the terminal letters are visible in the picture. This is your insurance policy if you get confused later.
- Label Every Wire: Use the stickers provided in the box. Wrap the tag around the wire based on the terminal it is connected to, not the color of the wire. If a red wire is connected to the “R” terminal, label it “R”.
- Identify Jumpers: Many older thermostats have a small metal jumper wire connecting terminals like Rc and Rh. You generally do not need to label or keep this jumper. The Ecobee handles this connection internally.
Common Terminal Codes:
- R, Rc, Rh: Power (24V).
- W, W1, W2: Heating.
- Y, Y1, Y2: Cooling (Compressor).
- G: Fan.
- C: Common wire (continuous power).
- O/B: Heat pump reversing valve.
The C-Wire Solution: Using the Power Extender Kit (PEK)
The “Common” wire, or C-wire, provides continuous 24-volt power to the thermostat. Old thermostats ran on batteries or simple mechanical switches and didn’t need this. Smart thermostats with Wi-Fi radios and bright displays demand constant power.
If you encounter any power-related difficulties after this step, our guide on fixing C-wire issues provides deeper technical solutions.
Scenario A: You Have a C-Wire
If you see a wire connected to the “C” terminal on your old thermostat, or if you find an unused wire tucked into the wall behind the plate, you are in luck. You can connect this directly to the Ecobee C terminal. Proceed to the mounting section.
Scenario B: You Do Not Have a C-Wire
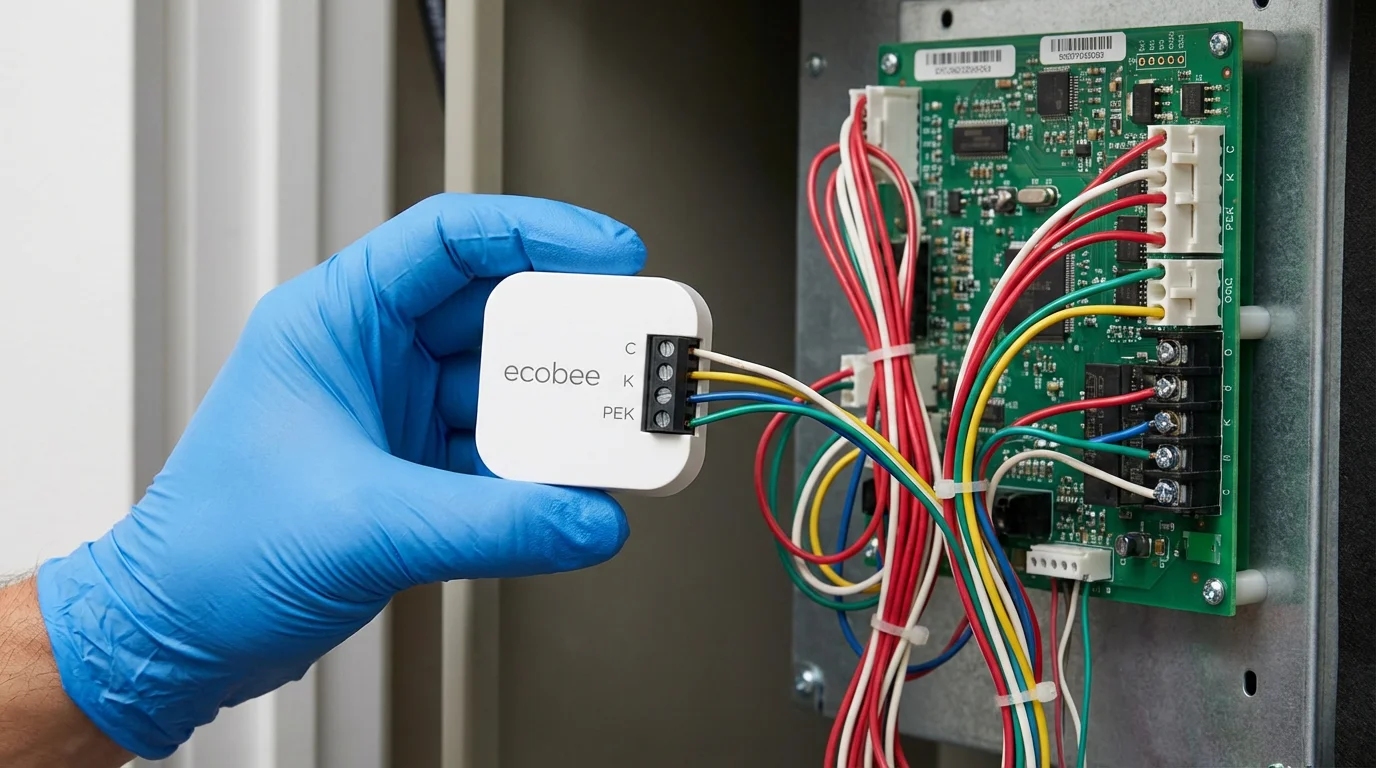
If you lack a C-wire, you must install the Power Extender Kit (PEK) included with your Ecobee. This small device creates a virtual C-wire using your existing conductors. This requires accessing your furnace control board.
Installing the PEK:
- Go to the Furnace: Locate your HVAC unit (usually in the attic, basement, or utility closet). Remove the access panel to reveal the control board where the thermostat wires terminate.
- Photograph the Board: Just like the thermostat, take a picture of how the wires connect to the control board screws.
- Disconnect Wires: Loosen the R, G, Y, and W wires from the control board.
- Connect to PEK: Insert the wires you just removed into the corresponding input side of the PEK module.
- Connect PEK to Board: The PEK has five white wires coming out of the other side. Connect these to the R, G, Y, W, and C terminals on your furnace control board.
- Mount the PEK: Use the sticky pad to secure the PEK inside the furnace cabinet, ensuring it doesn’t touch any moving parts or high-voltage components.
- Close the Panel: Secure the furnace cover. Note that many furnaces have a safety switch that prevents operation if the panel is open.
According to Energy Star, ensuring proper installation is key to realizing the potential energy savings of a smart thermostat. Taking the time to install the PEK correctly ensures your device stays online and functions efficiently.
Mounting the Hardware and Connecting Wires
With the wiring logic solved, you can now install the physical unit. This process gives your wall a clean, modern look.
Prepare the Wall
Remove the old backplate. If the old holes don’t line up with the Ecobee backplate (they rarely do), use the large trim plate included in the box to cover any unpainted areas or old screw holes. If you prefer a minimalist look and your wall is in good condition, you can skip the trim plate.
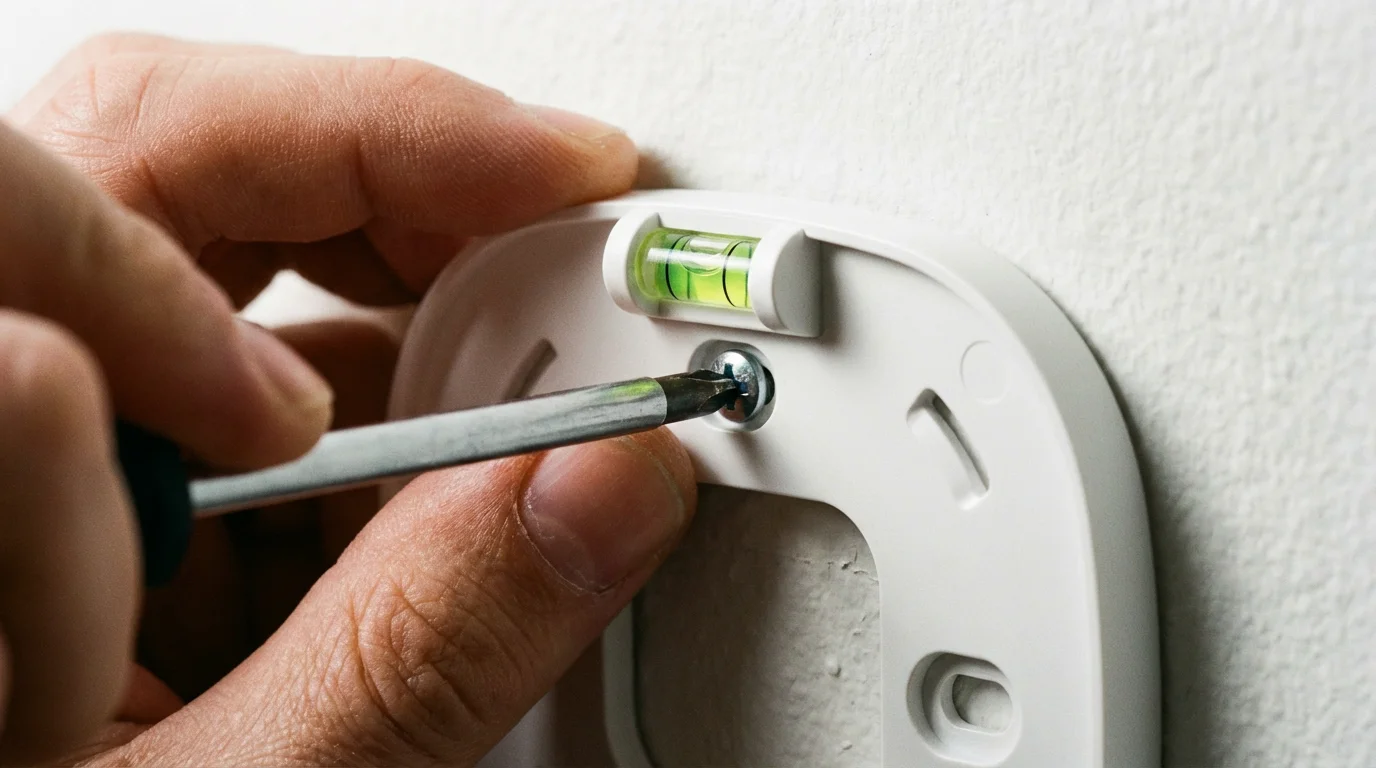
Install the Backplate
Feed the wires through the center hole of the Ecobee backplate. Hold the plate against the wall and use the built-in bubble level to ensure it is perfectly straight. Mark your holes with a pencil.
Drill holes using a 3/16-inch bit and gently tap in the drywall anchors. Screw the backplate securely to the wall. Do not over-tighten, as this can warp the plastic and make snapping the unit on difficult.
Connect the Wires
Insert your labeled wires into the corresponding quick-connect terminals. You should feel a distinct tactile click, and the lever on the terminal will stay depressed. Gently tug on each wire to ensure it is seated firmly.
- If you used the PEK: The G wire will go into the C terminal, and the Y wire will go into the PEK terminal. Follow the specific wiring diagram in the Ecobee app for PEK users.
- Excess Wire: Push any extra wire back into the wall cavity. This prevents the wires from bunching up and stopping the thermostat from clicking into place.
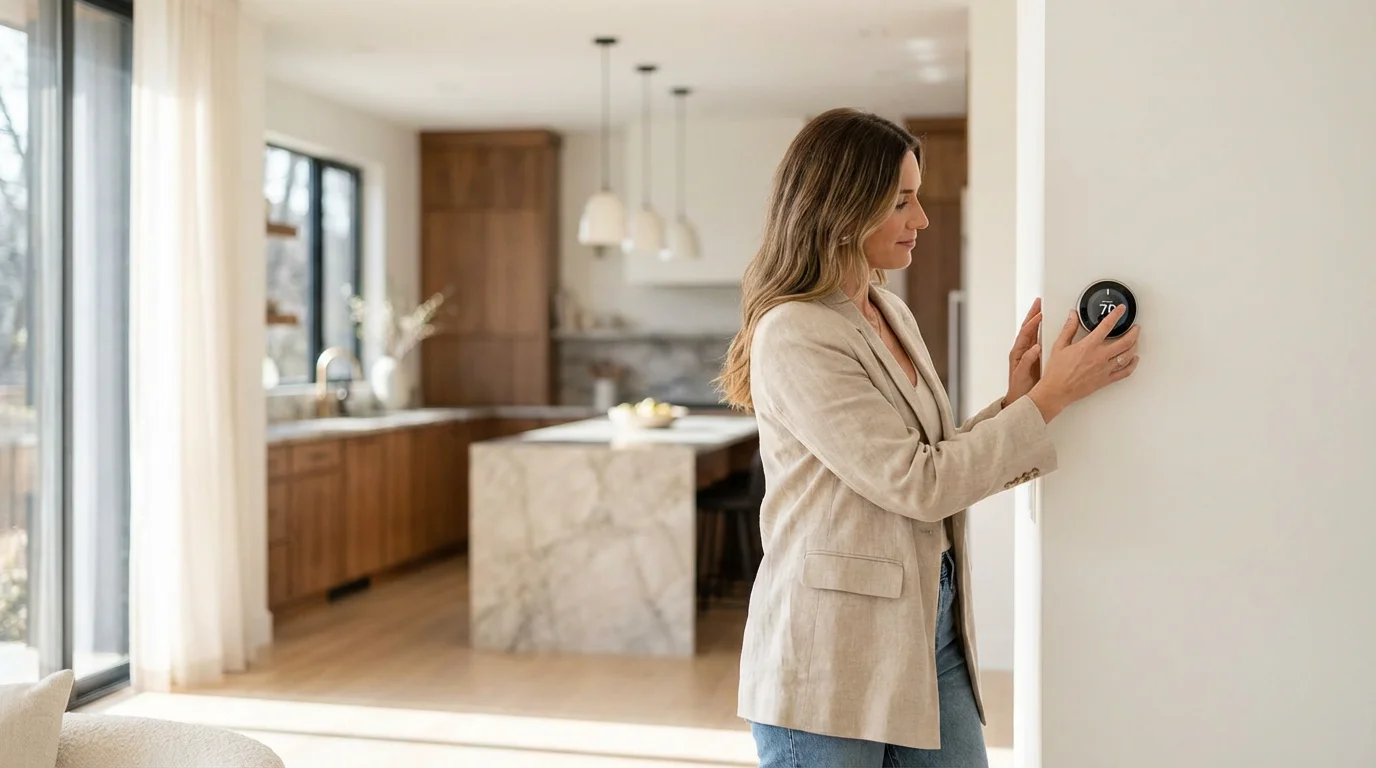
Initial Setup and System Configuration
Attach the main thermostat unit to the backplate. It should snap on with a satisfying click. Return to your breaker box and restore power to the HVAC system.
Once the system is active, remember that preparing your smart thermostat for seasonal changes will help you maintain peak efficiency year-round.
Once the hardware is connected, take the time to dive into understanding smart thermostat scheduling to ensure your home stays comfortable without wasting energy.
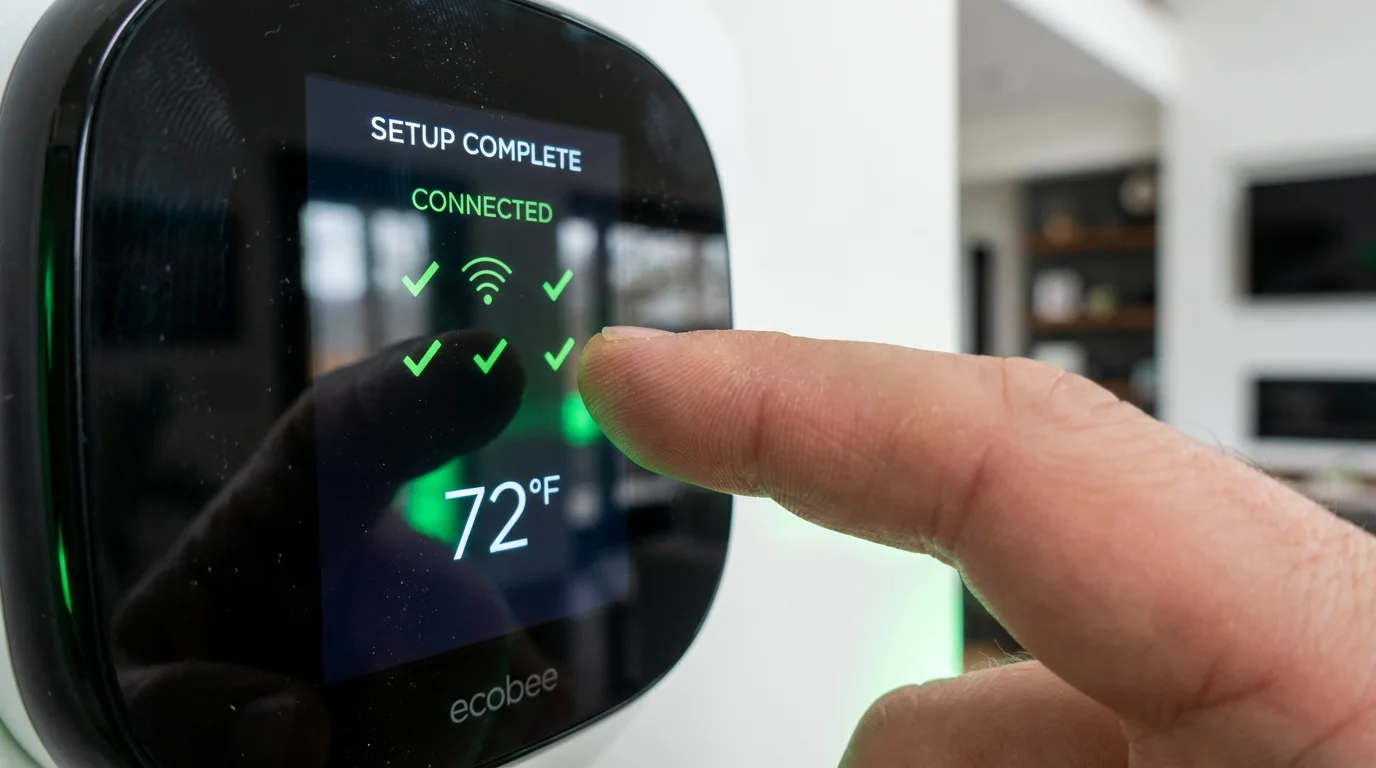
If successful, the Ecobee screen will light up, usually displaying a “Hi” message. The device will now guide you through the configuration wizard.
Critical Configuration Steps:
- System Type: You must correctly identify if you have a furnace (forced air), a boiler (radiators), or a heat pump. Selecting “Heat Pump” when you have a standard AC/Furnace combo can cause the system to run inefficiently or not at all.
- O/B Reversing Valve: If you have a heat pump, the system will ask if the reversing valve energizes on cool (O) or heat (B). Most brands (like Rheem or Ruud) use B, while others (like Trane or Lennox) use O. Check your previous thermostat’s wiring photo to confirm.
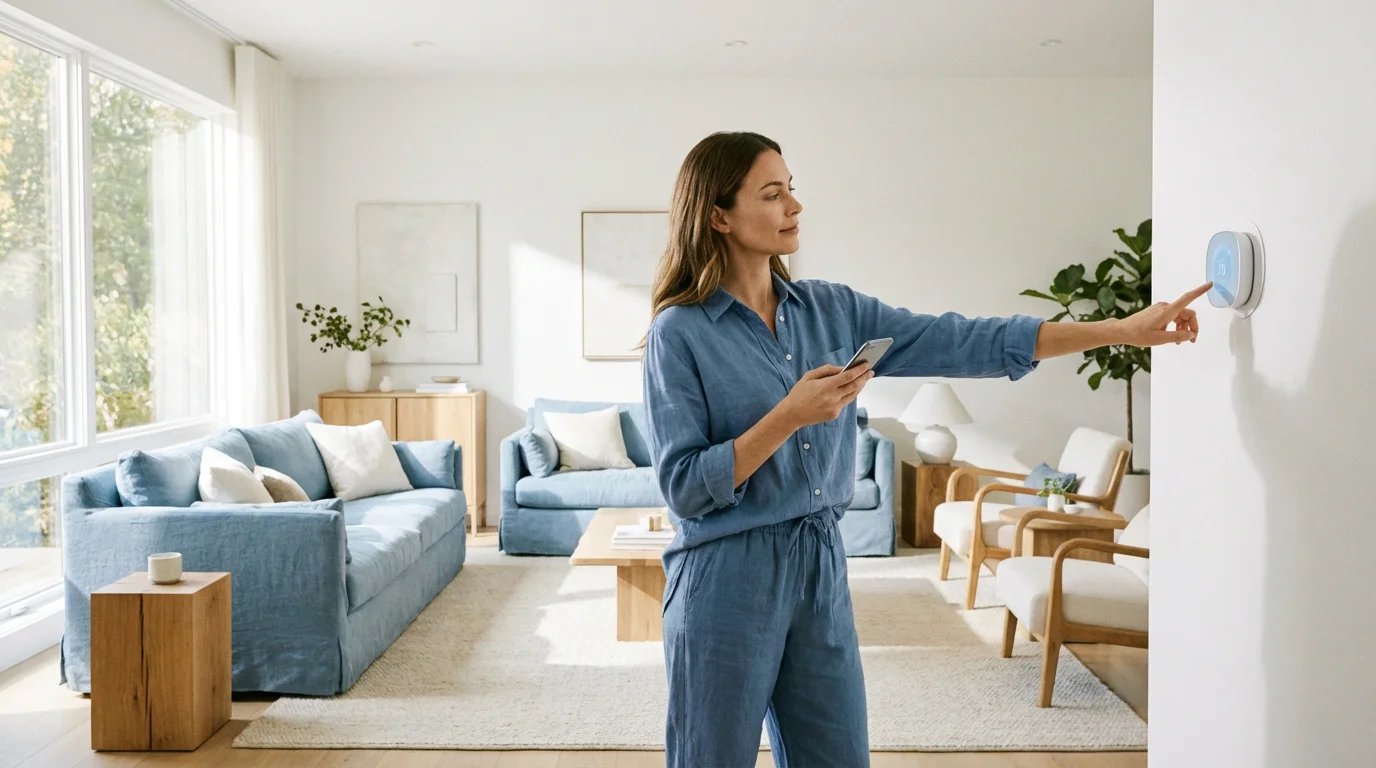
- Wi-Fi Connection: Connect the device to your 2.4GHz or 5GHz network. A strong signal is vital for remote access and weather data updates.
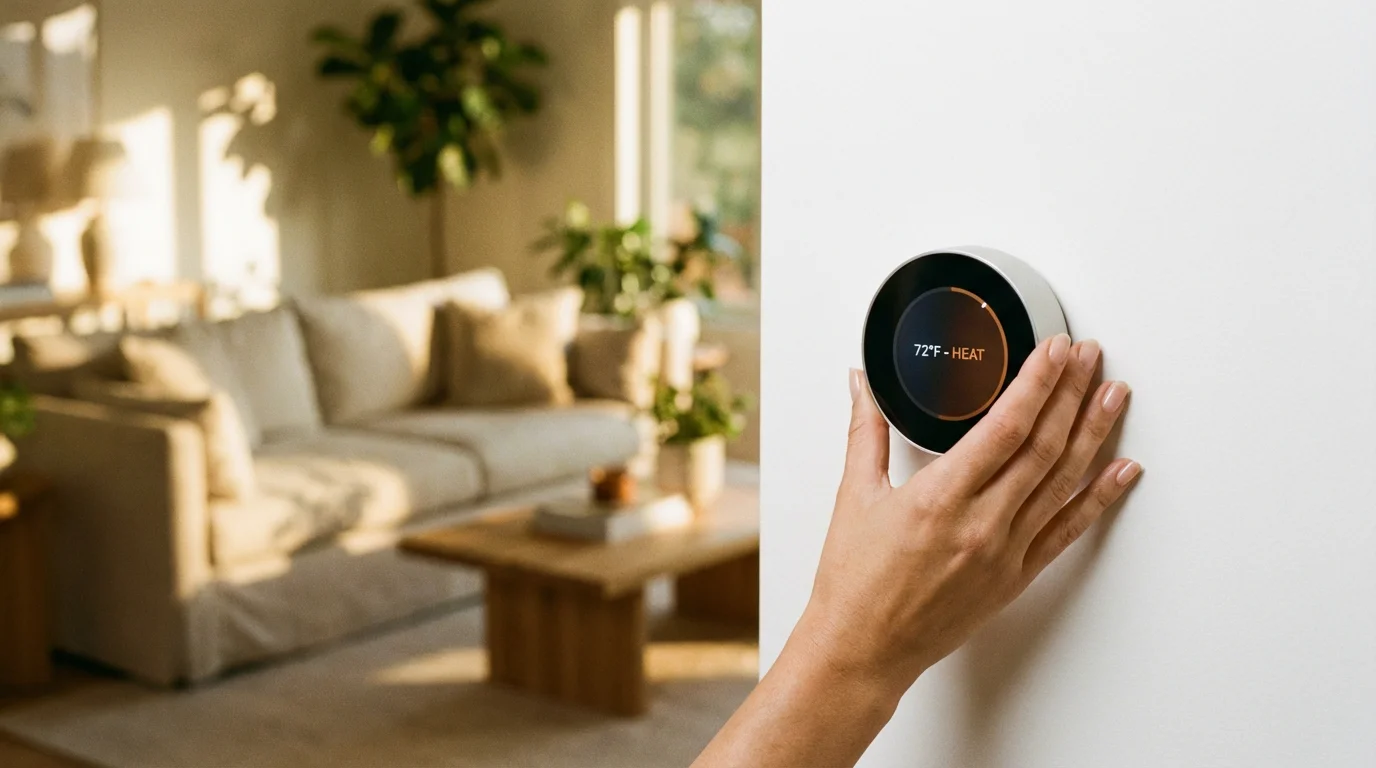
- Preferences: Set your preferred temperature ranges. The Ecobee uses these constraints to prevent the house from getting too hot or too cold, regardless of the schedule.
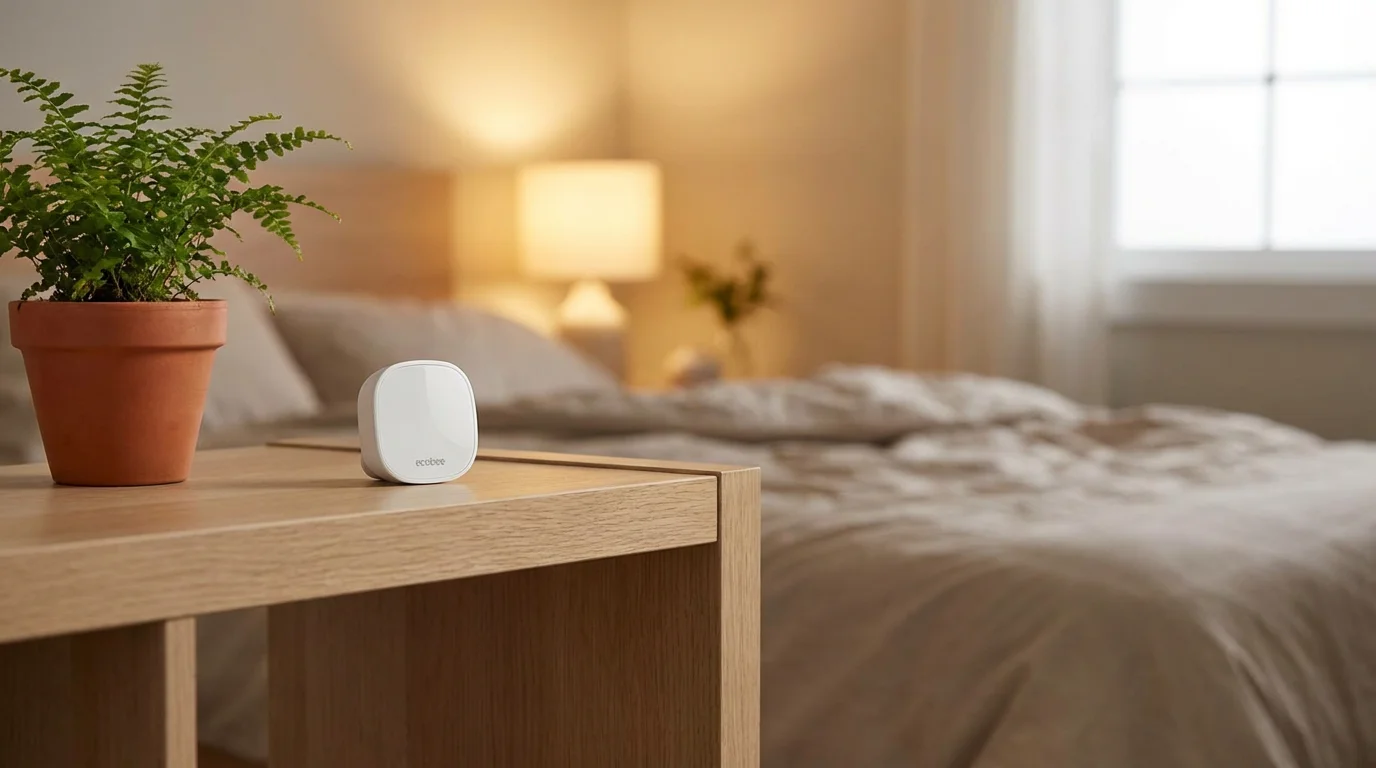
Smart Sensor Placement Strategy
One feature that distinguishes Ecobee from competitors like the Google Nest is the remote room sensor (SmartSensor). These sensors detect both temperature and occupancy, allowing the thermostat to average the temperature across occupied rooms rather than just the hallway.
If your device fails to power on after these steps, you can learn how to troubleshoot common smart thermostat issues to identify wiring or compatibility errors.
To maximize comfort, place sensors in the rooms you use most frequently, such as the living room, home office, or master bedroom. Avoid placing them in:
- Direct Sunlight: Solar gain will give false high readings, causing the AC to run excessively and freeze the rest of the house.
- Near Air Vents: Drafts from supply vents will cause rapid temperature fluctuations.
- Drafty Windows: Poor insulation near windows can skew the data effectively.
Enable the “Follow Me” feature in the app settings. This ensures the HVAC system prioritizes the temperature in the rooms where motion is currently detected. If you are working in your office upstairs, the system will cool the house until the office reaches the desired temperature, even if the downstairs hallway is already cold.
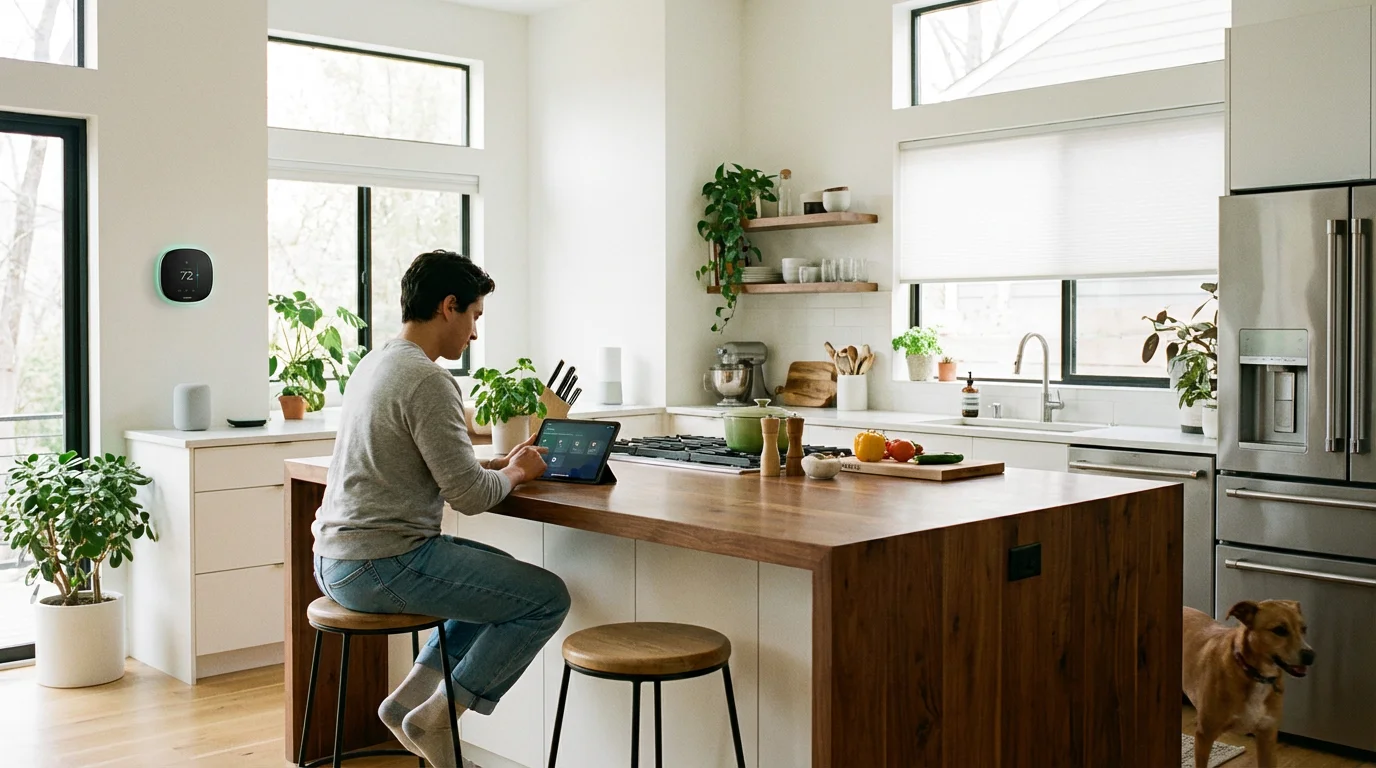
Integrating with Your Smart Home Ecosystem
An isolated smart device is useful; an integrated one is powerful. Ecobee supports all major platforms, including Apple HomeKit, Amazon Alexa, Google Assistant, and Samsung SmartThings.
Successfully integrating your smart thermostat with other IoT devices like smart lighting can create a truly automated home environment.
Apple HomeKit
Ecobee is a favorite among Apple users. Scan the HomeKit QR code on the thermostat screen using the Apple Home app. This allows you to control the temperature via Siri or create automations, such as “When the last person leaves home, set the thermostat to Away.”
Voice Assistants
If you own the Ecobee SmartThermostat with Voice Control, the unit itself acts as an Alexa speaker. You can ask it to play music, check the news, or adjust the temperature. For Google Home users, link your Ecobee account through the Google Home app to enable voice commands via your Nest speakers.
For a broader look at how these integrations fit into a modern home, Wirecutter offers excellent insights on building a cohesive smart ecosystem around hubs like these.
Troubleshooting Common Installation Issues
Even with careful preparation, issues can arise. Here are the solutions to the most frequent problems encountered during installation.
The Thermostat Won’t Turn On
If the screen remains black after flipping the breaker, check the following:
1. Ensure the breaker is actually on.
2. Check the R and C wire connections at the thermostat and the furnace.
3. Inspect the fuse on the furnace control board (usually a 3-amp or 5-amp automotive-style fuse). If you touched R and C wires together while the power was on, this fuse likely blew to protect the board.
Heating When It Should Be Cooling
If hot air comes out when you request cooling, your heat pump settings are likely incorrect. Go to Settings > Installation Settings > Equipment > Heat Pump and toggle the O/B reversing valve setting. If it is set to “Energize on Cool,” switch it to “Energize on Heat,” or vice versa.
Short Cycling (Turning On and Off Rapidly)
This often happens if the thermostat is placed near a heat source or if the “Heat Differential Temperature” setting is too tight. Adjust the threshold settings in the installation menu to allow for a larger temperature swing (e.g., 1.0 or 1.5 degrees) before the system re-engages. This saves wear and tear on your equipment.
Frequently Asked Questions
Do I absolutely need a C-wire for the Ecobee thermostat?
Yes, Ecobee thermostats require constant power via a C-wire. However, if your home wiring lacks this wire, you can use the Power Extender Kit (PEK) included in the box to create a virtual C-wire using your existing wiring. This avoids the need to run new cables through your walls.
Can I install an Ecobee if I have a high-voltage heater?
No. Ecobee thermostats are designed for low-voltage (24V) systems. They are not compatible with high-voltage (120V-240V) electric baseboard heaters. Connecting an Ecobee to high voltage will destroy the device and poses a fire risk.
How many room sensors can I add to one Ecobee?
You can pair up to 32 SmartSensors to a single Ecobee thermostat. This allows for granular monitoring of large homes, though most users find that 2 to 4 sensors provide sufficient coverage for key living areas.
Does Ecobee work without Wi-Fi?
Yes, the Ecobee will continue to function as a standard thermostat if Wi-Fi goes down. It will maintain your temperature set points and schedule. However, you will lose remote control via the app, voice control, and weather data until the connection is restored.
Disclaimer: This article is for informational purposes only. Smart home devices involve electrical connections and data privacy. Always follow manufacturer instructions for installation. For complex wiring or HVAC work, consult a licensed professional.
Leave a Reply