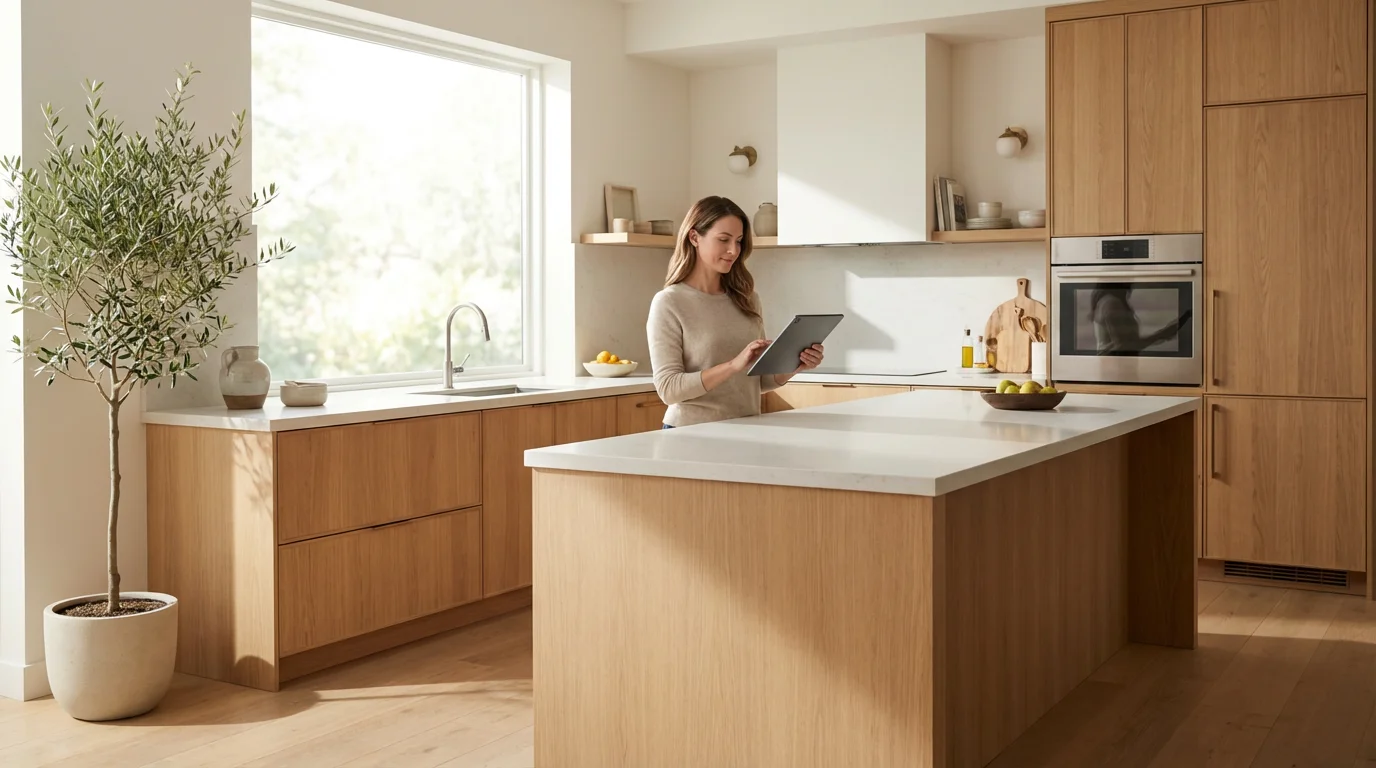
Transforming your living space into a connected smart home offers more than just the novelty of voice-controlled lights. It delivers tangible benefits: enhanced security, significant energy savings, and a level of convenience that genuinely streamlines your daily routine. However, the path to a fully automated home often feels overwhelming. With thousands of devices on the market and conflicting advice about “ecosystems” and “protocols,” it is easy to get stuck in analysis paralysis.
You need a plan. Building a smart home is not about buying every gadget on the shelf; it is about selecting the right components that work together to solve specific problems in your life. Whether you are renting a studio apartment or upgrading a multi-story house, a structured approach ensures you save money and avoid technical headaches.
This guide serves as your comprehensive smart home checklist. We have broken the process down into logical phases, starting with the digital foundation and moving through security, climate, and advanced automation. Follow these steps to build a system that is reliable, secure, and easy to use.
Phase 1: Planning and Infrastructure
Before you purchase a single bulb or camera, you must ensure your home can support them. A smart home is only as smart as its network connection. If your Wi-Fi struggles to stream a movie in the bedroom, it will definitely struggle to maintain a connection with twenty different smart devices. This phase establishes the “brain” and the “nervous system” of your setup.
A solid foundation is key; setting up your home WiFi for smart devices properly ensures that your sensors and cameras never lose connection.
1. Audit and Upgrade Your Wi-Fi
Latency and dead zones are the enemies of automation. Your first step is to test your internet speed in the furthest corners of your home—attics, basements, and backyards where you might want cameras.
- Run a speed test: Check download and upload speeds in every room.
- Consider a Mesh Wi-Fi System: If you have a home larger than 1,500 square feet, a single router is likely insufficient. Mesh systems use multiple nodes to blanket your home in consistent coverage, essential for devices like smart locks that are often far from the central router.
- Check device capacity: Ensure your router can handle 30+ simultaneous connections. Older routers often bottleneck when too many devices ask for data at once.
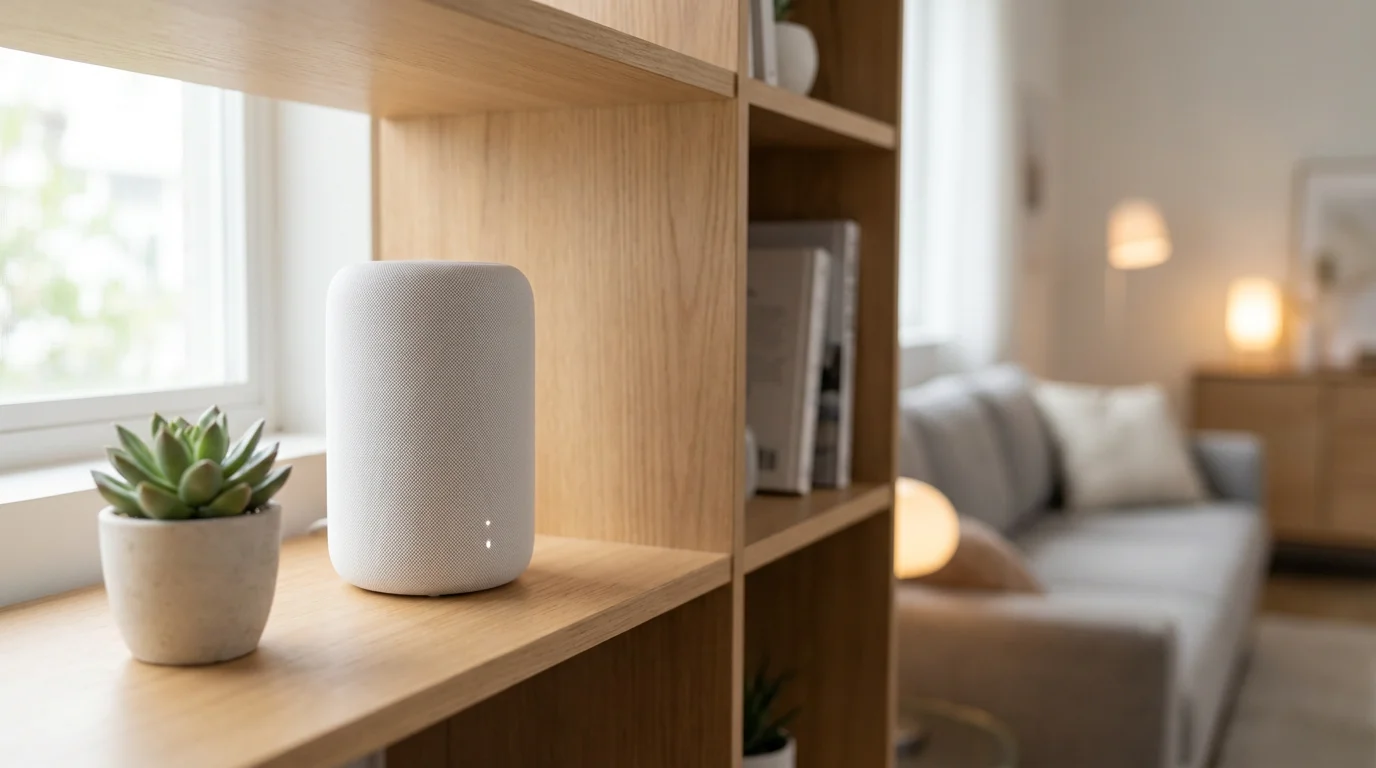
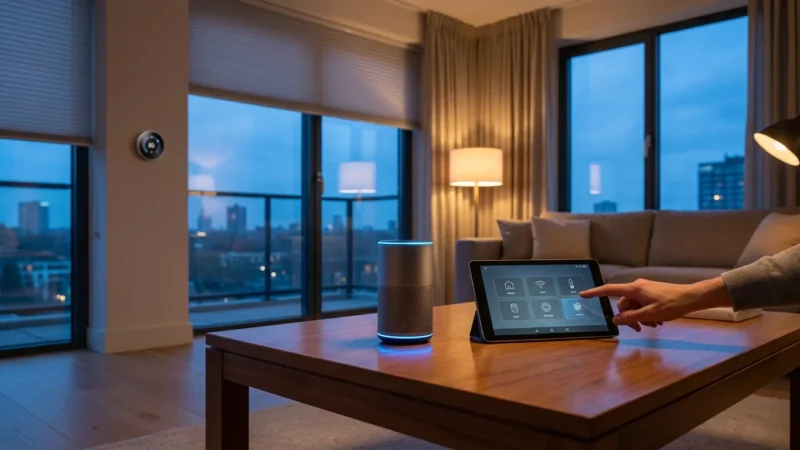
2. Choose Your Voice Assistant and Ecosystem
You need a central platform to control your devices. While many devices work across platforms, choosing a primary “team” helps you visualize how you will interact with your home.
- Amazon Alexa: Offers the widest compatibility with third-party brands and excellent voice recognition.
- Google Home: Superior for answering knowledge questions and tightly integrated with Android phones and Nest products.
- Apple HomeKit: The best choice for iPhone users who prioritize privacy and local control, though compatible device selection is slightly smaller.
- Samsung SmartThings: A powerful option for power users who want deep automation capabilities.
3. Understand Connectivity Protocols
Not every device uses Wi-Fi. In fact, for a robust smart home, you often want devices that don’t use Wi-Fi to avoid congesting your network.
- Wi-Fi: Best for high-bandwidth devices like cameras and displays. High power consumption.
- Zigbee/Z-Wave: Low-power mesh networks used by sensors, lights, and locks. These require a hub (like an Echo Show or SmartThings hub) but are extremely reliable.
- Matter: The new industry standard backed by major tech giants. Matter allows devices to work across all major platforms locally, reducing lag and dependence on the cloud. When buying new devices, look for the Matter logo to future-proof your setup.
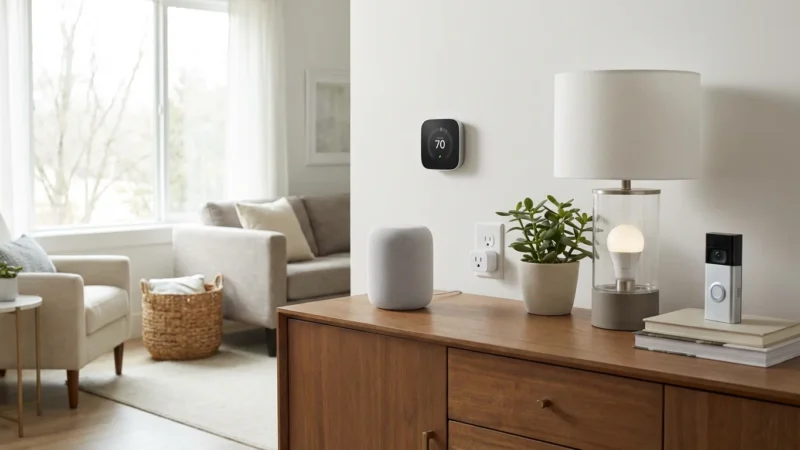
Phase 2: Securing Your Entry Points
Security is the most common entry point for smart home adoption. The goal here is visibility and access control. You want to know who is at the door and control who gets in, regardless of where you are in the world.
The Video Doorbell
This is often the “MVP” (Most Valuable Player) of the smart home. It acts as a deterrent, an intercom, and a security camera.
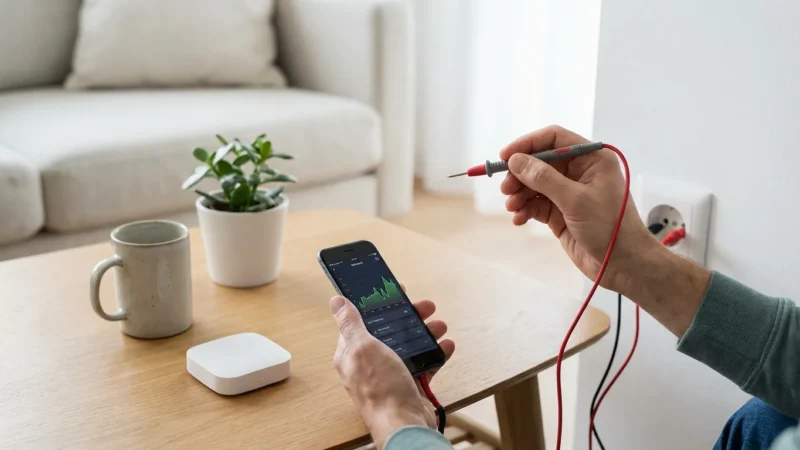
- Check your wiring: If you have an existing doorbell, a wired smart doorbell is superior because it records 24/7 (model dependent) and never needs recharging.
- Verify voltage: You may need to upgrade your doorbell transformer if your current one doesn’t supply 16-24 volts.
- Battery options: If you are renting or lack wiring, modern battery-operated doorbells offer excellent performance, though they generally only record when motion is triggered to save power.
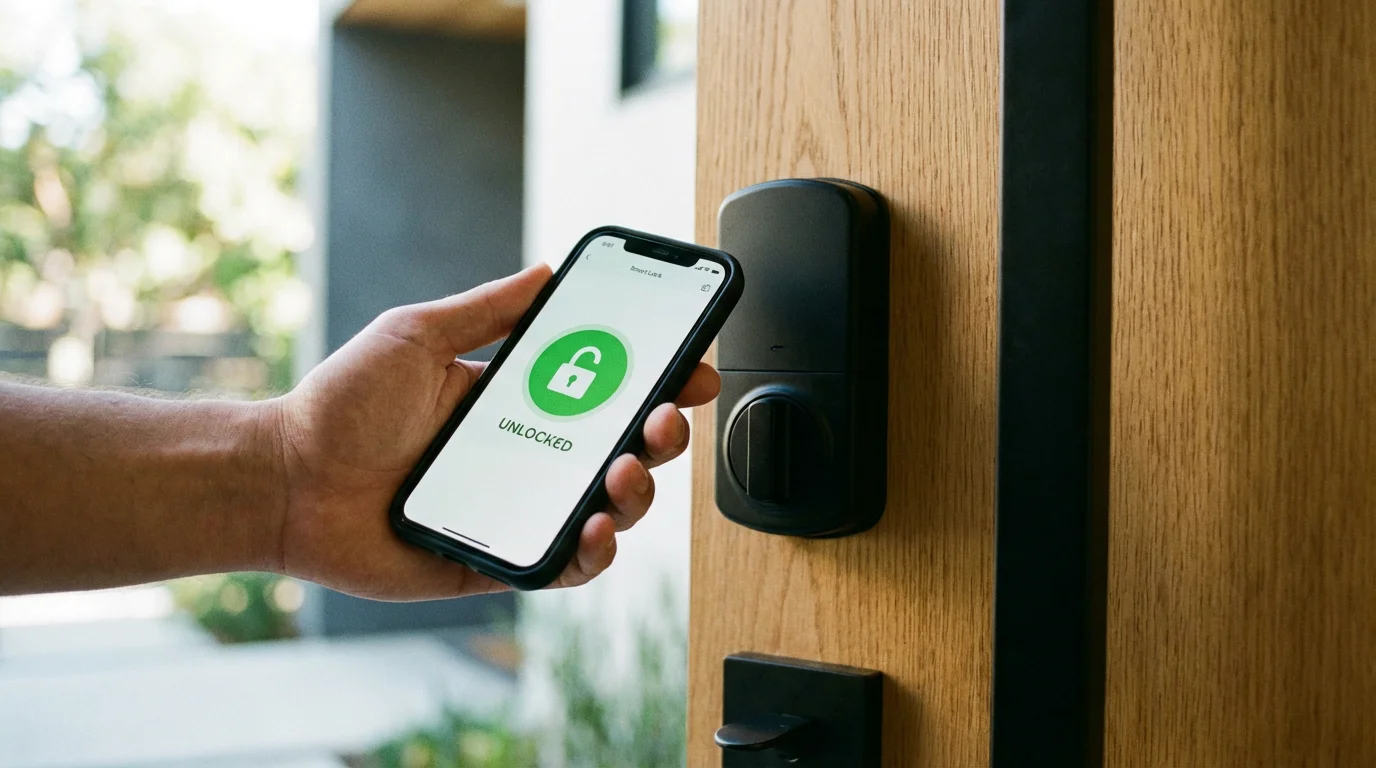
Smart Locks
A smart lock eliminates the “did I lock the door?” anxiety. It allows you to grant temporary access to dog walkers or contractors without hiding a key under the mat.
Installation Checklist:
- Deadbolt alignment: Ensure your door closes and locks smoothly without pushing or pulling. A smart lock motor is not strong enough to overcome a misaligned doorframe.
- Style selection: Choose between a “retrofit” lock (which keeps your existing exterior keyhole) or a complete replacement (which often includes a keypad or fingerprint scanner).
- Features: Look for auto-lock features that secure the door automatically after a set time.
Phase 3: Energy Efficiency and Climate
This phase is where your smart home pays for itself. Intelligent climate control reduces waste by heating or cooling your home only when necessary.
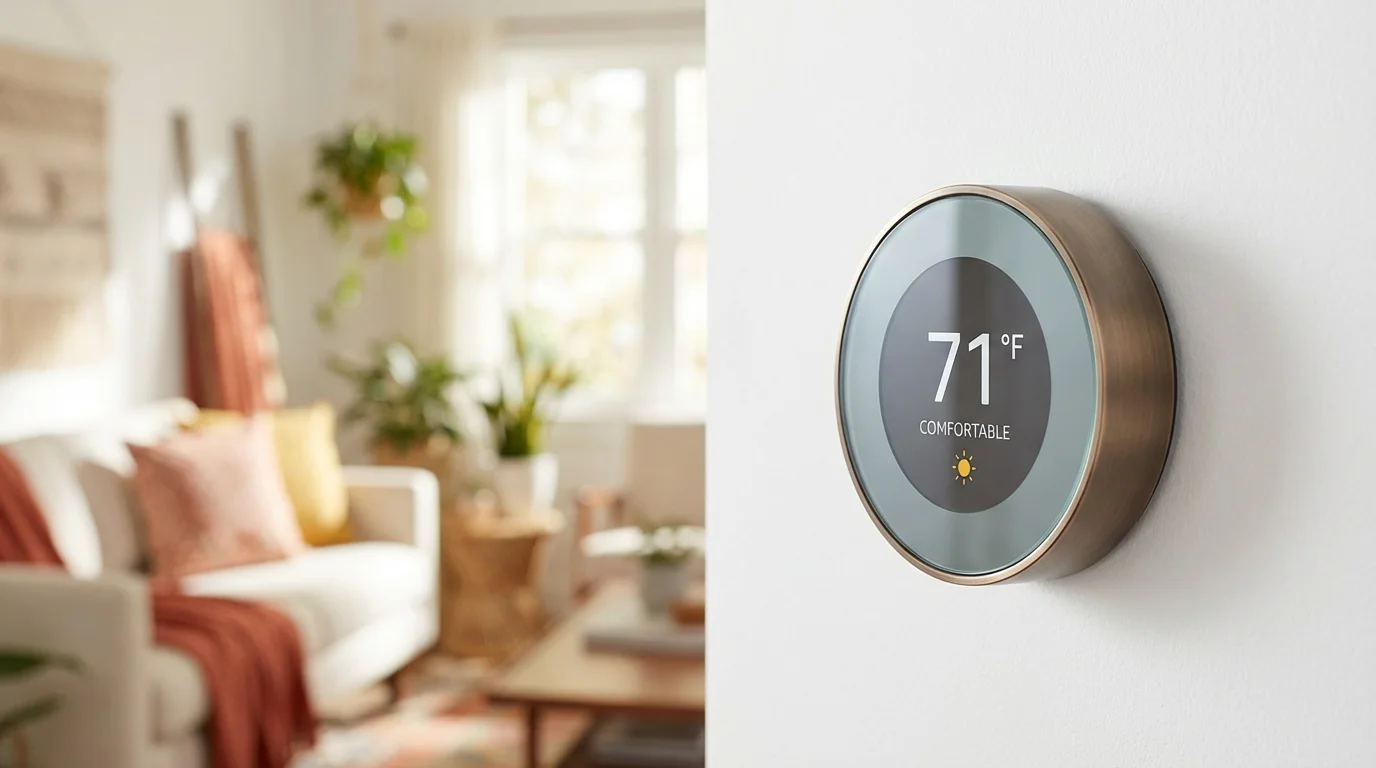
Smart Thermostats
A smart thermostat learns your schedule and adjusts the temperature when you leave the house. According to Energy Star, certified smart thermostats can save substantial amounts on heating and cooling bills annually.
The C-Wire Hurdle: Most smart thermostats require a “Common Wire” (C-wire) to provide constant power for the Wi-Fi radio and display.
Check your current thermostat backplate: If you don’t see a wire connected to the “C” terminal, you may need an adapter kit (often included with the device) or professional installation.
Smart Sensors for Climate
Thermostats usually measure temperature in the hallway—which is rarely where you spend your time. Adding remote room sensors allows the system to prioritize the temperature in the living room during the day and the bedroom at night, balancing comfort throughout the home.
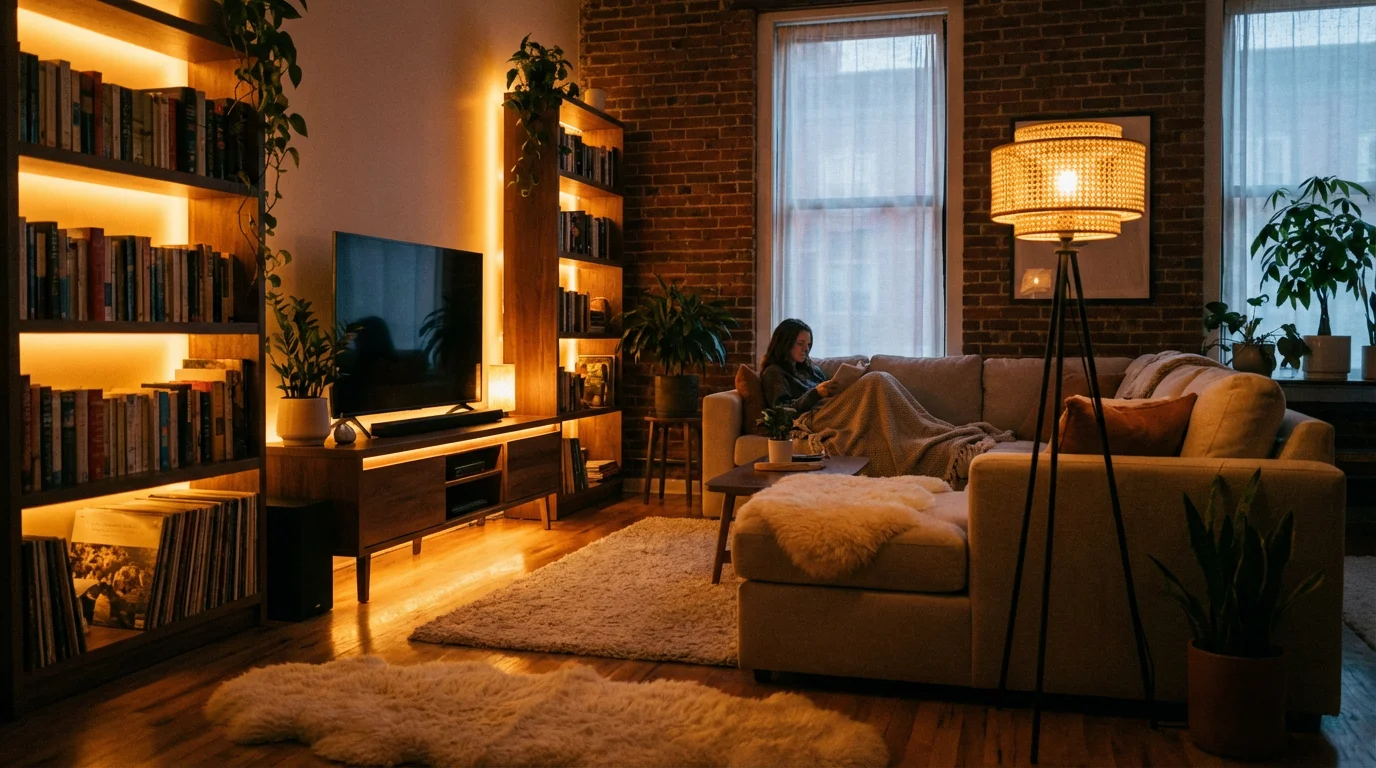
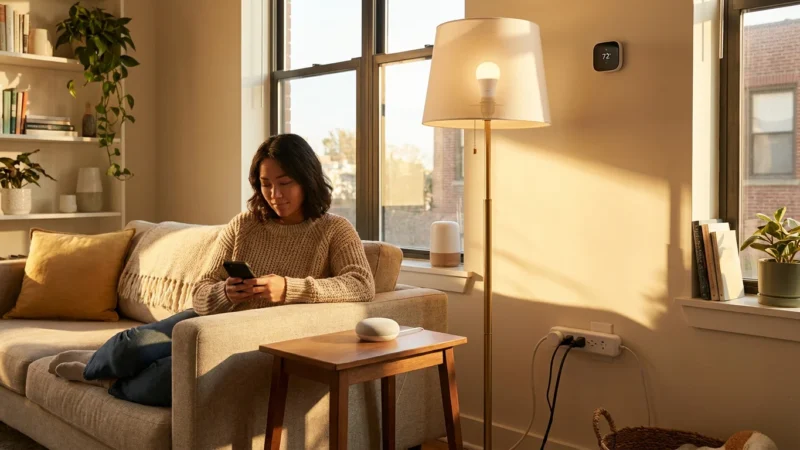
Phase 4: Intelligent Lighting Solutions
Lighting control changes the ambiance of a room instantly. There are two distinct paths for smart lighting, and mixing them incorrectly is a common rookie mistake.
If you are interested in a more permanent installation, our complete guide to smart light switches explains how to choose and install them safely.
Path A: Smart Bulbs
Best for lamps and renters. You replace the actual bulb with a smart version (like Philips Hue or LIFX).
Pros: Color changing capabilities; easy to install.
Cons: If someone flips the physical wall switch off, the bulb loses power and becomes “dumb.” You cannot control it via app or voice until the switch is flipped back on.
Path B: Smart Switches
Best for main overhead lighting and homeowners. You replace the wall switch itself.
Pros: You can use cheap, standard bulbs. The physical switch works like normal, but you retain smart control even when it’s “off.”
Cons: Requires electrical wiring work.
Critical Requirement: You almost always need a Neutral Wire (usually a bundle of white wires in the back of the switch box) for smart switches to function. Check this before buying.
“The best smart home is the one you don’t have to manage. If you have to pull out your phone to turn on a light, it’s not a smart home—it’s just a remote-controlled home.”
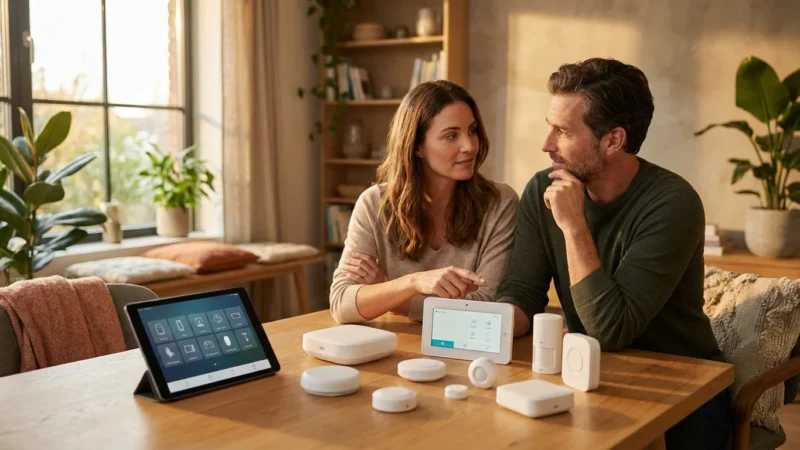
Phase 5: Plugs, Sensors, and Appliances
Once the major systems are in place, use smaller devices to fill in the gaps and add intelligence to “dumb” appliances.
If you are just beginning to build your collection, consider these 5 best first smart home devices to provide immediate value.
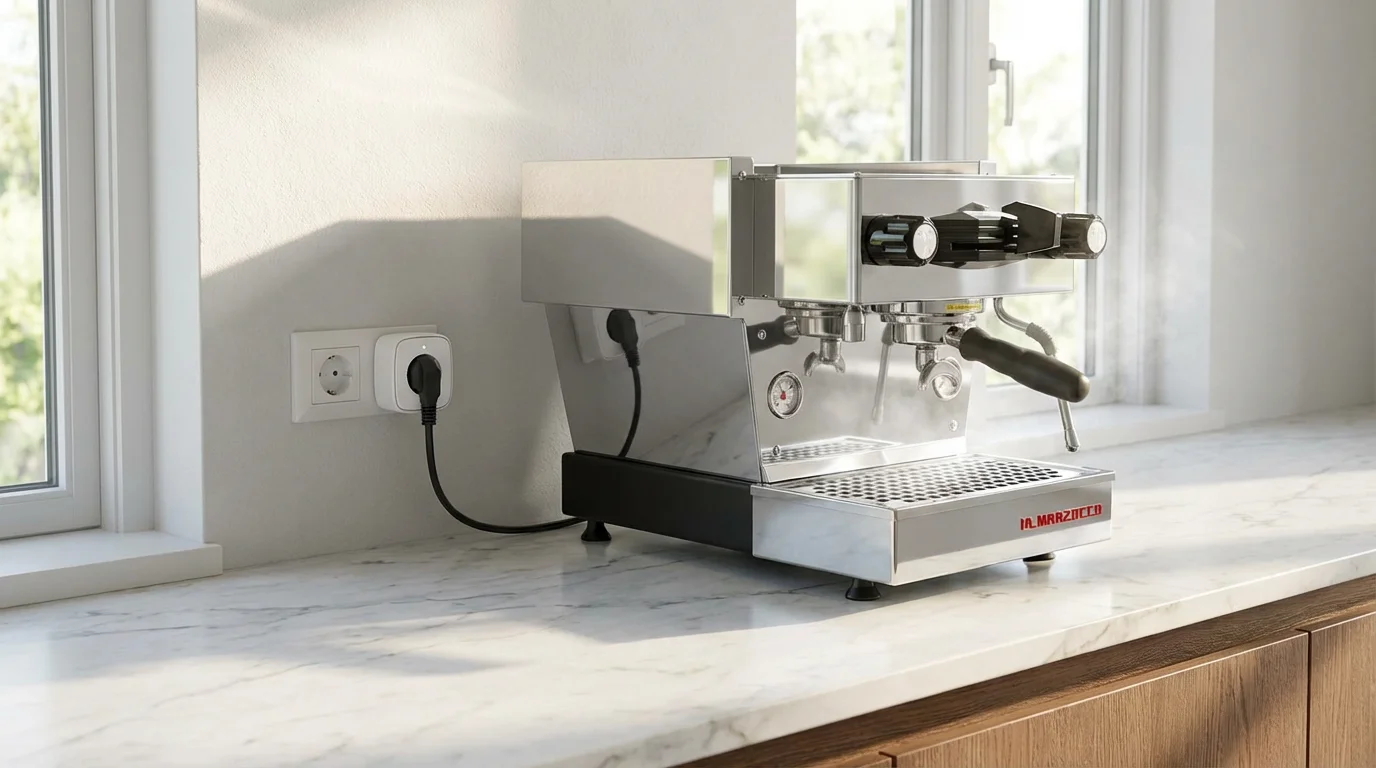
Smart Plugs
These are the Swiss Army knives of automation. They sit between the wall outlet and your device.
- Coffee Makers: Use a plug on a basic coffee maker (one with a physical on/off switch) to start brewing when your morning alarm goes off.
- Space Heaters/Fans: Pair a plug with a temperature sensor to turn devices on/off based on room comfort.
- Holiday Lights: Automate Christmas trees or outdoor string lights to follow the sunset.
Safety Sensors
These devices are invisible guardians. They don’t do much until disaster strikes, at which point they are invaluable.
- Water Leak Detectors: Place these under sinks, near the water heater, and behind the washing machine. If they detect moisture, they send an instant alert to your phone.
- Smoke/CO Listeners: If you don’t want to replace your existing smoke detectors, you can buy a listener device that alerts your phone when it hears the specific frequency of a smoke alarm siren.

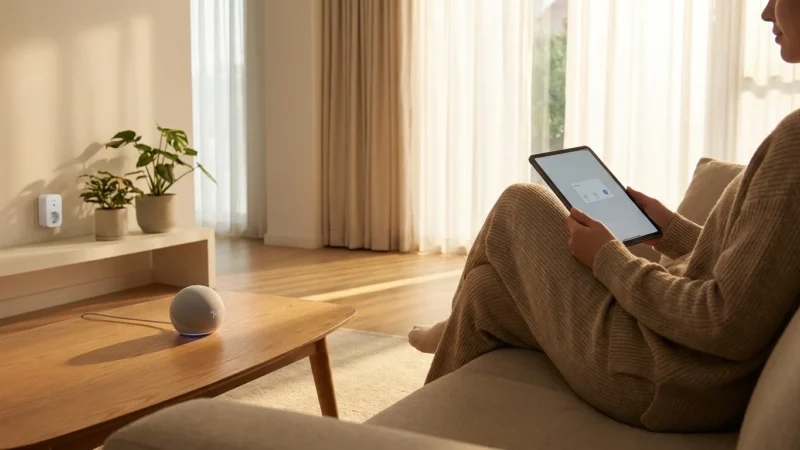
Phase 6: Creating Automations that Work
Having devices is the first step; making them work together is the goal. Move beyond voice commands (“Alexa, turn on the lights”) to true automation.
To see how these concepts come together in a daily scenario, follow our ultimate morning routine guide for practical examples of effective home automation.
Trigger-Based Automations
Set up rules based on “If This, Then That” logic:
- Motion: If the hallway motion sensor detects movement between 12:00 AM and 5:00 AM, then turn the hallway lights to 10% brightness (nightlight mode).
- Geofencing: If the last person’s phone leaves the house GPS radius, then lock the door, arm the cameras, and set the thermostat to Eco mode.
- State Change: If the back door sensor opens, then turn on the patio light.
Scenes vs. Routines
Understand the difference to organize your app better:
Scenes: A snapshot of settings (e.g., “Movie Night” dims lights to 20% and turns the TV plug on).
Routines: A sequence of actions triggered by an event (e.g., Saying “Goodnight” triggers the “All Off” scene, locks the doors, and plays white noise).

Phase 7: Privacy, Security, and Maintenance
Bringing cameras and microphones into your home requires a proactive approach to digital security. Treat your smart home like a computer system that needs protection.
Network Segmentation
If your router supports it, create a “Guest Network” specifically for your smart home devices. This isolates your cheap smart bulbs from the network that holds your laptop and banking information. If a device is compromised, the hacker cannot easily jump to your personal computer.
Password Hygiene and 2FA
Never reuse passwords across smart home apps. Use a password manager to generate unique, complex credentials. Furthermore, enable Two-Factor Authentication (2FA) on every single account—especially for cameras and smart locks. This prevents unauthorized access even if your password is stolen.
Regular Updates
Set a calendar reminder once a month to check for firmware updates within your device apps. Manufacturers frequently release patches to fix security vulnerabilities. Leaving a device on old firmware is like leaving a window unlocked.
Frequently Asked Questions
Do I need a smart home hub?
It depends on the devices you choose. If you stick strictly to Wi-Fi devices, you generally do not need a hub. However, if you use Zigbee, Z-Wave, or many Matter devices, you will need a compatible hub (like an Amazon Echo, Apple HomePod, or Samsung SmartThings Hub) to bridge these devices to your network and control them remotely.
What happens to my smart home if the Wi-Fi goes out?
This varies by device. Wi-Fi-dependent devices will lose remote control and voice command capabilities, though physical switches (like smart light switches) will still work manually. Devices using local protocols like Zigbee or Matter may still run pre-set automations if the hub has power, even without an internet connection.
Can I mix Google, Alexa, and Apple devices in one home?
Yes, but it can be messy. While many hardware devices (like Philips Hue bulbs) work with all three, you generally want to pick one “primary” voice assistant for daily control to avoid confusion. The new Matter standard is making it much easier to mix and match brands without compatibility issues.
Does a smart home increase electricity bills?
Technically, smart devices draw a tiny amount of power (phantom load) to stay connected to Wi-Fi. However, the energy savings gained from smart thermostats, automated lighting schedules, and energy monitoring plugs usually far outweigh the negligible cost of powering the devices themselves.
Disclaimer: This article is for informational purposes only. Smart home devices involve electrical connections and data privacy. Always follow manufacturer instructions for installation. For complex wiring or HVAC work, consult a licensed professional.


Leave a Reply