
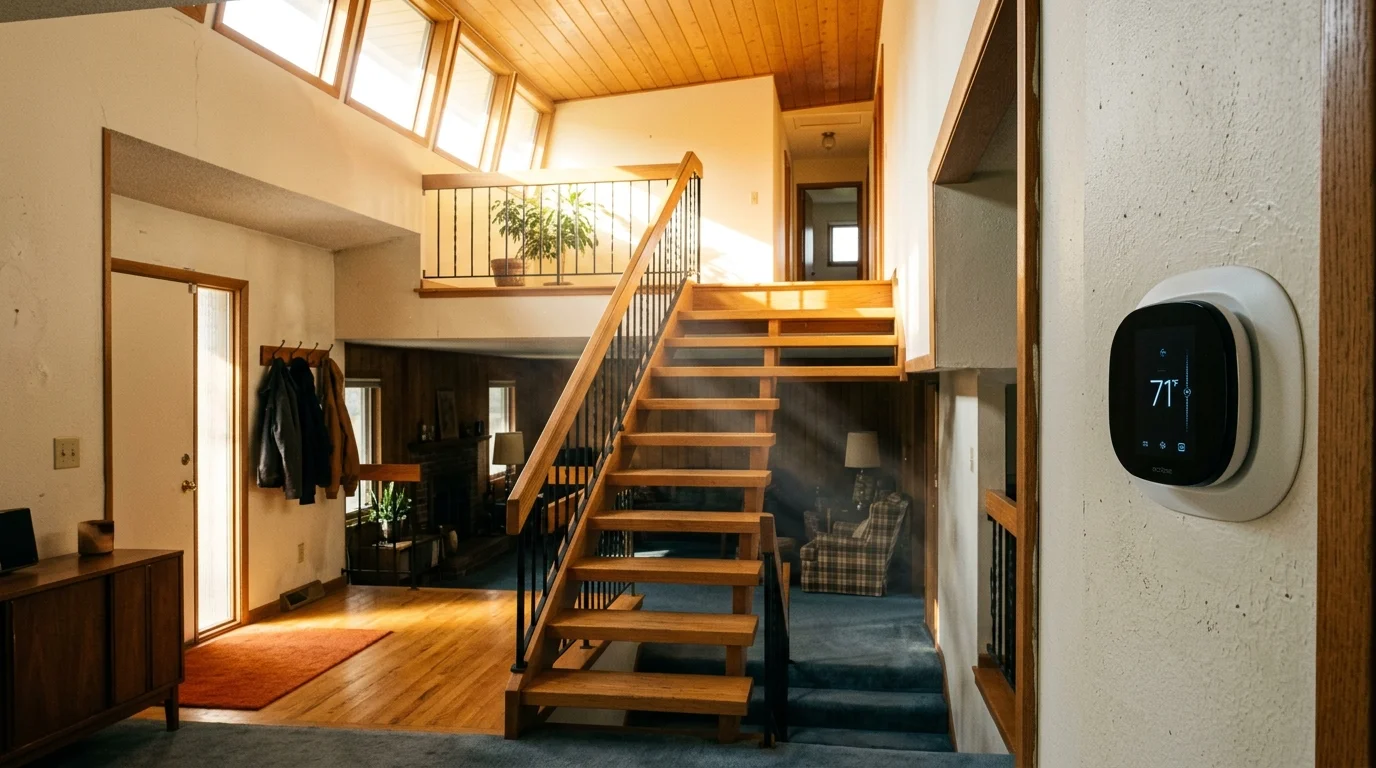
If your 1970s split-level turns into an oven upstairs every July while the lower family room freezes, your single-zone HVAC system is fighting physics. Warm air naturally rises, leaving your top floor sweltering under intense roof heat loads.
Most homeowners run their furnace fan continuously to fix this issue, but that wastes electricity and dumps gallons of evaporated moisture back into your living space.
Calibrating your smart thermostat fan circulation cycles using floor-to-floor delta-T measurements cuts upstairs heat stratification by up to 6°F without raising summer indoor humidity.
The Physics of Split-Level Heat Stratification
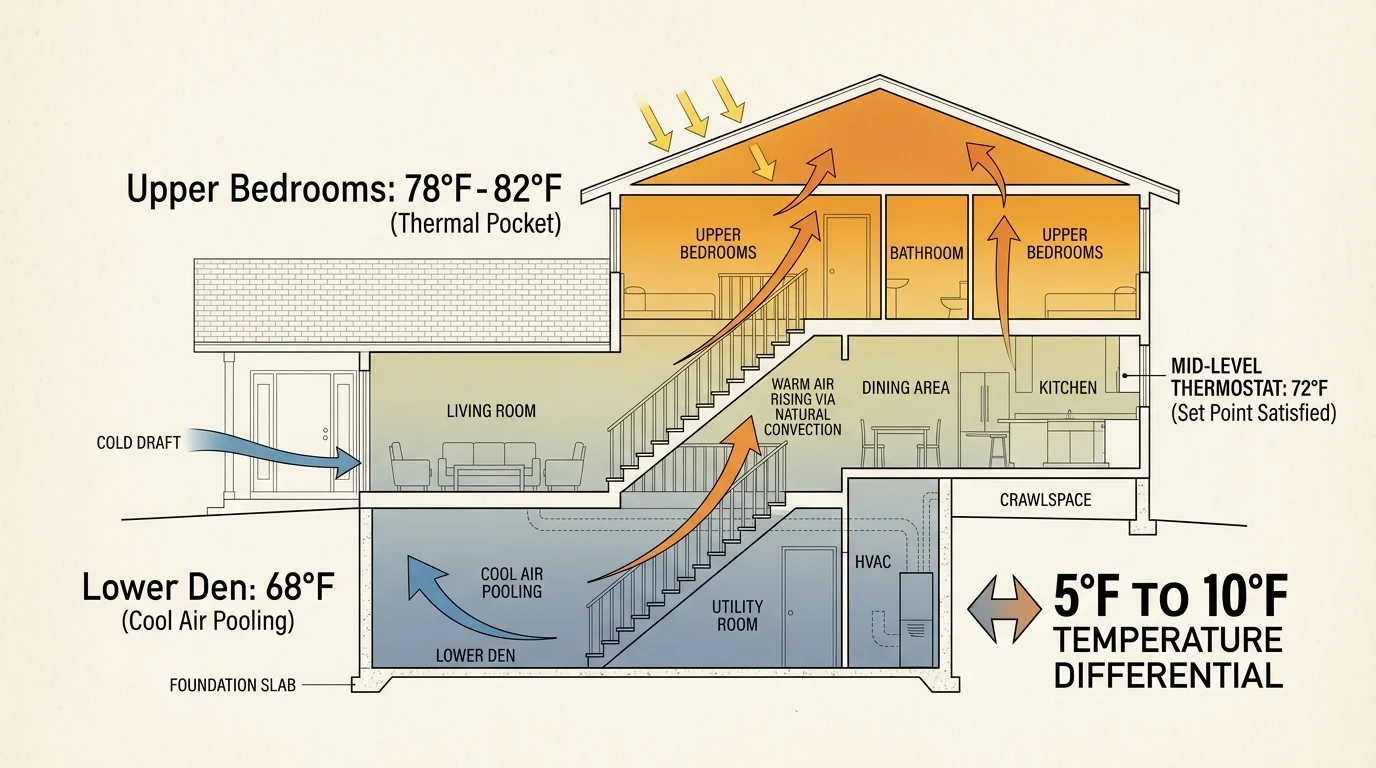
Split-level homes built during the 1960s and 1970s feature staggered floor plans connected by short, open stairwells. These architectural features promote severe air buoyancy imbalances throughout the summer months.
Addressing these multi-floor temperature imbalances is a vital step when preparing your smart thermostat for seasonal changes ahead of peak summer weather.
Warm air rises through open stairwells via natural convection, while solar radiation bakes your roof and ceiling joists. This dynamic routinely produces a 5°F to 10°F temperature differential between the lowest level and upper bedrooms.
Your central thermostat usually sits in the mid-level hallway or living room. Because that central area stays relatively cool, the thermostat satisfies its cooling setpoint long before upper bedrooms reach a comfortable temperature.
If you search for a split level hot upstairs smart thermostat solution, you must treat the home as interconnected thermal zones. Without air mixing, the upper floor becomes an unlivable thermal pocket during peak afternoon sun.
Standard cooling calls cannot solve this problem alone. Once the central living room drops to 72°F, your air conditioner compressor shuts down, leaving hot air trapped upstairs until the central zone warms up again.
Blower Motor Mechanics: PSC vs. ECM Energy Costs
Before programming intermittent circulation cycles, you must know what type of blower motor drives your furnace or air handler. The electrical cost of moving air varies drastically based on the motor’s underlying design.
Homeowners tracking their electricity consumption with smart home energy monitoring can easily measure the operational cost differences between continuous and intermittent blower cycles.
Fine-tuning your fan configuration is just one part of implementing energy-saving smart thermostat settings that lower utility expenses year-round.
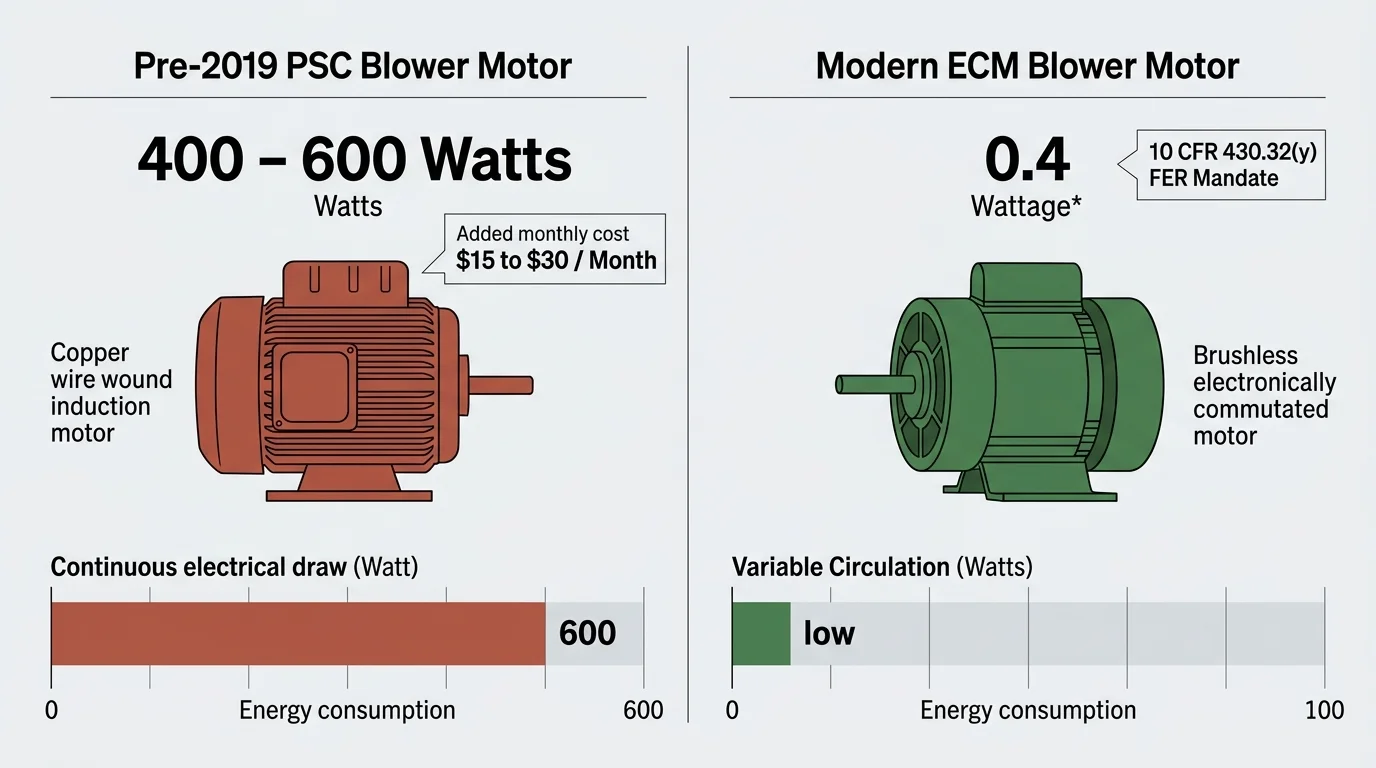
Split-level homes with furnaces installed before 2019 often contain traditional permanent split capacitor (PSC) blower motors. These older motors draw between 400 and 600 watts of electricity while operating in continuous fan mode.
Running a PSC motor for extended periods adds $15 to $30 or more to your monthly electric bill. Over a long summer, continuous air circulation on an older motor can quickly erase your seasonal energy budget.
Under 10 CFR 430.32(y), the U.S. Department of Energy Fan Energy Rating (FER) mandate took effect on July 3, 2019. This federal regulation phased out PSC motors in new residential furnaces in favor of electronically commutated motors (ECMs).
Modern ECM blowers operate on direct current using built-in inverters, allowing them to spin at lower speeds during dedicated circulation calls. In low-speed circulation mode, an ECM motor draws only 60 to 100 watts of power.
According to efficiency guidelines on Energy Star Smart Thermostats, modern HVAC controls maximize savings by coordinating fan speeds with real-time demand. An ECM motor drops the monthly cost of fan circulation down to $2 to $5.
The Summer Humidity Trap: Evaporator Coil Re-evaporation
Switching your thermostat fan switch from “AUTO” to continuous “ON” seems like an easy way to equalize temperatures. In humid summer climates, however, continuous fan operation causes a major indoor comfort penalty.
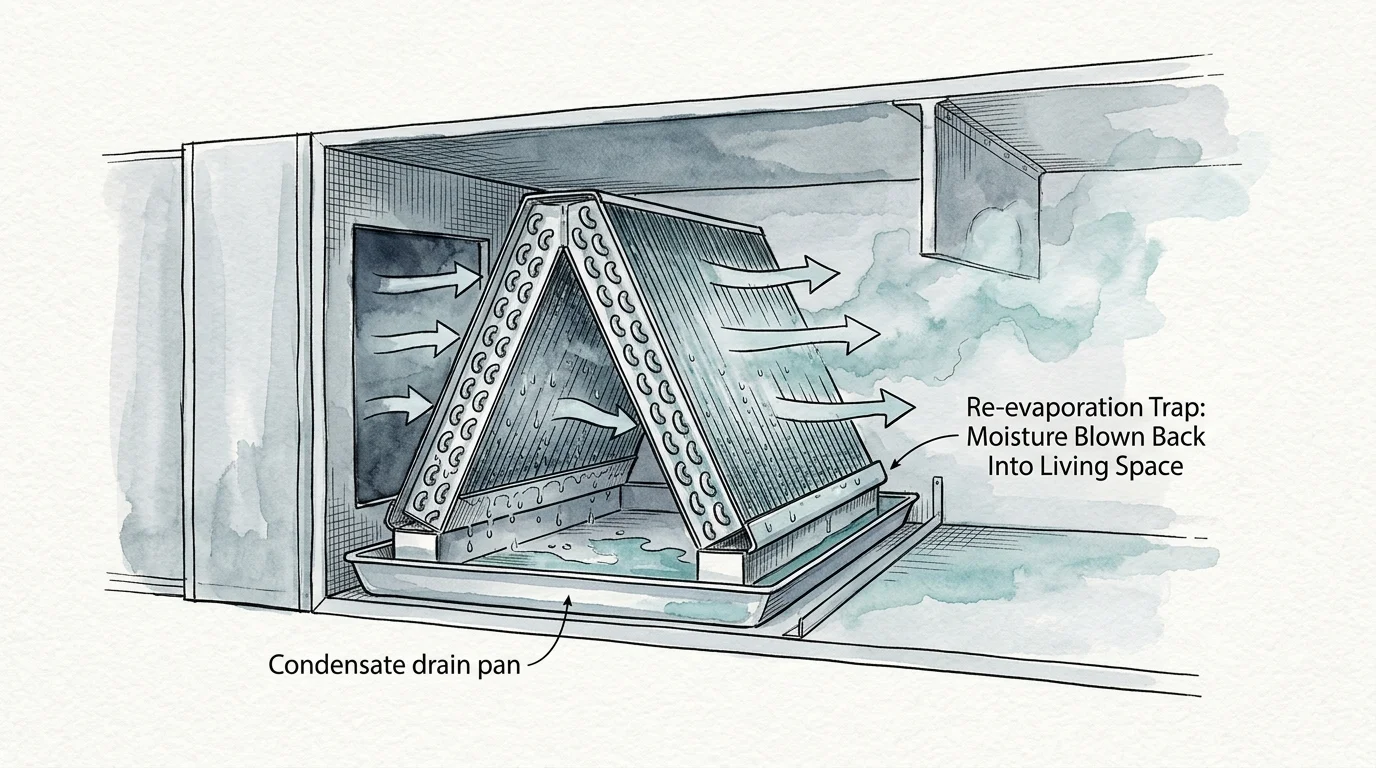
During an active cooling cycle, moisture condenses onto your indoor evaporator coil and drips into the condensate pan. When the compressor shuts off, roughly 1 to 2 pounds of water remain trapped on the coil fins.
Leaving the blower running immediately after the cooling call forces warm indoor air across that wet coil. The blower re-evaporates that moisture and blows it straight back into your split-level’s living spaces.
This re-evaporation spikes indoor relative humidity beyond the EPA-recommended 30% to 50% comfort range. The air feels sticky and heavy, forcing you to lower the thermostat setting just to feel cool.
Smart fan circulation settings prevent this problem by inserting a buffer between compressor runtime and circulation runtime. Many smart thermostats feature cooling dissipate delays (defaulted to 30 to 60 seconds) to purge residual cool air safely.
Pausing the fan for 10 to 15 minutes after a cooling call allows condensed moisture to drain out through the condensate line. Once the coil dries, the fan can cycle safely to fix temperature stratification smart home setups encounter.
Measuring Floor-to-Floor Delta-T with Remote Sensors
Delta-T is the measurable difference in air temperature between two locations in your home. In a tri-level home, your primary delta-T is the reading between your lowest family room and your top-floor primary bedroom.
Balancing split-level temperatures requires real-time data from every level. Relying solely on the thermostat’s internal sensor leaves you blind to upstairs overheating.
- ecobee SmartSensors: Retail at $99.99 for a 2-pack and detect both temperature and room occupancy.
- Google Nest Temperature Sensor (2nd Gen): Retails at $39.99 each and provides focused temperature tracking for targeted scheduling.
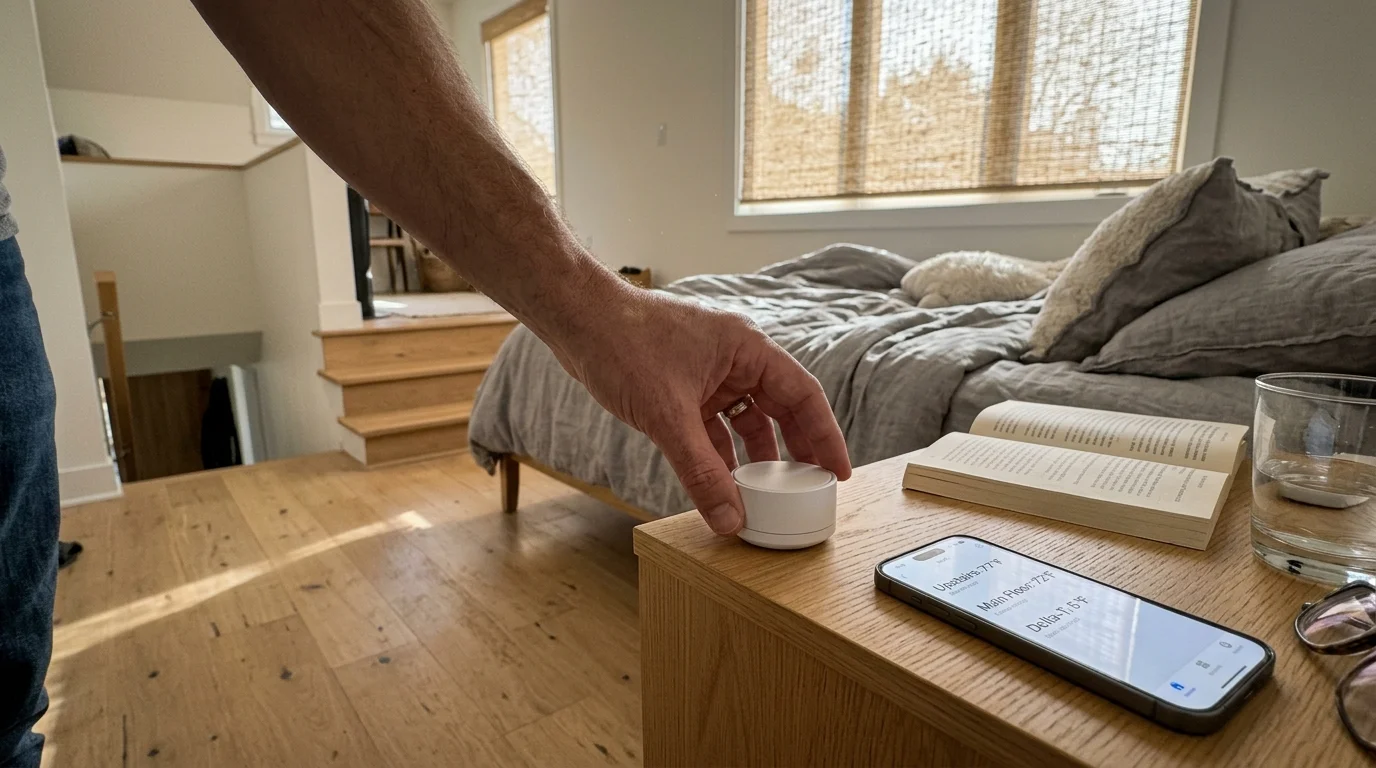
Mount remote sensors approximately 5 feet off the floor on an interior wall in the primary upstairs bedroom. Avoid placing sensors near supply air grilles, return ducts, exterior windows, or direct afternoon sunlight.
Check your thermostat app at 3:00 PM on a warm afternoon to compare the sensor readings. If the top tier reads 78°F while the lower level reads 70°F, your home exhibits an 8°F delta-T.
Target a floor-to-floor delta-T of 3°F to 4°F during the hottest part of the day. Whenever your afternoon delta-T exceeds 4°F, schedule automated fan circulation cycles to pull rising heat back through your return ducts.
Configuring Fan Run Time Settings Across Major Smart Thermostats
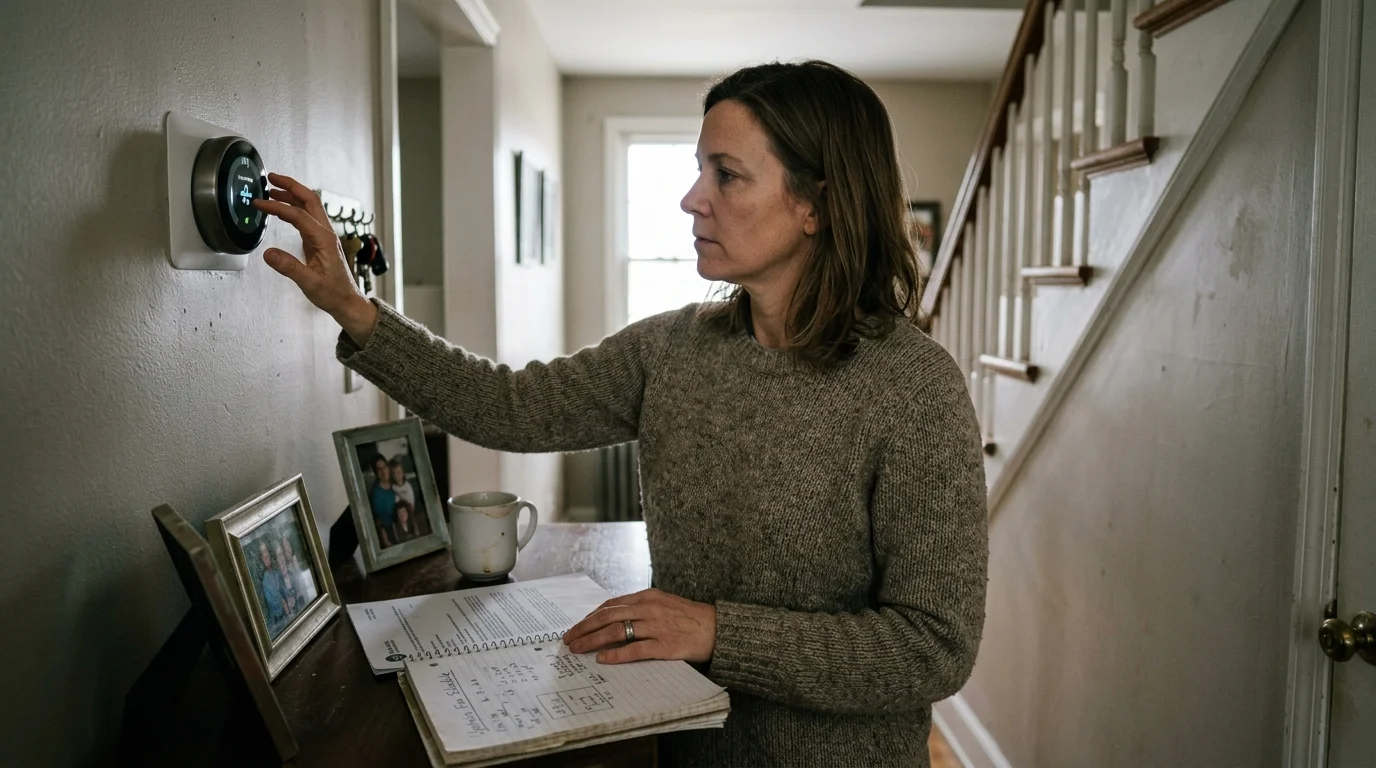
Every major smart thermostat brand handles intermittent fan runtime differently. Understanding your specific platform’s fan run time settings smart thermostat controls ensures you balance airflow without cycling the motor excessively.
If your air handler does not turn on as scheduled, learning how to troubleshoot common smart thermostat issues can help isolate configuration errors from equipment problems.
Proper programming redistributes stratified air by utilizing short, recurring air exchanges throughout each hour. Use the following steps to configure circulation settings on the three leading smart thermostat platforms.
ecobee Fan Minimum Runtime Configuration
- Open the ecobee mobile app or tap the thermostat screen, then select the Main Menu.
- Navigate to System and select the Fan settings menu.
- Locate the Fan Minimum Runtime slider control.
- Adjust the slider to between 15 and 20 minutes per hour.
- Save the setting to ensure the blower runs for that total duration across each hour window.
The ecobee software calculates how many minutes your air conditioner ran during the preceding hour. If your cooling system ran for 10 minutes, the thermostat runs the fan for only the remaining 5 to 10 minutes.
Reliable fan-only circulation requires consistent 24V power, making proper C-wire installation crucial to prevent thermostat power loss during independent blower calls.
Google Nest Fan Schedule Setup
- Open the Google Home app and tap your Nest Thermostat icon.
- Tap the Settings gear in the upper right corner and select Fan Run Time.
- Choose your hourly duration from the available intervals: 15, 30, 45, or 60 minutes per hour.
- Select 15 minutes per hour to prevent excessive humidity re-evaporation.
- Set the active time window (for example, 11:00 AM to 8:00 PM) to target peak solar hours.
According to product evaluations published by Consumer Reports Smart Home, configuring automated runtime schedules prevents wasted energy compared to manual overrides. Nest switches the fan off automatically once the designated window closes.
Honeywell Home / Resideo Circulate Mode
- Wake the Honeywell thermostat display and tap the Fan mode indicator.
- Cycle past “ON” and “AUTO” to select the CIRC (Circulate) mode.
- Confirm the selection on your screen or inside the Resideo companion app.
Honeywell’s Circulate algorithm automatically runs the blower for approximately 30% to 35% of each hour (~18 to 21 minutes). The system randomizes fan run bursts throughout periods of HVAC inactivity.
Automated circulation modes are among the lesser-known smart thermostat features that actually save money by maximizing cooling distribution without running the energy-intensive outdoor compressor.
Worked Example: Balancing a 1978 Tri-Level in July
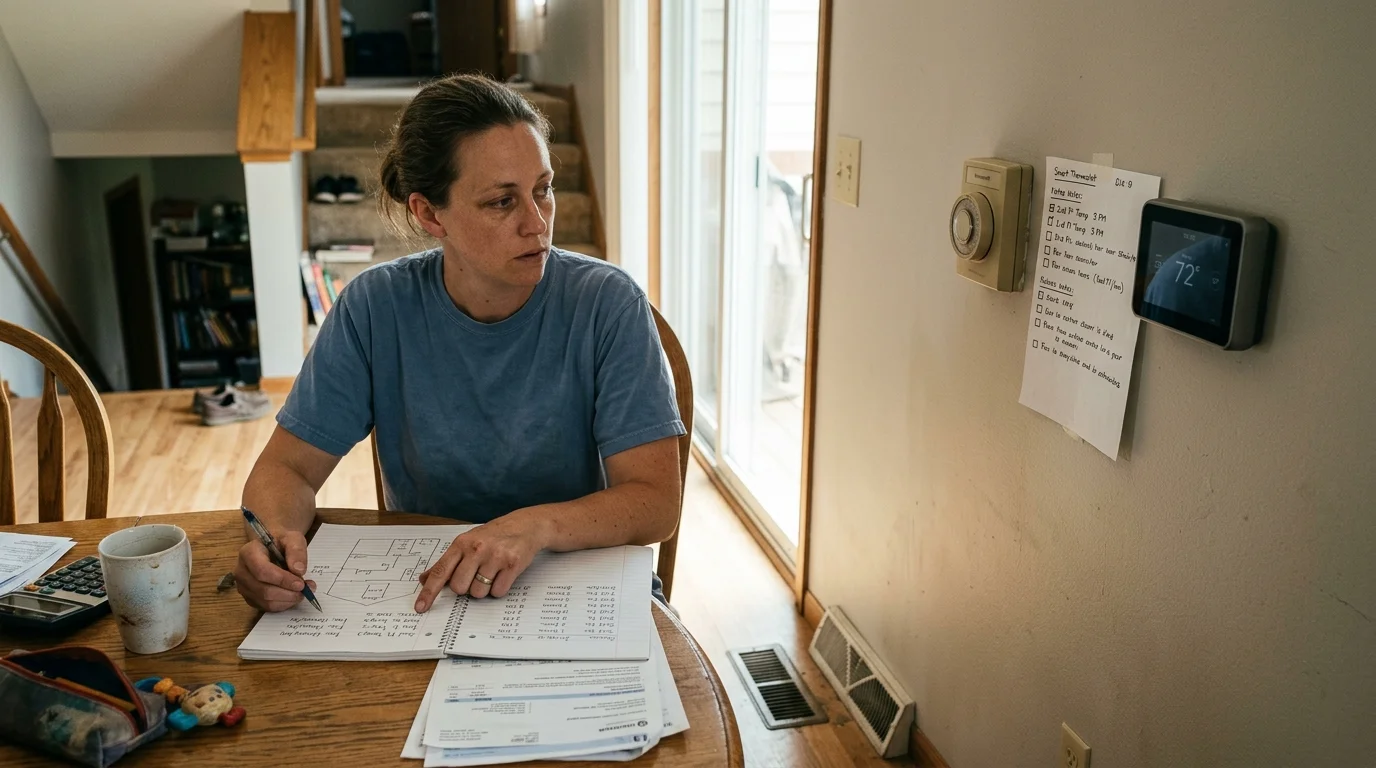
Consider a 2,100-square-foot tri-level home constructed in 1978 located in the Midwest. The house uses a single 3-ton air conditioner paired with an 80,000 BTU furnace retrofitted with a high-efficiency ECM blower motor.
Learning how to read and understand your thermostat’s energy reports makes it easy to confirm that balancing air temperatures also reduced overall compressor run hours.
Applying these circulation adjustments aligns with broader strategies for keeping your home cool and efficient in summer during extreme temperature spikes.
During a July heatwave with 92°F outdoor temperatures, the homeowners recorded severe temperature stratification. The lower family room registered 68°F, the mid-level kitchen reached 72°F, and the upper bedrooms climbed to 78°F—a 10°F delta-T.
The homeowner installed an ecobee smart thermostat paired with two SmartSensors placed in the primary bedroom and the lower family room. They configured the system with specific operational parameters designed to break the heat pocket.
- Fan Minimum Runtime: Configured to 20 minutes per hour between 11:00 AM and 8:00 PM.
- Cooling Dissipate Delay: Adjusted to 45 seconds to let the evaporator coil drain between cycles.
- Comfort Settings Sleep Sensor Selection: Switched active temperature control exclusively to the upstairs bedroom sensor after 9:30 PM.
Over a 14-day tracking period, the afternoon upper-floor temperature dropped from 78°F to 73.5°F. Simultaneously, the lower family room rose from 68°F to 70°F, reducing the floor-to-floor delta-T to just 3.5°F.
Running the 80-watt ECM motor for 20 minutes per hour over the 9-hour daily window consumed 0.24 kWh per day. Over a 31-day month, total fan circulation energy totaled 7.44 kWh, adding roughly $1.19 to the monthly electric bill at $0.16 per kWh.
Platform Comparison: Fan Cycle Control and Sensor Ecosystems
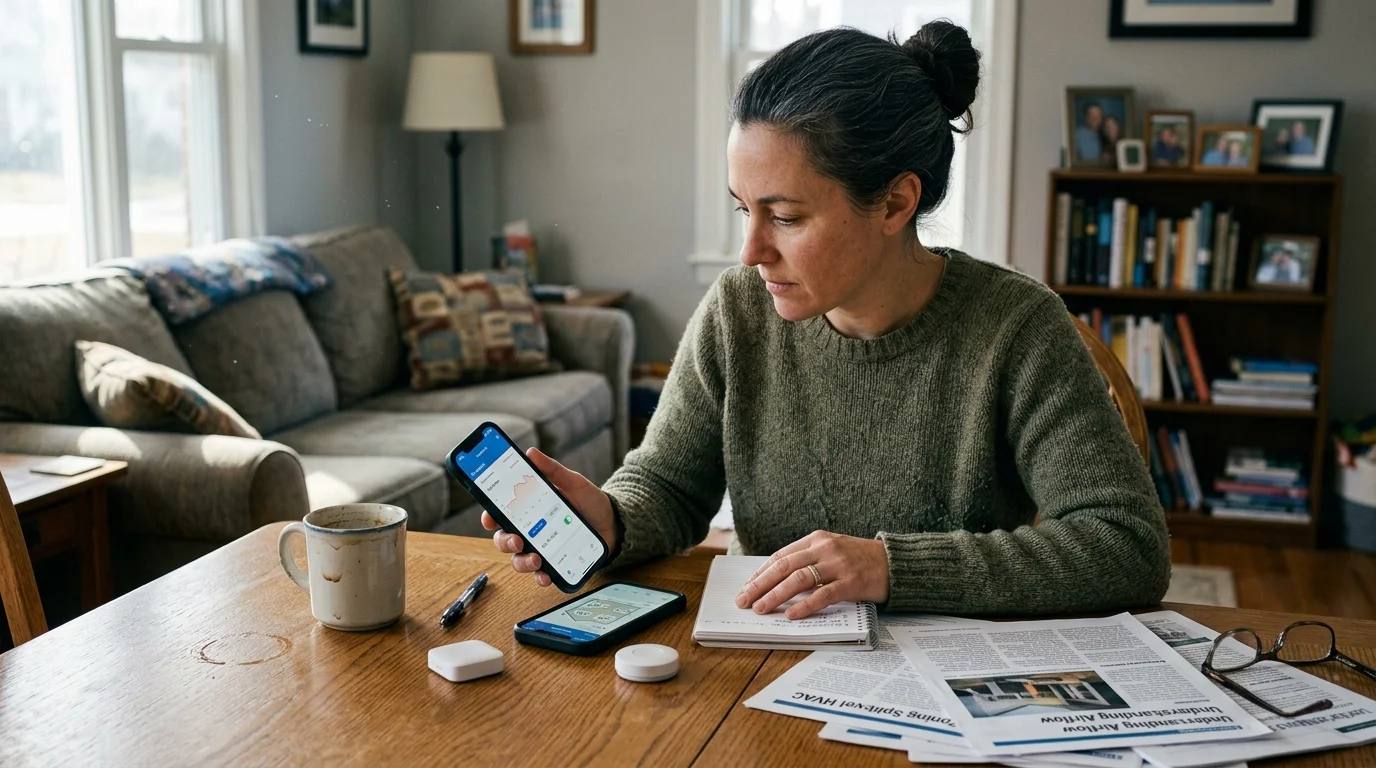
Choosing the right thermostat platform depends on how precisely you need to control blower cycles and monitor rooms. Different manufacturers offer distinct fan intervals, sensor capabilities, and delay mechanics.
The table below compares the specific fan and sensor capabilities across the three leading smart thermostat systems used to balance multi-level homes.
| Platform Model | Fan Runtime Increments | Sensor Unit Cost | Evaporator Drain Delay | Circulation Duty Cycle |
|---|---|---|---|---|
| ecobee Smart Thermostat Premium | 0 to 55 min/hr (5-min steps) | $99.99 (2-pack) | Customizable (0 to 180 sec) | 25% to 33% (Recommended) |
| Google Nest Learning (4th Gen) | 15, 30, 45, or 60 min/hr | $39.99 (Each) | Automatic (Airwave feature) | 25% (At 15 min setting) |
| Honeywell Home T9 | Fixed Circulate Mode (~33%) | $79.99 (2-pack) | Fixed system default | 30% to 35% randomized |
ecobee provides the most granular fan control, making it ideal for stubborn split-level layouts requiring exact adjustments. The 5-minute configuration increments let you fine-tune runtimes to balance airflow against humidity retention.
The Google Nest Learning Thermostat includes a temperature sensor directly in the box. Review testing from Wirecutter Smart Home highlights Nest’s intuitive scheduling, though its fan increments offer less flexibility than ecobee.
Honeywell’s T9 platform uses priority room averaging, which dynamically shifts heating and cooling weight based on room occupancy. Its Circulate mode requires zero scheduling math, running the blower automatically whenever the system sits idle.
Physical Airflow Tuning to Support Fan Circulation
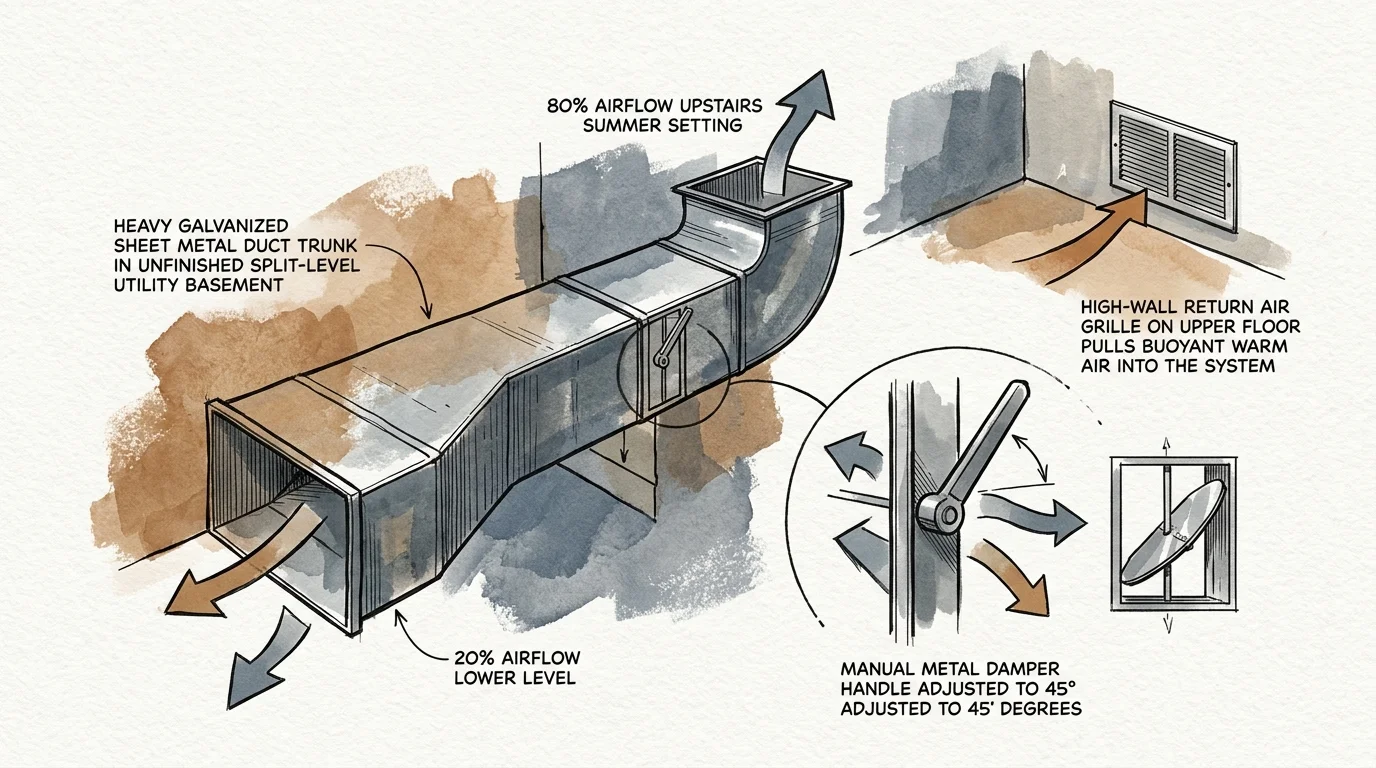
Smart fan circulation works best when your physical duct system supports upward and downward air movement. Split-level duct networks often starve upper floors due to long branch duct runs and insufficient return air pathways.
You can dramatically improve smart thermostat circulation results by adjusting supply dampers seasonally throughout your home. Performing minor seasonal airflow adjustments directs circulation air where it delivers the most cooling impact.
- Partially close basement dampers: Close supply registers on the lowest level by 50% during midsummer to force extra air upstairs.
- Fully open second-floor dampers: Ensure all upstairs bedroom registers and branch line duct dampers stand completely open.
- Keep bedroom doors open: Air circulation loops fail if doors are shut without return air grilles or jump ducts in each bedroom.
- Select appropriate air filters: Use pleated air filters rated between MERV 8 and MERV 11 to avoid choking low-speed fan airflow.
Never close lower-level supply registers completely. Completely blocking registers increases static duct pressure, which can overheat blower motors and reduce system operating life.
Duct balancing provides the physical pathway, but smart circulation provides the motive force that keeps multi-level homes thermally equalized.
Check the wiring connections behind your existing thermostat baseplate before programming circulation cycles. Independent blower control requires an active G-wire (fan relay) alongside a dedicated C-wire (24V common power).
If your 1970s wiring harness lacks a C-wire, install an add-a-wire adapter kit at the furnace control board. Alternatively, hire a licensed HVAC professional to pull new 18/8 thermostat wiring to ensure reliable digital relay switching.
Frequently Asked Questions
How many minutes per hour should I run my smart thermostat fan in a split-level?
Set your smart thermostat fan minimum runtime to 15 to 20 minutes per hour. This duration circulates stagnant air between floors without overworking the motor or raising indoor humidity levels.
Does running the furnace fan continuously lower second-floor temperatures?
While continuous fan operation mixes floor-to-floor air, it re-evaporates condensed moisture off your cooling coil, driving indoor humidity above 60%. Intermittent cycles of 15 to 20 minutes provide better comfort.
Do I need a C-wire to control fan circulation on a smart thermostat?
Yes, independent fan control requires a dedicated G-wire connected to the HVAC control board, which relies on a constant 24V common wire (C-wire) to power the smart thermostat’s automated relay switching.
How much electricity does furnace fan circulation use?
Furnaces with modern ECM motors consume 60 to 100 watts on circulation mode, costing roughly $2 to $5 per month. Older PSC motors consume 400 to 600 watts, adding $15 to $30 monthly.
Disclaimer: This article is for informational purposes only. Smart home devices involve electrical connections and data privacy. Always follow manufacturer instructions for installation. For complex wiring or HVAC work, consult a licensed professional.

1 Comment