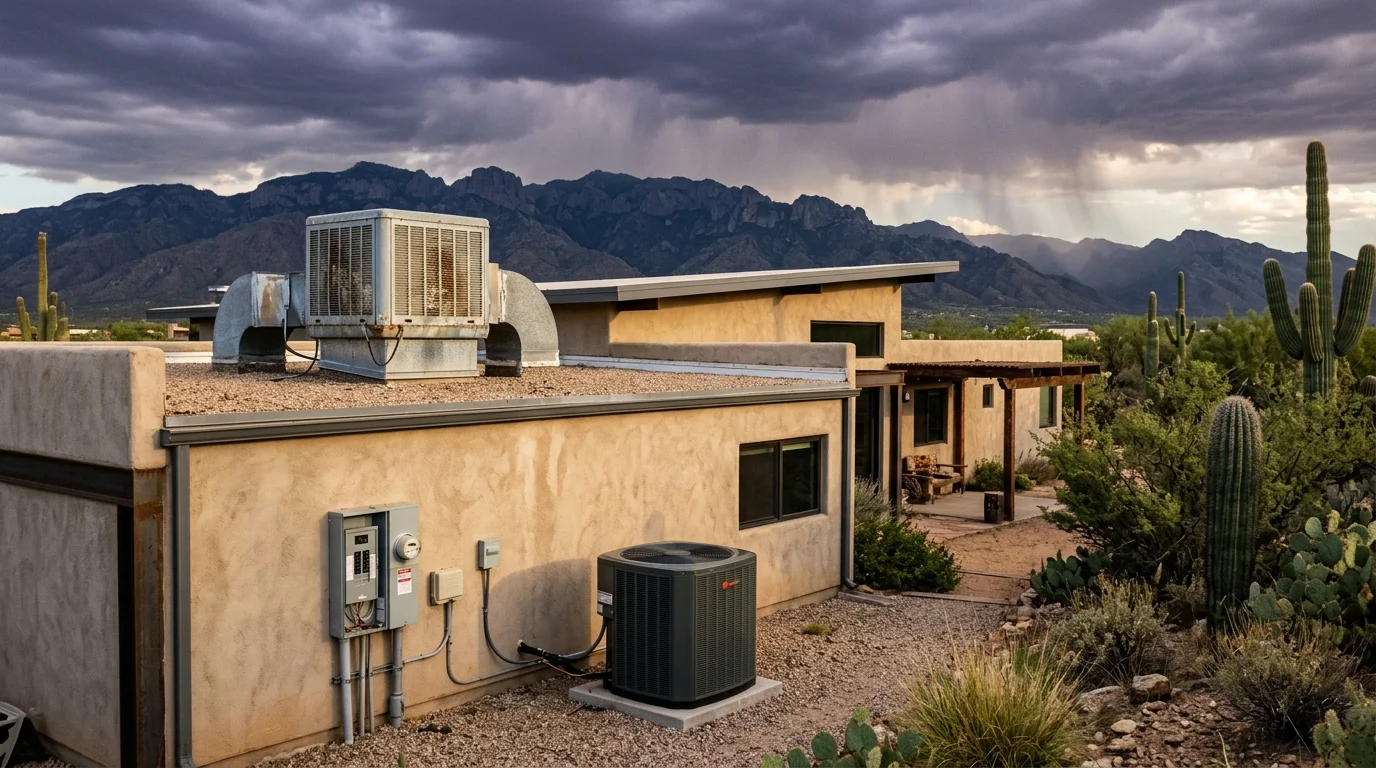
Desert homeowners routinely lose comfort and money by manually guessing when summer monsoon moisture invalidates their evaporative cooling. A dual-cooling setup requires precision timing.
You can eliminate manual changeover switches entirely by deploying an automated script tied to the thermodynamic 35% relative humidity boundary. This setup keeps your living space comfortable while optimizing power consumption.
Unlike standard installations that treat equipment as isolated systems, this guide details how to bridge 24VAC smart controls with high-voltage cooler motors for seamless, humidity-triggered switching.
The Thermodynamics of the 35% Wet-Bulb Cutoff
Evaporative cooling operates through wet-bulb depression, which measures the difference between ambient dry-bulb temperature and the minimum temperature evaporation can achieve. In dry desert air, this thermodynamic spread delivers powerful cooling.
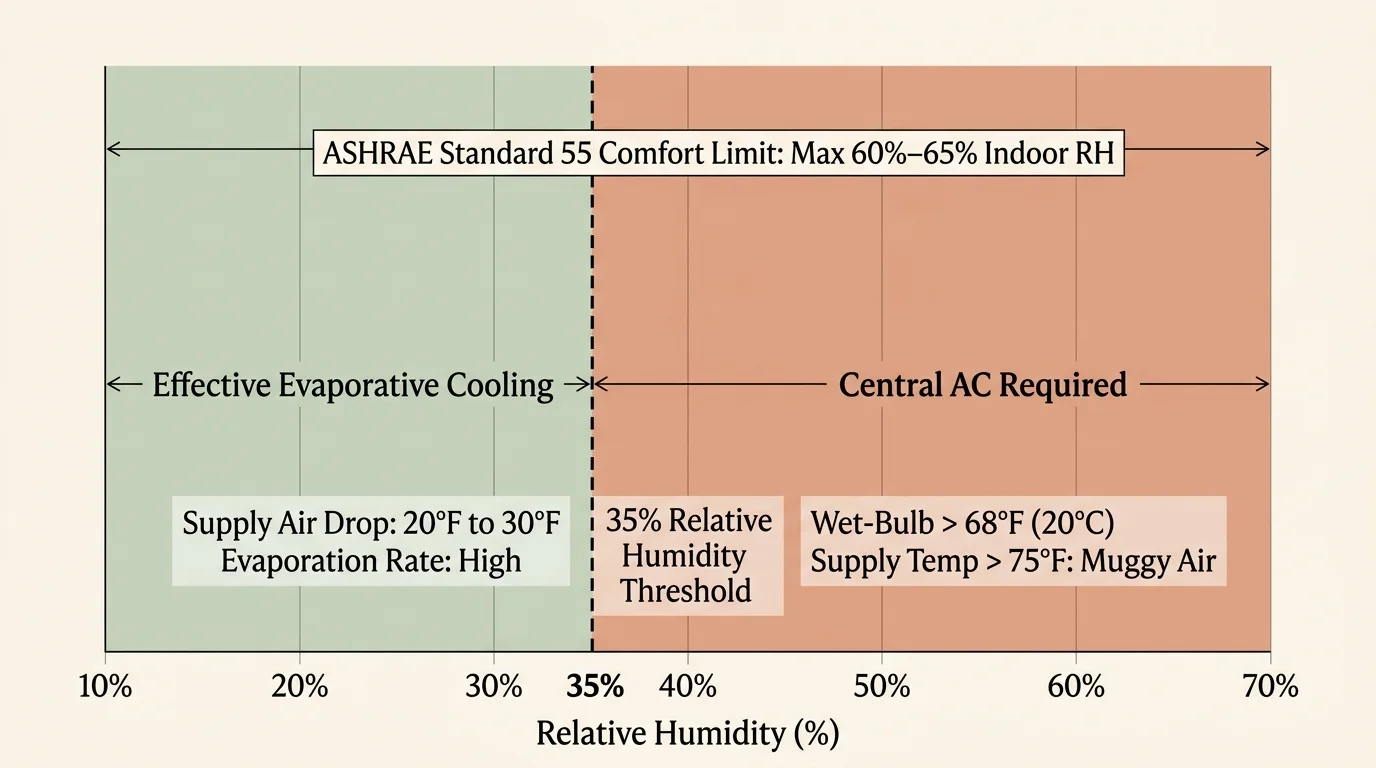
When outdoor relative humidity remains under 30%, a whole-house swamp cooler easily lowers incoming air temperatures by 20°F to 30°F. The cooler achieves this while consuming a fraction of the electricity required by mechanical refrigeration.
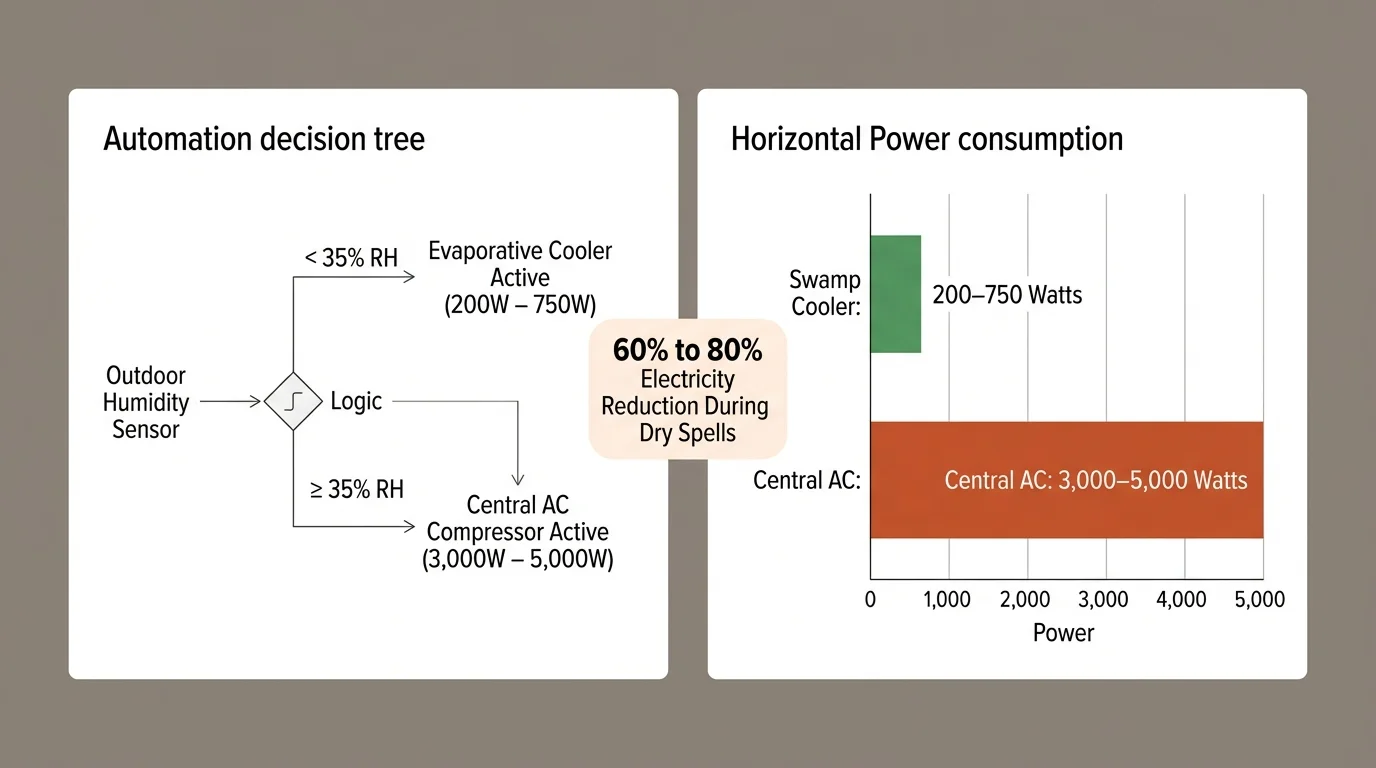
According to the U.S. Department of Energy, evaporative systems use 60% to 80% less electricity than central air conditioners. A typical whole-house cooler draws between 200 and 750 Watts during continuous operation.
In contrast, a residential central air conditioner compressor draws between 3,000 and 5,000 Watts. Operating the evaporative cooler during dry months generates massive energy savings.
“Evaporative cooling effectiveness is dictated by the wet-bulb depression. When outdoor moisture narrows this margin, cooling capacity drops precipitously while indoor relative humidity climbs to unacceptable levels.”
However, physics imposes a strict limit when outdoor relative humidity crosses 35% to 40%. The same operational breakdown occurs when the ambient wet-bulb temperature exceeds 68°F (20°C).
Beyond this critical threshold, ambient air cannot absorb water vapor efficiently. Supply air temperatures climb above 75°F, delivering muggy air directly into your living space.
Indoor relative humidity must remain below 60% to 65% to comply with ASHRAE Standard 55 comfort guidelines. Excess moisture fosters dust mites and encourages fungal growth on drywall and duct surfaces.
Deploying a desert climate thermostat humidity switch protects your home from moisture saturation. The automated changeover halts the evaporative process before indoor spaces exceed safe comfort thresholds.
Bridging the Voltage Divide: 24VAC Controls to Line-Voltage Coolers
The primary barrier to an automated swamp cooler to ac changeover is electrical voltage mismatch. Modern smart thermostats rely strictly on Class 2 low-voltage 24VAC power supplied by an HVAC air handler control board.
Conversely, residential swamp coolers use 115V or 230V line-voltage power to drive heavy blower motors and water circulating pumps. Direct connection of line voltage to smart thermostat terminals will instantly destroy the low-voltage electronics.
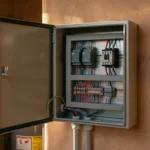
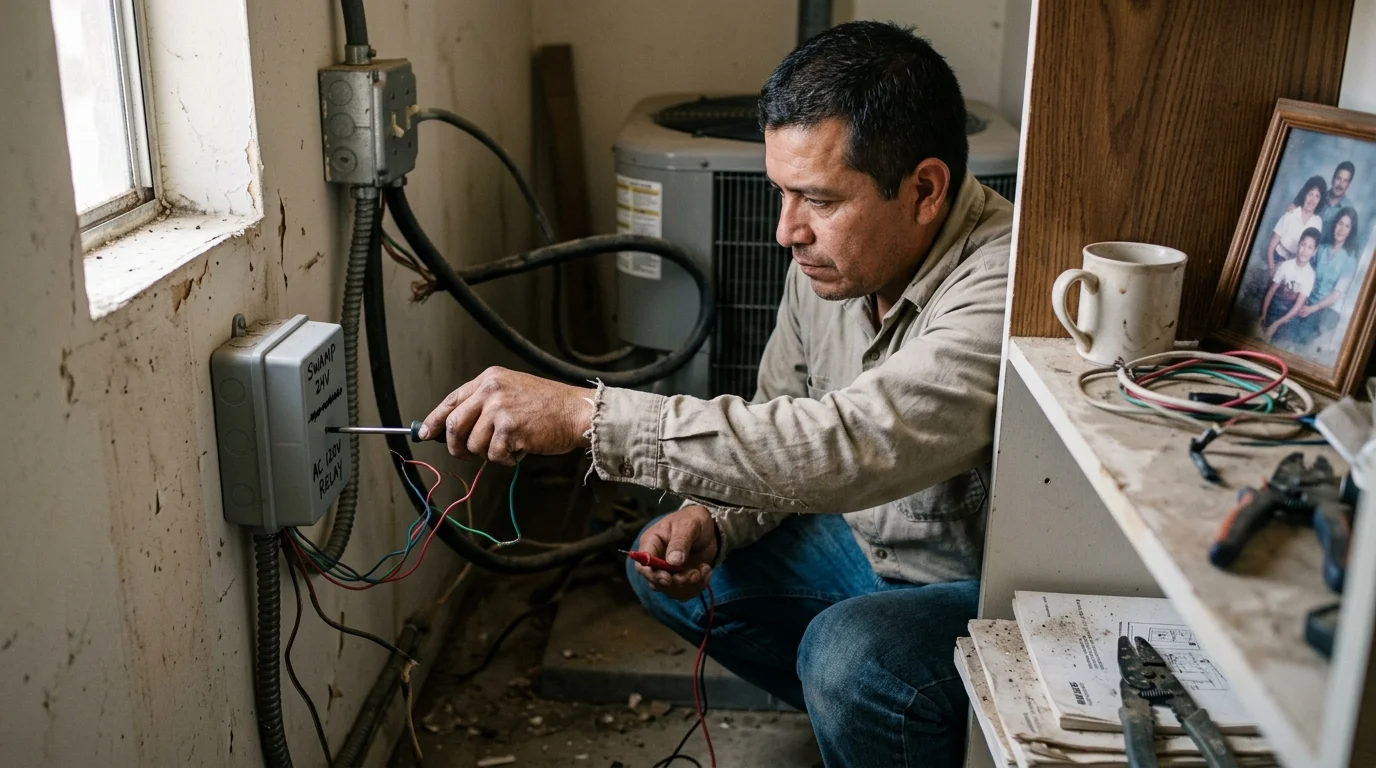
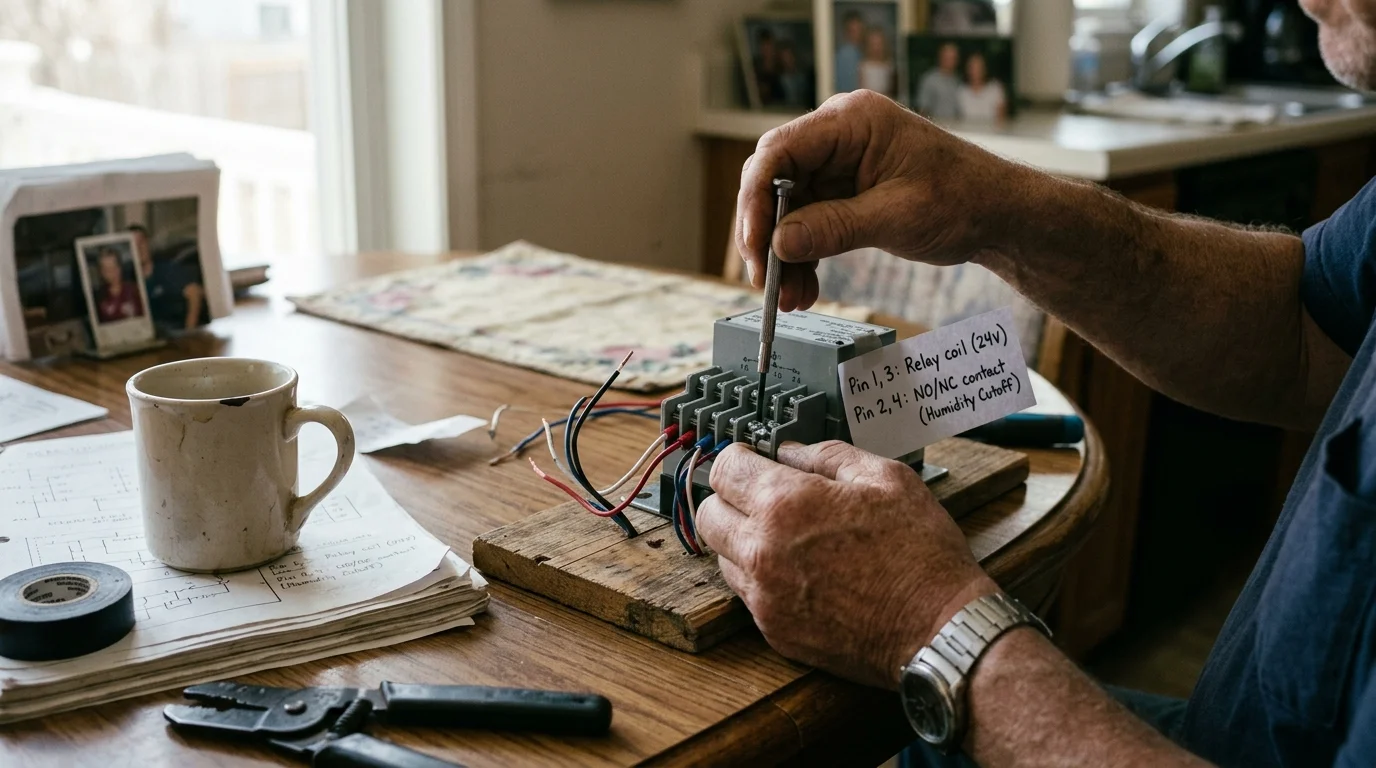
You must install an intermediary relay panel to bridge these distinct circuits safely. An isolated relay allows a low-voltage 24VAC trigger signal to open or close high-voltage line contacts without electrical crossover.
A dedicated control interface, such as the White-Rodgers 21D28-6 relay, provides isolated terminals for pump and fan switching. Alternatively, multi-channel industrial dry-contact relays perform the same task for $60 to $120.
The relay coil connects directly to your smart thermostat accessory terminals. When energized, the 24VAC electromagnetic coil closes internal heavy-duty contacts, delivering 120V line power to the swamp cooler pump and motor taps.
National Electrical Code (NEC) guidelines mandate physical barriers between Class 2 low-voltage wiring and line-voltage conductors. Using an approved dual-voltage relay enclosure ensures your installation complies with local building codes.
Smart Thermostat and Controller Hardware Options
Selecting the proper evaporative cooler smart thermostat setup depends on your existing home infrastructure and desired level of automation. You can integrate low-voltage thermostats with relays or deploy smart micro-controllers.
According to ENERGY STAR smart thermostat specifications, certified thermostats reduce overall cooling consumption through intelligent scheduling and accessory control. Some units feature dedicated accessory dry contacts specifically designed to manage auxiliary ventilation.
| Hardware Configuration | Control Voltage | Cooling Stages Supported | Switching Interface | Typical Hardware Cost |
|---|---|---|---|---|
| Ecobee Smart Thermostat Premium + White-Rodgers Relay | 24VAC Low-Voltage | 2-Stage AC + 1-Stage Evaporative (ACC Terminal) | Dedicated 24VAC Dry Contact Relay | $280 – $340 |
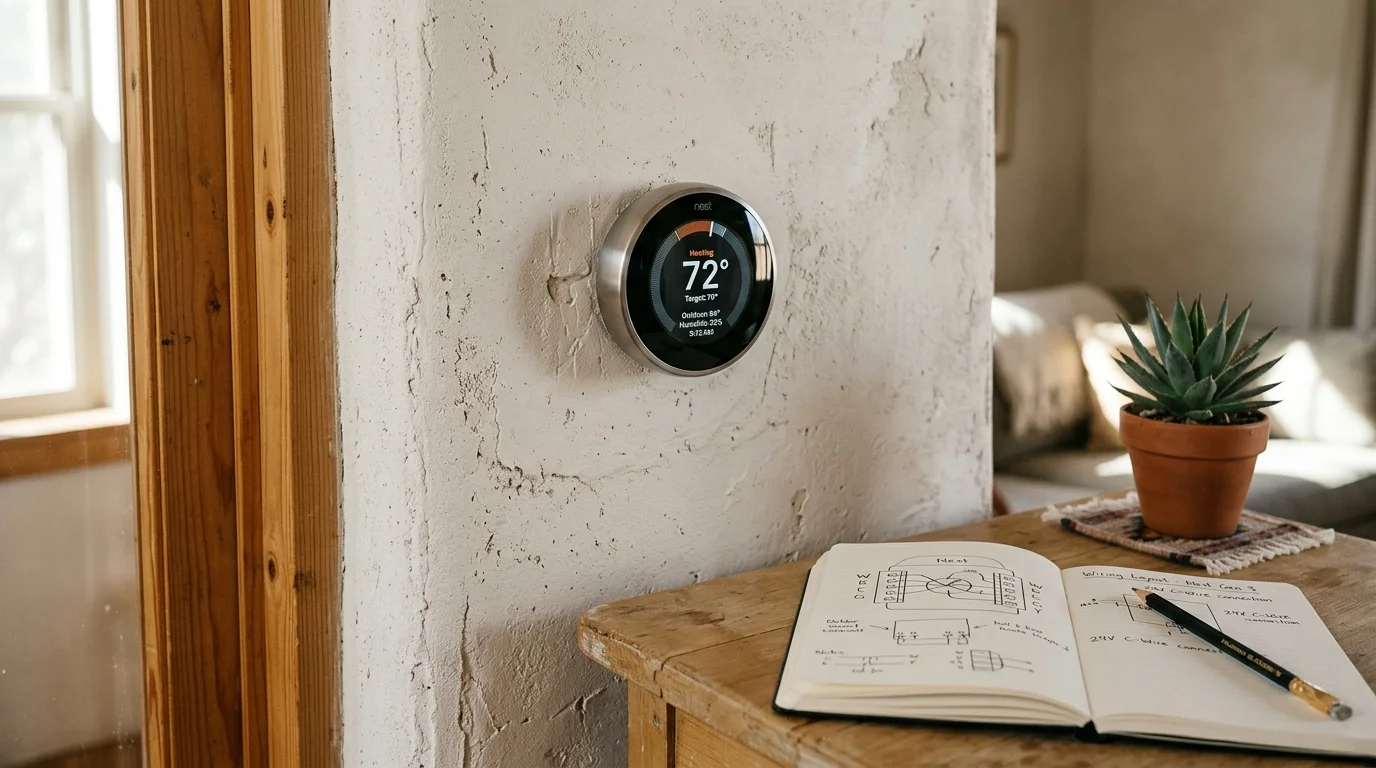
| Google Nest Learning Thermostat (3rd Gen) + RIB2401B | 24VAC Low-Voltage | 2-Stage AC + 1 Relay Trigger (Y2 or * Terminal) | External 24VAC SPDT Enclosed Relay | $260 – $310 |
| Shelly Plus 1 Relay + Home Assistant Hub | 120V / 240V Line Direct | Independent Pump, Low Fan, and High Fan Control | Local Wi-Fi Dry-Contact Relays | $80 – $150 |
| Honeywell Home T9 + Functional Devices Relay | 24VAC Low-Voltage | 1-Stage AC + 1 Auxiliary Relay Output | External 24VAC DPDT Relay Board | $210 – $260 |
Regardless of your chosen platform, a dedicated common wire (C-wire) is mandatory. Smart thermostats need continuous 24VAC power to sustain Wi-Fi connectivity and prevent relay chatter during mode transitions.
Essential hardware components for this dual-cooling automation include:
- An evaporative cooler smart thermostat or smart dry-contact relay board.
- A 24VAC low-voltage to 120VAC line-voltage intermediary relay (e.g., White-Rodgers 21D28-6 or Functional Devices RIB2401B).
- A dedicated C-wire connection delivering uninterrupted power to your wall thermostat.
- A precision outdoor temperature and humidity sensor housed in a solar radiation shield.
- Motorized 24VAC backdraft dampers to seal the swamp cooler duct drop when central air operates.
A motorized duct damper prevents refrigerated air from escaping backward through the swamp cooler roof opening. Without positive duct isolation, running your central AC pressurizes the attic and wastes substantial cooling energy.
Spring-return dampers remain powered open during swamp cooler operation and snap shut when power drops. This mechanical fail-safe ensures complete duct isolation if control power drops unexpectedly.
Step-by-Step Wiring and Relay Installation
Installing an automated changeover requires careful wire routing and strict adherence to safety standards. Always turn off the circuit breakers for both the central air conditioning and swamp cooler before beginning work.
Follow these concrete steps to assemble the physical relay interface:
- Mount a NEMA-rated junction enclosure adjacent to your swamp cooler electrical disconnect switch.
- Run an 18/4 low-voltage thermostat cable from your smart thermostat accessory terminals (ACC+ and ACC-) to the relay coil inputs.
- Connect the 120VAC line supply hot wire to the common input terminal on your intermediary relay.
- Route the normally-open (NO) load terminal from the relay to the swamp cooler pump and fan motor hot inputs.
- Connect the 24VAC cooling trigger (Y1) and fan trigger (G) from the thermostat directly to your central air handler.
- Wire a 24VAC normally-closed (NC) lockout relay across the swamp cooler coil circuit, triggered by the Y1 cooling line.
The lockout relay in step six provides a critical hardware-level safety interlock. If software logic fails, this mechanical relay physically prevents the evaporative cooler from engaging while central air conditioning runs.
To manage cooler pad wetting, wire the pump circuit in parallel with the fan relay or through an independent timing relay. Pre-wetting pads for two minutes prevents hot, dry air blasts upon initial startup.
Test the installation by cycling the low-voltage triggers with a digital multimeter before restoring line voltage. Confirm that the relay cleanly engages without humming, buzzing, or unexpected resistance across contacts.
Label every conductor inside the junction enclosure clearly using heat-shrink wire tags. Clear labeling prevents confusion during routine seasonal maintenance or future equipment upgrades.
Worked Example: Monsoon Automation Logic and Cost Savings
To understand the financial impact of automated switching, examine a worked scenario for a 2,000-square-foot home in Tucson, Arizona. This home operates a 5,500 CFM evaporative cooler alongside a 3.5-ton 14 SEER central air conditioner.
The evaporative cooler draws 550 Watts on low speed including the water pump. In contrast, the central air conditioner draws 3,850 Watts during active compressor operation.
Local utility rates average $0.15 per kilowatt-hour under a standard billing structure. The early summer period runs from June 15 through July 10, delivering 26 days of dry heat with relative humidity averaging 18%.
Running the swamp cooler for 14 hours per day consumes 7.7 kWh daily, costing $1.16 per day. Operating the central air conditioner for those same hours consumes 53.9 kWh daily, costing $8.09 per day.
Over those initial 26 days, evaporative cooling saves 1,201 kWh and cuts utility costs by $180.18. The operational challenge begins on July 11 when the North American Monsoon elevates ambient humidity.
At 1:15 PM on July 11, outdoor humidity climbs to 38% with a wet-bulb temperature of 69°F. The desert climate thermostat humidity switch immediately executes the automated changeover sequence.
The script terminates the swamp cooler relay, waits five minutes to purge duct humidity, powers the duct damper closed, and activates the central AC. During the subsequent 45-day monsoon window, conditions oscillate constantly.
On 28 monsoon days, afternoon storms push humidity above 35%, requiring central AC operation. However, on 17 monsoon nights, dry desert breezes push humidity down to 24%, allowing the automation to revert to evaporative cooling.
This hybrid operation consumes 1,482 kWh over the monsoon season, compared to 2,425 kWh for continuous AC. The automated 35% cutoff delivers total seasonal savings of $141.45 during monsoon conditions alone.
Across the complete June 15 through September 30 season, automated switching delivers $321.63 in net power savings. The system pays for its relay hardware and thermostat investment within a single summer.
Configuring the Automated Changeover Script
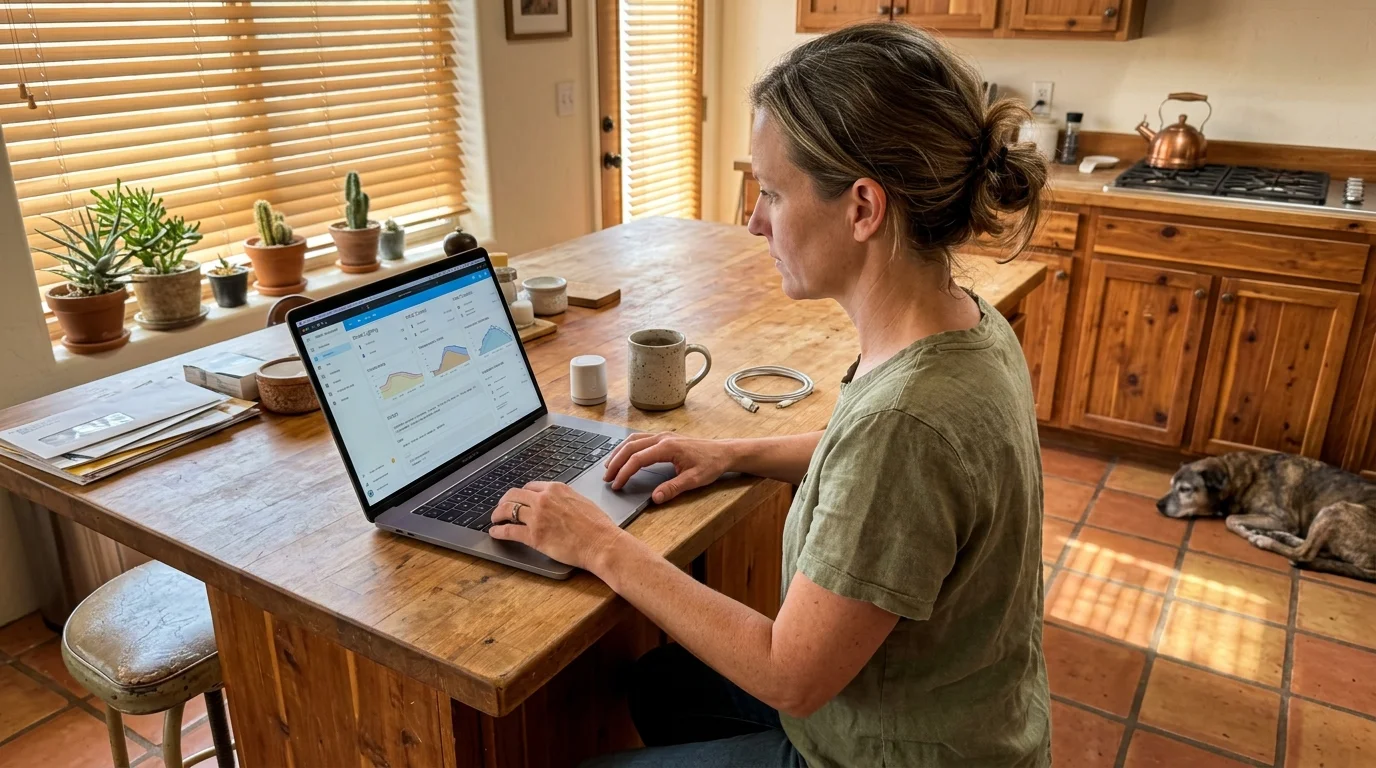
Automating your cooling transition requires robust software logic within a local smart hub such as Home Assistant or Hubitat. Relying solely on remote cloud weather APIs can cause delays during sudden storm microbursts.
Install a local Zigbee or Z-Wave outdoor weather transmitter mounted on the north exterior wall. Local outdoor sensors register humidity spikes in real time rather than waiting for regional airport weather station updates.
The automation routine must incorporate a hysteretic deadband to prevent rapid short-cycling between systems. Use the following operational parameters to govern the automated changeover script:
- Cutoff Trigger: Outdoor relative humidity exceeds 35% OR outdoor wet-bulb temperature exceeds 68°F.
- Cooler Shutdown: De-energize swamp cooler fan and pump relays immediately.
- Dwell Period: Hold all cooling calls for 300 seconds to allow ductwork moisture evaporation and damper closure.
- AC Arming: Set central thermostat mode to Cool with a target setpoint of 75°F.
- Recovery Trigger: Outdoor relative humidity drops below 30% AND wet-bulb drops below 65°F for 30 consecutive minutes.
- Pre-Wet Cycle: Energize swamp cooler pump for 120 seconds before starting the blower fan to saturate pads.
The five-percent difference between the 35% cutoff and 30% recovery threshold forms the hysteretic buffer. This deadband ensures that minor humidity fluctuations do not cycle equipment on and off erratically.
Additionally, integrate a motorized window opener or attic up-duct relief damper into your script. Swamp coolers require 1 to 2 square feet of exhaust relief per 1,000 CFM, whereas central AC requires an airtight envelope.
Automating relief dampers eliminates manual window management. When the script detects central AC activation, motorized dampers close automatically to seal the building envelope against outdoor heat.
Utility Rebates and Peak Demand Optimization
Modernizing your dual-cooling controls qualifies you for substantial financial incentives from southwestern electrical utilities. Salt River Project (SRP), Arizona Public Service (APS), and NV Energy actively reward smart cooling management.
These utility providers offer instant rebates between $50 and $100 for enrolling certified smart thermostats in demand-response initiatives. These credits substantially offset the initial hardware investment for your automated relay setup.
According to Consumer Reports smart home efficiency evaluations, automating HVAC switching around time-of-use (TOU) windows yields maximum utility savings. Peak demand rates often triple electricity costs between 2:00 PM and 7:00 PM on weekdays.
You can optimize your changeover script to prioritize evaporative cooling during expensive on-peak hours whenever humidity permits. Evaporative cooling at 550 Watts slashes peak grid demand compared to a 3,850-Watt compressor.
If monsoon humidity forces central AC use during on-peak windows, use the swamp cooler to pre-cool the house during off-peak morning hours. Pre-cooling stores thermal energy in your foundation and walls, minimizing peak compressor runtime.
Contact your utility provider before purchasing hardware to verify qualified model lists. Enrolling an eligible thermostat online typically deposits credit directly onto your electric bill within two billing cycles.
Frequently Asked Questions
Why should I use relative humidity instead of outdoor temperature for the cutoff?
Evaporative cooling performance depends on atmospheric moisture capacity rather than sensible temperature alone. A swamp cooler cools effectively at 105°F in 15% humidity, but fails completely at 85°F in 50% humidity.
Can a single smart thermostat operate both my swamp cooler and central AC?
Yes, provided the thermostat features auxiliary accessory terminals and you install an intermediary 24VAC-to-120VAC relay panel. Thermostats like the Ecobee Premium can trigger the relay while managing standard compressor lines.
What happens if the swamp cooler and central AC run at the same time?
Simultaneous operation severely compromises your home environment. The swamp cooler injects massive moisture into the air while the central AC condenser struggles to dehumidify, resulting in high electric bills and duct condensation.
Why is a motorized damper necessary for dual-system switching?
Central air conditioners operate under positive duct pressure. Without a closed motorized damper sealing the evaporative cooler drop, conditioned refrigerated air escapes directly through the swamp cooler hood onto your roof.
How does wet-bulb temperature differ from relative humidity in automation logic?
Wet-bulb temperature combines dry-bulb heat and relative humidity to measure actual evaporative cooling potential. A 68°F wet-bulb threshold acts as a secondary failsafe when hot, humid air approaches the 35% humidity cutoff.
Disclaimer: This article is for informational purposes only. Smart home devices involve electrical connections and data privacy. Always follow manufacturer instructions for installation. For complex wiring or HVAC work, consult a licensed professional.