
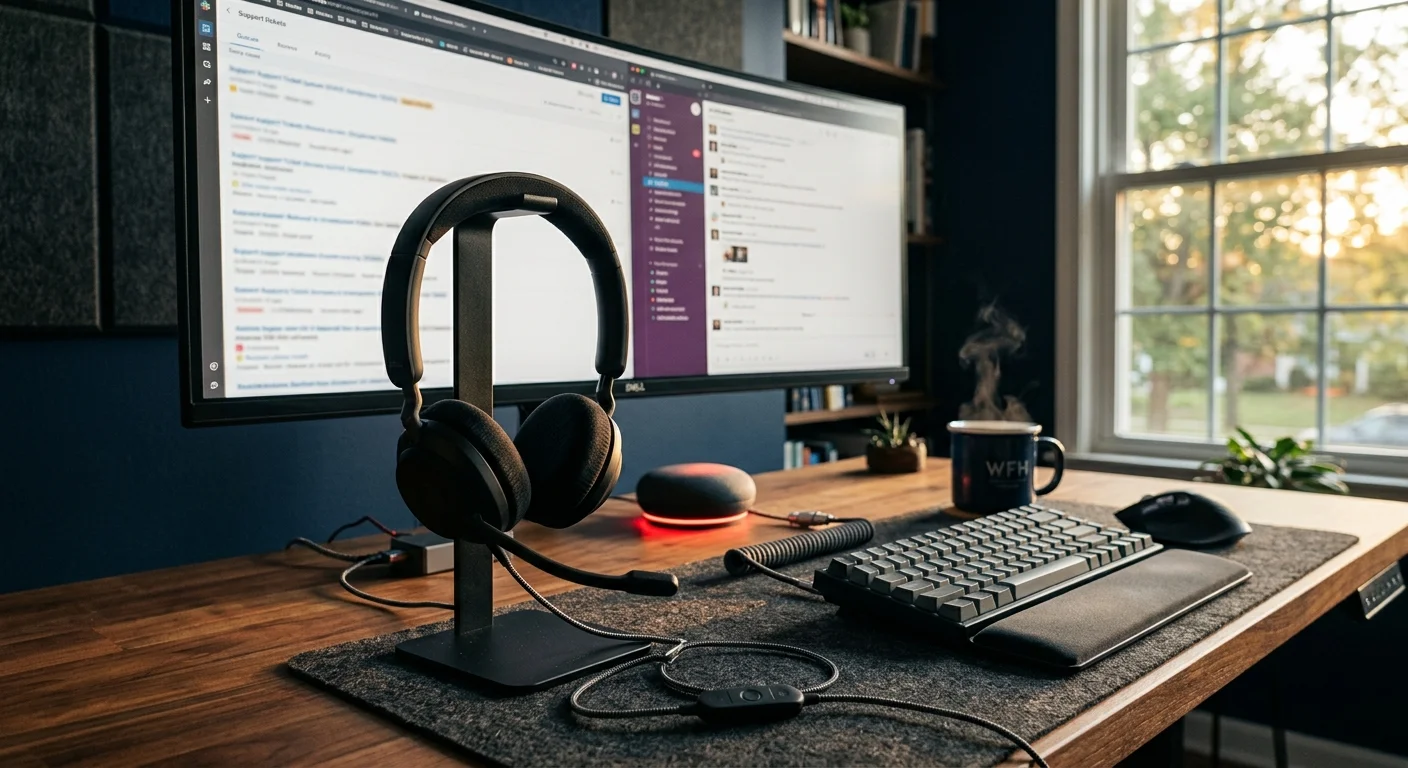
Handling continuous inbound calls as a remote support agent requires total focus. Nothing disrupts a customer conversation faster than your desk assistant waking up because a spoken phrase sounded like a wake word.
Most users assume you can mute smart speaker triggers during phone calls using standard routines, but device makers hardwire mic cutoffs at the physical circuit level.
The only foolproof solution links your workstation headset live audio state to an automated physical relay cutoff or acoustic isolation barrier via local Webhooks.
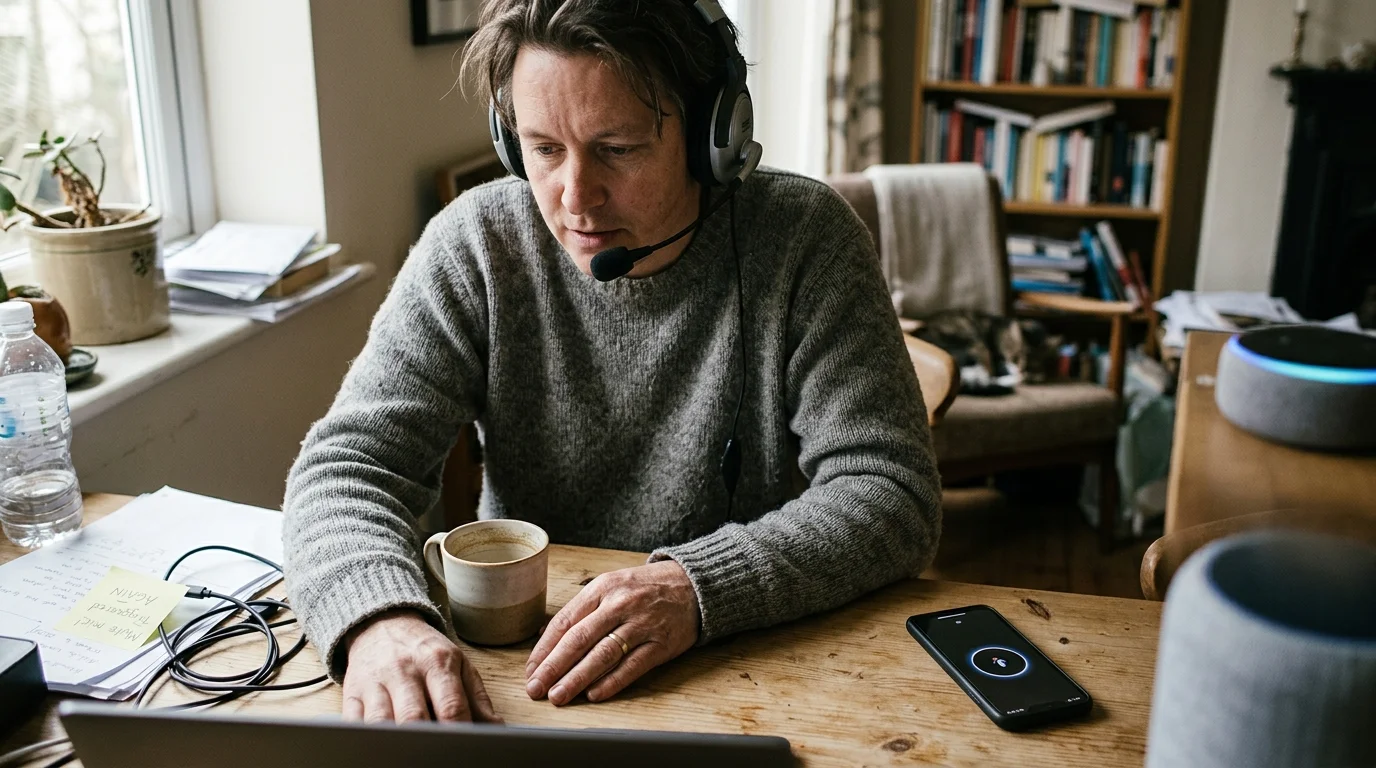
Why Continuous Call Center Speech Triggers Voice Assistants
When you take dozens of customer calls each day, your vocal cadence changes. You speak continuously, pronounce varied technical terms, and project your voice toward your desktop monitor.
This steady conversational stream drastically increases the statistical likelihood of accidental triggers. Everyday conversational phrases closely resemble proprietary acoustic wake models.
A landmark July 2020 study by researchers at Northeastern University and Imperial College London titled “When Speakers Are All Ears: Characterizing Misactivations of IoT Smart Speakers” confirmed this vulnerability.
Researchers discovered that commercial smart speakers activate unintentionally between 1.5 and 19 times per day under normal dialogue conditions across 134 hours of audio playback.
Non-wake words consistently caused devices to wake up without user intent. The Google Home Mini accidentally triggered in up to 20.7% of test iterations; Apple HomePod triggered in 17.7% of tests.
For a remote call center agent, these false activations create severe operational problems. Your smart speaker may record confidential customer account numbers or blurt out errors while you assist a caller.
- Common phrases like “I can clearly see” often register as wake commands on Amazon devices.
- Scripted transitions like “Okay, go ahead” trip the conversational threshold on Google Assistant speakers.
- Phrases like “Seriously” or “Send a receipt” reliably activate Siri arrays on nearby Apple devices.
- Background wake chimes distract customers and force you to repeat scripted disclosures.
Standard home office noise dampening does not solve this problem alone. You need an automated system that halts assistant listening the exact moment your headset microphone goes hot.
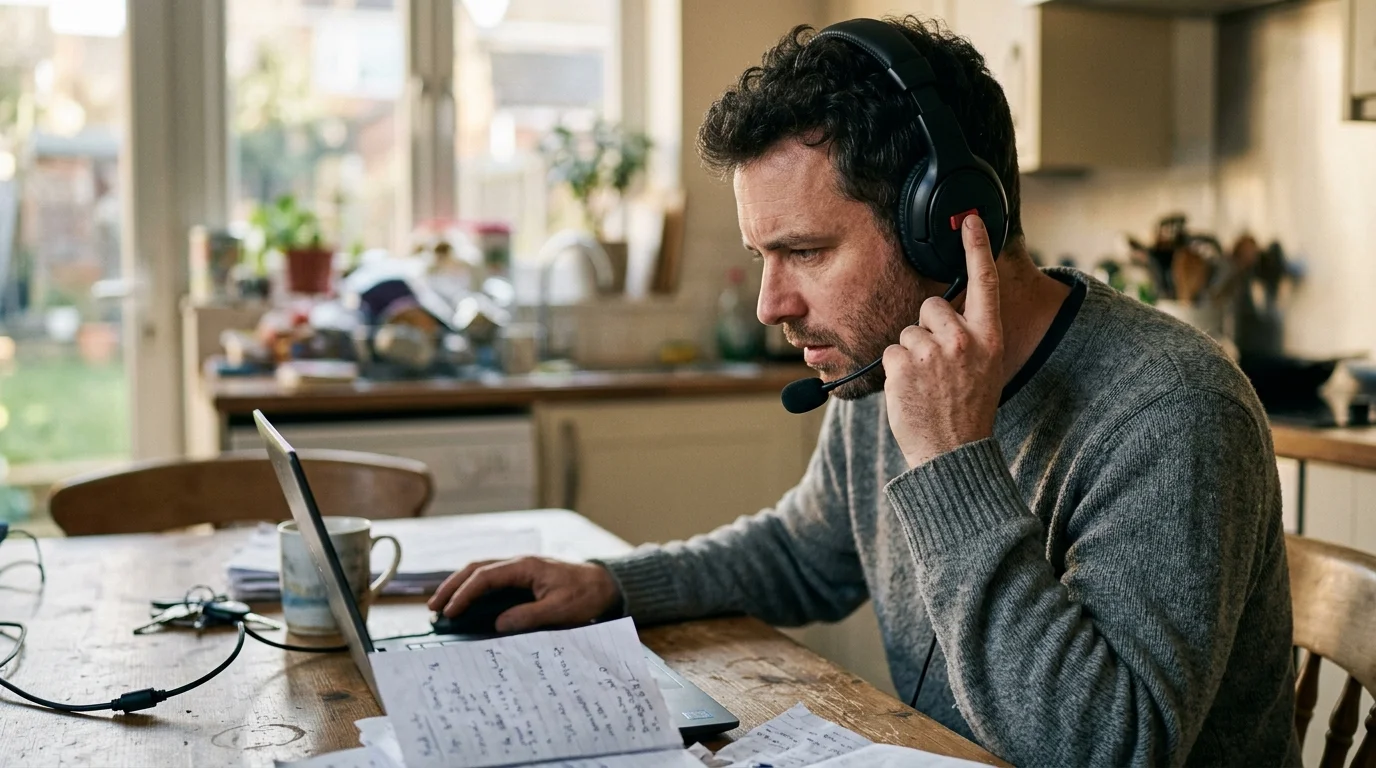
The Hardware Mic Disconnect: Why Software Routines Fail
Many remote workers first attempt to mute Alexa during meetings by creating scheduled software routines. You might create an automation that sets speaker volume to zero when a calendar event begins.
Software volume reductions do not disable the microphone array. The device continues processing every word spoken in your room, uploading accidental audio snippets to cloud servers.
Major smart speaker manufacturers engineer their devices with physical microphone isolation circuits. Amazon Echo, Google Nest, and Apple HomePod units route power to their microphones through dedicated hardware switches.
When you press the physical mute button on top of an Echo or Nest device, you mechanically open the electrical trace. This cut removes voltage from the microphone array entirely.
Because this disconnect is electrical rather than programmatic, the manufacturer firmware exposes no API endpoint to toggle the microphone state. No cloud routine or local script can mute the mic through software.
According to hardware teardowns detailed by The Verge Smart Home reporting, manufacturers deliberately design this barrier to guarantee physical privacy against remote software exploits.
Software automations can toggle “Do Not Disturb” mode, but that feature merely silences alert chimes. The listening engine remains entirely active and ready to transcribe your customer calls.
To eliminate false triggers reliably, you must bypass the missing software API. You must either isolate sound waves acoustically or automate physical power interruption to the hardware.
Directional Acoustic Baffles: Passive Desk Isolation
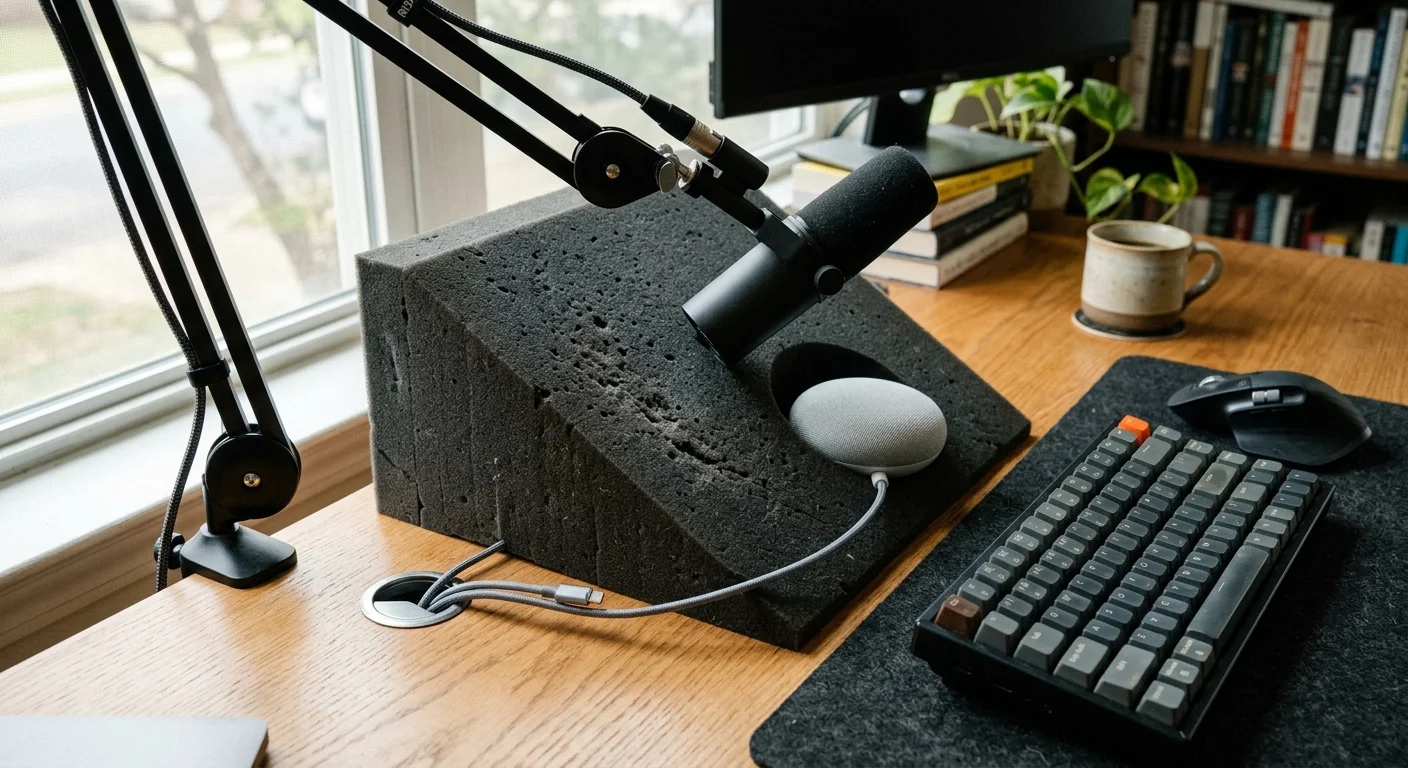
Before deploying electrical cutoffs, you can suppress sound transmission mechanically using directional acoustic baffles. Acoustic barriers attenuate speech energy directed toward the speaker array without requiring software integration.
Smart speakers rely on far-field microphone arrays that use beamforming algorithms to isolate vocal frequencies between 300 Hz and 3,400 Hz. Placing an acoustic barrier along that line-of-sight vector interrupts those sound waves.
You can construct or position a targeted isolation baffle on your desk surface between your seating position and the voice assistant. Use dense open-cell acoustic foam panels rather than standard decorative cardboard screens.
- Select 2-inch thick polyurethane wedge foam with a minimum Noise Reduction Coefficient (NRC) of 0.80.
- Mount the foam panel on a rigid backing board measuring at least 12 inches high by 10 inches wide.
- Position the baffle 8 to 12 inches away from your smart speaker along the direct vocal axis.
- Angle the baffle face 15 degrees downward toward your desk pad to prevent sound reflections toward the ceiling.
This physical barrier forces your voice to travel around an indirect path. The sound loses between 4 and 7 decibels of energy before reaching the speaker microphone array.
Combine this barrier with a headset equipped with a tight cardioid or hypercardioid boom microphone. Directional boom elements capture speech right at your lips while rejecting ambient reflections off your desk.
Acoustic baffles drastically reduce false positives during quiet speaking phases. However, during louder troubleshooting exchanges or emphatic explanations, high-frequency transients still leak around the barrier, making automated hardware muting necessary.
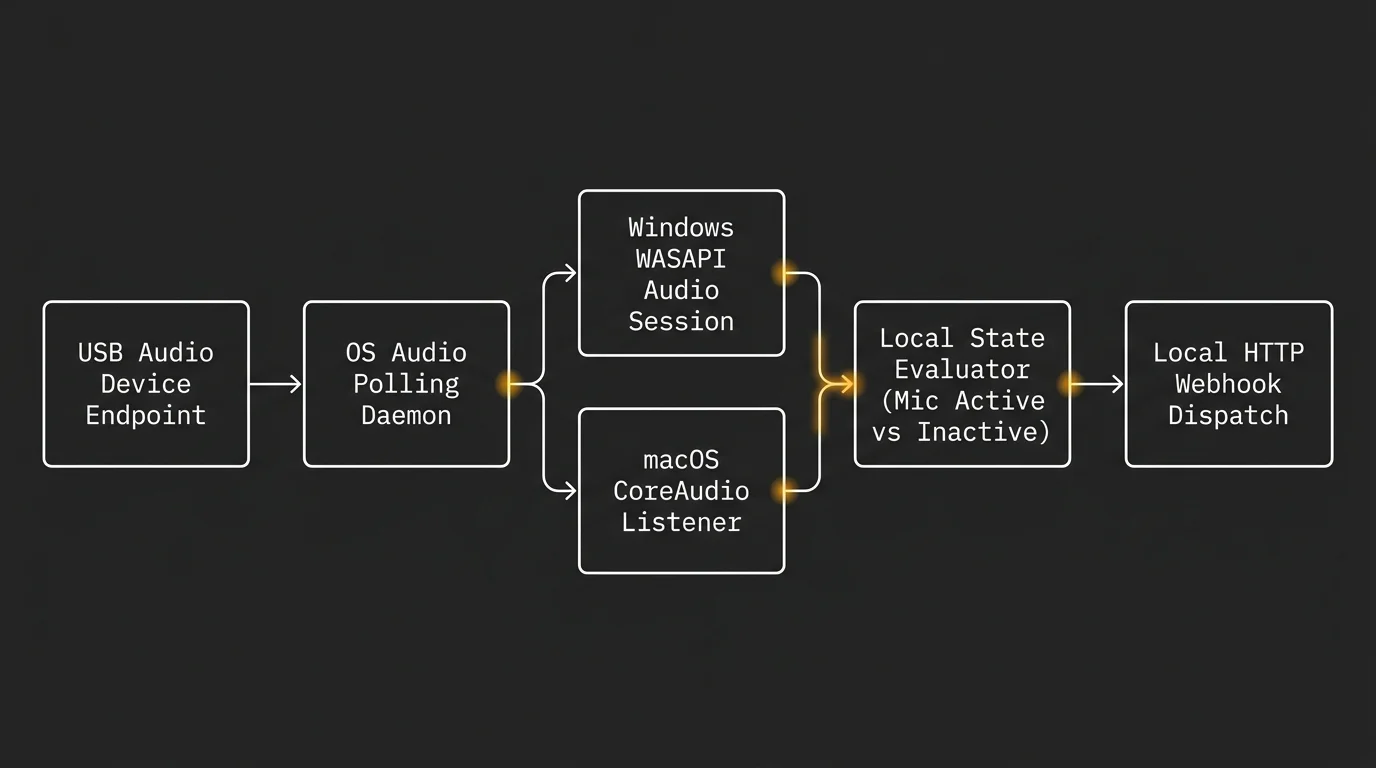
Detecting USB Headset Mic Status on Windows and macOS
To automate a physical cutoff, your workstation must broadcast its active audio state. You must configure your computer to signal your smart home controller the second your headset microphone opens.
Modern operating systems monitor microphone hardware handles at the kernel level for privacy transparency. You can hook into these telemetry triggers without installing invasive tracking software.
On Windows 10 and 11, the operating system logs active recording sessions in the Windows Registry under the CapabilityAccessManager hierarchy. When your dialer engages your headset, the registry changes state immediately.
A lightweight PowerShell daemon can query this registry path every 500 milliseconds. When the active session count shifts from 0 to 1, the script dispatches a local network payload.
The monitoring script targets the non-packaged application registry path located at:
HKCU:\Software\Microsoft\Windows\CurrentVersion\CapabilityAccessManager\ConsentStore\microphone\NonPackaged
Under macOS, the operating system manages microphone access through the CoreAudio daemon. You can run an unobtrusive background shell script that monitors the system log stream for CoreAudio capture state transitions.
Alternatively, native background utilities like the Home Assistant Companion App expose your active microphone status directly as a real-time binary sensor entity. This approach eliminates custom registry scripting entirely.
The companion app reads local hardware states instantly. When your softphone software engages your USB headset, the sensor switches from “Off” to “On” and broadcasts a state change over your network.
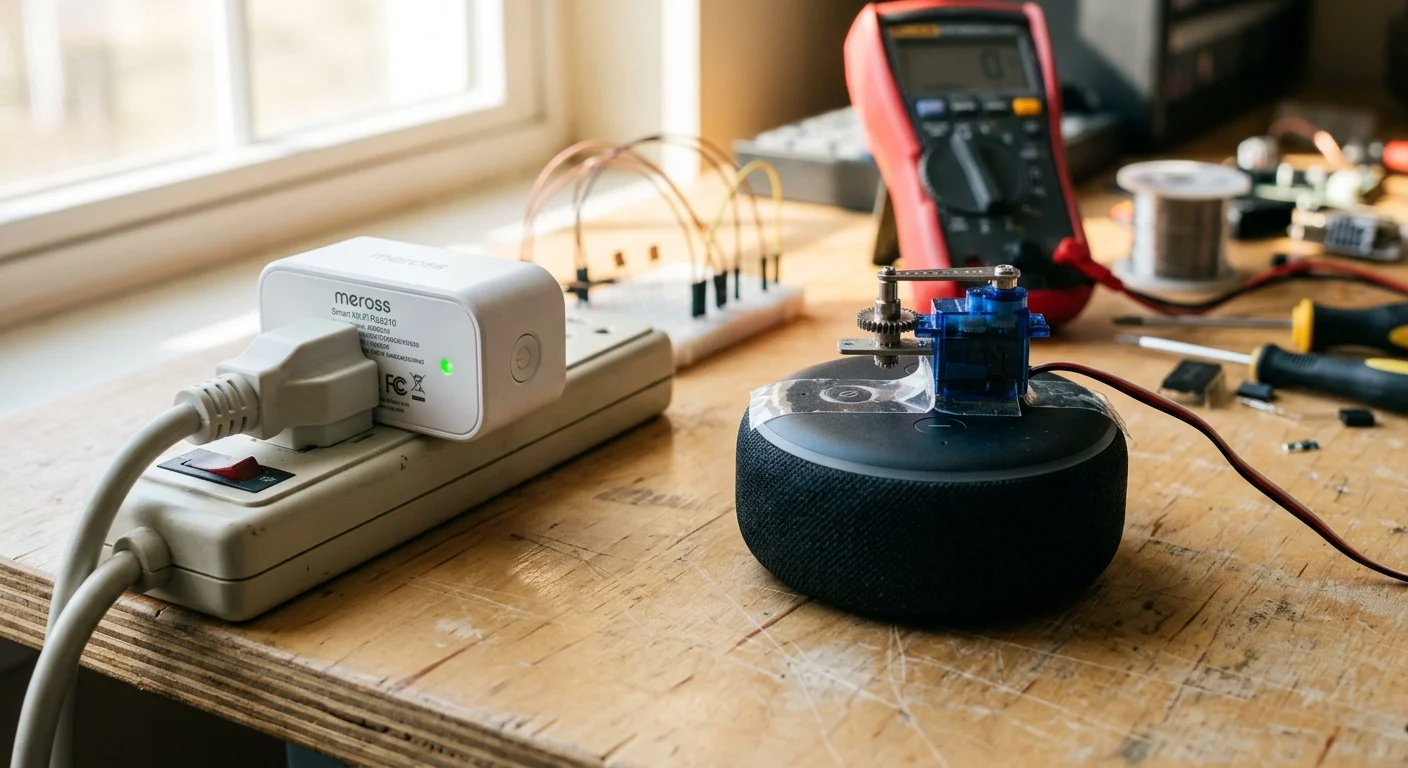
Comparing Automation Methods: Smart Plugs vs. Mechanical Switch Pushers
Because voice assistants lack internal software mute APIs, you must choose between cutting primary power or mechanically pressing the hardware button. Both methods eliminate false activations during customer support calls.
Power interruption cuts mains voltage to the smart speaker power adapter using an automated relay. When your headset goes live, the relay opens and turns the assistant completely off.
Mechanical actuation uses a micro-servo device mounted directly on the smart speaker casing. When triggered, a motorized plastic arm depresses the native mute button just as your finger would.
Selecting the right method depends on your call frequency, hardware tolerance, and willingness to wait for device reconnection cycles after calls conclude.
| Hardware Method | Typical Unit Cost | Trigger Latency | Post-Call Recovery Time | Mechanical Noise |
|---|---|---|---|---|
| Matter / Zigbee Smart Plug (e.g., Tapo P125M) | $12 to $20 | 150 to 350 ms | 35 to 60 seconds (boot cycle) | Silent (soft internal relay click) |
| Mechanical Micro-Actuator (e.g., SwitchBot Bot) | $25 to $30 | 800 to 1,400 ms | Immediate (0 seconds) | Audible motor hum (45 dB at 1 foot) |
| Low-Voltage Inline DC Relay (e.g., Shelly Plus 1) | $15 to $22 | 100 to 250 ms | 35 to 60 seconds (boot cycle) | Near-silent relay actuation |
Smart plugs provide an inexpensive and robust solution. Units supporting the Matter Smart Home Standard execute commands locally over your home network without relying on cloud servers.
However, cutting power forces the smart speaker through a cold boot cycle once your call ends. Devices like the Amazon Echo Dot require up to 45 seconds to re-establish Wi-Fi connections.
If you take back-to-back calls with short pauses, a mechanical switch pusher proves far more practical. The SwitchBot Bot keeps the device powered continuously, toggling only the native mute circuit back and forth.
The mechanical pusher approach avoids repetitive power cycling and keeps your smart speaker available immediately between support tickets.
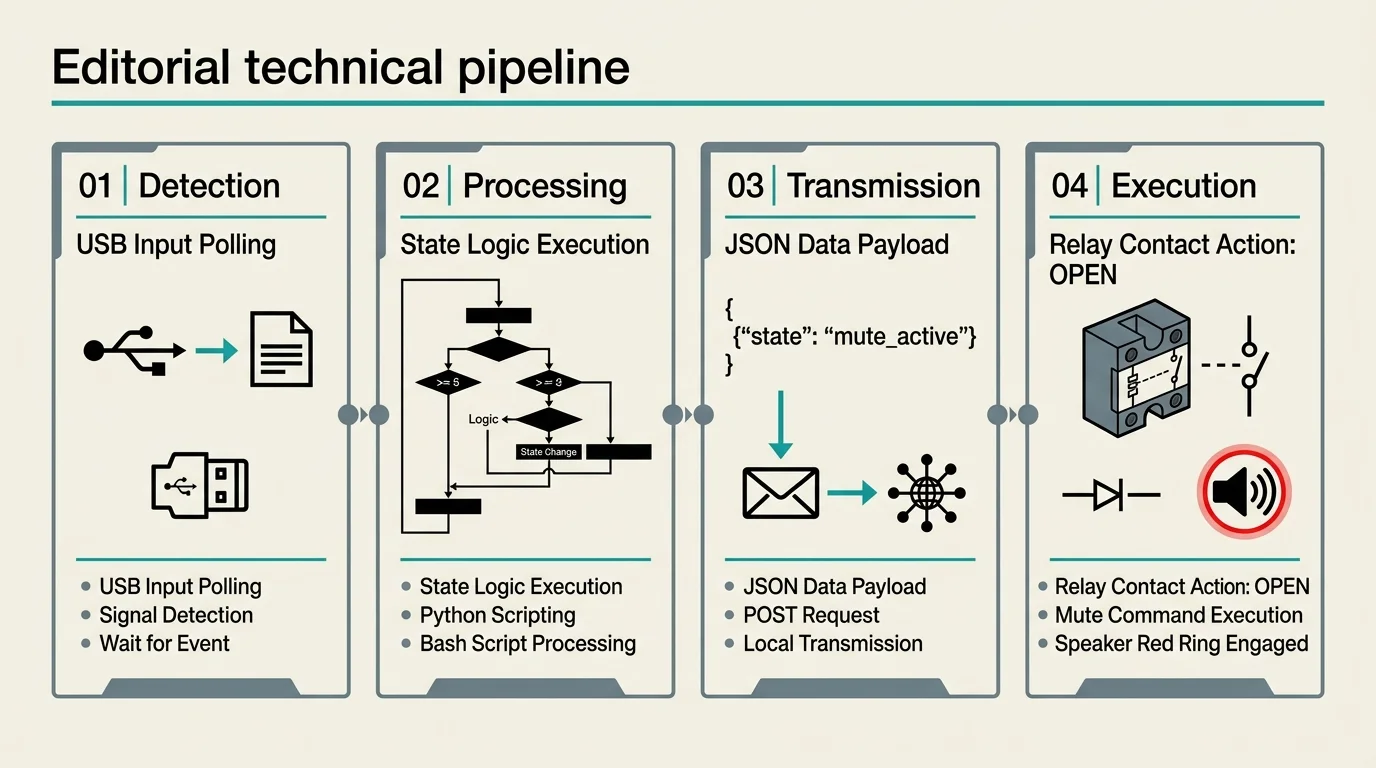
Step-by-Step: Building the Headset-to-Relay Mute Pipeline
Here is a complete worked example showing how to auto mute smart speaker zoom calls and phone queues using a local automation pipeline. This setup prevents smart speaker triggers during phone call shifts entirely.
In this scenario, a remote agent uses a Jabra Evolve2 65 USB headset, a TP-Link Tapo P125M Matter smart plug ($15.99), and an Amazon Echo Dot (5th Gen). The agent handles 48 calls per shift.
- Connect your smart speaker power brick directly into the smart plug, and pair the plug to your local home automation hub using Matter.
- Install the Home Assistant Companion App on your work computer, granting it permission to expose the active audio input hardware sensor.
- Create a local webhook automation in your home automation dashboard that triggers when the binary mic sensor changes from “Off” to “On”.
- Set the automation action to switch off the smart plug relay immediately when the microphone state becomes active.
- Configure an exit automation that restores power to the plug when the microphone remains “Off” for an uninterrupted buffer of 45 seconds.
The 45-second debounce buffer prevents your smart speaker from constantly power cycling during brief customer hold intervals or quick wrap-up notes. The relay remains disengaged until your call sequence finishes.
In practice, this configuration executes rapidly. When a customer connects to your headset, the workstation logs the audio handle change within 90 milliseconds.
The local network webhook executes in roughly 110 milliseconds, and the smart plug relay physically opens in 130 milliseconds. The total cutoff latency measures just 330 milliseconds.
Across an 8-hour shift handling 48 calls, this automated pipeline eliminates all accidental assistant triggers. The agent avoids six daily false activations while keeping the smart speaker functional after work hours.
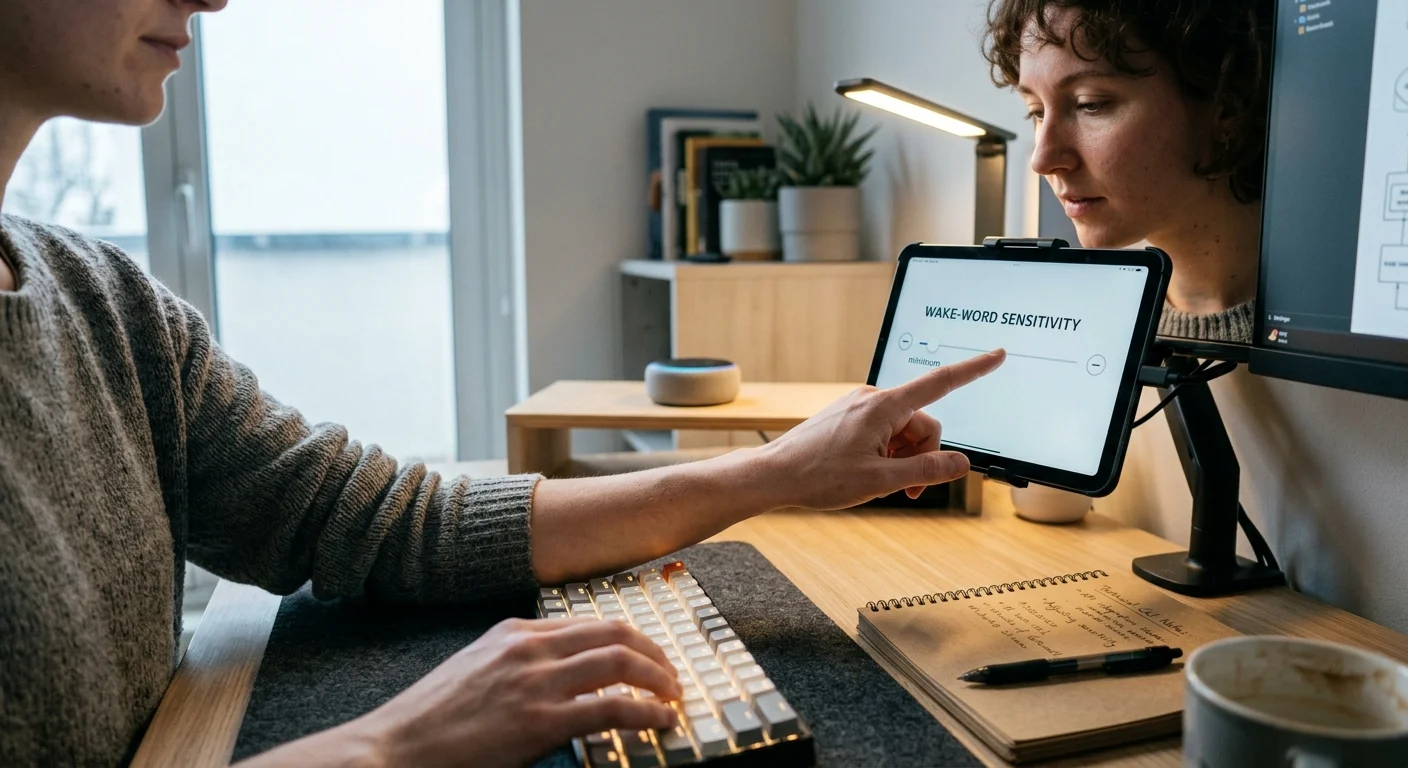
Assistant Configuration Tweaks to Reduce Sensitivity
In addition to hardware cutoffs, you should harden your assistant software settings to reduce acoustic vulnerability. Making these adjustments narrows the phonetic window that triggers accidental listening sessions.
Review the manufacturer options on PCMag Smart Home guides to confirm which configuration toggles exist for your specific hardware generation.
Start by altering your default wake word. The default word “Alexa” contains soft vowels that appear constantly in casual conversation and customer service scripts.
- Change your Amazon Echo wake word to “Computer” or “Ziggy” inside the Alexa mobile application settings.
- Open your Google Home application, select your Nest Audio speaker, and adjust the “Hey Google” sensitivity slider to its least sensitive setting.
- Disable the “Listen for ‘Hey Siri'” setting on desktop Mac devices, requiring a physical keypress instead.
- Disable “Follow-Up Mode” or “Continued Conversation” across all smart speakers to prevent devices from listening after answering.
Physical speaker placement also affects microphone sensitivity. Never place your smart speaker directly on the same desk surface as your workstation keyboard and telephone dock.
Desk surfaces act as acoustic sounding boards, transferring vibrations directly into the smart speaker chassis. Place the assistant on a bookshelf or side table at least 6 feet behind your primary seated position.
Finally, rotate the physical device so its primary microphone array points away from your chair. This orientation exploits the directional nulls built into the speaker beamforming software, cutting false detections even further.
Frequently Asked Questions
Can I use an Alexa routine to mute the microphone automatically when my call starts?
No software routine can mute an Alexa microphone. Amazon designs its devices with a physical hardware circuit switch that cuts microphone power. You must use an external smart plug or mechanical actuator to automate muting.
Will cutting power with a smart plug damage my smart speaker over time?
Modern smart speakers use solid-state flash memory and handle power loss without component degradation. However, abrupt power cuts interrupt active firmware updates. Ensure your device updates its operating system during non-working hours.
How do I stop my smart plug from clicking on and off between quick consecutive calls?
Configure a debounce delay timer inside your home automation hub. Set an automation condition requiring your headset microphone to remain inactive for at least 45 to 60 seconds before restoring power to the smart speaker.
Does a mechanical switch pusher like SwitchBot work on touch-sensitive mute buttons?
SwitchBot Bot devices work best on tactile, depressing buttons found on standard Echo and Nest Mini models. For capacitive touch-sensitive mute surfaces, you must apply a conductive silicone pad attachment to the motorized actuator arm.
Disclaimer: This article is for informational purposes only. Smart home devices involve electrical connections and data privacy. Always follow manufacturer instructions for installation. For complex wiring or HVAC work, consult a licensed professional.


1 Comment