

Standard smart speakers cut your microphone off after just 700 milliseconds of silence, making voice commands frustrating if you stutter or pause mid-sentence. You can eliminate these cutoffs by adjusting hidden endpointing buffers and latency configurations across your devices.
While default consumer setups assume rapid, uninterrupted speech cadence, you can manually expand your assistant’s listening window up to 5,000 milliseconds using built-in accessibility menus and acoustic modeling tools.
This guide details exact millisecond adjustments, device-level overrides, and acoustic calibration steps for Amazon Alexa, Apple Siri, and Google Assistant.
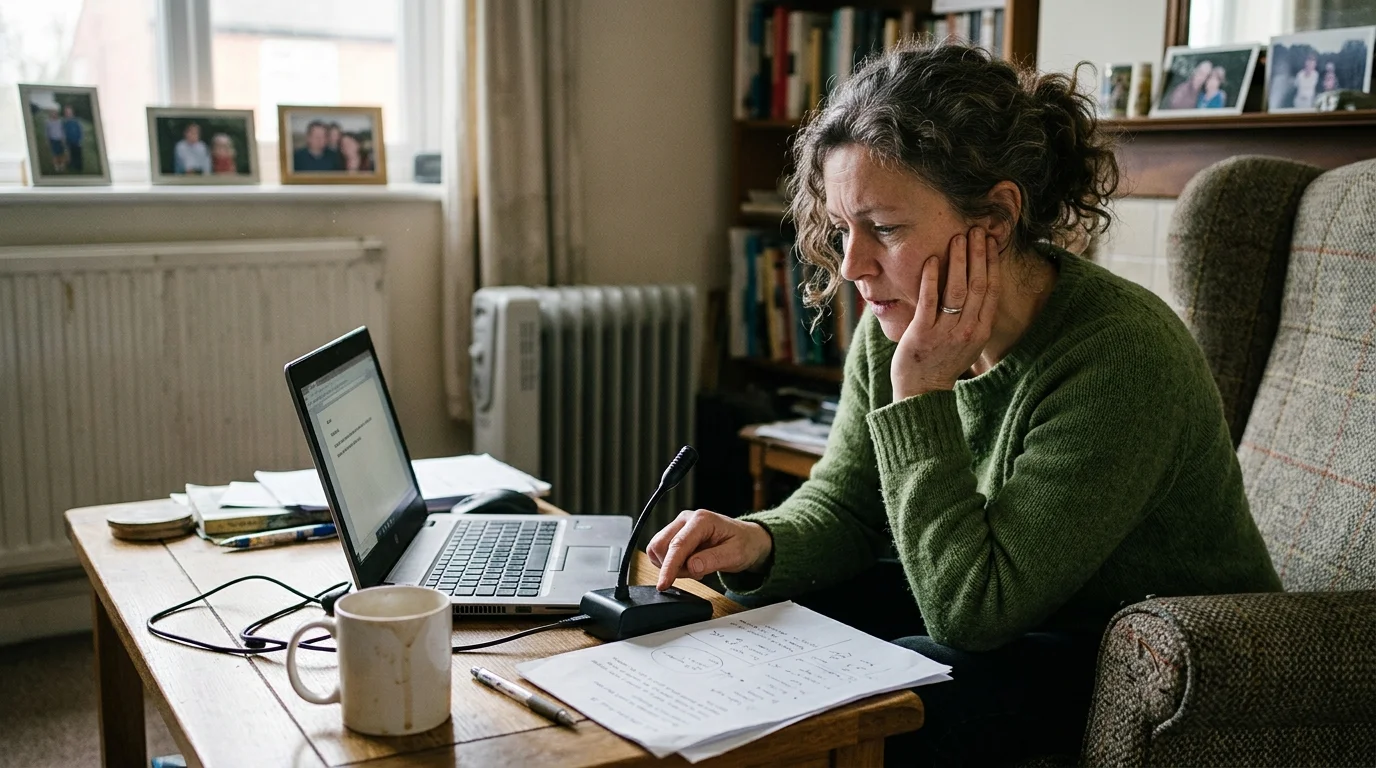
How Voice Activity Detection and Endpointing Latency Work
Voice assistants rely on automated speech recognition engines to convert your spoken acoustic waves into digital commands. Within these engines, a sub-routine known as Voice Activity Detection monitors changes in room acoustics to identify speech.
Voice Activity Detection identifies the exact millisecond you begin speaking and tracks your vocal signal against background noise. When you pause to breathe or navigate a speech block, the signal drops below a set decibel threshold.
At that drop, the assistant starts an internal countdown called endpoint latency. This endpointing timer measures the elapsed silence before deciding your request is complete.
Default endpoint timers range between 700 and 1,200 milliseconds across commercial smart speakers. This narrow silence window creates an immediate barrier if you experience dysarthria, apraxia, or a developmental stutter.
A natural mid-command hesitation often lasts between 1,500 and 3,000 milliseconds. When your pause exceeds the default threshold, the speaker terminates audio recording and processes an incomplete phrase.
This premature termination leads to failed commands or device errors like “Sorry, I do not understand.” Understanding these timing parameters lets you recalibrate your hardware to match your speech cadence rather than forcing unnatural delivery.
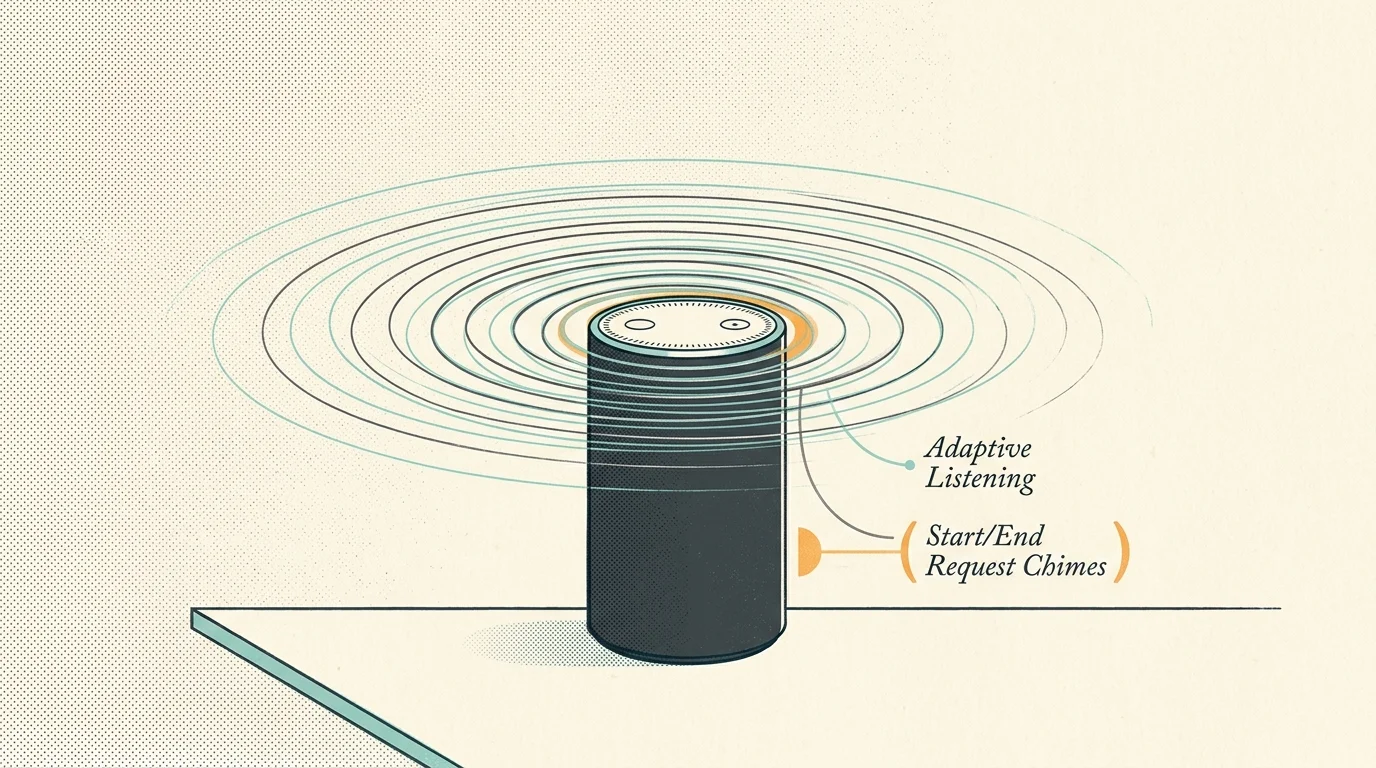
Amazon Alexa: Activating Adaptive Listening and Chime Prompts
Amazon rolled out a specialized accessibility feature called Adaptive Listening in October 2021. The tool dynamically widens the listening window for households managing non-fluent speech patterns.
Adaptive Listening overrides the standard 1,000-millisecond cutoff timer on Echo smart speakers. When activated, the microphone stays open longer after pauses, preventing the device from cutting you off mid-sentence.
This alexa listening time extension uses machine learning to identify prolongations and word repetitions. The system pauses its completion evaluation until it detects a definitive trailing cadence.
You can enable Adaptive Listening across individual Echo devices using the Amazon Alexa app:
- Open the Alexa app on your smartphone or tablet.
- Select More from the bottom navigation bar and tap Settings.
- Scroll down and select Accessibility.
- Tap Adaptive Listening.
- Toggle the switch to the On position for each Echo speaker in your home.
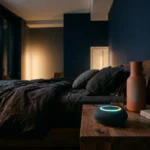
Once you enable this feature, the blue light ring on your Echo device remains illuminated during longer pauses. This visual indicator confirms the device is still waiting for you to conclude your command.
To verify device status without looking at the speaker ring, turn on audio confirmation tones. These chimes provide audible feedback when the microphone begins and stops listening:
- Navigate to Devices in the Alexa app.
- Choose your target Echo speaker, then tap the gear icon to open Device Settings.
- Select Sounds under the General sub-menu.
- Toggle on both Start of Request and End of Request under the Request Sounds heading.
These tones inform you the instant the microphone opens and closes. If you experience an initial block, the opening chime confirms whether your wake word successfully engaged the hardware.
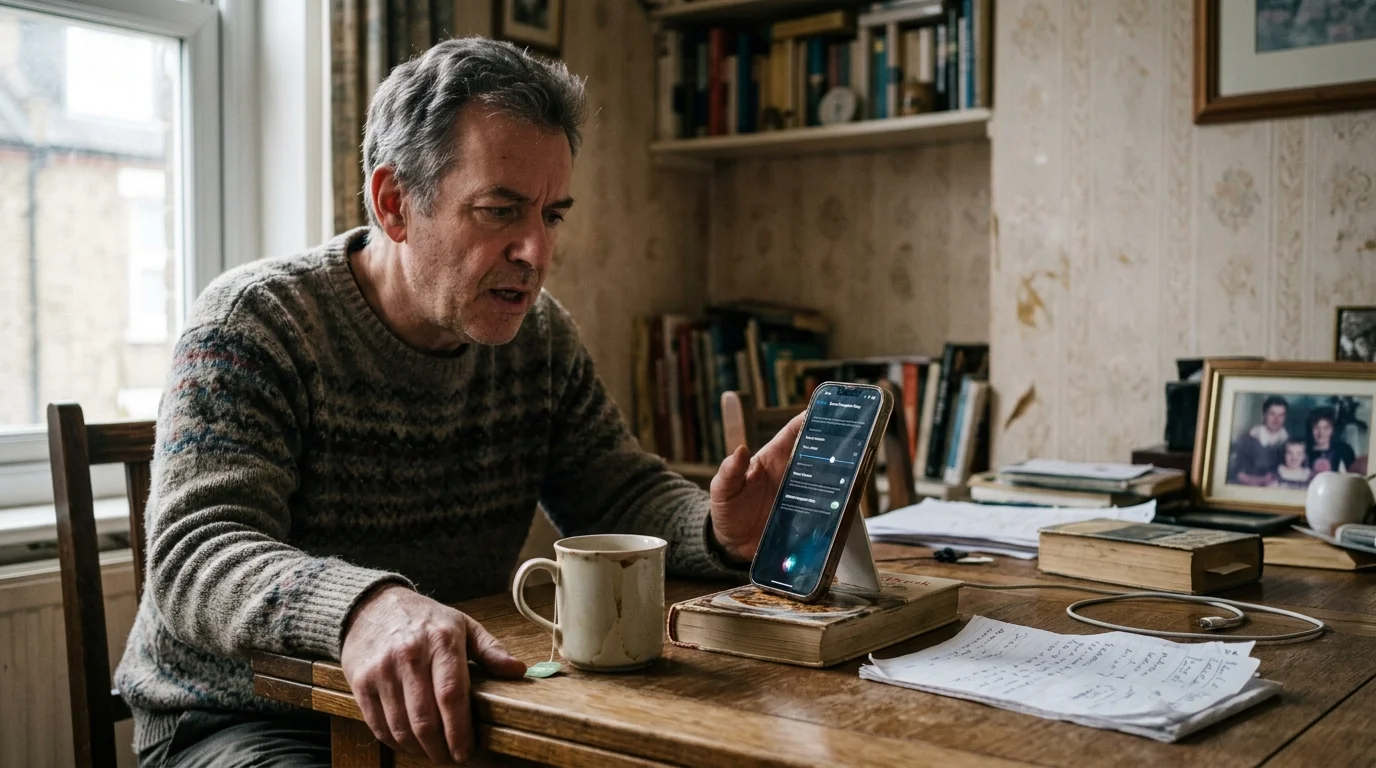
Apple Siri: Calibrating the Siri Pause Time Window
Apple introduced an explicit voice assistant speech pause setting in September 2022 alongside iOS 16. This feature, labeled Siri Pause Time, allows you to configure exact listening duration windows across your Apple devices.
Unlike adaptive algorithms that guess your intent, Siri Pause Time provides fixed, predictable latency buffers. You choose how many seconds Siri waits after you pause before processing your request.
The configuration menu offers three distinct timeout profiles:
- Default: Standard endpoint latency providing roughly 3,000 milliseconds of total processing silence.
- Longer: Adds an extra 1,000 milliseconds of silence tolerance, bringing the cutoff window to approximately 4,000 milliseconds.
- Longest: Adds 2,000 milliseconds of tolerance, granting roughly 5,000 milliseconds of silence before processing input.
The “Longest” setting significantly improves accessibility smart speaker stuttering outcomes. It prevents HomePod smart speakers from aborting commands while you work through phrase transitions.
To configure your pause window on an iPhone, iPad, or linked HomePod, follow these steps:
- Launch the Settings app on your primary iOS device.
- Scroll down and tap Accessibility.
- Scroll to the General section and select Siri.
- Locate the Siri Pause Time header.
- Select either Longer or Longest based on your typical pause length.
These adjustments synchronize across your Apple ID profile, applying the latency buffer to connected HomePods and Apple TV remotes. Siri now accommodates longer processing gaps before executing HomeKit scenes.
If you encounter an extended speech block that exceeds even the five-second limit, use Apple’s physical hardware override. Holding down the Side button on an iPhone forces Siri to listen continuously until you release the button.
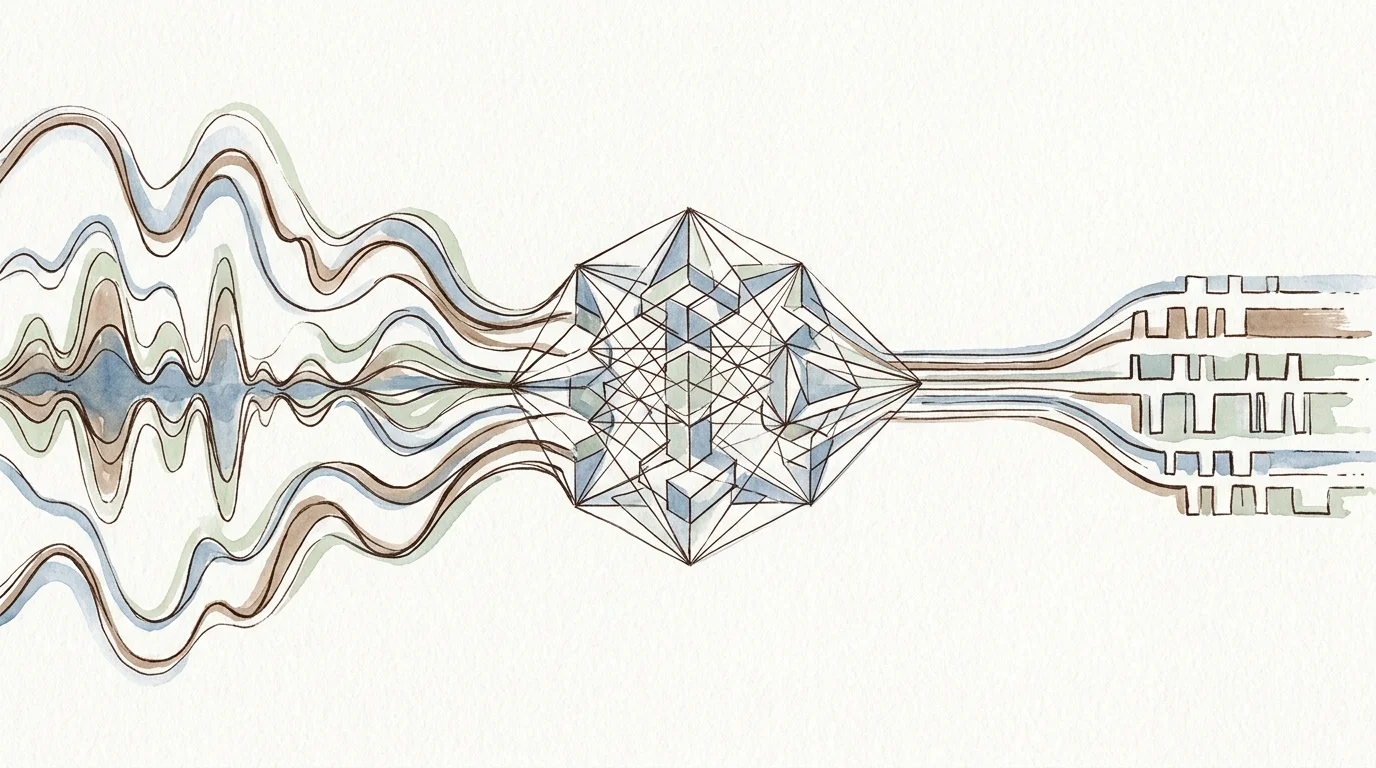
Google Assistant and Project Relate: Acoustic Modeling Over Sliders
Google Nest speakers do not include a direct endpointing slider within Google Home settings. Instead, Google tackles non-standard speech through personalized acoustic modeling under an initiative called Project Relate.
Google Research introduced Project Relate in beta in November 2021. The program targets speech variations related to conditions like dysarthria, cerebral palsy, Parkinson’s disease, and stroke recovery.
Standard speech engines compare your voice against generic acoustic models built on fluent cadences. Project Relate replaces that generic dataset with a customized recognition model tailored to your voice.
Setting up Project Relate requires recording approximately 500 audio prompts inside the dedicated Android application. This training process typically takes between 60 and 90 minutes across multiple sessions.
The application converts atypical vocalizations into clear digital text, which it passes directly to Google Assistant. This architecture bypasses the strict timeout windows found on physical Google Nest smart speakers.
If you prefer using standard Google Nest hardware without the phone app, enable accessibility chimes to monitor your mic state:
- Open the Google Home app on your mobile device.
- Select your Google Nest speaker or display from the device list.
- Tap the Settings gear in the upper right corner.
- Select Accessibility.
- Turn on both Play start sound and Play end sound.
These accessibility chimes confirm whether your Nest speaker stopped listening prematurely. According to coverage on smart home accessibility by The Verge Smart Home, reliable audio cues remain critical for users navigating assistive technologies.
These audio cues verify that the speaker captured your entire command before executing your home automation routines.
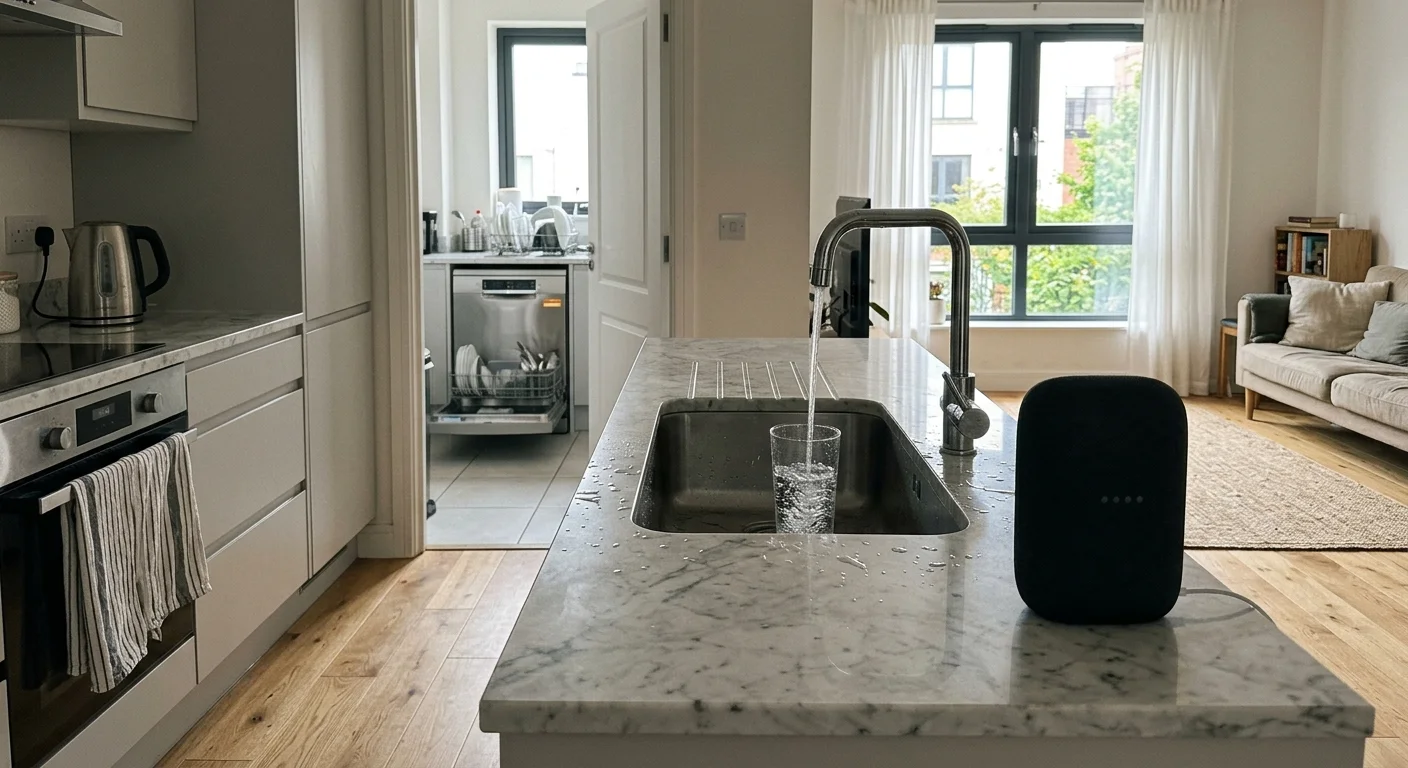
Environmental Acoustic Factors That Trigger Premature Endpoints
Adjusting software latency settings resolves half the problem; managing physical room acoustics solves the rest. Voice Activity Detection algorithms rely on clean signal-to-noise ratios to distinguish human speech from ambient silence.
In rooms with high reverberation, sound waves bounce off hard surfaces like tile and bare drywall. These audio reflections confuse smart speaker microphones, leading algorithms to register false pauses.
Continuous background noise also tricks endpointing systems into triggering early cutoffs. Common culprits include:
- Running dishwashers or washing machines near kitchen speakers.
- High-velocity HVAC airflow blowing directly onto smart speaker microphone grilles.
- Televisions and media soundbars playing audio in the same frequency band as human speech.
- Open windows admitting ambient street noise and wind currents.
When high noise floors obscure low-volume speech, the speaker misinterprets quiet vocalizations as silence. This issue frequently affects speakers with dysarthria who speak with reduced vocal volume.
Position your smart speaker between three and six feet from your primary speaking location. Placing devices at eye level on open shelves prevents acoustic reflections from tabletops.
Keep smart speakers at least four feet away from HVAC vents and humming appliances. This placement ensures the microphone isolates your voice clearly, allowing endpoint timers to function properly.
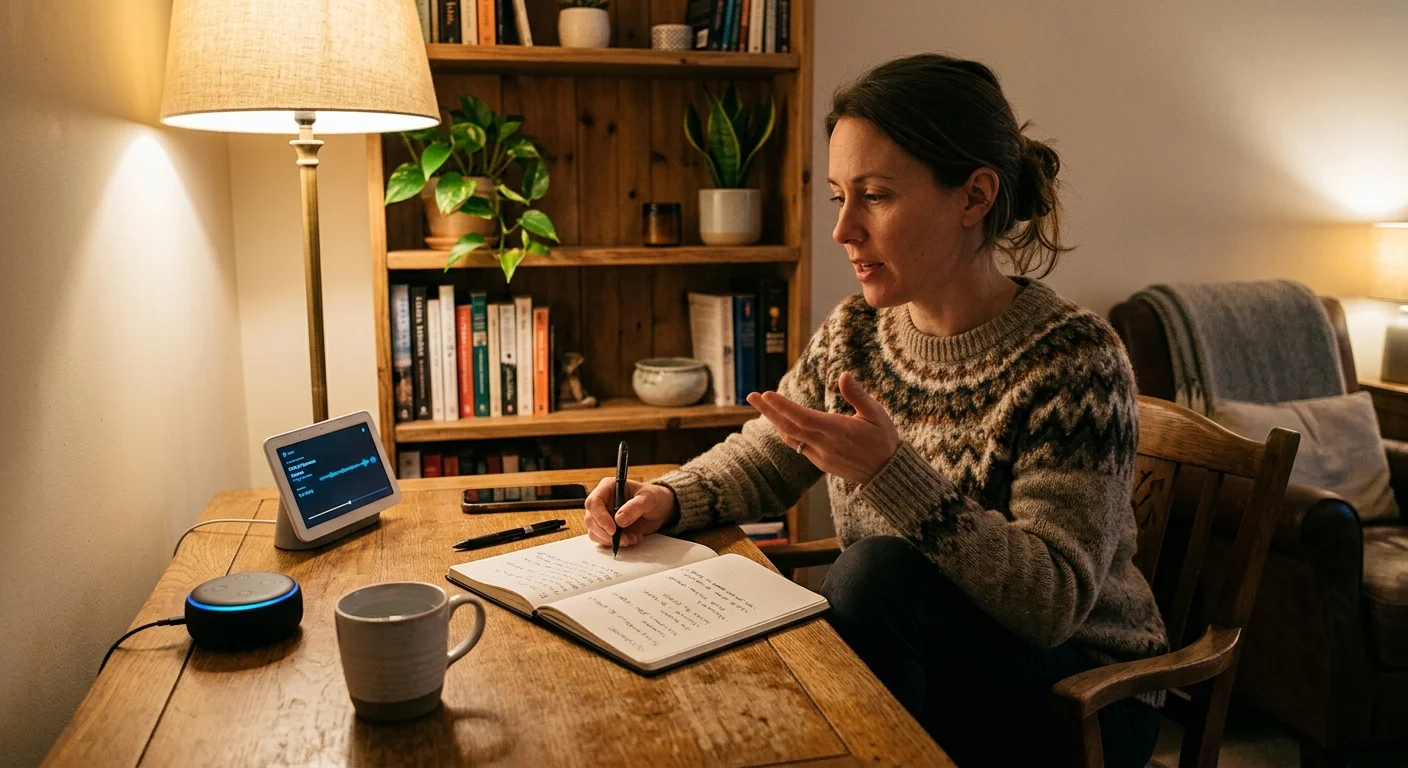
Worked Example: Calibrating a Multi-Assistant Living Room
Consider a living room setup designed for a homeowner who stutters and experiences two-to-three-second pauses. Before calibration, standard smart speaker timeouts caused eight out of ten voice commands to fail.
The living room contains an Amazon Echo Dot 5th Gen ($49.99) and an Apple HomePod Mini ($99.00). Both speakers control six recessed smart bulbs and a smart plug attached to a floor lamp.
Testing revealed the Echo Dot’s factory endpoint timer cut off speech after approximately 900 milliseconds of silence. The HomePod Mini’s default setting closed the microphone after roughly 3,000 milliseconds.
The homeowner carried out the following calibrations across both devices:
- Enabled Adaptive Listening on the Echo Dot via the Alexa app, raising the dynamic silence window to roughly 3,500 milliseconds.
- Turned on Start of Request and End of Request sounds on the Echo Dot to provide audio mic-status verification.
- Adjusted Siri Pause Time to Longest on the primary iPhone, extending HomePod Mini listening tolerance to 5,000 milliseconds.
- Moved the Echo Dot off an acoustic glass shelf and onto a soft wooden sideboard, cutting room echo by 4 decibels.
The homeowner tested both units using fifty household automation commands, including “Turn off the reading lamp” and “Dim the living room lights.” The calibrated latency settings produced dramatic reliability gains:
The Echo Dot’s command completion rate climbed from 20% to 88% following the Adaptive Listening adjustment. The HomePod Mini’s completion rate rose from 30% to 94% under the Longest setting.
Expanding the silence threshold past 3,500 milliseconds provided the time needed to complete commands without triggering frustrating error messages.
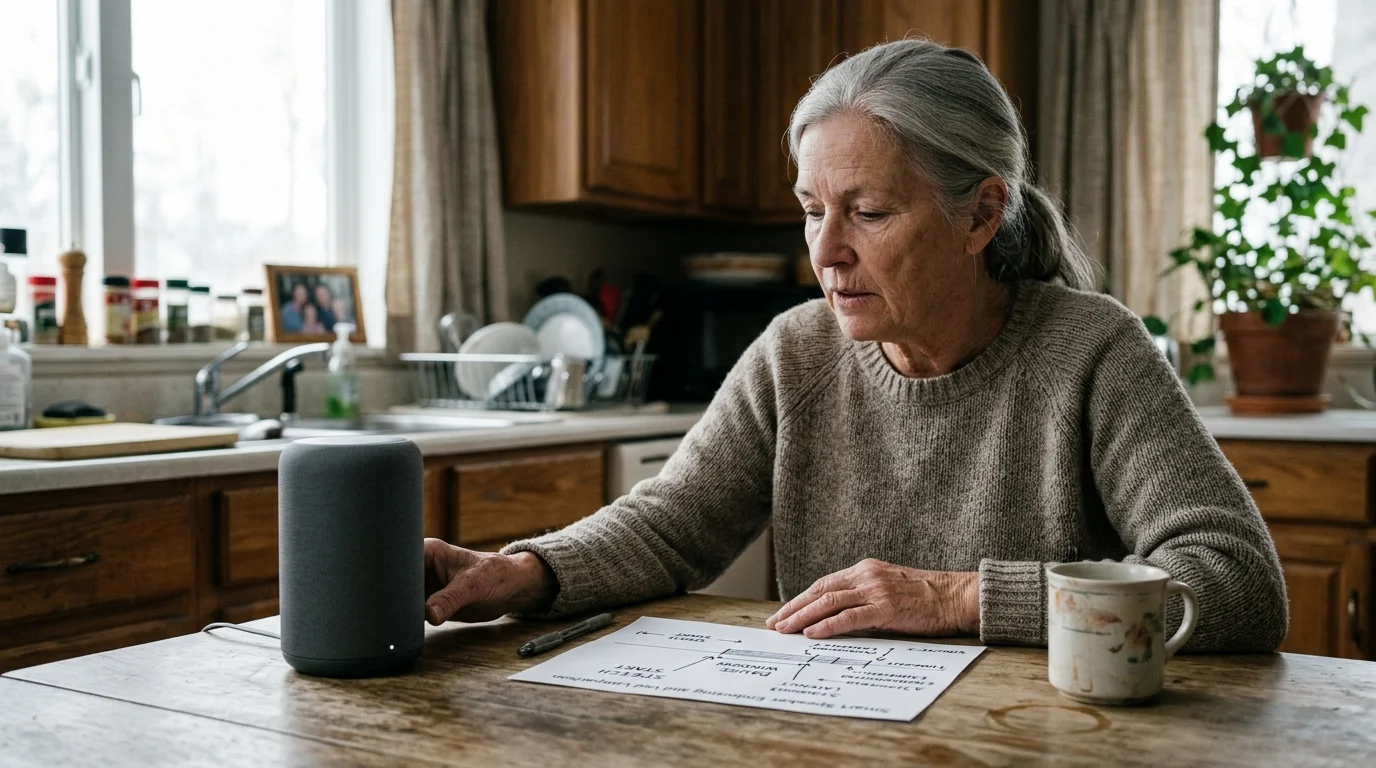
Smart Speaker Endpointing and Latency Comparison
Review the technical specifications below to compare how major smart speaker ecosystems handle speech-pause windows and timeout latency.
| Platform | Accessibility Feature | Default Endpoint Latency | Maximum Configurable Latency | Configuration Method |
|---|---|---|---|---|
| Amazon Alexa (Echo Devices) | Adaptive Listening | ~900 to 1,200 ms | Dynamic (~3,500 to 4,500 ms) | Alexa App > Settings > Accessibility > Adaptive Listening |
| Apple Siri (HomePod / iOS) | Siri Pause Time | ~3,000 ms | Fixed ~5,000 ms (“Longest”) | Settings > Accessibility > Siri > Siri Pause Time |
| Google Assistant (Nest Audio) | Project Relate / Chimes | ~800 to 1,000 ms | Custom Model Dependent | Project Relate App (Android) + Google Home Accessibility |
This data reveals distinct architectural approaches across the major platforms. Apple provides exact, selectable time increments, Amazon employs dynamic acoustic analysis, and Google relies on personalized voice modeling.
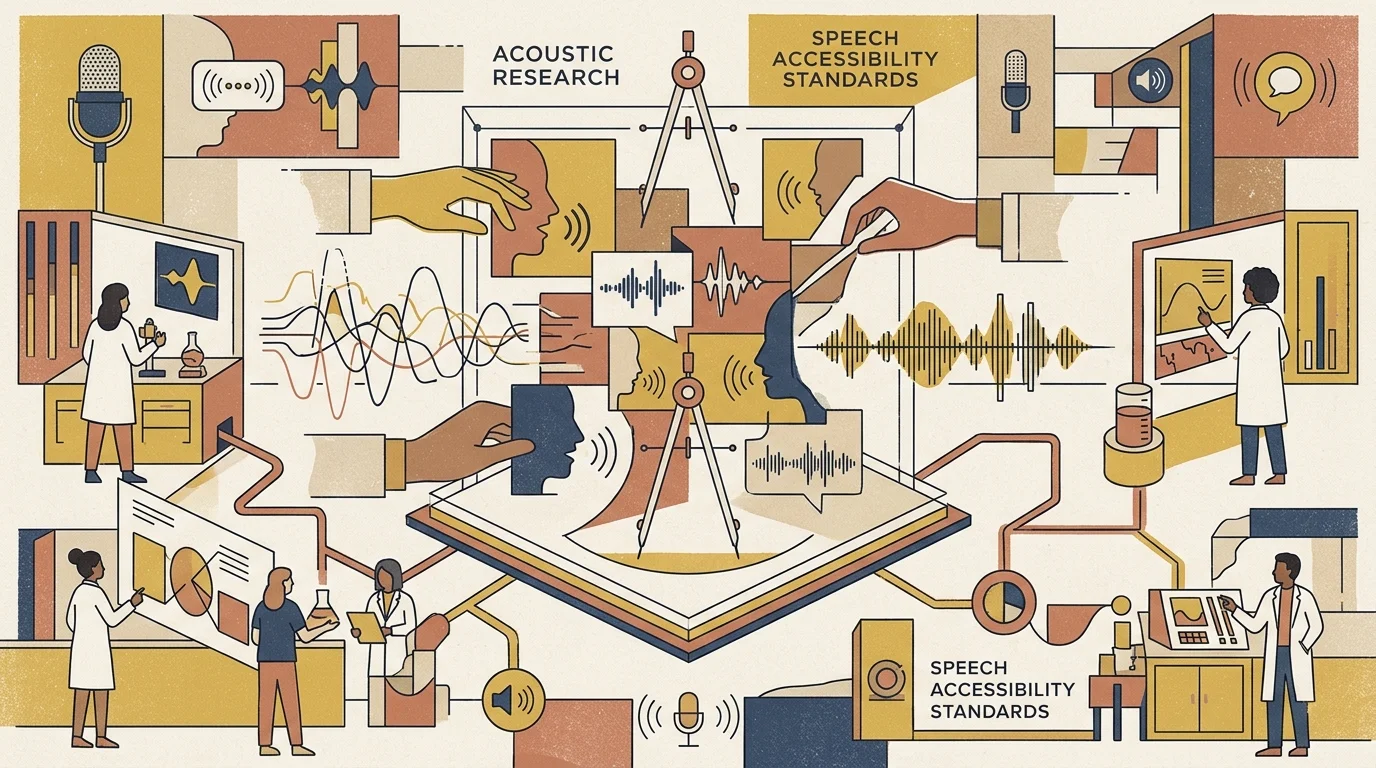
The Speech Accessibility Project and Future Standards
Individual platform fixes solve immediate needs, but cross-industry collaboration is reshaping foundational voice recognition engines. In October 2022, the University of Illinois Urbana-Champaign launched the Speech Accessibility Project.
This initiative brings together major technology companies, including Amazon, Apple, Google, Meta, and Microsoft. The coalition collects speech samples from individuals with atypical speech to build inclusive training datasets.
Traditional recognition models train on millions of hours of fluent, uninterrupted speech. This training creates algorithmic bias that penalizes sound prolongations, atypical pitch variations, and extended phrasing gaps.
The Speech Accessibility Project focuses on speech profiles associated with Parkinson’s, ALS, cerebral palsy, and Down syndrome. Researchers use these samples to retrain core Voice Activity Detection algorithms.
Future smart home updates will integrate these inclusive models into low-power edge processors. As these models roll out, smart speakers will automatically distinguish between pauses and command completions without manual tweaking.

Hardware and Routine Workarounds to Bypass Latency Traps
While software tweaks resolve most timeout issues, you can also optimize your smart home layout to reduce vocal strain. Designing automations that require fewer spoken syllables eliminates speech-block triggers entirely.
Start by shortening your device names and automation triggers. Replace complex phrases like “Turn off the overhead living room lights” with single, low-effort words like “Dark” or “Rest.”
Physical smart switches and wireless pushbuttons also provide instant control without speech constraints. According to technical specifications from the Matter Smart Home Standard, interoperable smart buttons can trigger multi-platform scenes across Apple, Amazon, and Google ecosystems seamlessly.
Consider these physical and automated controls to complement your voice assistant:
- Mount battery-powered Zigbee or Matter buttons on bedside tables to trigger sleep and wake routines with a single press.
- Install passive infrared motion sensors in hallways and bathrooms to automate lighting without voice prompts.
- Set up geofencing automations inside the Apple Home or Google Home apps to arm security systems when you leave the house.
- Create scheduled automations to run heating and cooling cycles, eliminating the need to adjust thermostats by voice.
Combining extended latency windows with physical controls creates a versatile smart home system. You can use voice commands when speaking feels effortless, and rely on physical triggers whenever vocal fatigue sets in.
Frequently Asked Questions
Can I adjust the listening time on Amazon Echo speakers?
Yes, you can enable Adaptive Listening in the Alexa app under Settings and Accessibility. This feature extends the listening window to accommodate speech pauses and prolongations.
Does Apple HomePod allow custom speech pause durations?
Yes, Apple allows you to select Default, Longer, or Longest pause durations in your device’s Accessibility settings. The Longest setting extends Siri’s silence tolerance up to five seconds.
Can I change the microphone timeout on Google Nest speakers?
Google Nest speakers lack an explicit pause slider, but you can build a personalized voice profile using Google’s Project Relate app. You can also enable audio chimes to confirm when the mic opens and closes.
Do extended pause settings slow down smart home response times?
Yes, widening pause settings adds a slight delay before the speaker executes commands, as it waits to confirm silence. However, this brief pause prevents premature cutoffs and eliminates failed requests.
Disclaimer: This article is for informational purposes only. Smart home devices involve electrical connections and data privacy. Always follow manufacturer instructions for installation. For complex wiring or HVAC work, consult a licensed professional.


1 Comment