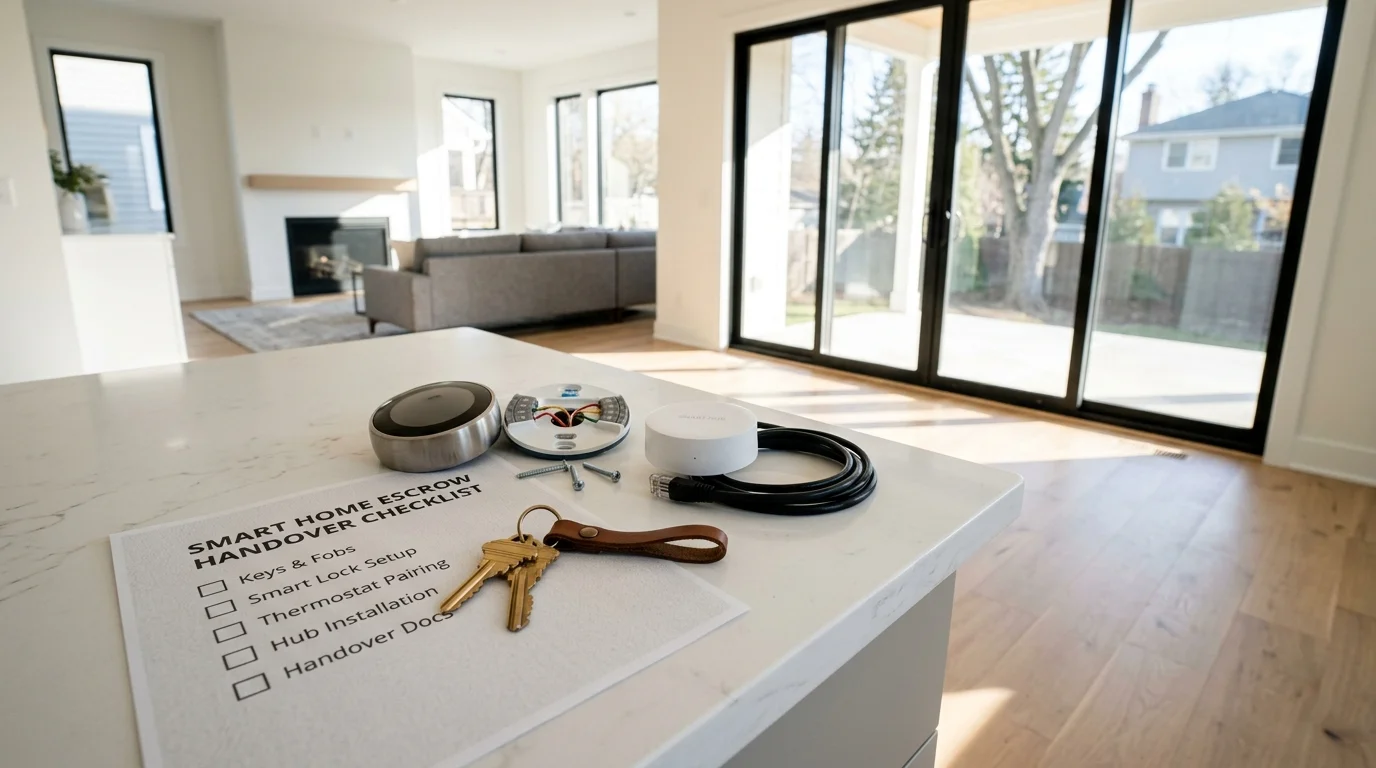
Selling a smart home requires more than leaving physical keys on the kitchen counter. If you are within 30 days of real estate escrow closing, you must systematically transfer connected devices to avoid delayed escrows and post-sale disputes.
Most sellers assume a hardware factory reset button clears attached equipment for the new owner. In reality, a physical reset leaves hardware activation-locked to your vendor profile, directly violating contractual “means to operate” clauses.
This guide delivers an exact 30-day countdown timeline, cloud de-registration checklists, and an escrow handover template to ensure a clean property conveyance.
Smart Devices Real Estate Fixture Rules and the M.A.R.I.A. Test
Connected home devices blur the boundary between personal property and real estate fixtures. When you sell real estate, legally attached items convey to the buyer automatically unless your listing agreement explicitly excludes them.
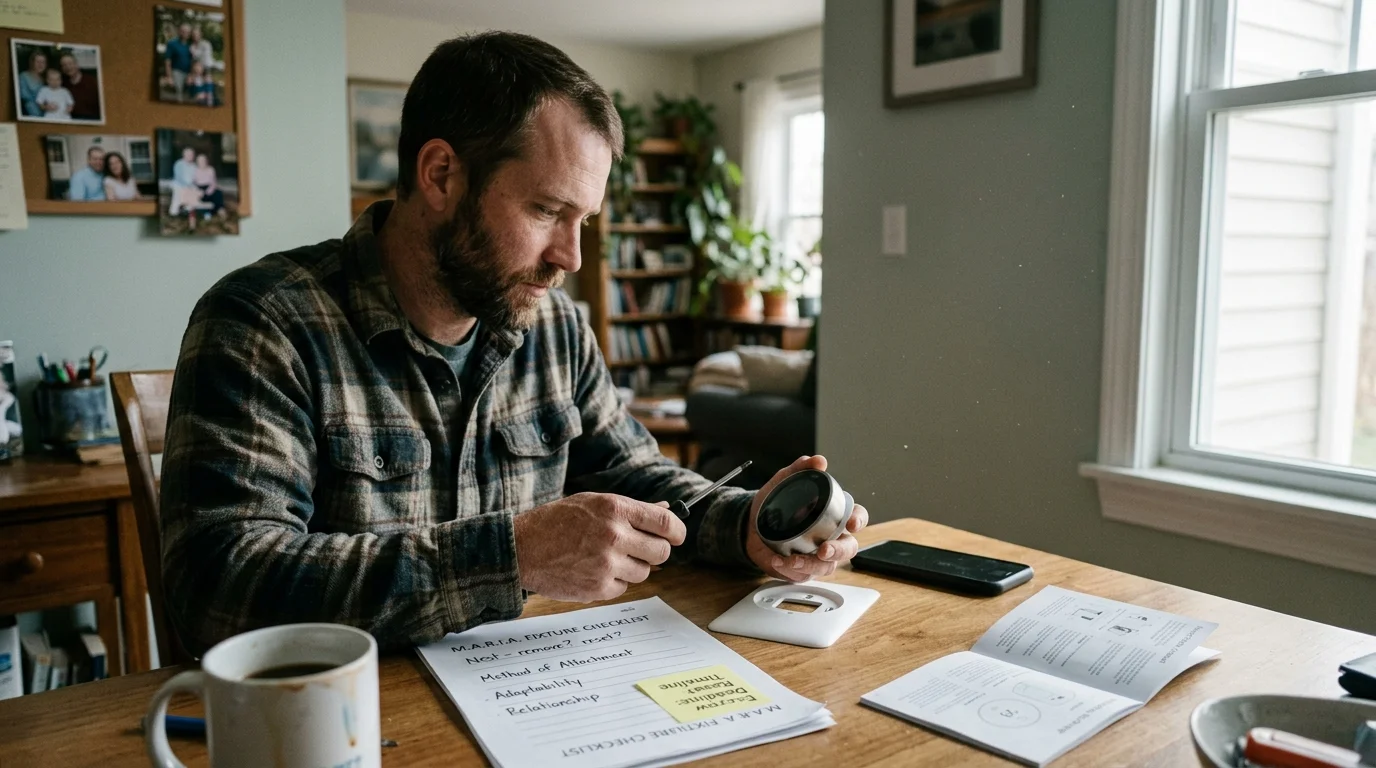
Courts and real estate commissions resolve disputed hardware using the five-part M.A.R.I.A. common law fixture test. Applying this legal framework clarifies what you must leave behind.
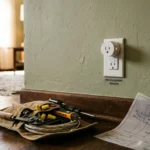
- Method of Attachment: Hardwired or screwed-in items, such as in-wall smart switches or video doorbells, convey with the home. Plug-in smart plugs remain personal property.
- Adaptability: Custom-mounted smart thermostats integrated into your HVAC ducting adapt specifically to the home and qualify as fixtures.
- Relationship of the Parties: Courts favor home buyers over sellers when interpreting whether an installed connected device was intended to stay.
- Intention: Installing hardwired automation hardware implies an intention to permanently improve the real estate structure.
- Agreement: Your written real estate purchase contract overrides general assumptions and controls the conveyance of all named smart devices.
Industry data from the Consumer Technology Association indicates that over 60 million American households actively run smart hardware. Real estate surveys demonstrate that over 80 percent of buyers expect smart locks, video doorbells, and connected thermostats to remain installed.
If you intend to keep your favorite smart doorbell or high-end climate controller, replace it before listing your property. Swapping hardware before showing the home eliminates contractual confusion entirely.
Contractual Means to Operate and Cloud Activation Locks
Standard purchase contracts, including agreements from the California Association of Realtors and Arizona Association of Realtors, require sellers to convey all “means to operate” existing fixtures. This legal language extends beyond brass keys to digital infrastructure.
For connected fixtures, “means to operate” includes proprietary bridge hubs, specialized power adapters, and administrative administrative access. If you leave a smart deadbolt without transferring digital master ownership, you breach the contract.
Modern climate control fixtures—such as those certified by Energy Star smart thermostats—rely on microprocessors and vendor cloud servers. Disconnecting hardware improperly breaks basic heating and cooling functionality before the final walkthrough.
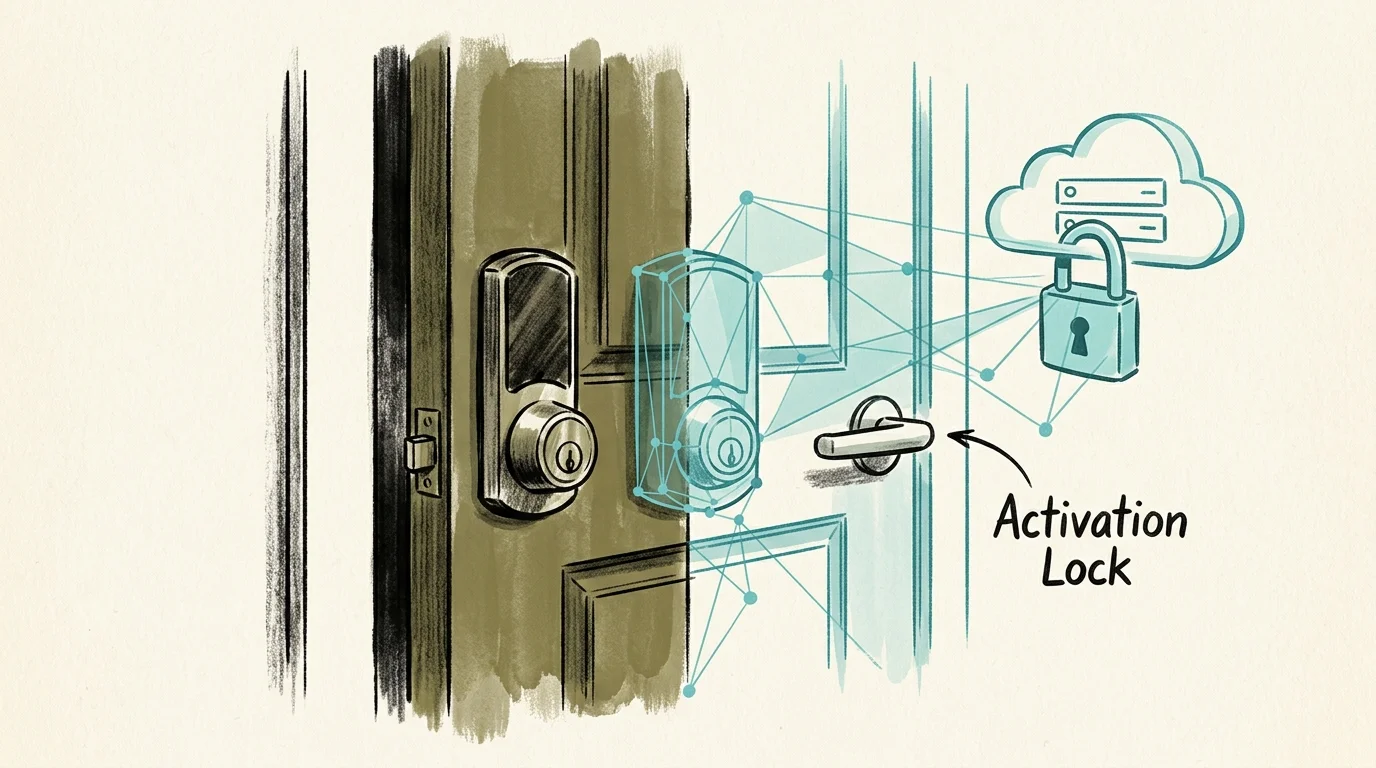
The most dangerous pitfall is the manufacturer activation lock. Brands like Google Nest, Ring, Ecobee, and Apple tie hardware serial numbers directly to your personal cloud profile.
If you press a physical factory reset pinhole without deleting the unit inside your smartphone application, the hardware remains registered to your account. The buyer will face an activation screen demanding your personal login credentials.
The best smart home is the one you don’t have to manage.
This failure stalls escrow closings. The buyer’s home inspector cannot verify HVAC or security performance during the pre-closing walkthrough, giving the buyer legal justification to delay fund disbursement.
The 30-Day Escrow Handover Timeline
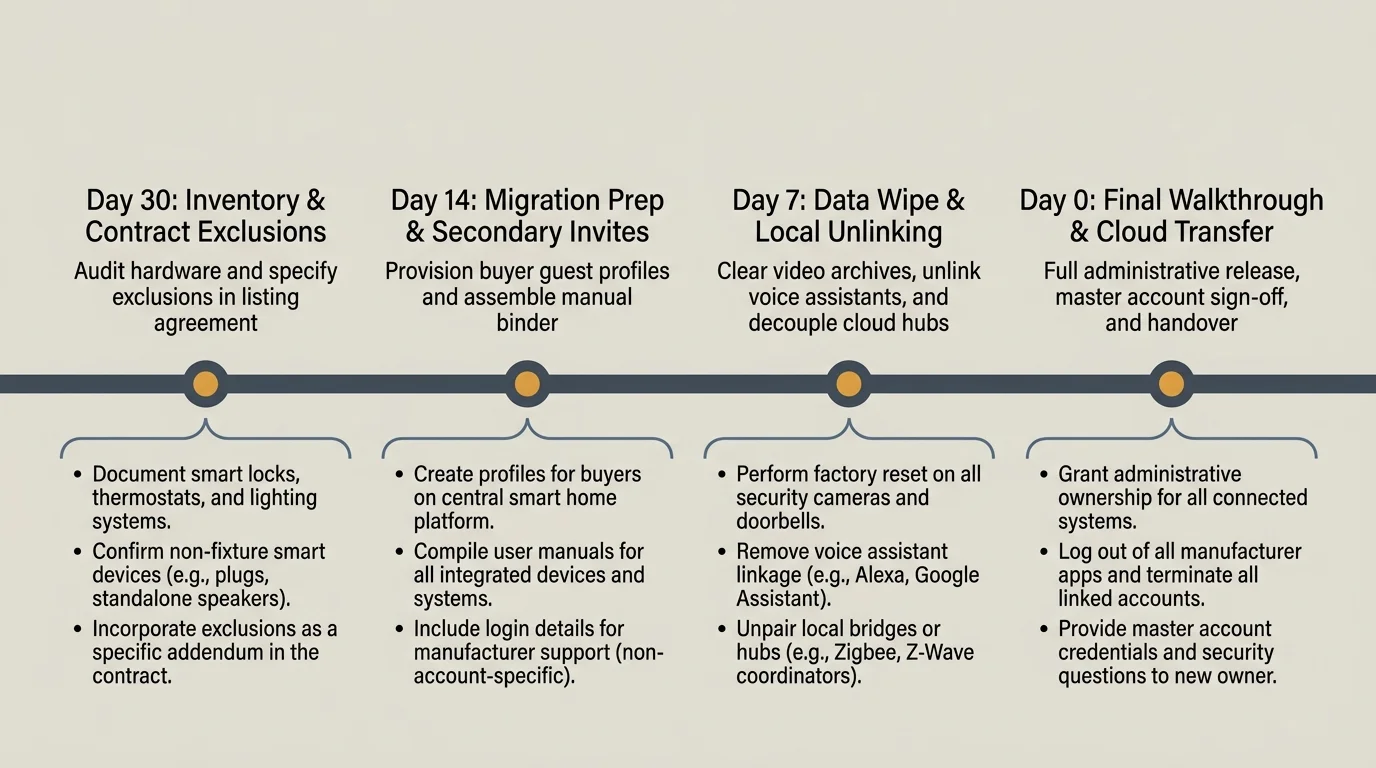
Successfully transferring smart property requires a structured countdown. Rushing device resets on the morning of closing causes forgotten passwords, activation lockouts, and lost pairing codes.
Modern connectivity standards simplify this process when managed early. As defined by the Matter smart home standard, modern devices rely on local cryptographic setup codes that you must physically retain.
Execute this sequential countdown during your 30-day escrow window:
- Days 30 to 15 (Asset Audit): Compile a complete list of every smart fixture conveying with the property. Locate original packaging, physical 8-digit HomeKit cards, and QR pairing stickers.
- Days 14 to 7 (Accessory Verification): Gather dedicated hardware accessories, including proprietary bridge hubs, low-voltage chime bypass dongles, and deadbolt backup keys.
- Days 6 to 3 (Cloud Disassociation): Cancel recurring cloud video subscriptions (such as Nest Aware or Ring Protect). Download any archived personal video history you wish to save.
- Days 2 to 1 (App De-Registration & Reset): Remove devices from your vendor accounts first, then perform manual factory hardware wipes. Configure thermostats into basic offline schedule modes.
- Day of Closing (Physical Handover): Place all bridge hubs, setup code cards, and equipment binders on the kitchen counter for the buyer’s arrival.
Do not wipe your home Wi-Fi network before completing cloud de-registration. Smart fixtures require an active internet connection to communicate your account deletion request back to manufacturer servers.
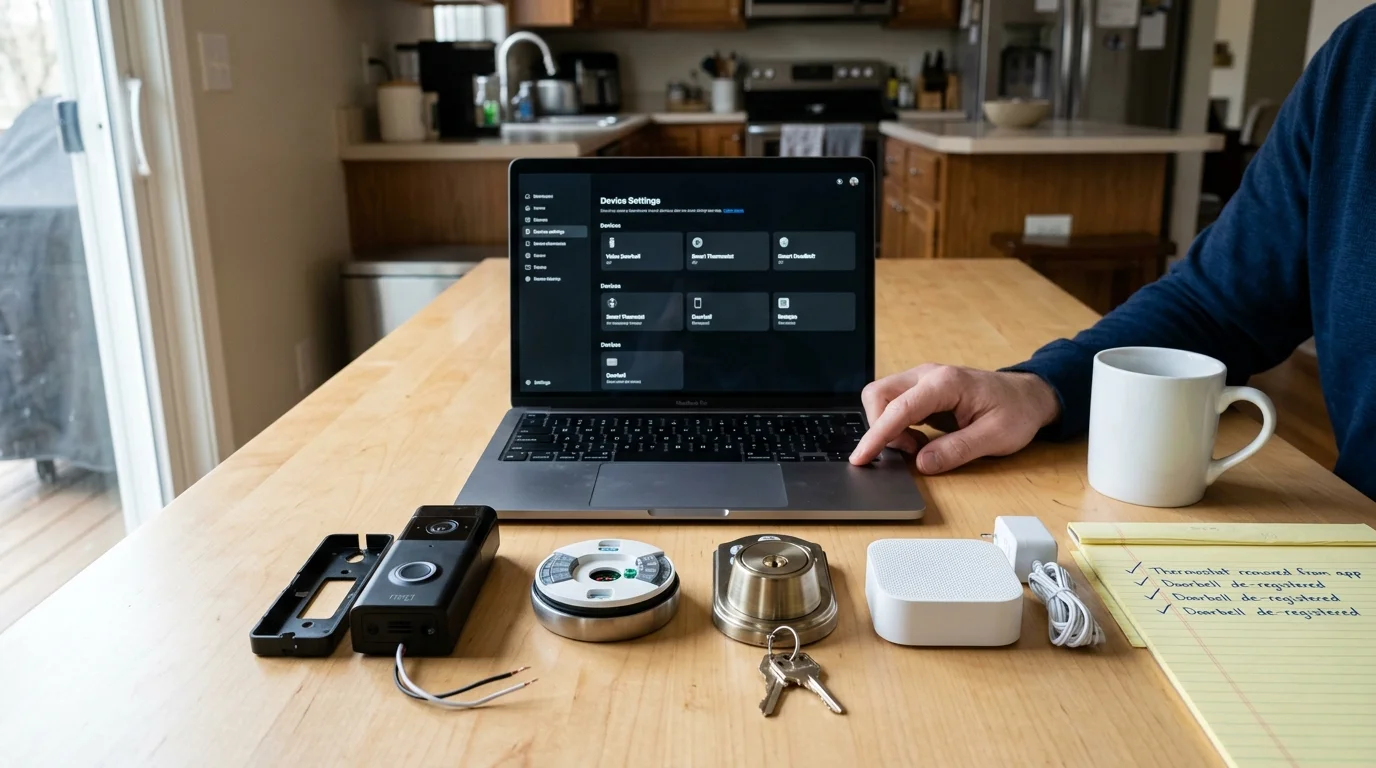
Worked Scenario: A Complete Four-Device Escrow Transfer
Consider this practical example based on a typical suburban property closing escrow on June 20 at 11:00 AM. The buyer scheduled their final walkthrough inspection for June 19 at 2:00 PM (21 hours prior to closing).
The seller, Marcus, conveyed four attached smart fixtures totaling $1,038 in retail value:
- One Ecobee Smart Thermostat Premium ($249 original retail value).
- One Ring Video Doorbell Pro 2 ($199 original retail value).
- One Lutron Caséta Smart Bridge with six in-wall dimmer switches ($320 combined value).
- One Schlage Encode Smart Wi-Fi Deadbolt ($270 original retail value).
Marcus began execution on June 18 at 6:00 PM, exactly 44 hours before escrow closed. His active internet connection remained intact through a standalone ISP modem and router.
First, Marcus opened the Ring app, accessed General Settings for the doorbell, selected “Remove This Device,” and canceled his monthly video plan. He then held the doorbell’s side setup button for 20 seconds to reset hardware memory.
Next, Marcus opened the Ecobee app, removed his home profile, and navigated to the wall screen. He selected “Reset All Settings,” wiping his personal schedule while leaving standard local HVAC calling intact at 72°F.
At 7:00 PM, Marcus accessed the Lutron app to disassociate his bridge hub from his email address. He completed a 30-second triple-tap physical reset on the smart bridge, leaving all six wall switches functioning as standard manual dimmers.
Finally, at 7:30 PM, Marcus pressed the interior reset button on the Schlage deadbolt. He programmed a temporary 4-digit code (8492) and wrote it on an index card for the buyer’s inspector.
During the June 19 walkthrough at 2:00 PM, the buyer’s inspector verified functional cooling, local lighting control, and seamless door access. Marcus handed over clear equipment titles, and escrow closed on schedule.
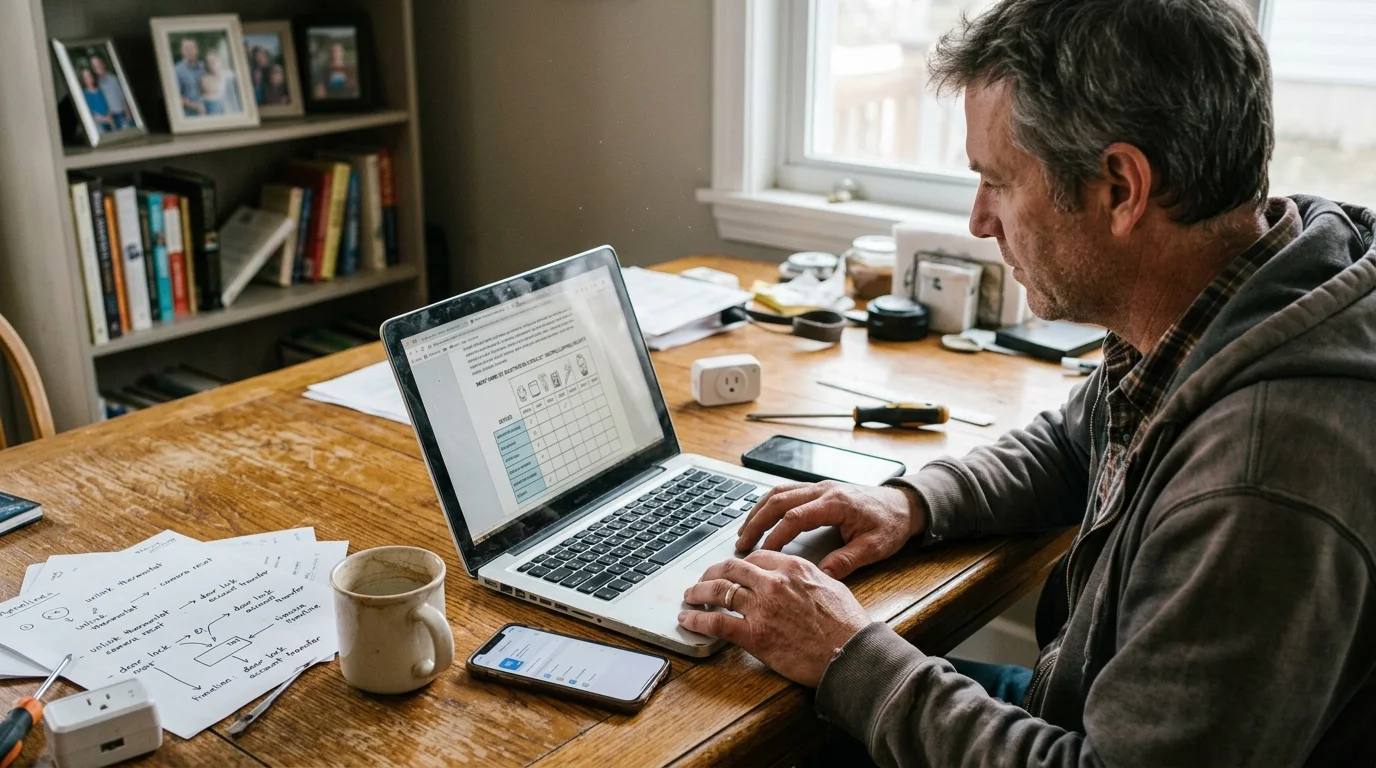
Device-Specific De-Registration Protocol Matrix
Different ecosystems enforce proprietary reset sequences. Wiping hardware out of order triggers administrative locks that require customer support escalation.
Always complete digital app removal while the device remains connected to power and internet. Follow the hardware-specific instructions outlined below:
| Device Platform & Model | Digital App Removal Step | Physical Reset Procedure | Default State for Walkthrough |
|---|---|---|---|
| Google Nest Thermostat (3rd Gen) | Google Home app > Settings > Remove device | Press thermostat ring > Settings > Reset > All Settings | Operates as manual low-voltage HVAC thermostat |
| Ring Video Doorbell Pro 2 | Ring app > Device Settings > General > Remove Device | Hold side orange button for 20 continuous seconds | Spins white LED; rings mechanical home chime locally |
| Lutron Caséta Smart Bridge (L-BDG2) | Lutron app > Settings > Advanced > Remove Bridge | Triple-tap bridge button, hold third tap, triple-tap again | In-wall switches dim and switch lighting locally via RF |
| Schlage Encode Smart Wi-Fi Deadbolt | Schlage Home app > Settings > Select Lock > Delete | Remove battery cover, hold interior reset button for 7 seconds | Operates via physical brass key and temporary default PIN |
| Apple HomeKit Smart Switch (Eve Light) | Apple Home app > Accessory Settings > Remove Accessory | Hold bottom switch paddle down for 10 seconds until LED blinks | Operates as standard non-connected manual wall toggle |
For custom in-wall switches, never pull physical hardware out of the wall junction box. Performing the manufacturer button sequence clears local RF pairings while maintaining electrical safety.
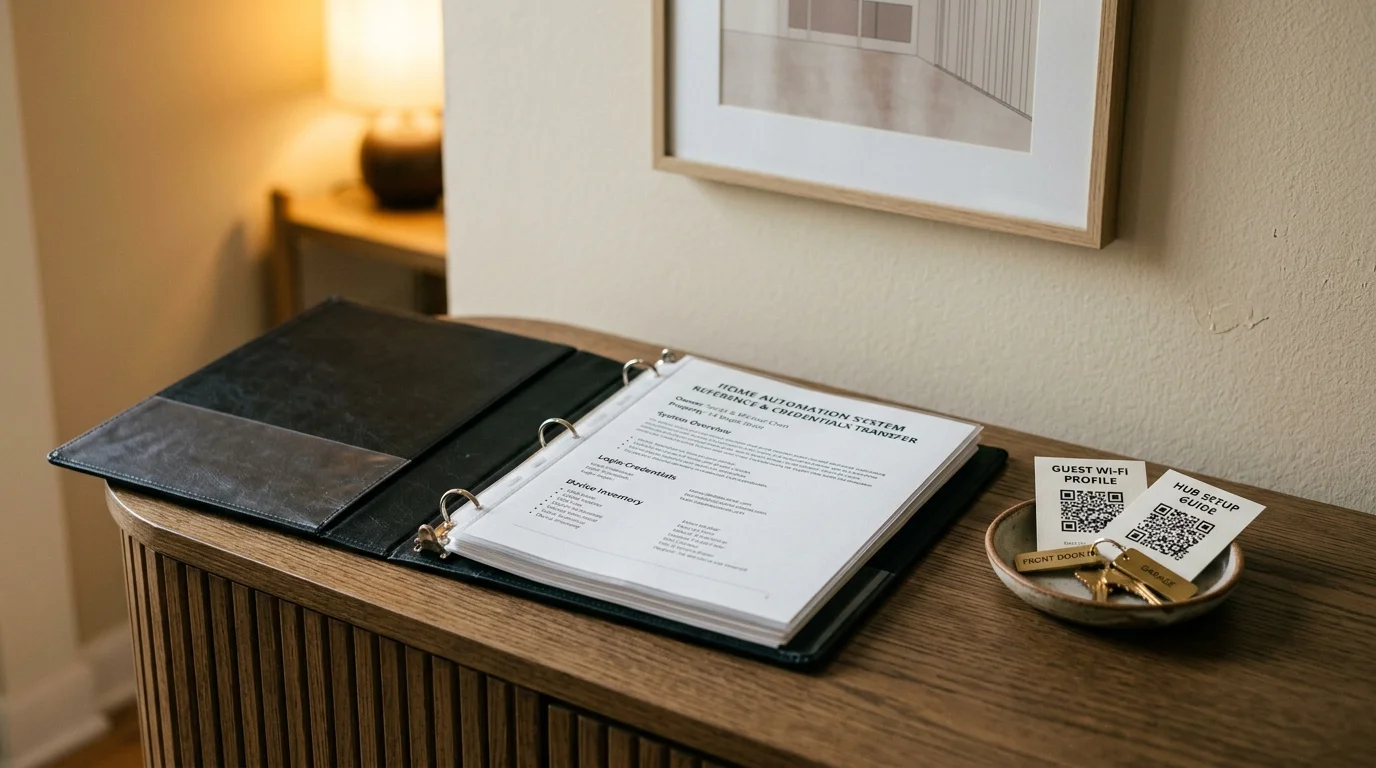
The Smart Home Handover Documentation Binder
The Federal Trade Commission explicitly recommends compiling a comprehensive connected device inventory when selling a home. Creating a dedicated physical binder prevents buyer confusion and eliminates post-closing phone calls.
According to consumer technology evaluations by Consumer Reports smart home testing teams, clear physical setup documentation dramatically reduces consumer network vulnerabilities during property transitions.
Organize your physical escrow binder into four distinct sections:
- Hardware Inventory Sheet: Document the brand, model number, serial number, and physical room location for every conveying smart unit.
- Authentication Codes: Affix original Matter pairing codes, HomeKit numeric setup stickers, and manufacturer default master PINs directly to the sheet.
- Bridge and Power Infrastructure: Bag, label, and include all dedicated bridge hubs, ethernet patch cables, and low-voltage transformer blocks.
- Warranty and Manual Storage: Include printed installation manuals, hex wrenches for smart lock battery covers, and warranty receipts.
Leave the physical binder on the kitchen counter alongside home keys and garage remotes. Require your escrow officer to obtain written confirmation from the buyer acknowledging receipt of digital property items.
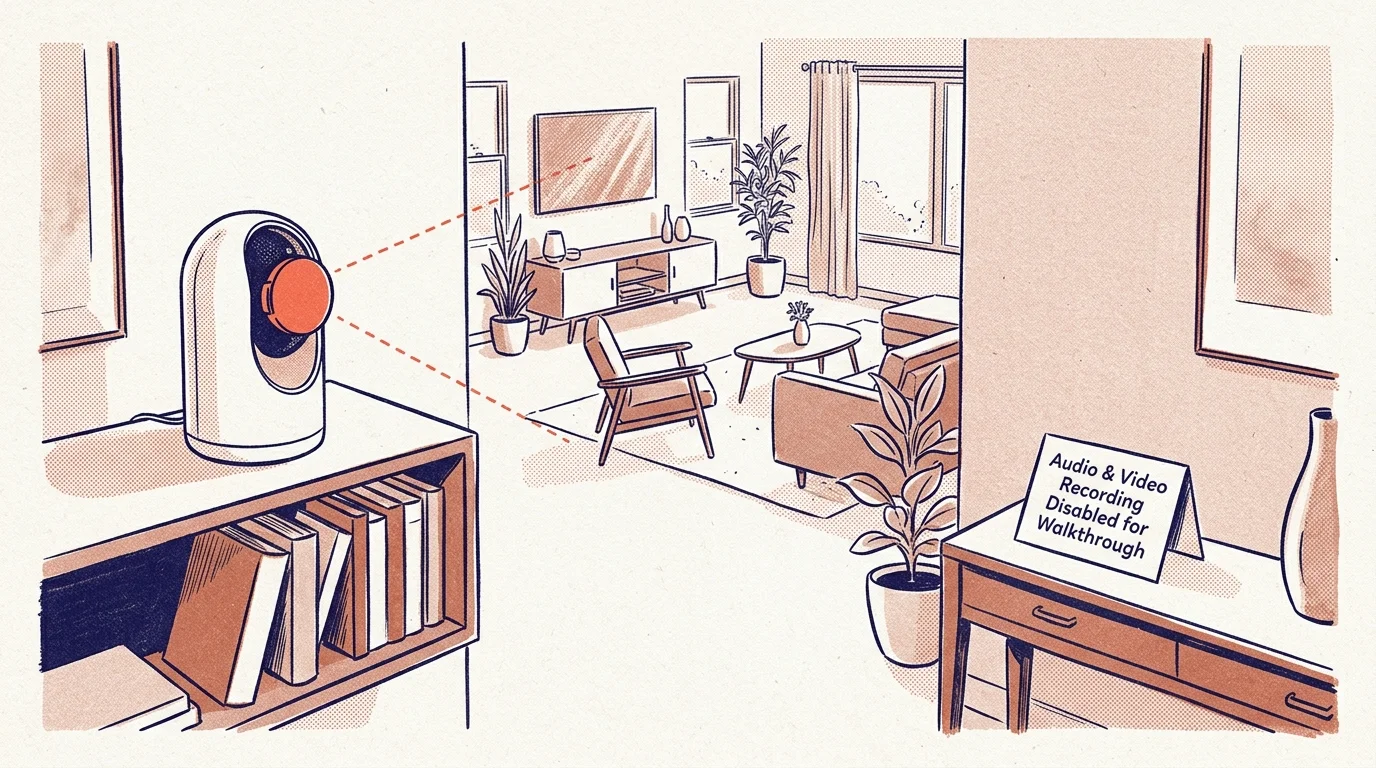
Wiretapping Compliance and Privacy During Walkthroughs
Smart security fixtures create significant legal liabilities before escrow finishes. Connected cameras and video doorbells monitor interior and exterior spaces during showing appointments and buyer walkthroughs.
The National Association of Realtors warns sellers regarding active recording equipment inside real estate properties. Federal and state wiretapping statutes govern audio surveillance during home sales.
Eleven states require all-party consent to legally record audio conversations: California, Connecticut, Florida, Illinois, Maryland, Massachusetts, Montana, New Hampshire, Pennsylvania, Washington, and Nevada. In these states, recording prospective buyers or inspectors during escrow walkthroughs without disclosure violates criminal wiretapping statutes.
Protect yourself by following these legal security protocols:
- Mute Audio Capture: Turn off audio streaming and recording settings on all interior and exterior cameras throughout the active escrow period.
- Post Notice: Place physical, legible signage at all home entry points stating that video surveillance equipment operates on the premises.
- Disconnect Interior Cameras: Completely unplug all interior tabletop cameras, nursery monitors, and roving smart displays once escrow opens.
- Transfer Video History: Download any cloud footage required for personal records, then submit an account purge request before the final walkthrough inspection.
Never attempt to monitor a buyer’s private conversation during their final walkthrough. Recording private negotiations regarding property condition repairs violates legal privacy protections and compromises contract good faith.
Frequently Asked Questions
Do smart plugs and smart light bulbs convey with the home?
Standard screw-in smart bulbs and plug-in smart receptacles do not qualify as permanent fixtures. Unless explicitly specified in your purchase agreement, you may unplug and keep them.
What happens if I forget to unlink my smart thermostat before closing?
The buyer will find the device locked to your email address, unable to connect to their own account. You must log into your mobile account remotely and delete the device from your profile.
Can I leave smart devices linked to my Wi-Fi until closing day?
You can maintain your network connection, but you must complete app unlinking and resets 24 to 48 hours prior to closing. This allows the buyer to test standalone manual functions during the final walkthrough.
Do I need to leave my smart home bridge hub behind?
If the hub operates hardwired fixtures like in-wall smart dimmers or motorized shades, it represents a legal “means to operate.” You must convey the hub to fulfill standard contract terms.
Disclaimer: This article is for informational purposes only. Smart home devices involve electrical connections and data privacy. Always follow manufacturer instructions for installation. For complex wiring or HVAC work, consult a licensed professional.