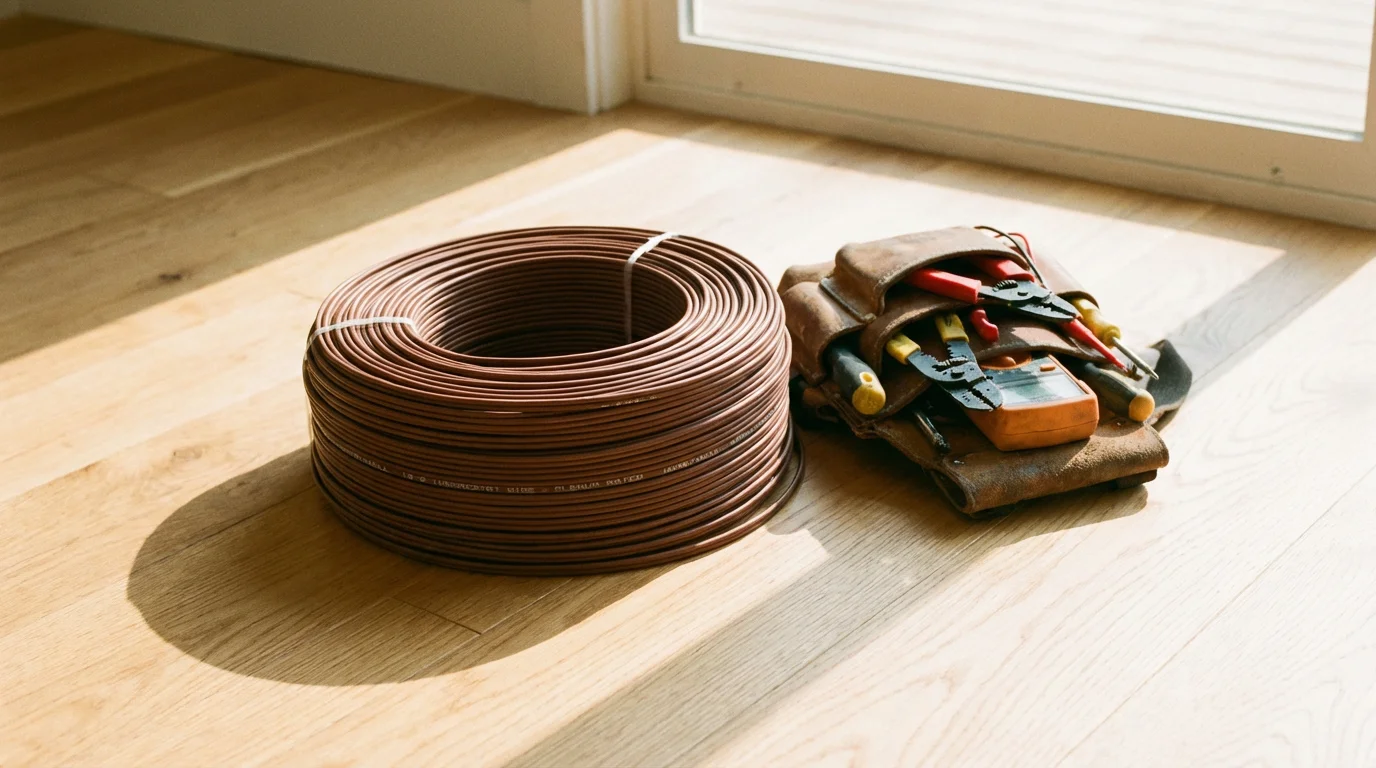
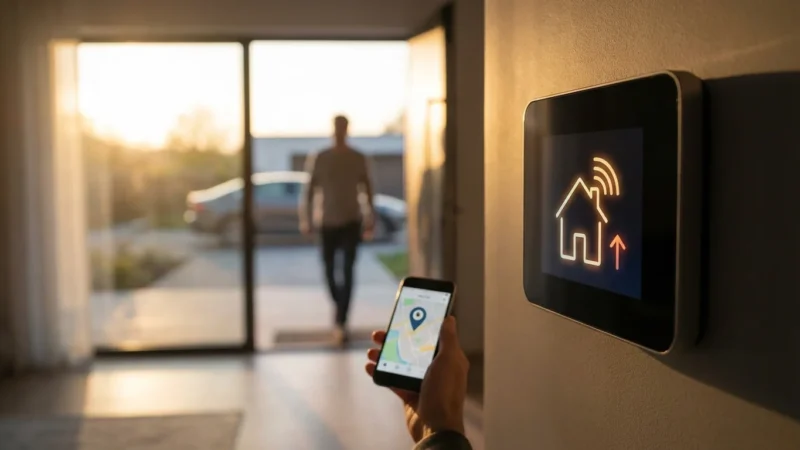
You just purchased a new smart thermostat, eager to automate your climate control and save money on energy bills. You unbox the sleek device, remove your old thermostat from the wall, and suddenly hit a roadblock. The wiring doesn’t match the diagram in the app. Specifically, you are missing the elusive “C-wire.”
Properly powering your device is the first step toward effective smart home energy monitoring so you can track your HVAC consumption in real-time.
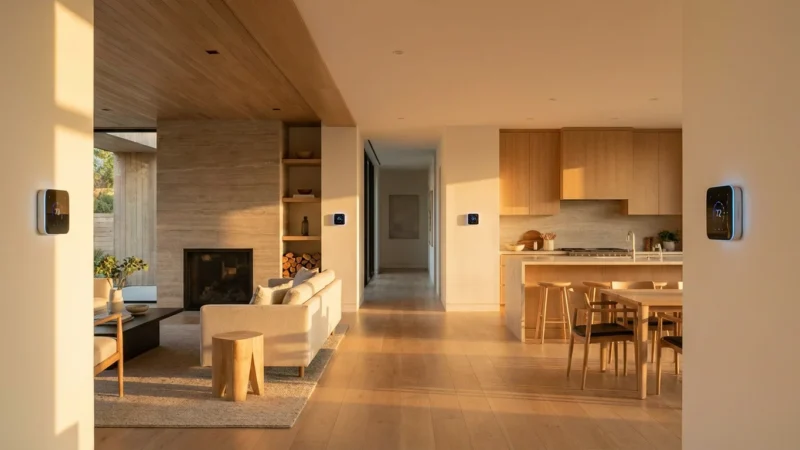
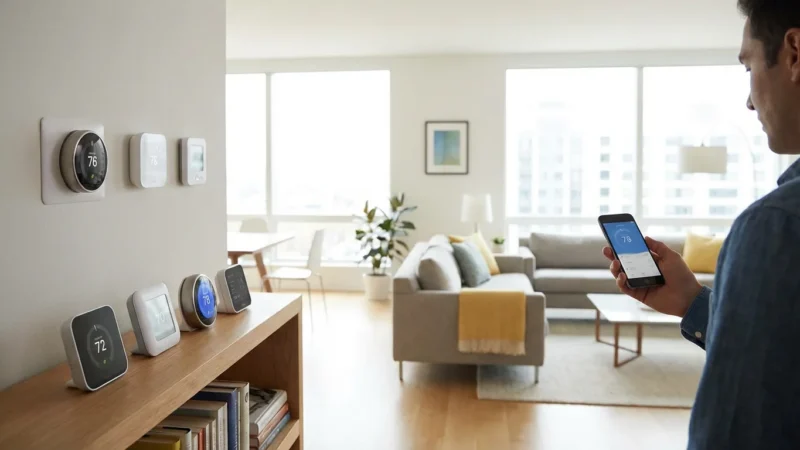
This is the single most common hurdle homeowners face when upgrading to devices like Nest, Ecobee, or Honeywell. Without this wire, your smart thermostat may not receive the constant power it needs to stay connected to Wi-Fi, run its display, and operate your HVAC system safely. While it feels like a technical nightmare, fixing a missing C-wire is a solvable problem.
This guide walks you through diagnosing the issue, checking your existing wiring, and implementing the most effective solutions to get your smart home climate control up and running.
What Is a C-Wire and Why Do You Need It?
The “C” stands for Common. In the world of HVAC (Heating, Ventilation, and Air Conditioning), the C-wire connects to the common side of the 24-volt transformer located inside your furnace or air handler. Its job is to complete the electrical circuit, providing a continuous flow of power to the thermostat.
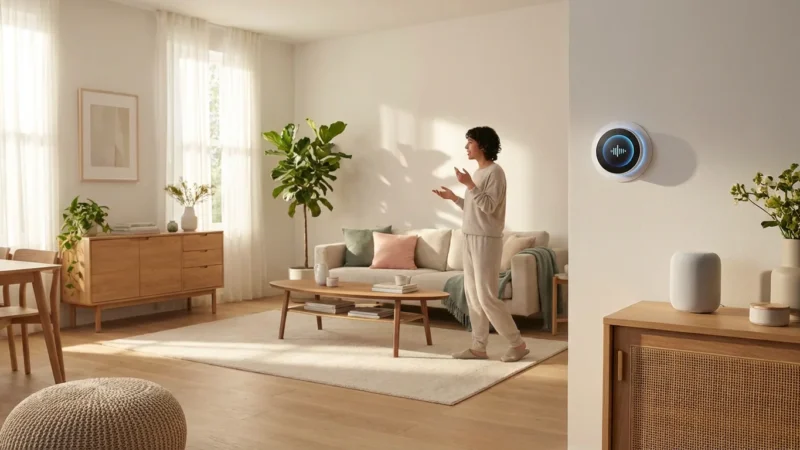
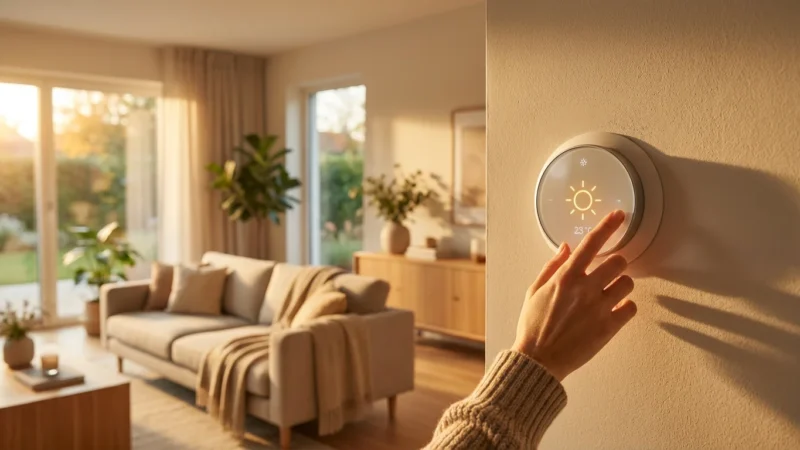
Once you have established a reliable power source, you can take full advantage of voice control tips for your smart thermostat to adjust your home climate hands-free.
Old-school, non-programmable thermostats didn’t need this. They were essentially simple on/off switches powered by batteries or by the millivolts generated by the heating system itself. They didn’t have Wi-Fi radios, color touchscreens, or geofencing capabilities.
Modern smart thermostats are small computers. They require a steady stream of electricity (usually 24 volts AC) to maintain a connection to your router and process data. Without a C-wire, the thermostat has to rely on batteries or a method called “power stealing” (or power harvesting), where it tries to sip small amounts of energy from the heating or cooling wires while the system is running. This method is often unreliable and can damage sensitive HVAC control boards over time.
Symptoms of a Missing C-Wire
How do you know if a lack of common wire is the culprit behind your installation woes? If you haven’t installed the device yet, checking the backplate of your current thermostat will tell you immediately. However, if you installed a thermostat that claims it “doesn’t need a C-wire” (like certain older Nest models) and are now facing issues, look for these signs:
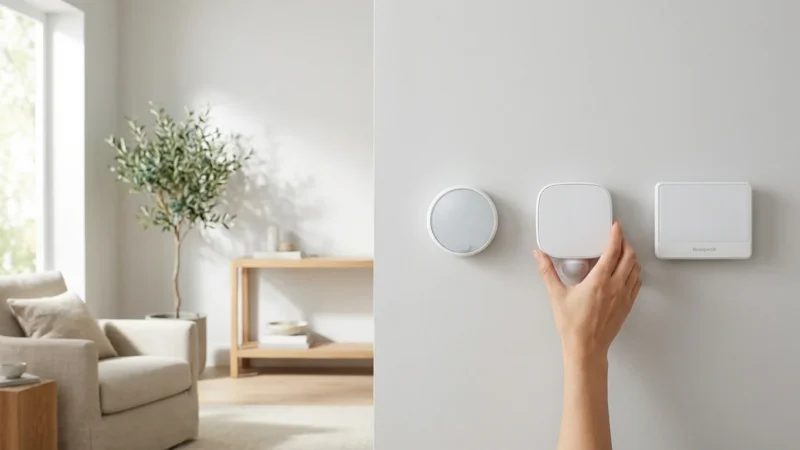
Inconsistent power can also interfere with your ability to use room sensors for balancing temperatures across different areas of your home.
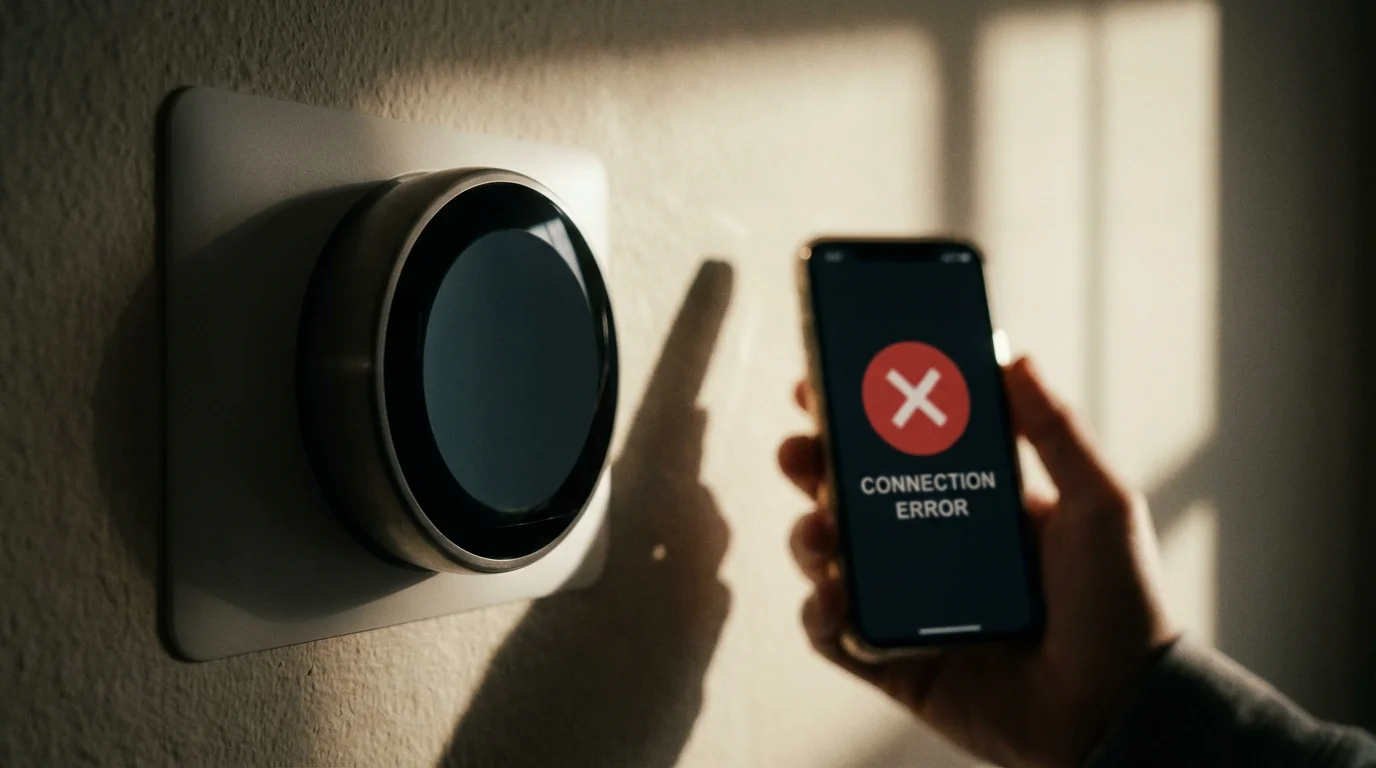
- Wi-Fi Disconnects: The thermostat frequently drops offline because it shuts down the Wi-Fi radio to preserve battery life.
- Short Cycling: Your furnace or AC turns on and off rapidly. This happens because the thermostat pulses the power to charge itself, inadvertently triggering the HVAC system.
- Reduced Features: The screen won’t light up when you walk by, or the device refuses to download software updates due to low battery.
- Strange Noises: You hear chattering or clicking sounds coming from your furnace or boiler.
According to CNET Smart Home reviews, power-related issues are the number one reason consumers return smart thermostats. Ensuring you have a dedicated power path prevents these headaches entirely.
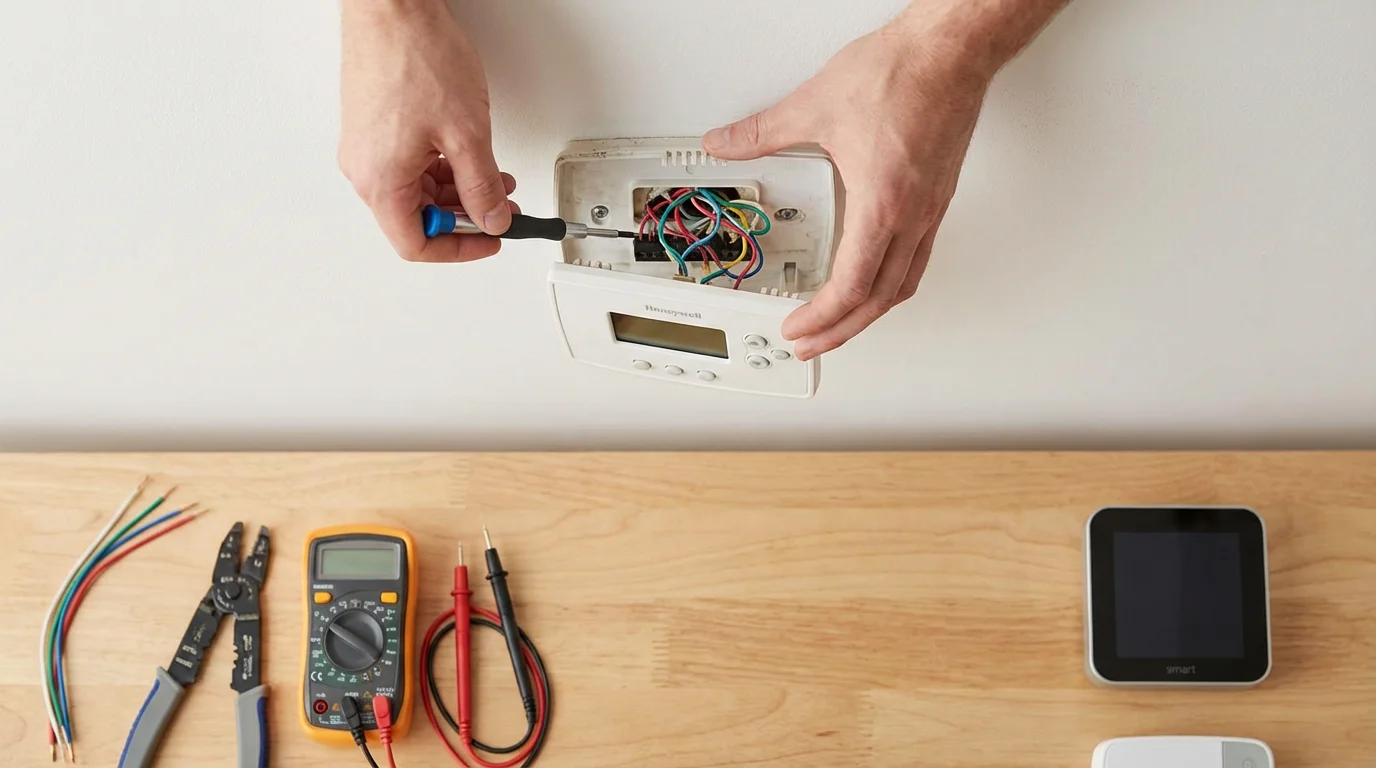
Step 1: Inspect Your Existing Wiring
Before buying adapters or calling an electrician, you must perform a thorough physical inspection. You need to see what wires are leaving your wall and what wires are connected to your furnace.
Before diving into complex wiring fixes, ensure you are familiar with the basic steps of how to install a smart thermostat yourself to avoid simple setup errors.
Safety Warning: working with thermostat wiring involves electricity. While it is usually low voltage (24V), you should always turn off the power to your HVAC system at the circuit breaker before removing any faceplates.
- Remove the Old Thermostat Faceplate: Pull the thermostat off the wall to reveal the backplate and wires.
- Identify the Terminals: Look for a terminal labeled “C.” Is there a wire connected to it?
- If Yes: You have a C-wire. If the smart thermostat isn’t working, the wire might be disconnected at the furnace.
- If No: proceed to the next step.
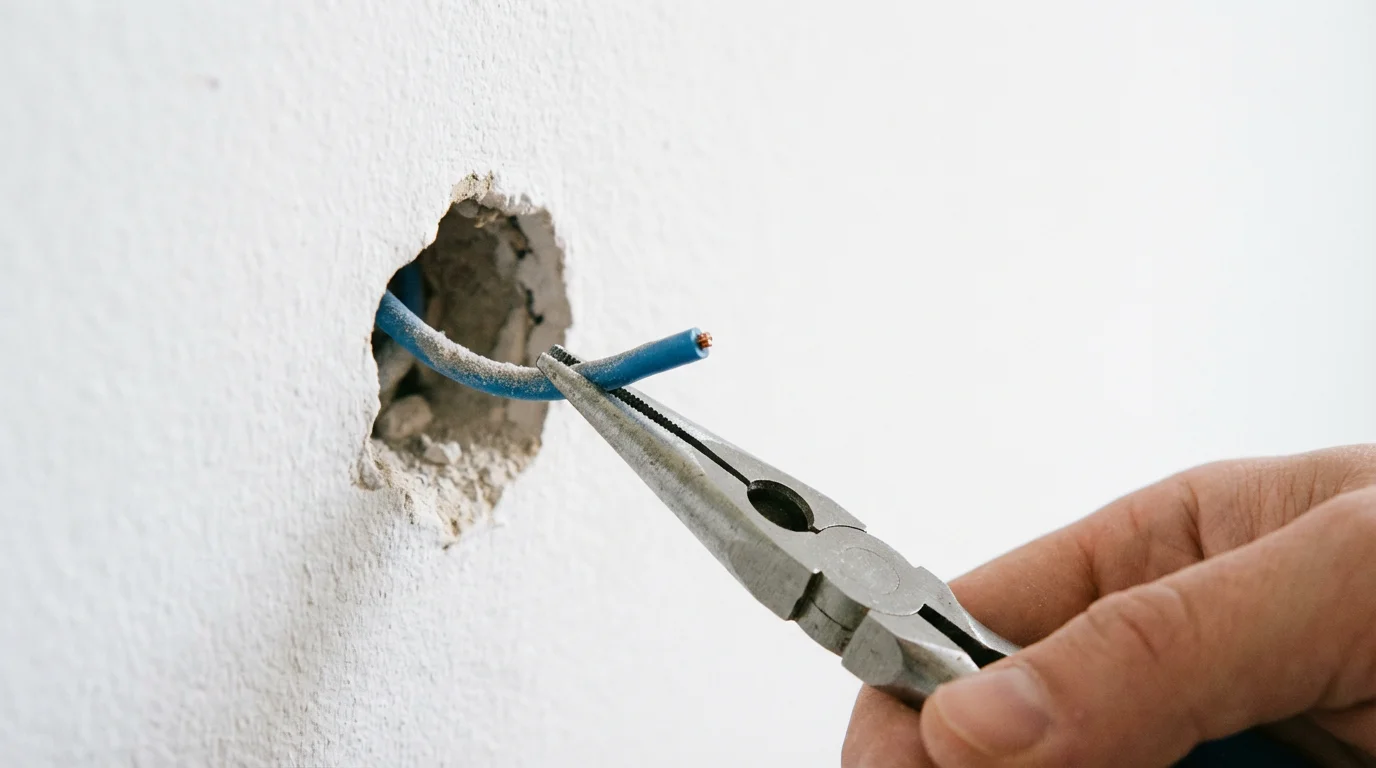
- Check the Wire Bundle: Gently pull the wire bundle out of the wall a few inches.
“Never assume wire colors correspond to their function. While C-wires are typically blue or black, installers are inconsistent. Always trace the wire back to the control board to be certain.”
Solution 1: The Hidden Wire Trick
This is the best-case scenario and happens more often than you might think. When homes are built, electricians often run a standard thermostat cable containing five or more wires, even if the installed thermostat only required four.
With a stable connection, your device can finally provide the data necessary to read and understand your energy reports accurately.
Look closely at the bundle of wires coming out of your wall. Is there an unused wire wrapped around the cable sheath or tucked back into the wall? It is often blue or black.
How to Activate a Hidden Wire:
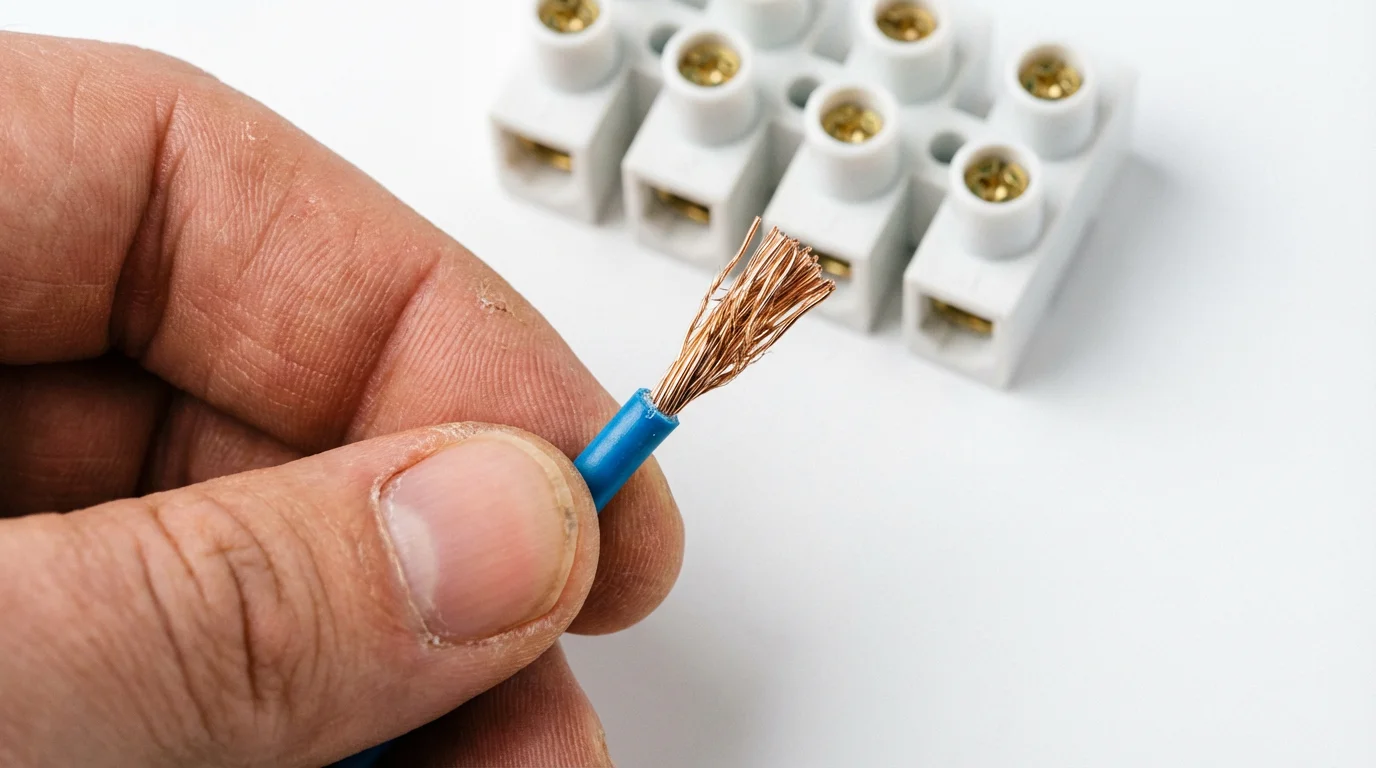
- At the Thermostat: Unwrap the unused wire and strip the end. This will become your C-wire.
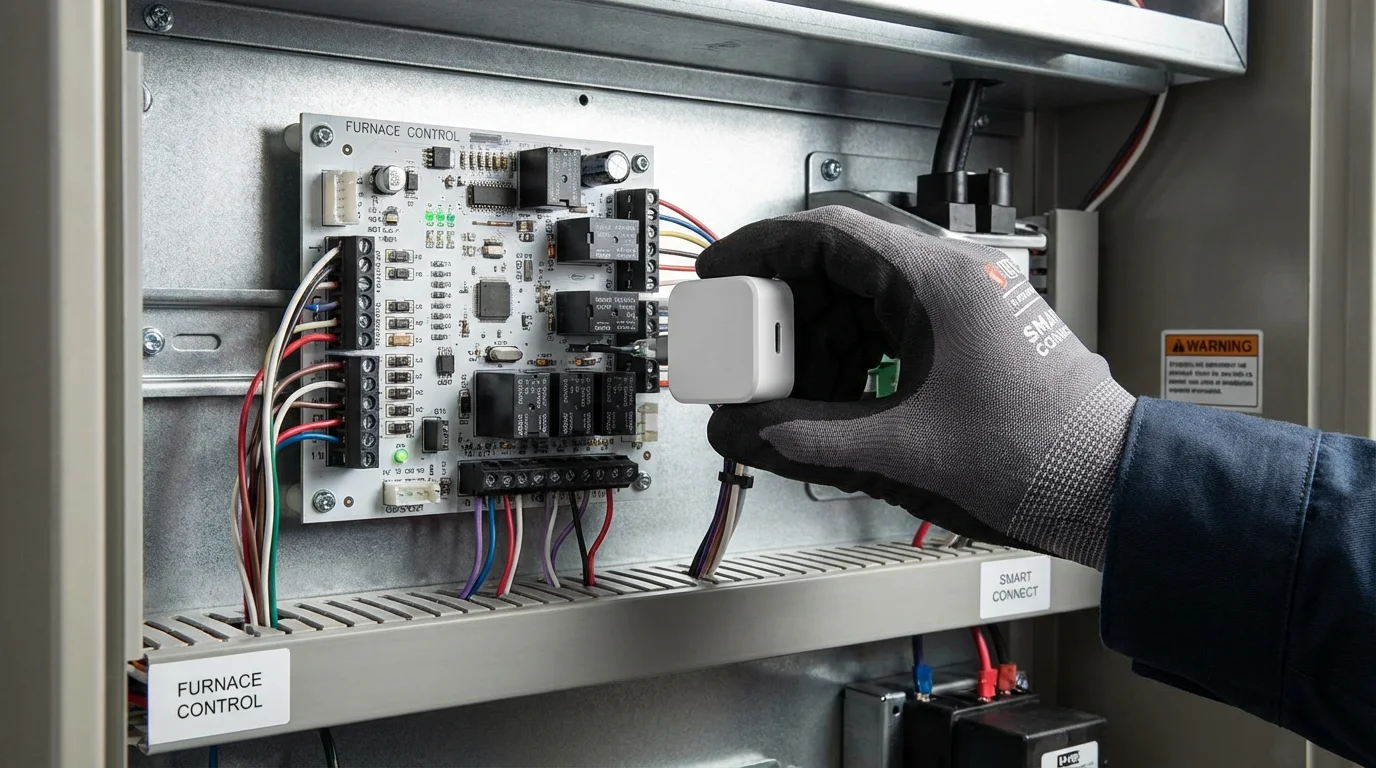
- At the Furnace: Go to your furnace or air handler (usually in the basement, attic, or closet). Remove the cover panel to expose the control board where the thermostat wires connect.
- Locate the Unused Wire: Find the other end of that same wire bundle. You should see the matching unused colored wire.
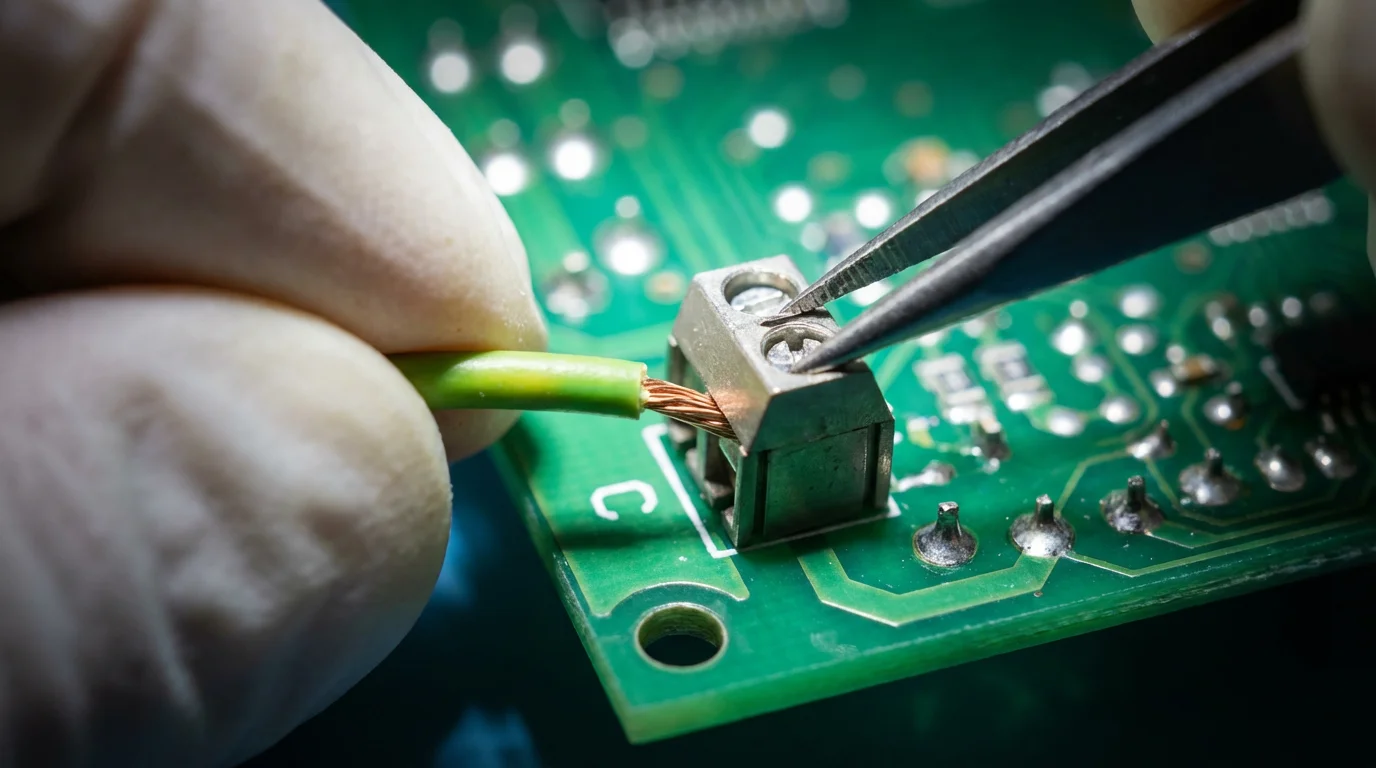
- Connect to C-Terminal: Loosen the screw on the terminal labeled “COM” or “C” on the furnace control board. Insert the unused wire and tighten the screw.
- Finish Installation: Back at the thermostat, connect that new wire to the C terminal on your smart thermostat base.
If you find this hidden wire, you have solved the problem for free. If you only have two or four wires total and none are spare, you will need to choose one of the solutions below.
Solution 2: Using a C-Wire Adapter (PEK)
If you cannot run a new wire, a C-Wire Adapter—often called a Power Extender Kit (PEK)—is the standard industry solution. This device allows you to use your existing 4-wire setup to support a 5-wire smart thermostat.
These adapters are particularly useful if you are exploring smart thermostat options for renters, as they often avoid the need for permanent structural changes.
Manufacturers like Ecobee include this kit in the box with nearly every model. Google Nest sells a “Nest Power Connector” separately. These adapters work by multiplexing the signal. They combine two signals onto one wire at the thermostat side and split them back apart at the furnace side.
Installation Overview:
- Turn off power to the HVAC system.
- Open the furnace panel to access the control board.
- Disconnect the thermostat wires (R, W, Y, G) from the control board.
- Connect the adapter wires to the control board terminals.
- Connect the thermostat wires into the adapter module.
- Mount the adapter inside the furnace cabinet using the sticky pad or magnet provided.
- At the thermostat, follow the specific wiring diagram provided by the app (usually involving the PEK or diode wire).
This solution is reliable, code-compliant, and does not require running new cables through your walls. It is the recommended fix for most 4-wire homes.
Solution 3: The G-Wire Workaround
If you don’t have an adapter kit and need to get your system running immediately, you can repurpose the G-wire. The G-wire controls your fan. By moving this wire to the C-terminal, you turn your fan wire into a power wire.
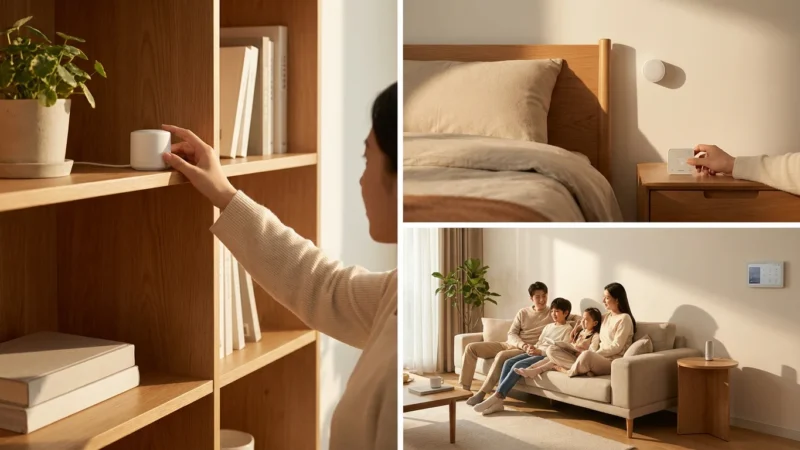
Ensuring your thermostat has dedicated power is a key part of preparing for seasonal changes and avoiding HVAC failure during extreme weather.
The Trade-off: You lose independent control of your fan. Your fan will still run when the heat or AC is on, but you cannot turn only the fan on to circulate air without heating or cooling.
Steps to Repurpose the G-Wire:
- At the Furnace: Move the wire connected to the G terminal to the C terminal.
- Bridge G and Y: To ensure the fan still runs during cooling, place a small jumper wire between the Y terminal and the G terminal on the furnace control board. (Note: Some smart thermostats handle this via software settings, so check your manual).
- At the Thermostat: Move the wire that was in the G terminal to the C terminal.
- Configure: Tell your smart thermostat during setup that you do not have a fan (G) wire, but you do have a C-wire.
While effective, this is less ideal than using a proper adapter because you lose functionality. However, it is a safe and common practice in older retrofits.
Solution 4: External Transformers for Heat-Only Systems
If you have a heat-only system (like a boiler with radiators or baseboard heat), you likely only have two wires: R (Power) and W (Heat). You don’t have a G wire to steal, and sometimes there is no control board to attach an adapter to. In this scenario, you need an external power source.
This transformer method is also highly effective when configuring smart thermostats for homes with multiple zones where the primary control board cannot power every unit.
You can purchase a 24-volt plug-in transformer (often sold as a “C-wire adapter for thermostats”).
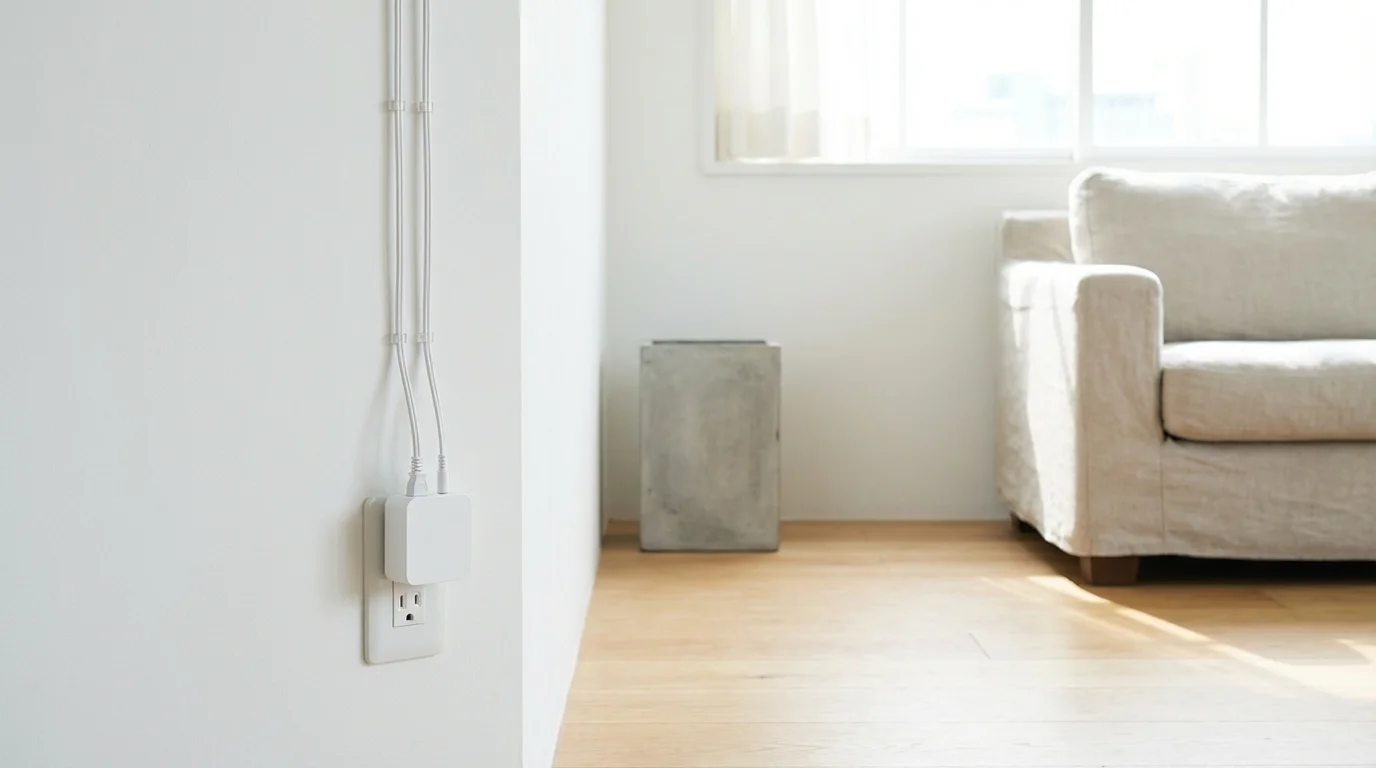
- The Setup: You plug the transformer into a standard wall outlet near the thermostat. You run the two wires from the transformer up the wall to the thermostat.
- The Wiring: One wire goes to the C terminal. The other usually goes to the Rc terminal (check your specific manual for 2-transformer setups).
- The Aesthetics: The downside is a visible wire trailing from your thermostat down to a wall outlet, unless you can fish the wire through the wall to an outlet on the other side.
This is extremely common for boiler systems and is recognized by Energy Star guides as a viable way to bring smart efficiency to older heating systems.
Solution 5: Running a New Cable
If the walls are open during a renovation, or if you have easy access to the space above or below the wall (attic or basement), the best technical solution is to replace the old wire entirely. Replacing an old 2-wire or 4-wire cable with a new 18/5 (18-gauge, 5-conductor) or 18/7 thermostat wire future-proofs your home.
After finishing your wiring project, you can focus on the fun part: learning how to create the perfect temperature schedule for your household.
Why do this?
It eliminates adapters, allows for full fan control, and supports future accessories like humidifiers or 2-stage heating. It creates the cleanest, most reliable power delivery for your device.
If you are uncomfortable fishing wires through walls, this is the point where you should hire a professional.

When to Call a Professional
While thermostat installation is marketed as a DIY project, there are specific scenarios where you should stop and call an HVAC technician or electrician:
- High Voltage Systems: If your current thermostat has thick wires (like a lamp cord) and is labeled 120V or 240V, you have a line-voltage system. Standard smart thermostats (Nest, Ecobee) will not work and will be instantly destroyed if connected. You need a specific high-voltage smart thermostat (like Mysa or Sinope).
- Confusing Control Boards: If your furnace control board doesn’t have screw terminals but uses a mess of wire nuts and splices, a pro can decipher the schematic.
- Zoned Systems: If you have multiple thermostats controlling one furnace via a zone controller, the wiring can be complex and requires specific configuration to avoid blowing the controller board.
Frequently Asked Questions
Does the Nest Thermostat really need a C-wire?
While Google claims some Nest models can work without a C-wire using “power stealing,” it is highly recommended to have one. Without a C-wire, the Nest may pulse your HVAC system to charge its battery, causing the furnace to turn on and off rapidly or the Wi-Fi to disconnect.
What color is the C-wire usually?
The C-wire is typically Blue (think ‘B’ for Blue, but it stands for Common). However, there is no strict standard. You might find a black wire or even a brown one used as the common. Always verify by looking at the wiring on your furnace’s control board.
Can I install a C-wire adapter myself?
Yes, installing a C-wire adapter (PEK) is a moderate DIY task. It involves opening your furnace panel and moving a few wires on the control board. If you can follow a diagram and use a screwdriver, you can typically install it in about 20 minutes.
Will using the G-wire workaround damage my system?
Using the G-wire as a C-wire is generally safe for the equipment if done correctly (using a jumper at the furnace). The main downside is losing the ability to run the fan independently of the heater or air conditioner.
Disclaimer: This article is for informational purposes only. Smart home devices involve electrical connections and data privacy. Always follow manufacturer instructions for installation. For complex wiring or HVAC work, consult a licensed professional.


Leave a Reply