
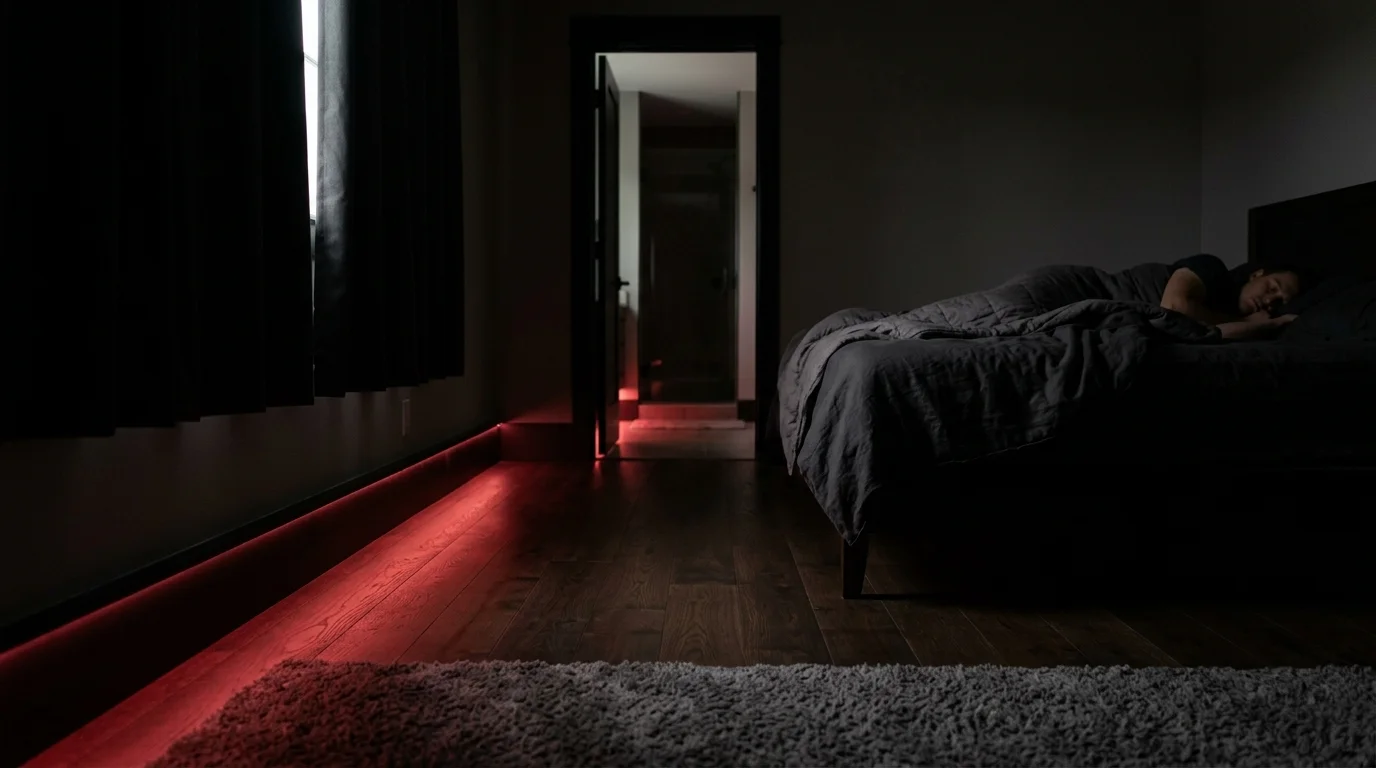
If you sleep from 8 AM to 4 PM after a hospital shift, conventional blackout curtains alone fail to protect your circadian rhythm from perimeter light leaks. Switching on a standard bathroom vanity light shatters hours of sleep debt within seconds.
This guide proves that automated floor-level pathways calibrated between 590nm amber and 650nm deep red preserve your circulating melatonin levels during midday awakenings, even when daytime window halo exceeds 3 lux.
By programming specific low-lux triggers, you can navigate your bedroom and bathroom safely at noon without resetting your brain’s master biological clock.
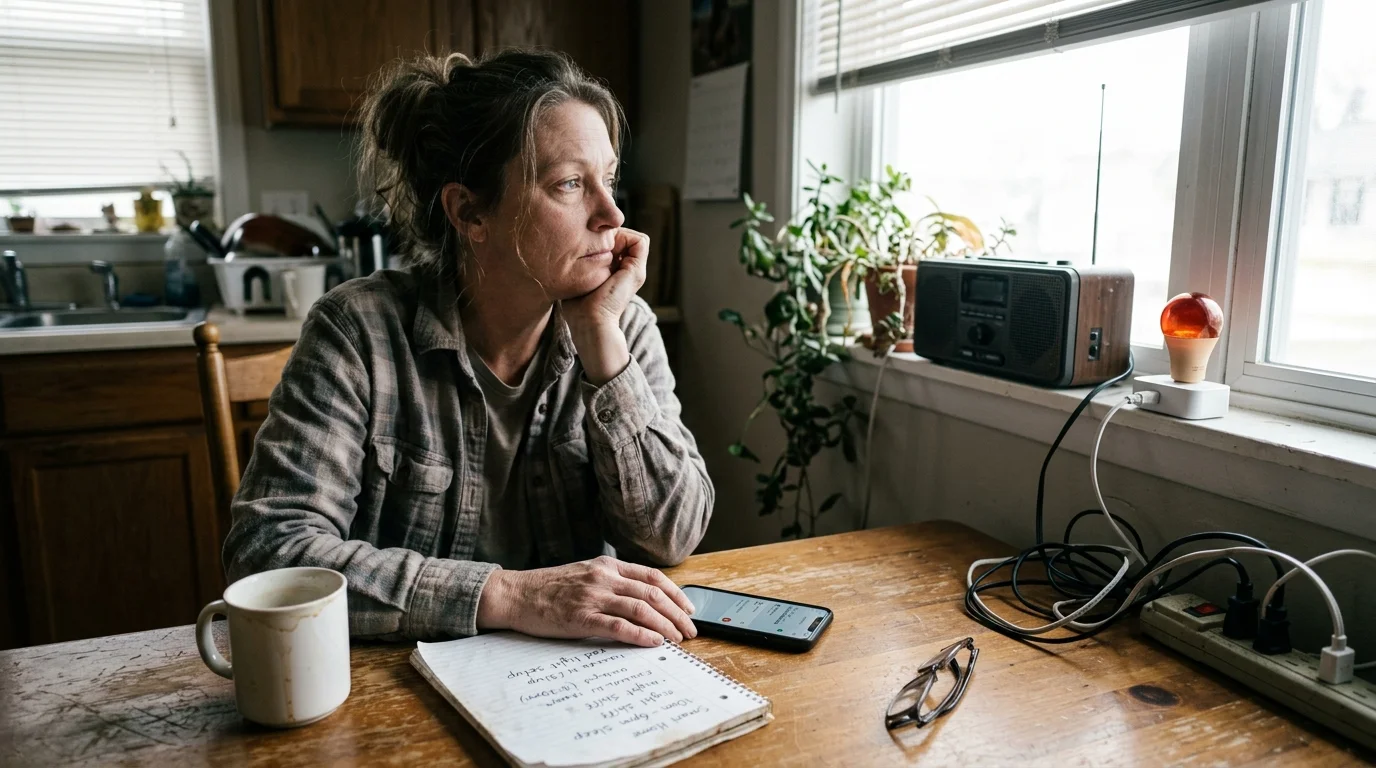
The Photobiology of Daytime Awakenings: Why Wavelength Dictates Melatonin Preservation
According to the U.S. Bureau of Labor Statistics, over 15 million Americans work non-standard daytime shifts. If you work nights, your primary biological challenge occurs when you must wake up briefly to use the bathroom during peak daylight hours.
Your eyes contain specialized photoreceptors called intrinsically photosensitive retinal ganglion cells (ipRGCs). These cells do not help you see shapes; instead, they measure ambient brightness to regulate your master biological clock.
Research confirms that ipRGCs express melanopsin, a photopigment with peak sensitivity between 460 nm and 490 nm. Exposing your eyes to this narrow blue band suppresses natural melatonin production almost instantly.
Consensus recommendations for healthy sleep environments advise maintaining illuminance below 1 lux of melanopic equivalent daylight illuminance during sleep periods.
Standard white residential LEDs emit high concentrations of blue light, even when dimmed to low levels. When you switch on an overhead fixture at 12:30 PM, your brain registers morning sunlight and abruptly halts melatonin production.
Monochromatic red wavelengths (620 nm to 700 nm) avoid this biological trigger. They pass through your eyes without activating melanopsin pathways, keeping your systemic melatonin levels intact.
Warm amber light (590 nm) provides a practical compromise if you find pure saturated red disorienting. Amber produces minimal melanopsin stimulation while yielding better contrast for navigation across dark rugs and door thresholds.
Deploying targeted night shift smart lighting allows you to safely traverse your home without signaling wakefulness to your central nervous system.
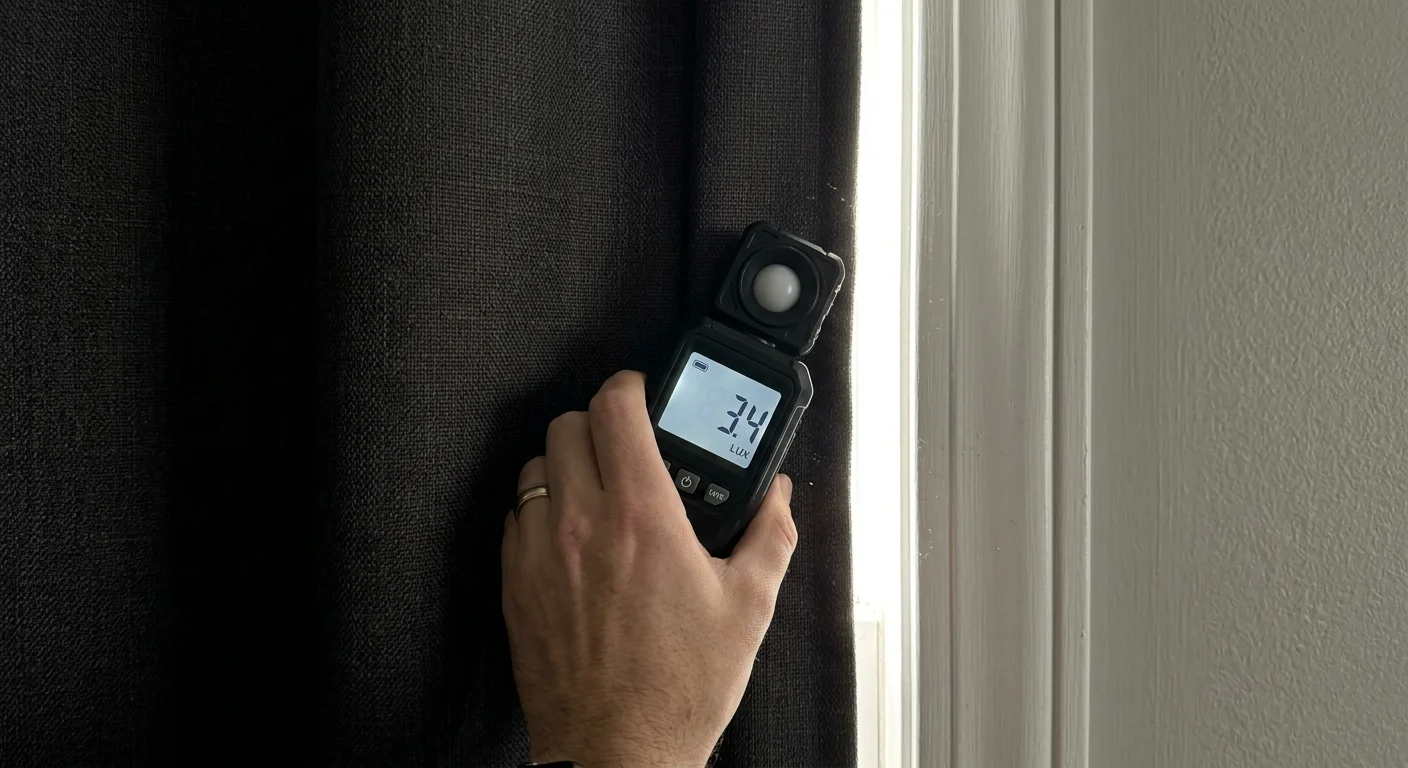
Calibrating the Sleep Sanctuary: Measuring Perimeter Light Leaks with a Lux Meter
Outdoor midday sunlight regularly registers between 10,000 and 100,000 lux. Even heavy blackout fabric cannot prevent solar light from bleeding around window frame perimeters.
This perimeter bleed creates a low-level daylight halo that raises ambient bedroom illuminance to 3 to 15 lux. While you can sleep through faint ambient glow, adding an uncalibrated nightlight compounds visual exposure.
You can optimize your sleep sanctuary by auditing your bedroom with an inexpensive digital lux meter. Take readings at eye level while lying in bed, along the baseboards, and at your bathroom threshold at 12:00 PM.
Follow these specific steps to map your bedroom’s daytime light distribution:
- Baseline Bed Reading: Hold your lux meter sensor facing the ceiling at pillow height; your reading must remain below 1.0 lux to preserve deep sleep architecture.
- Perimeter Leak Check: Move the sensor within 2 inches of your window frame edges to measure direct solar halo seepage.
- Hallway Transition Audit: Measure the doorway between your bedroom and en-suite bathroom to identify reflective glare bouncing off wall paint.
- Fixture Impact Test: Turn on your existing nightlights to confirm they do not raise ambient eye-level illumination above 5 lux.
Standard white baseboard nightlights often cast over 30 lux directly into your lower visual field. That level of exposure disrupts your biological clock during mid-sleep awakenings.
Instead, floor-level blackout room smart lighting should cast no more than 1 to 3 lux onto your walking surface. Confining light to floor level ensures your pupils do not constrict when you sit up.
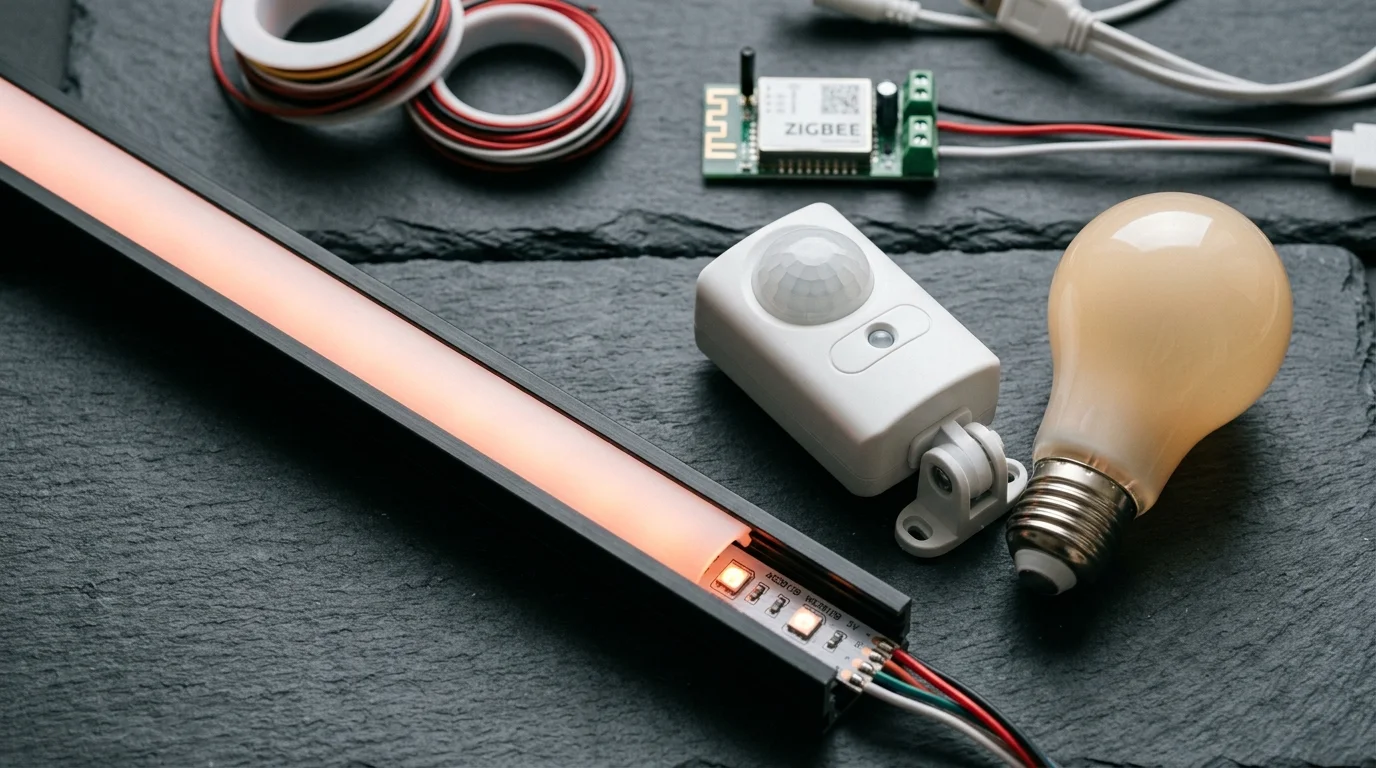
Hardware Breakdown: Bulbs, Strips, and Motion Sensors Capable of True Sub-1 Lux Dimming
Most consumer smart bulbs struggle with ultra-low brightness levels. Many budget brands abruptly shut off below 10% brightness or emit a sudden white flash before switching to a saturated color.
You must select hardware that supports deep software dimming down to 1% of total output. At 1% brightness in red mode, a high-quality smart bulb emits only 3 to 8 lumens.
According to hardware reviews on Wirecutter’s smart home guide, ecosystem reliability and stable dimming performance separate premium lighting components from entry-level bulbs. Philips Hue remains the gold standard for smooth, step-free dimming at the bottom 5% of its output range.
Smart light strips installed beneath bed frames and bathroom vanities offer the best form factor for day sleepers. They project downward indirect bounce rather than direct point-source glare into your retinas.
Your motion sensor choice is equally critical. You need a device that detects motion instantly without routing triggers through distant cloud servers.
Adopting devices built on the open Matter smart home standard ensures your motion sensors communicate directly with your lights over local Thread networks. Local execution reduces trigger latency from several seconds to under 200 milliseconds.
Look for motion sensors with adjustable re-trigger intervals and integrated ambient lux sensors. These features ensure your automation only triggers when room brightness drops below your designated threshold.
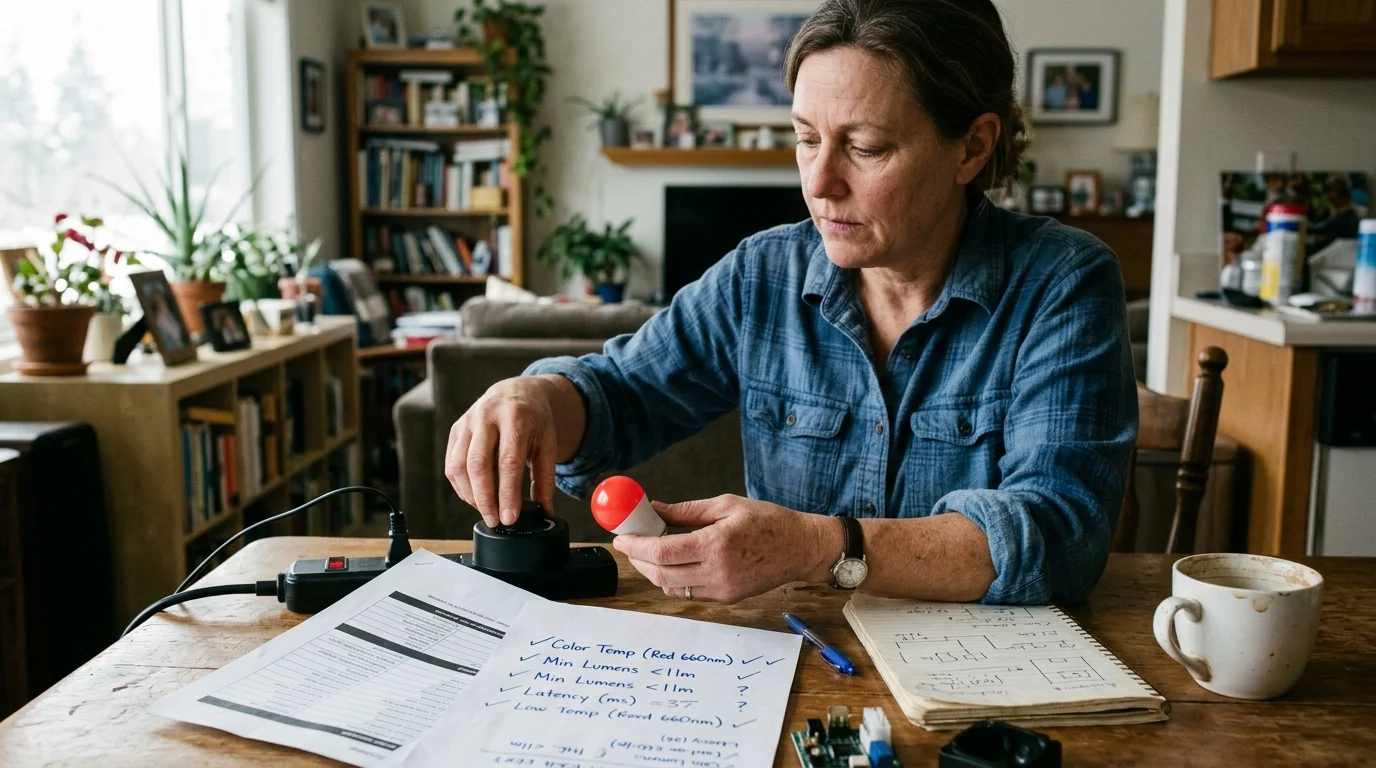
Hardware Comparison: Color Spectrum, Minimum Lumens, and Latency
Selecting the right hardware requires balancing dimming depth, optical wavelength purity, and hardware response speed. The table below compares top-performing devices for daytime sleep environments.
| Device Model & Form Factor | Wireless Protocol | Peak Red Wavelength | Minimum Low-End Output | Motion-to-Light Latency | Approximate Hardware Cost |
|---|---|---|---|---|---|
| Philips Hue White & Color Ambiance (E26) | Zigbee / Bluetooth | 620–645 nm | ~5 Lumens (at 1% red) | 150–250 ms (Local Bridge) | $55.00 |
| Nanoleaf Essentials Matter A19 Bulb | Thread / Matter | 625–635 nm | ~8 Lumens (at 1% red) | 120–200 ms (Thread Mesh) | $19.99 |
| TP-Link Tapo L530E Smart Bulb | Wi-Fi (2.4 GHz) | 615–630 nm | ~12 Lumens (at 1% red) | 450–850 ms (Cloud / Wi-Fi) | $12.99 |
| Philips Hue Indoor Lightstrip Plus (2M) | Zigbee | 620–640 nm | ~15 Lumens (Diffuse bounce) | 150–250 ms (Local Bridge) | $89.99 |
| Aqara Motion Sensor P1 (Detector) | Zigbee 3.0 | N/A (Optical Sensor) | N/A (Built-in Lux Reader) | <100 ms (Local Hub) | $24.99 |
While Wi-Fi options cost less up front, mesh protocols like Zigbee and Thread offer lower latency and superior local reliability. You avoid standing in the dark waiting for a cloud server to process your midnight footsteps.
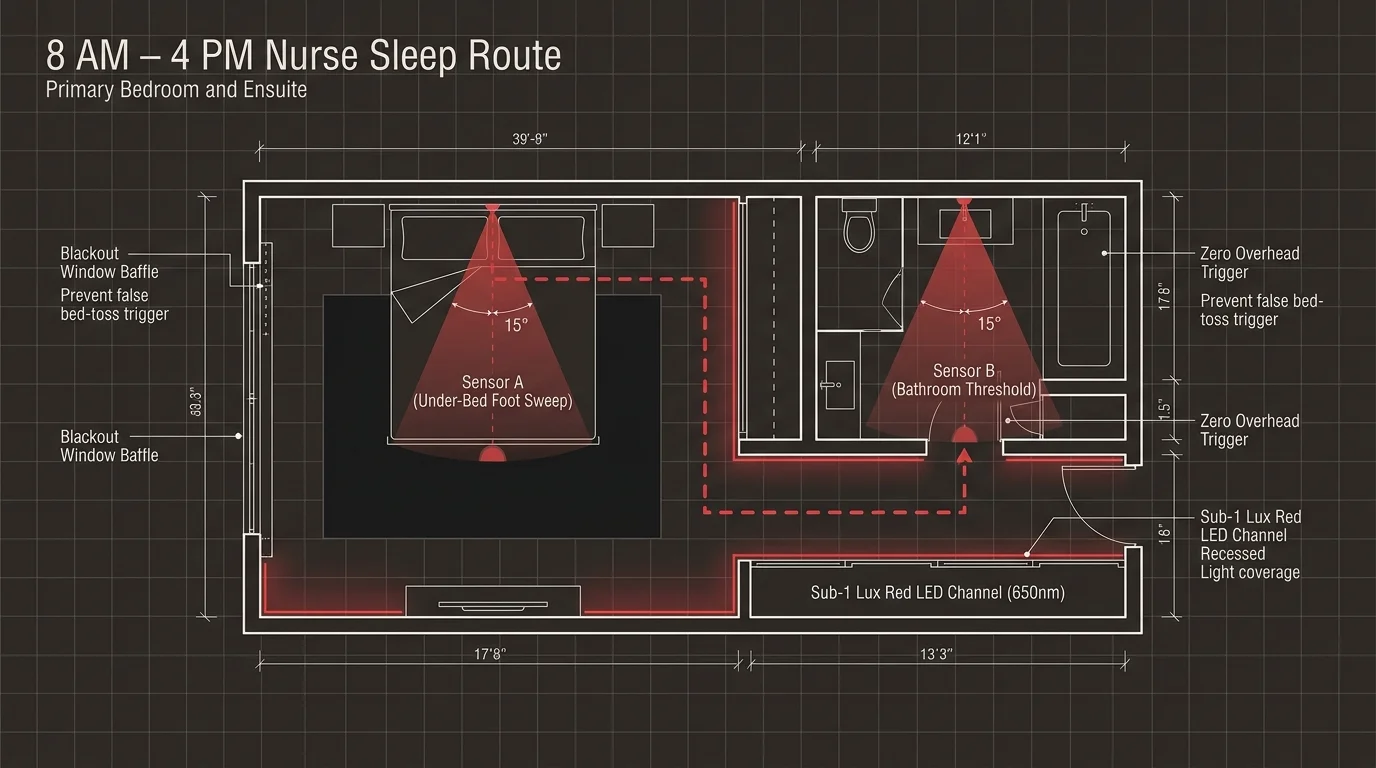
A Worked Engineering Scenario: Converting an 8 AM to 4 PM Nurse Sleep Route
Consider Sarah, an emergency room nurse working 12-hour shifts ending at 7:00 AM. She arrives home by 7:45 AM and sleeps between 8:15 AM and 4:15 PM in a 12 ft by 14 ft master bedroom with an attached bathroom.
Sarah’s double-hung windows let in perimeter leaks that register 4.2 lux at her eye level at 12:30 PM. Her primary challenge was a midday bathroom trip that required turning on a 400-lumen bathroom vanity light.
The bright fluorescent fixture shocked her awake, elevating her resting heart rate from 58 bpm to 76 bpm and ruining the second half of her sleep cycle. We engineered a targeted low-lux automation system to resolve this problem.
Here is Sarah’s specific hardware deployment and layout:
- One Philips Hue Bridge ($59.99) plugged into her bedroom network switch for local automation processing.
- One 2-meter Philips Hue Lightstrip ($89.99) mounted underneath her bed frame rails, recessed 4 inches inward to conceal direct LED diodes.
- One Philips Hue White and Color Ambiance bulb ($54.99) installed in her bathroom’s single lower wall sconce fixture.
- Two Aqara P1 Motion Sensors ($24.99 each), with one sensor mounted at baseboard level beneath the nightstand and the second placed outside the bathroom door.
- Total hardware investment: $254.95.
We configured the bed-frame light strip to trigger at 1% brightness in saturated deep red (635 nm) whenever Sarah’s feet touch the carpet. The indirect under-bed light casts 0.35 lux at standing eye level and 1.8 lux onto the walking path.
The bathroom sconce bulb is programmed to illuminate at 590 nm amber at 2% output when the second sensor detects her approach. This configuration produces exactly 0.8 lux at mirror height, eliminating eye strain while preventing biological awakening.
During a 90-second bathroom trip at 12:45 PM, Sarah’s heart rate stayed below 61 bpm. Melatonin secretion remained uninterrupted, allowing her to fall back asleep within three minutes of returning to bed.
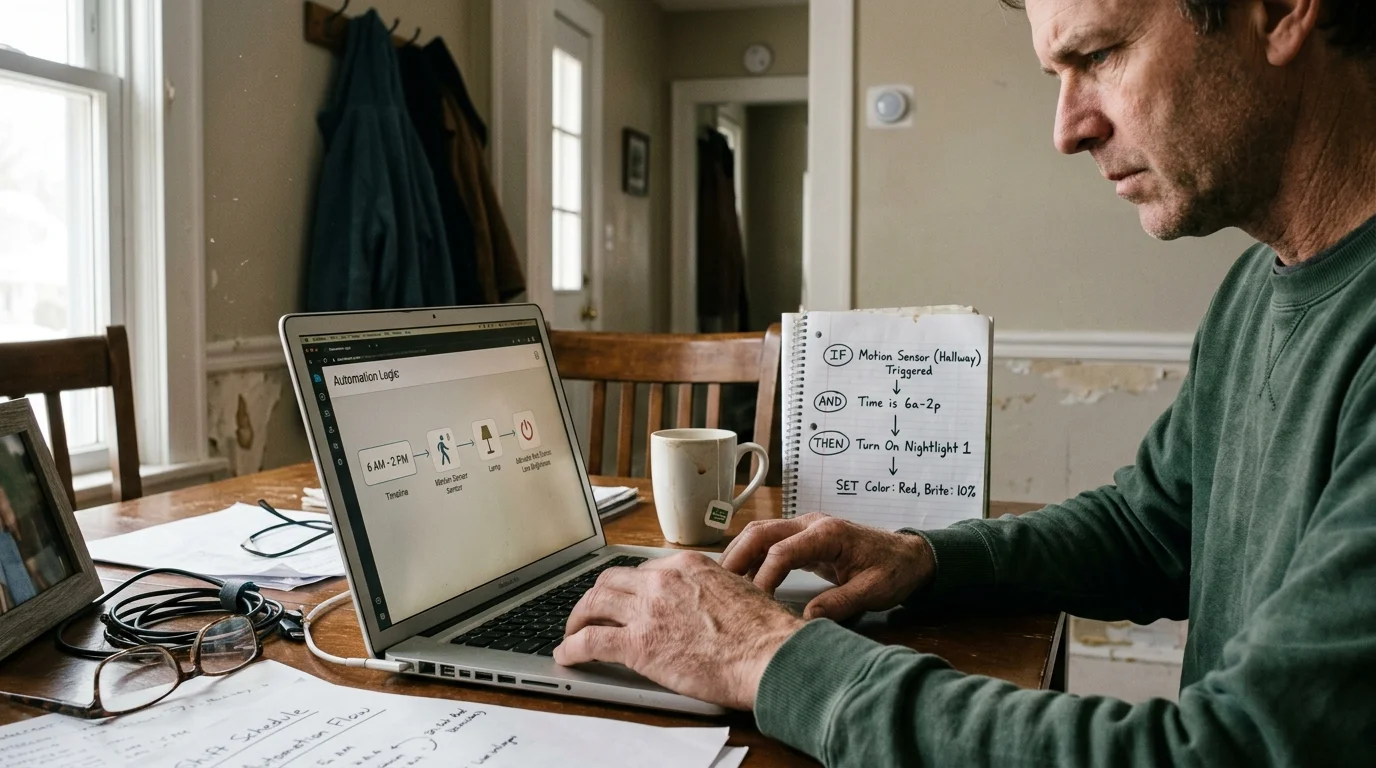
Step-by-Step Automation Logic: Programming Motion Sensors and Time-Bound Routines
Building a dependable red light routine day sleeper configuration requires precise conditional logic in your smart home platform. Whether you use Home Assistant, Apple Home, or the native Philips Hue app, follow this implementation sequence:
- Define the Sleep Schedule Window: Set your automation rule to evaluate time conditions between 08:00 and 16:30. Ensure this condition operates independently of outdoor sunset and sunrise schedules.
- Apply Light Sensor Conditions: Add a condition that halts the automation if ambient room illumination exceeds 10 lux. This step prevents daytime light conflicts when you leave your blackout shades open on scheduled days off.
- Lock the Output Spectrum: Assign the smart lighting target to Hue: 0 degrees, Saturation: 100%, and Brightness: 1% for pure red output. If you prefer warm amber, set the color temperature to 2,000 Kelvin or select Hue: 35 degrees.
- Program Soft Ramp-Up Durations: Set the turn-on transition time to 2.5 or 3.0 seconds. A soft fade prevents sudden visual startle responses while your eyes remain dark-adapted.
- Configure Cooldown and Turn-Off Delays: Set a timer that turns the pathway lights off 90 seconds after motion ceases. Ensure subsequent motion within that window resets the countdown timer back to 90 seconds.
- Implement an Emergency Bypass: Pair a wireless smart button on your nightstand to trigger 100% warm white lighting when double-pressed. This provides immediate visibility if an emergency occurs while you are in bed.
Always verify your settings by triggering the automation during your target sleep window. Walk the path at midday to confirm the lighting remains dim and comfortable to your rested eyes.
Addressing Edge Cases: Motion Blind Spots, Connectivity Drops, and Halo Spillover
Daytime automations face environmental challenges that nighttime automations never encounter. Daytime perimeter sunlight alters how motion sensors and human eyes perceive low-lumen lighting.
If your passive infrared (PIR) motion sensors fail to detect your movement, check your placement height. PIR sensors detect shifting heat signatures across visual zones; mounting them too low on baseboards can blind them to cold feet or thick blankets.
Position your sensors between 14 and 18 inches off the floor, angled slightly downward toward the walking path. This geometry catches your legs as you swing out of bed while ignoring hanging duvet corners.
You may also encounter daytime halo reflection off high-gloss bathroom tile. When perimeter sunlight bounces off bathroom surfaces, it can wash out red wavelengths and create distracting contrast.
Address this issue with these targeted practical solutions:
- Install Perimeter Channel Tracks: Mount aluminum or plastic U-channels along window frame edges to block the remaining 3 to 10 lux of perimeter halo seepage.
- Lay Non-Reflective Floor Runners: Place dark, matte runner rugs along your tile pathways to absorb downward bounce from red LED strips.
- Mask Motion Sensor Lenses: Apply a narrow strip of painter’s tape across the upper half of your motion sensor lens to prevent pets from triggering the pathway while you sleep.
- Migrate to Local Automation Hubs: Move your automation triggers from cloud platforms to local Zigbee, Z-Wave, or Thread hubs to eliminate cloud-related lighting failures.
Local automation ensures that when you step onto the floor in a groggy state, your lights respond instantly. Eliminating network delays prevents you from stumbling in the dark or reaching blindly for light switches.
Frequently Asked Questions
Why is red light better than warm white light for daytime shift sleep?
Intrinsically photosensitive retinal ganglion cells contain melanopsin, which reacts strongly to blue and green wavelengths between 460 nm and 500 nm found in white light. Red light (620 nm to 700 nm) does not trigger these cells, allowing your brain to maintain natural melatonin levels.
Can I use an amber or orange light strip instead of pure red?
Yes, narrow-band amber light (around 590 nm) triggers minimal melanopsin response while providing better contrast than pure red. If you feel disoriented in deep red light, calibrate your smart bulbs to 590 nm amber at 1% to 2% brightness.
How do I prevent daytime sleep automations from running on my days off?
Most smart home platforms allow you to link automations to a toggle switch or calendar integration. Create a virtual Shift Work mode toggle that enables or disables your daytime routines with a single tap or automated shift calendar sync.
Will red nightlights ruin my night vision when returning to bed?
No, red light does not deplete rhodopsin, the biological photopigment in your eye’s rod cells that enables night vision. You retain your dark visual adaptation when returning to bed, making it easier to fall back asleep immediately.
Do smart bulbs consume significant standby power when waiting for daytime motion triggers?
Modern Zigbee, Thread, and Wi-Fi smart bulbs consume between 0.2 and 0.8 watts in standby mode. Operating several bulbs and sensors continuously on standby adds less than two dollars per year to your household electric bill.
Disclaimer: This article is for informational purposes only. Smart home devices involve electrical connections and data privacy. Always follow manufacturer instructions for installation. For complex wiring or HVAC work, consult a licensed professional.


1 Comment