
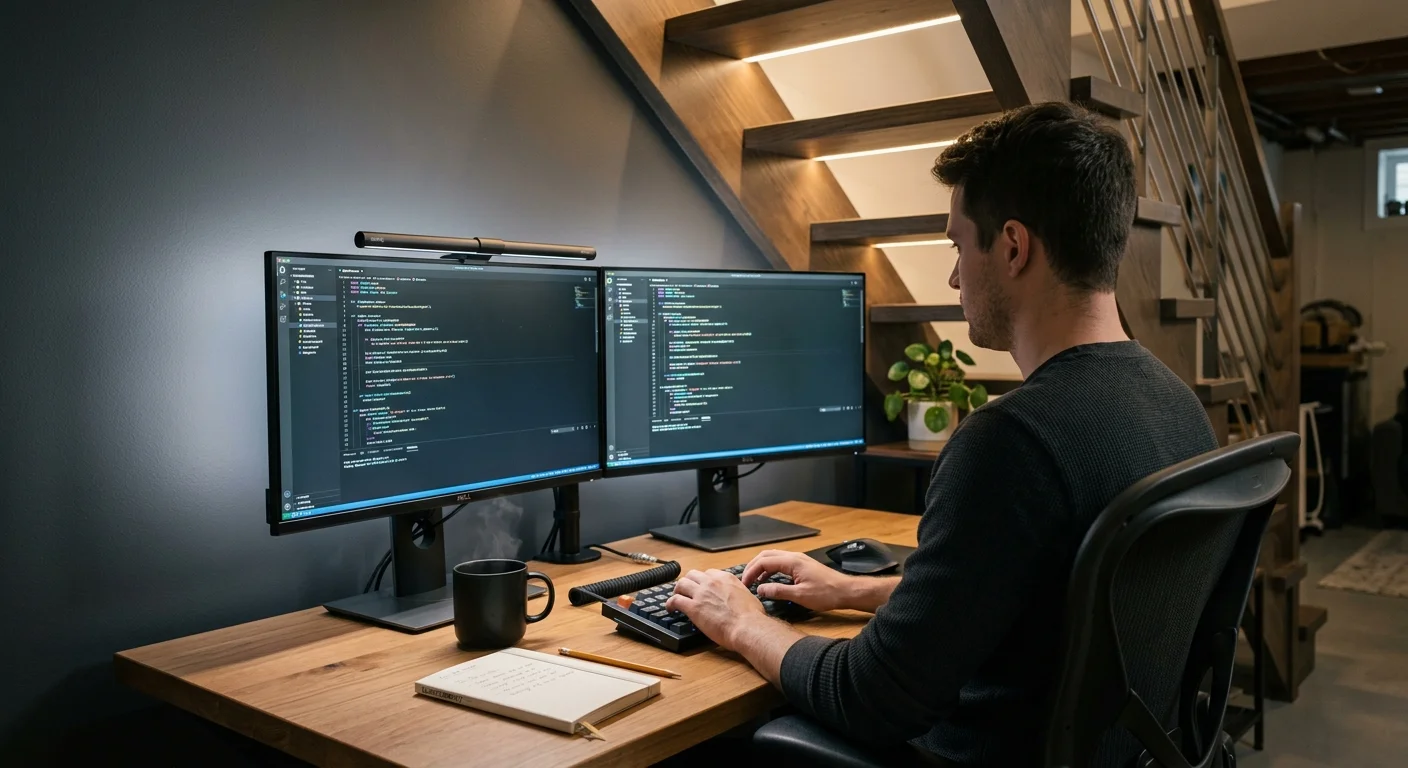
If you spend ten hours daily coding across dual monitors in a 65-square-foot basement alcove, static overhead bulbs are wrecking your eyes. Calibrating your ambient and bias lighting to contrast ratios fixes visual fatigue immediately.
Off-the-shelf smart bulbs rarely solve this problem on their own because standard office advice ignores screen luminance ratios.
True ergonomic stability requires pairing a reference 6500K bias light with dynamic dual-channel ambient lighting that actively shifts circadian lux between 9 AM and 7 PM.
The Ergonomic Physics of Confined Basement Alcoves
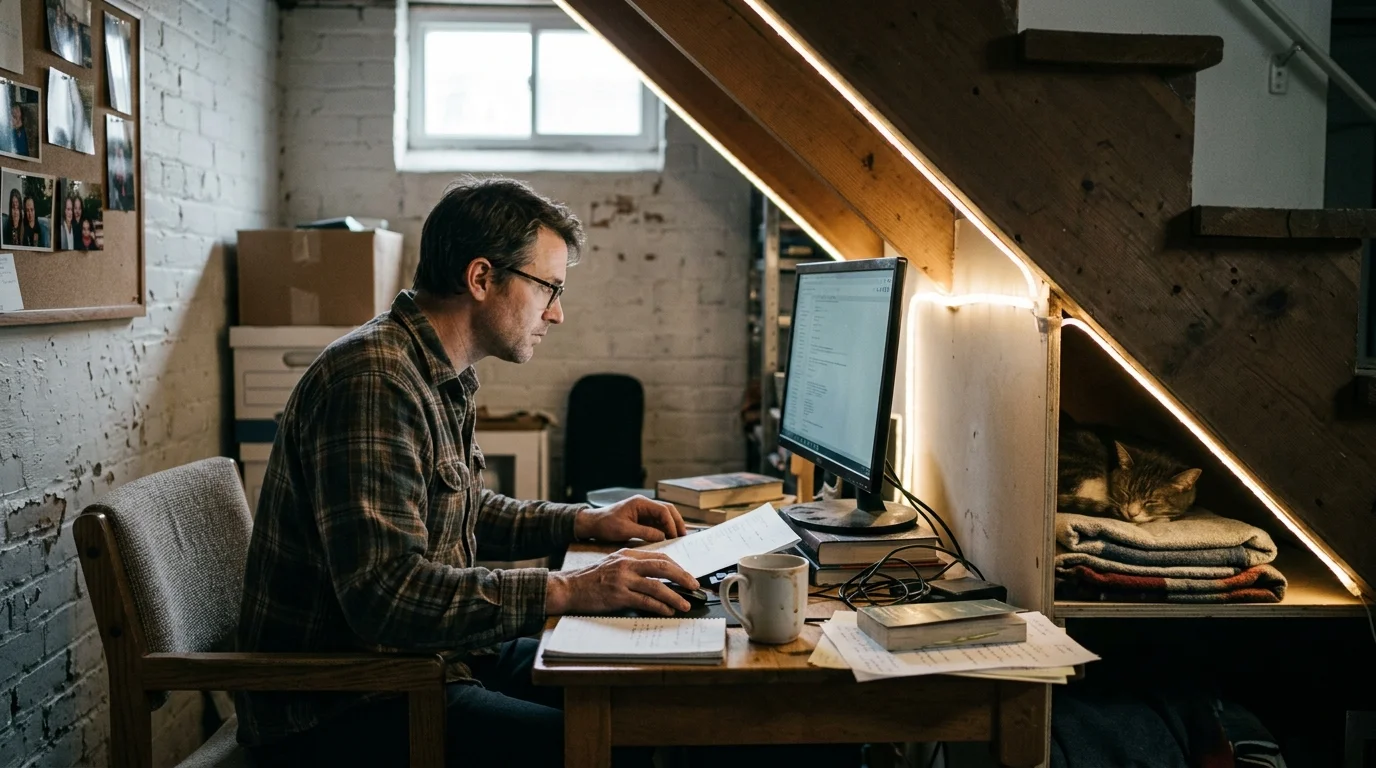
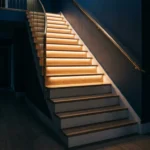
Tucking a workstation beneath a stairwell creates unique spatial limitations. You operate inside a tight acoustic and optical envelope characterized by low ceilings and irregular drywall angles.
When dual 27-inch monitors illuminate an unlit, enclosed nook, your pupillary sphincter muscles constantly contract and dilate. This optical whiplash triggers eye strain, headaches, and mental fatigue by mid-afternoon.
The Illuminating Engineering Society (IES) and standard EN 12464-1 specify desktop task surfaces require 300 to 500 lux for sustained computing work.
In a windowless 65-square-foot space, blast lighting the entire room to hit that number causes intense glare. Light bounces aggressively off close-proximity drywall directly back into your retinas.
Instead of relying on a single overhead fixture, you must decouple task visibility from environmental luminance. This requires distributing photons deliberately across three distinct optical planes:
- The display boundary zone directly behind your screens.
- The immediate horizontal desktop task surface.
- The upper diagonal ceiling plane created by the stair stringers.
Isolating these zones prevents over-illuminating the alcove walls while keeping your central desktop task target within the mandatory 300 to 500 lux threshold.
The Dual-Channel Strategy: D65 Bias vs. Dynamic Ambient
Many remote workers mistakenly connect all their office lights to a single circadian schedule. Shifting your monitor bias lighting to warm color temperatures during work hours causes severe eye strain.
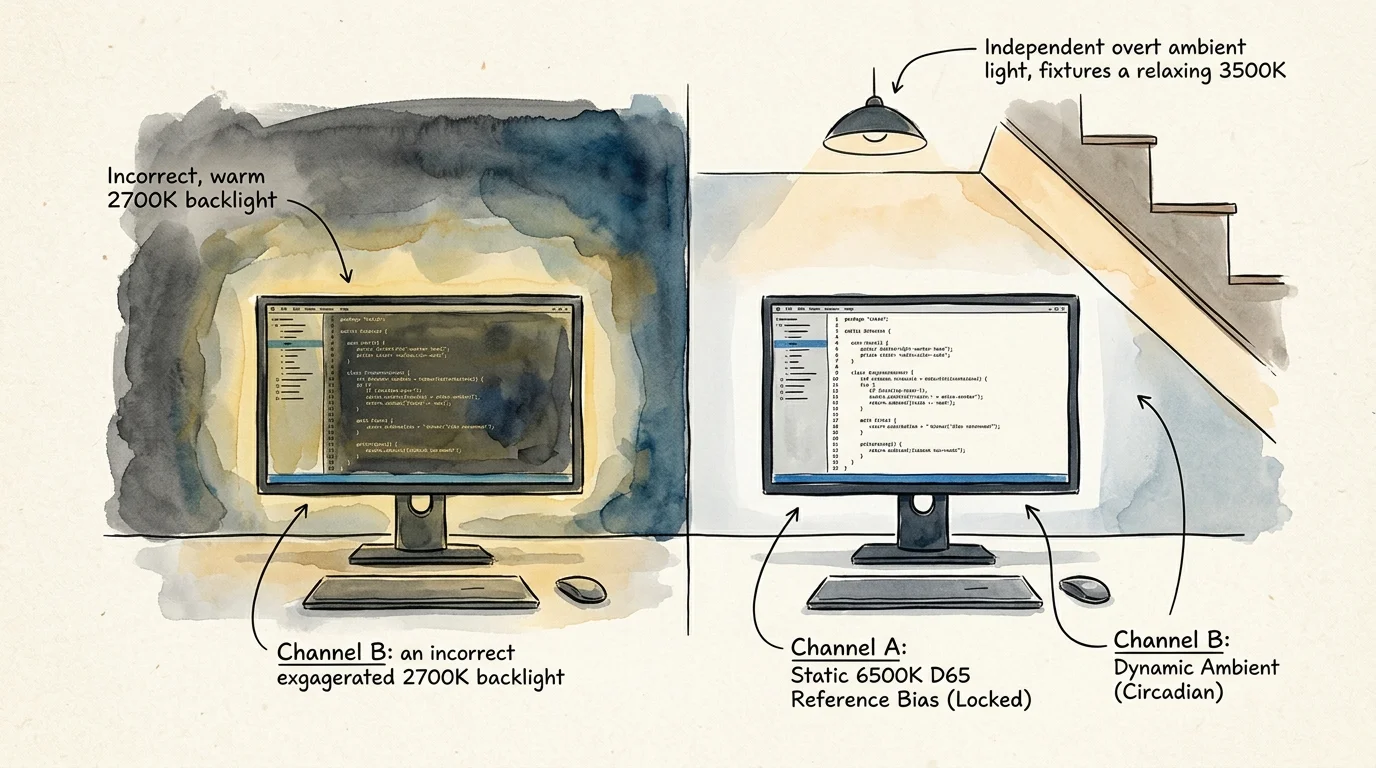
Your computer displays are factory-calibrated to a standard 6500K white point (D65). When you place a 2700K or 3000K warm-white light directly behind a 6500K monitor, your brain struggles to resolve conflicting white points.
This color discordance warps your perceptual color constancy; gray code windows appear tinted, and text legibility decreases sharply.
The Imaging Science Foundation establishes that bias lighting must remain locked at 6500K with a minimum 90 CRI to preserve reference perceptual contrast.
The solution is an intentional dual-channel lighting topology:
- Channel A (Static Reference Bias): Dedicated 6500K D65 bias strips mounted behind dual monitors, adjusted purely for brightness without altering spectral temperature.
- Channel B (Dynamic Circadian Ambient): High-CRI smart ambient fixtures aimed at the ceiling and perimeter, transitioning from cool, alert white to warm amber throughout the day.
According to the Society of Motion Picture and Television Engineers (SMPTE), bias luminance should measure approximately 10% of your monitor’s peak white output.
If your displays put out 150 nits in an IDE editor, the bias wash reflecting off the rear wall should register around 15 nits. This softens the luminance transition between your monitors and the back wall.
Hardware Selection: CRI Ratings and Ecosystem Protocols
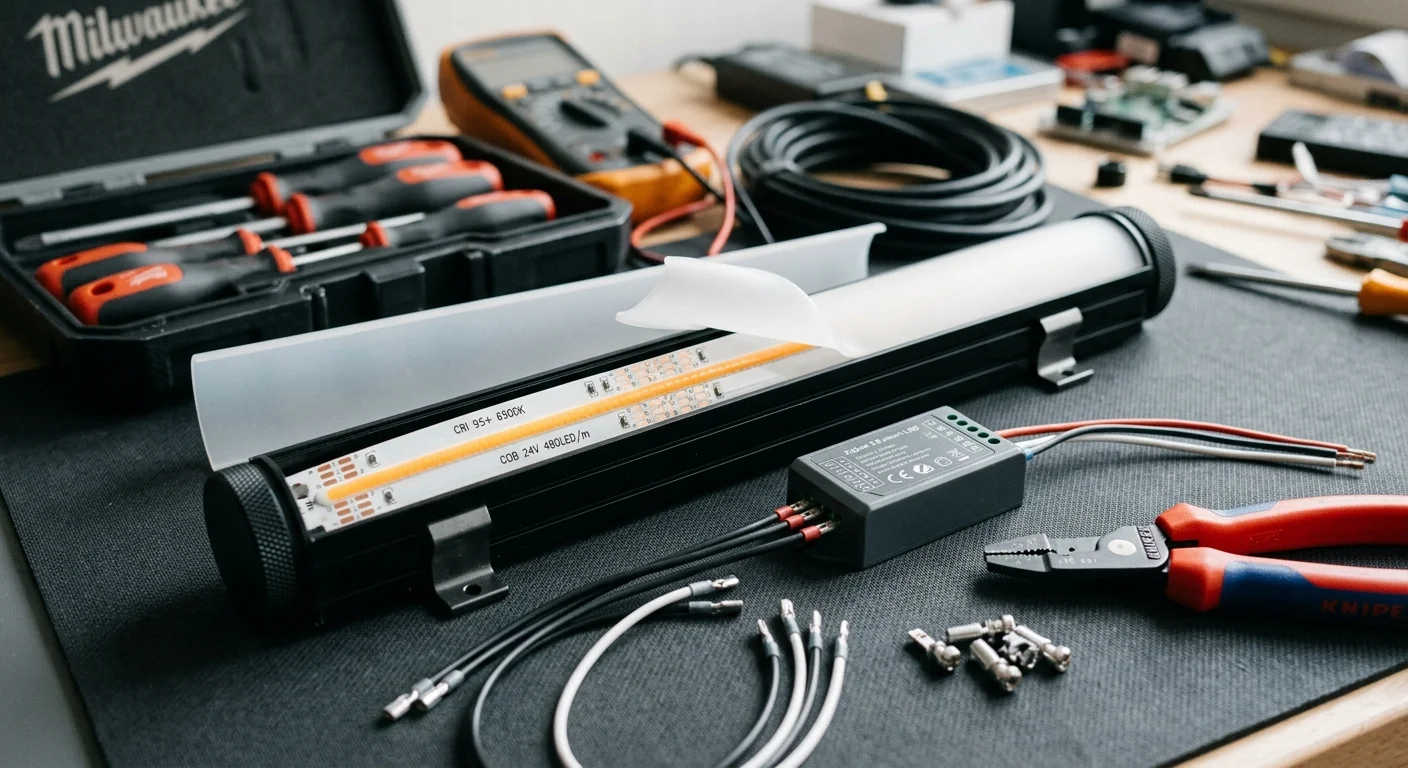
High Color Rendering Index (CRI) values matter immensely in windowless environments. Typical smart bulbs produce low CRI values around 80 Ra, which lack red spectral energy (R9 < 5).
Under low-CRI light, skin tones look lifeless, fatigue sets in faster, and paper notes lose clarity. The WELL v2 building standard Feature L07 mandates lighting with CRI Ra ≥ 90 and R9 > 50 for productive work environments.
When selecting smart bulbs, prioritize hardware running on local wireless standards like Thread or Zigbee. Cloud-dependent Wi-Fi bulbs frequently drop offline in steel-reinforced basement foundations.
According to testing standards outlined by the Matter Smart Home Standard, Thread-enabled hardware forms a self-healing local mesh network. This ensures zero latency when coordinating complex lighting transitions.
| Device | Color Temp Range | CRI Rating | Protocol | Typical Price |
|---|---|---|---|---|
| MediaLight LX1 Strip | 6500K Fixed (D65) | 95 Ra (R9 > 90) | USB / RF / PWM | $18 – $25 |
| Nanoleaf Essentials A19 | 2700K – 6500K | ≥ 90 Ra | Matter over Thread | $19.99 |
| Philips Hue White & Color | 2000K – 6500K | 80 – 82 Ra | Zigbee / Matter | $50 – $65 |
| Wyze Bulb Color | 1800K – 6500K | 90 Ra | Wi-Fi (2.4 GHz) | $15 |
For your monitor bias illumination, run a certified reference strip like the MediaLight LX1. Its 95 Ra rating eliminates spectral banding behind displays.
For ambient bounce lighting, use Nanoleaf Essentials Matter bulbs over Thread. They hit the critical 90 CRI mark at a fraction of the cost of standard smart bulbs.
Photometric Targets: Lux, Kelvin, and Melanopic Ratios
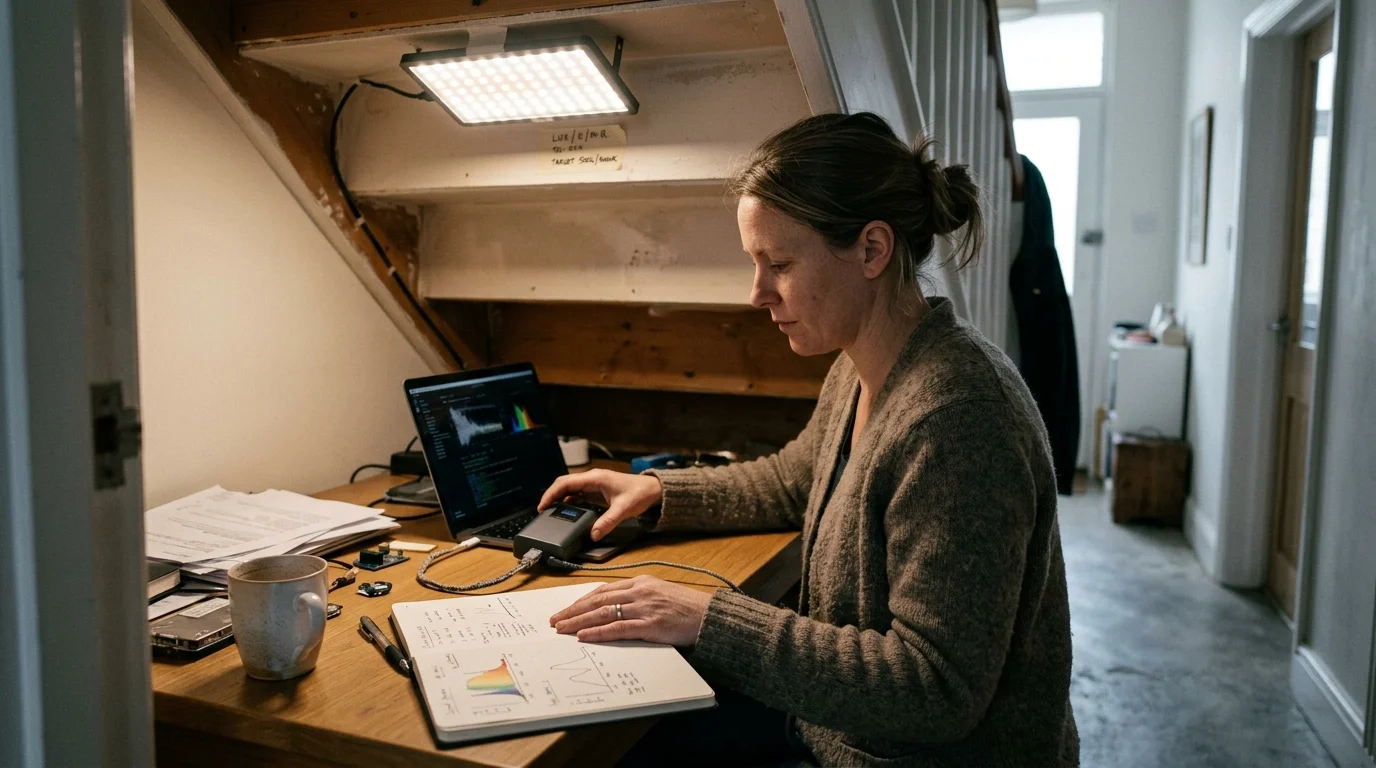
Sunlight provides biological timing cues through intrinsically photosensitive retinal ganglion cells (ipRGCs). In an under-stair basement, you must synthesize these physiological triggers artificially.
The WELL v2 Standard Feature L03 requires workstations without daylight to hit at least 150 Equivalent Melanopic Lux (EML). Alternatively, you need 136 Melanopic Equivalent Daylight Illuminance (m-EDI D65).
You must measure this vertical illuminance at normal eye level—approximately 18 inches above your desk pad—for at least four hours before noon.
UL Design Guideline 24480 further specifies maintaining a Circadian Stimulus (CS) value of 0.3 or higher during the morning session. This target suppresses daytime melatonin synthesis and improves mental alertness.
Hitting these physiological targets in a 65-square-foot alcove requires careful calibration. Blindly raising brightness creates harsh hot spots across low ceilings.
- 09:00 – 12:00 (Melanopic Alert Peak): Ambient Kelvin set to 5000K to 5500K. Vertical illuminance at the eye must hit 400 to 450 lux, producing CS ≥ 0.3.
- 12:00 – 16:00 (Cognitive Plateau): Ambient Kelvin lowered to 4000K. Eye-level illuminance dialed to 300 to 350 lux to sustain task focus without optical fatigue.
- 16:00 – 19:00 (Pre-Evening Wind-Down): Ambient Kelvin reduced to 2700K. Ambient illuminance dropped to 150 lux while a directed desk bar maintains 300 lux on your keyboard.
You can verify these values using an entry-level digital lux meter placed vertically against your monitor bezel.
Worked Setup Example: The 65-Square-Foot Under-Stair Build
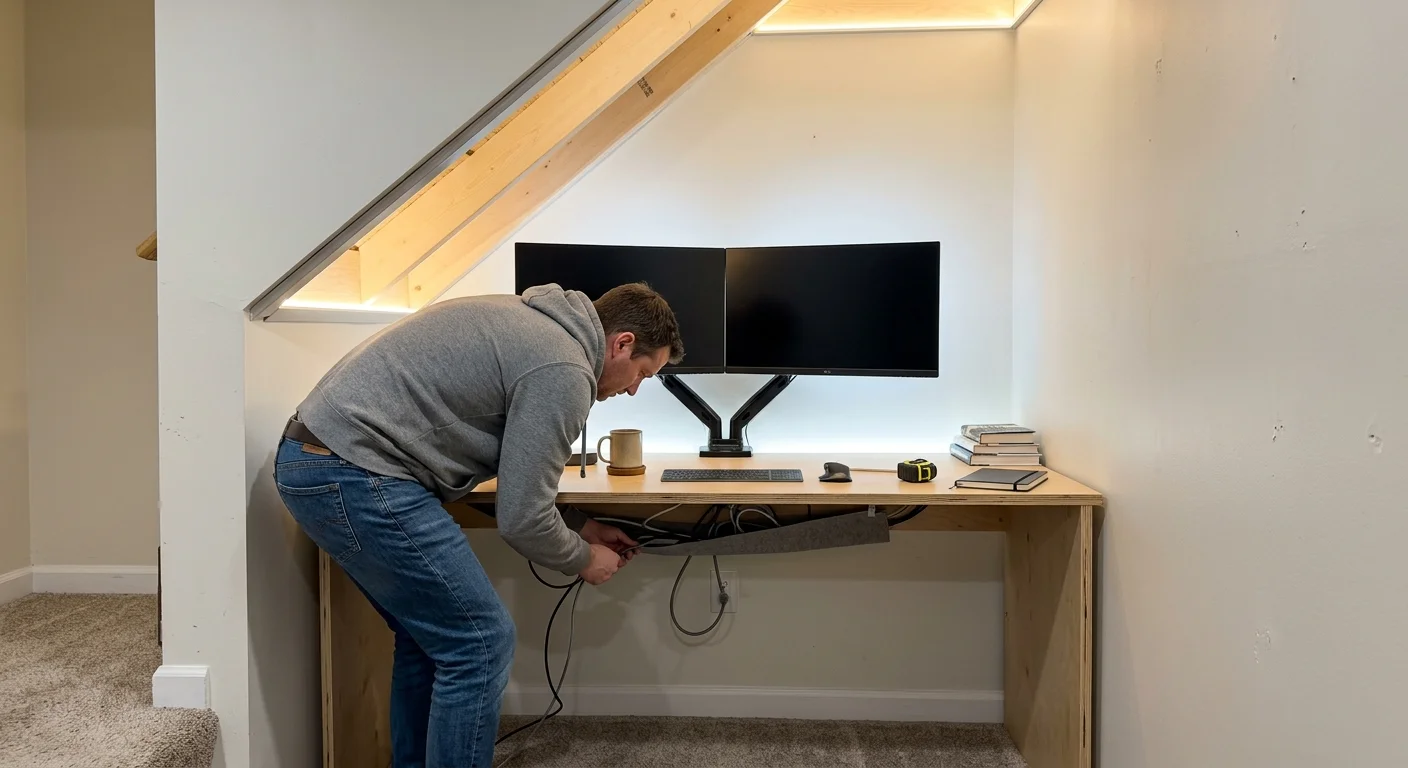
Consider a practical basement workspace layout: 6.5 feet wide by 10 feet deep under a central staircase. The drywall ceiling slopes downward from 8.5 feet at the entrance to 4.5 feet behind the monitors.
The desk holds two 27-inch 4K screens mounted on an articulating arm. The walls feature standard builder-grade flat drywall with a 60% Light Reflectance Value (LRV).
Outfitting this specific space with balanced illumination requires precise equipment and hardware placement:
- Bias Channel: Two 1.4-meter MediaLight LX1 6500K LED strips mounted around the rear perimeter of both displays ($36 total).
- Upward Ambient Channel: Two Nanoleaf Essentials Matter A19 bulbs fitted into floor-standing uplight canisters bounced against the high ceiling entry ($40 total).
- Task Channel: One BenQ or Quntis high-CRI monitor light bar directed straight down onto your work mat ($45 to $110).
- Control Bridge: An Apple HomePod Mini or Home Assistant Green hub acting as a Thread Border Router ($60 to $100).
Begin hardware installation by mounting the bias strips 2 inches inward from display edges. This inset hides individual emitter nodes while casting a smooth gradient onto the rear wall.
Power the bias strips via USB ports that activate when your workstation turns on. Use an inline dimmer to trim strip luminance to precisely 10% of monitor brightness.
Next, position your uplight canisters behind your office chair, aimed directly at the highest ceiling point. Bouncing light from behind spreads soft, diffuse ambient photons across the alcove without splashing glare across your screens.
For independent equipment reviews, consult the Wirecutter Smart Home lab evaluations to identify reliable Thread border routers.
Step-by-Step Automation Blueprint: 9 AM to 7 PM
Automating your lighting transition prevents you from working under static midday glare into the evening. You can build these routines using Home Assistant or Apple Home automations.
Program your controller to adjust brightness and color temperature dynamically across your workday:
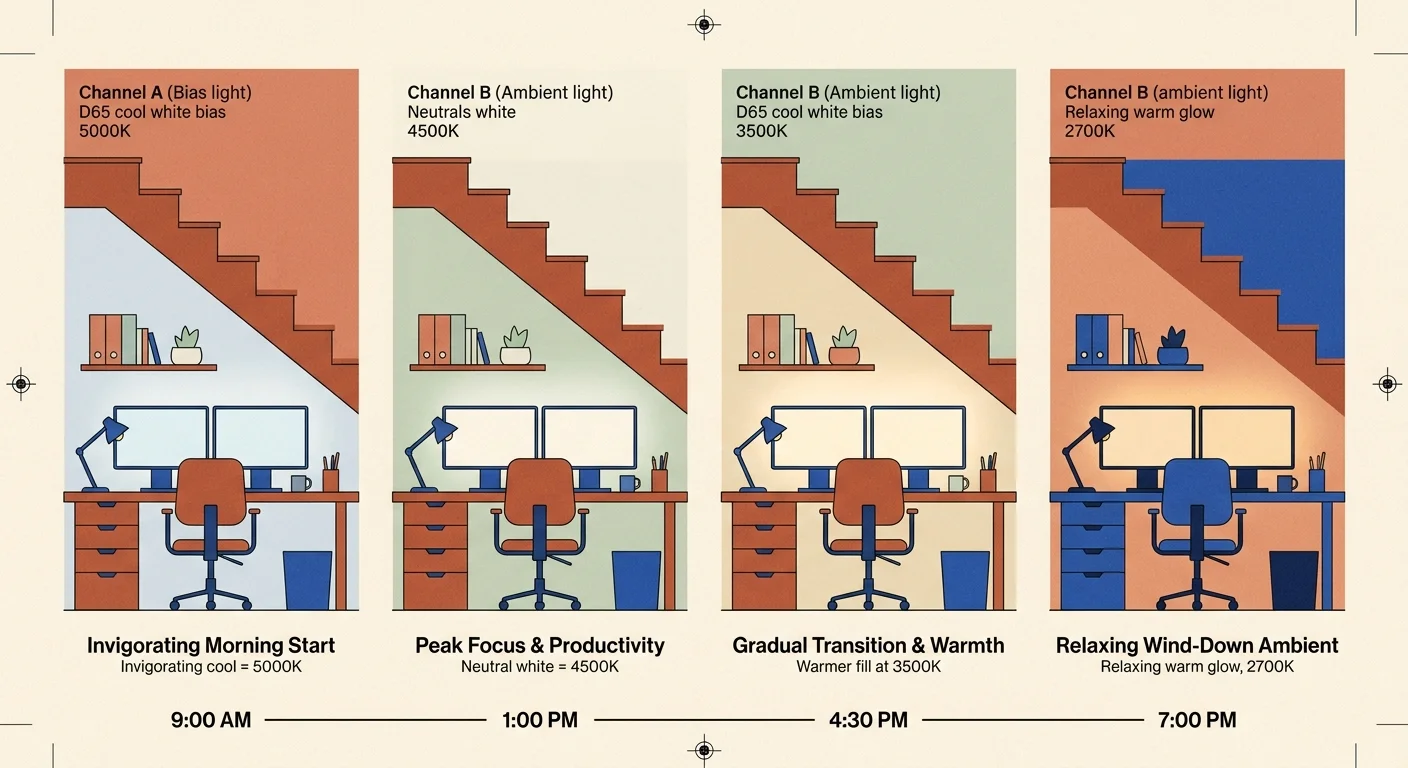
- 08:45 AM (Workday Initiation): Ambient uplights ignite at 4500K at 60% brightness. Bias strips power on at 10% monitor luminance to establish baseline contrast.
- 09:00 AM – 11:30 AM (Circadian Entrainment): Uplights ramp over 30 minutes to 5300K at 85% brightness. This delivers 420 vertical lux to your eye position, hitting the target CS ≥ 0.3 threshold.
- 01:30 PM (Midday Transition): Uplights shift down to 4000K and 65% brightness. This reduces visual intensity while your screens remain your primary visual focus.
- 04:30 PM (Evening Roll-Off): Uplights drop down to 3200K at 40% output. The desk task bar stays at 300 lux, providing clear desktop focus while relaxing the surrounding alcove.
- 06:30 PM (Shift Completion Warning): Uplights transition to 2700K at 25% output. Bias strips remain locked at 6500K, signaling the end of your computing day.
- 07:00 PM (Hard Cutoff): All ambient fixtures fade to zero over two minutes. Desk accessories switch off entirely.
Automating these light transitions ensures your windowless basement supports your body’s natural circadian rhythms throughout the day.
Eliminating Screen Reflections and Beam Collisions
Sloped ceilings under stairs cause unexpected beam bounces. An uplight aimed into a 45-degree drywall stair wedge often reflects directly down onto dual glossy monitors.
To eliminate reflections, position yourself at your desk and turn your monitors off. Run an unlit flashlight across the ceiling directly above and behind you.
If you spot the bulb’s reflection in your dark screens, that fixture angle creates glare. Reposition your uplights so photons hit the ceiling plane ahead of your displays, bouncing light away from your eyes.
Watch out for light leakage from downward-pointing task bars. Keep your desk bar’s asymmetric visor angled slightly forward to illuminate your keyboard without washing across display panels.
Frequently Asked Questions
Why can’t I use a warm 2700K bias light behind my coding screens?
Displays use a 6500K white point (D65). Placing a 2700K warm background directly behind them creates optical chromatic conflict, making your text look muddy and causing rapid visual fatigue.
Do I need an expensive lux meter to calibrate an under-stair office?
No, calibrated smartphone apps like the Diffuser-equipped Photone app offer sufficient accuracy. You can reliably confirm whether your desk achieves the target 300 to 500 lux range.
Will high-output circadian lighting cause excessive heat in a 65-square-foot room?
High-efficiency LED bulbs run cool. Two A19 LED bulbs and a bias strip consume less than 28 watts total, generating negligible heat in an enclosed workspace.
Can I use RGB light strips for circadian baseline lighting?
No, standard RGB strips produce fragmented spectral spikes with poor CRI ratings below 70 Ra. Stick with dedicated tunable white or RGBCW emitters that specify CRI ≥ 90.
Disclaimer: This article is for informational purposes only. Smart home devices involve electrical connections and data privacy. Always follow manufacturer instructions for installation. For complex wiring or HVAC work, consult a licensed professional.
1 Comment