Achieving consistent and comfortable temperatures throughout your home often feels like a challenge. You might find one room too hot while another remains chilly. Smart thermostat room sensors offer a powerful solution to this common problem, moving beyond the single-point temperature reading of your main thermostat.
These small, discreet devices extend your smart thermostat’s reach, gathering crucial data from various areas of your home. By understanding how to effectively deploy and configure them, you unlock precise temperature control, enhanced comfort, and significant energy savings. This guide helps you navigate the world of room sensors, ensuring your smart home operates at peak efficiency and comfort.
Understanding Smart Thermostat Room Sensors
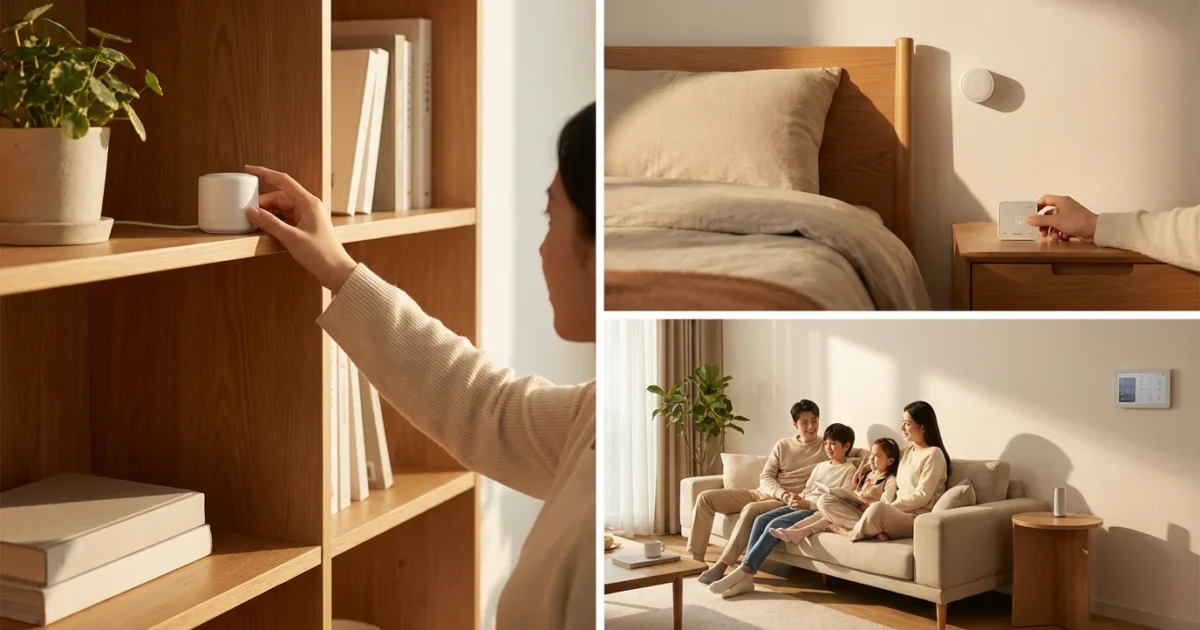
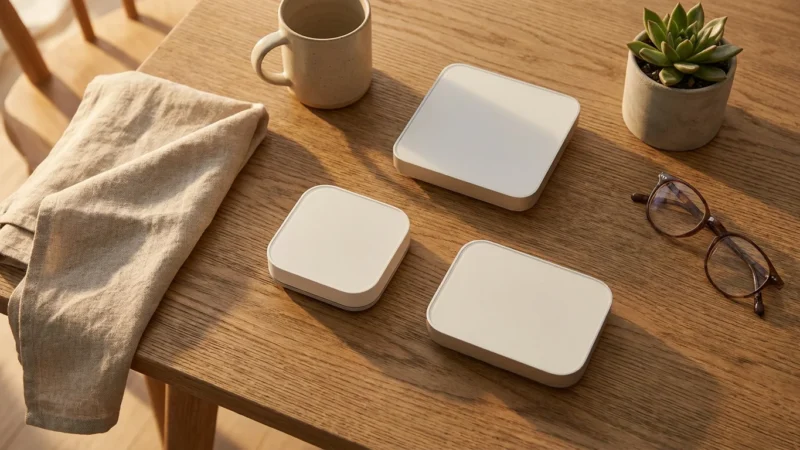
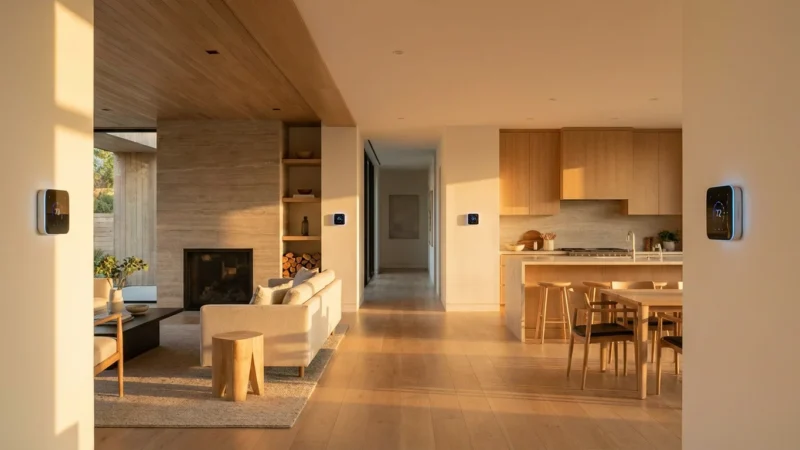
Smart thermostat room sensors are compact devices designed to communicate with your central smart thermostat. They gather real-time temperature data from specific areas of your home. Some advanced room sensors, like certain Ecobee sensors, also detect occupancy, adding another layer of intelligence to your climate control.
Your traditional thermostat typically measures the temperature only at its mounting location, often in a hallway. This single reading may not accurately reflect the temperature in your living room, bedroom, or home office. This discrepancy leads to hot and cold spots, forcing you to constantly adjust your thermostat. Room sensors solve this problem by providing a more comprehensive view of your home’s thermal environment.
How Room Sensors Work
Room sensors connect wirelessly to your smart thermostat, usually via a low-power wireless protocol like Zigbee or Bluetooth Low Energy. They transmit temperature readings at regular intervals. Your smart thermostat then uses this aggregated data to make more informed decisions about heating and cooling your home.
Here are the key functions of room sensors:
- Temperature Sensing: They accurately measure the ambient temperature in their immediate vicinity.
- Occupancy Detection: Many sensors include passive infrared (PIR) motion detectors, identifying when a room is occupied. This feature helps your thermostat prioritize heating or cooling in active areas.
- Humidity Sensing: Some premium sensors also measure humidity levels, allowing for more holistic climate control, especially when integrated with dehumidifiers or humidifiers.
This multi-faceted data collection provides your smart thermostat with a much richer understanding of your home’s environment. You move beyond a single thermometer reading, gaining true zonal intelligence.
Why Room Sensors Matter for Home Comfort and Efficiency
Room sensors significantly elevate your home’s comfort and energy efficiency. They eliminate the guesswork involved in maintaining a pleasant indoor climate. You experience fewer temperature fluctuations and a more consistent environment.
Enhanced Comfort
Imagine your bedroom consistently reaching your desired temperature without overcooling or overheating the rest of the house. Room sensors make this possible. Your smart thermostat now knows the actual temperature in the spaces you use most. It prioritizes comfort in occupied rooms, ensuring you feel comfortable where you spend your time. This means no more waking up too warm or shivering in your home office.
Increased Energy Savings
Heating and cooling represent the largest portion of most household utility bills. Room sensors help reduce this cost by allowing your HVAC system to operate more intelligently. You avoid heating or cooling unoccupied rooms unnecessarily. Energy Star, a program by the U.S. Environmental Protection Agency, consistently highlights smart thermostats as a key tool for energy savings, with room sensors amplifying these benefits. You can find more information on smart thermostat energy savings on the Energy Star Smart Thermostats website.
Consider these ways sensors save energy:
- Targeted Heating/Cooling: The system only works to reach the set temperature in rooms currently in use or those designated as priority.
- Reduced Waste: You stop adjusting the thermostat based on inaccurate readings from a single location.
- Optimized HVAC Cycles: Your system runs less frequently when it detects no one home, or only in specific areas when it detects occupancy.
This translates directly into lower energy consumption and reduced utility costs.
Choosing the Right Smart Thermostat with Sensor Capabilities
Many popular smart thermostats offer compatible room sensors. When selecting your system, evaluate which thermostats integrate seamlessly with sensors and meet your specific needs. Look for systems that offer both temperature and occupancy detection for maximum benefit.
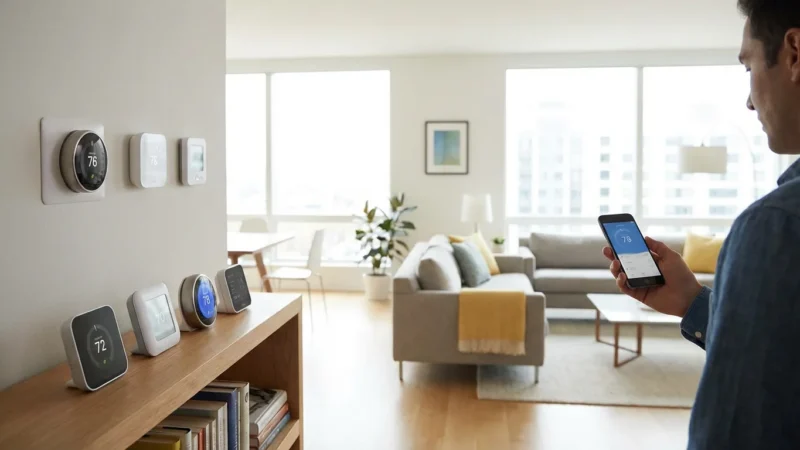
Leading Smart Thermostat Brands
- Ecobee: Ecobee thermostats, like the Ecobee Smart Thermostat Premium, are well-known for their robust room sensor integration. Ecobee sensors monitor both temperature and occupancy. You can designate specific sensors to average temperatures or prioritize a single sensor’s reading during scheduled periods. This makes Ecobee sensors a top choice for comprehensive temperature management.
- Nest: Google Nest thermostats, such as the Nest Learning Thermostat, also offer compatible Nest Temperature Sensors. These sensors primarily focus on temperature readings. You can assign them to specific rooms and create schedules for prioritizing temperature control in those areas. While they do not include occupancy detection, they still provide valuable data points for multi-room temperature balancing.
- Honeywell Home: Honeywell Home offers various smart thermostats with optional remote room sensors. Their T Series thermostats often support wireless sensors. These systems provide reliable temperature monitoring for improved comfort across zones.
When comparing options, consider the number of sensors you can connect, the sensor’s battery life, and any additional features like humidity sensing. Also, check for geofencing capabilities in your chosen smart thermostat. Geofencing automatically adjusts your home’s temperature based on your proximity, adding another layer of efficiency when combined with room sensors.
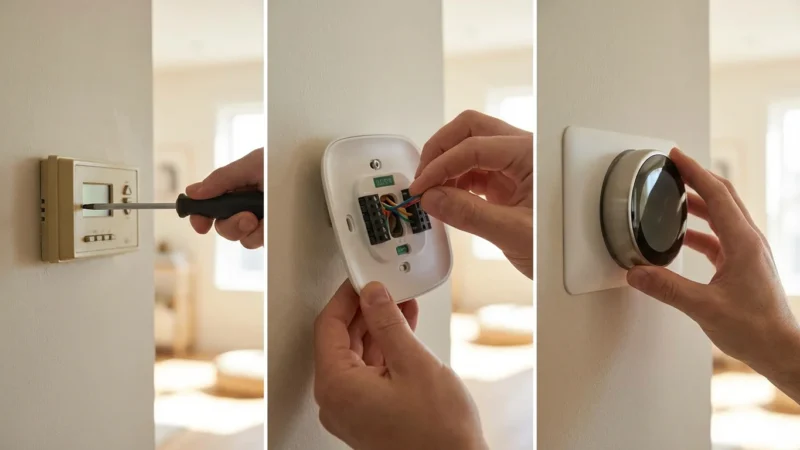
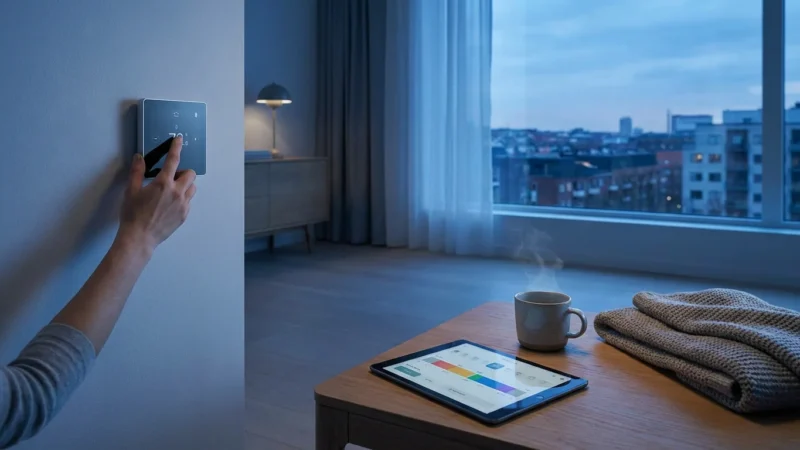
Installation and Compatibility Considerations
Installing room sensors is generally straightforward. Most sensors are battery-powered and mount to a wall or sit on a shelf. Connecting them to your smart thermostat usually involves a simple pairing process through the thermostat’s interface or companion app.
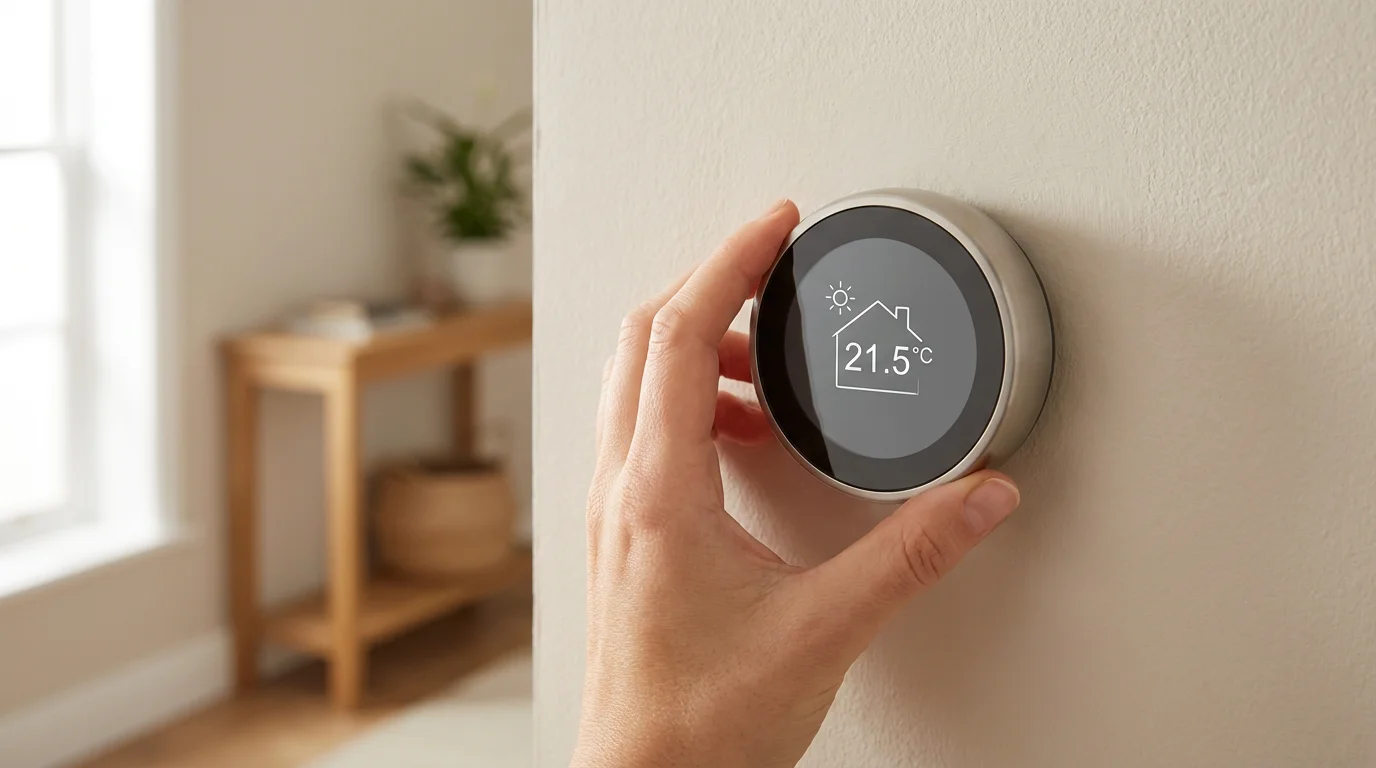
Your smart thermostat itself requires proper installation, often involving a C-wire. The C-wire provides continuous power to the thermostat, essential for powering Wi-Fi and other smart features. If your existing wiring lacks a C-wire, you might need an adapter or professional installation. This is a critical step for ensuring the reliable operation of your entire smart thermostat and sensor ecosystem. Always refer to your thermostat’s specific installation guide and consult a licensed HVAC professional for complex wiring questions.
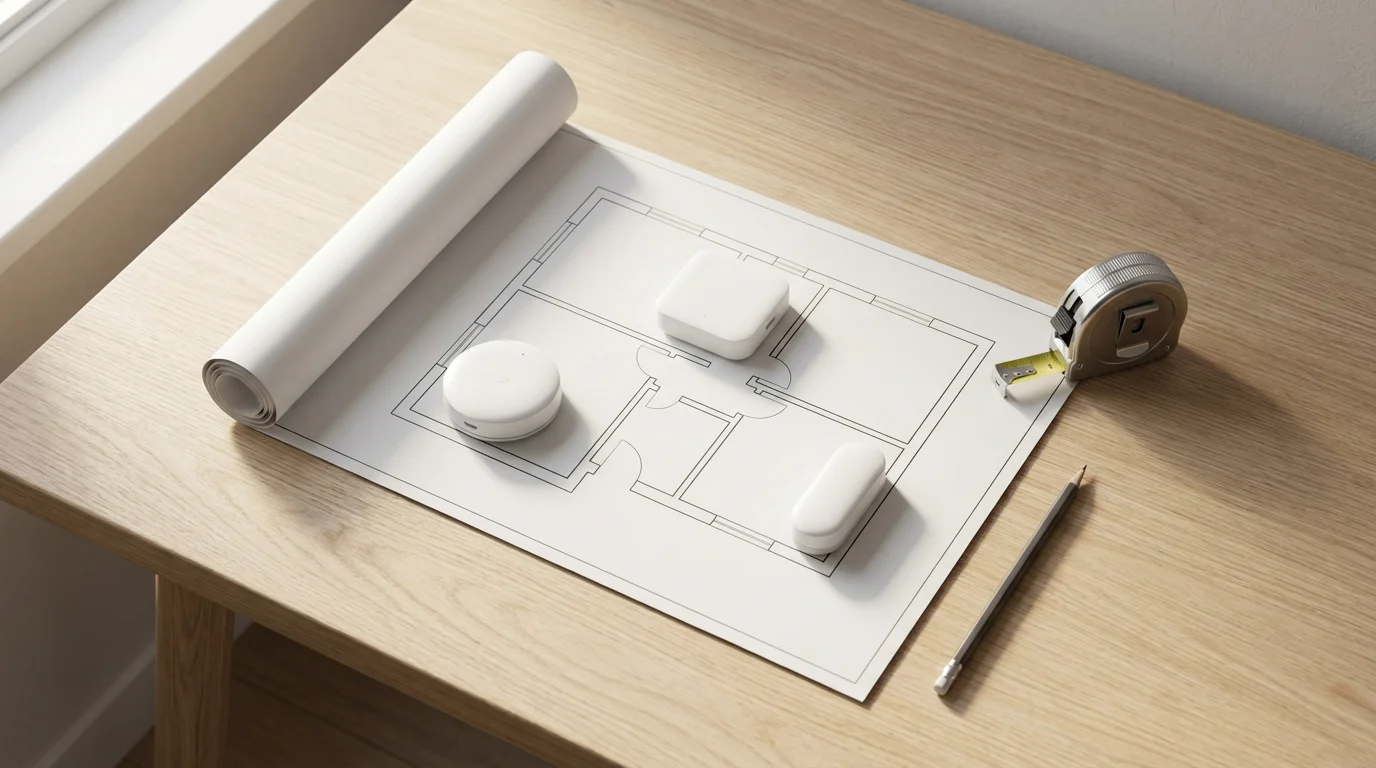
Optimal Placement for Your Room Sensors
The effectiveness of your room sensors hinges on their placement. Strategic positioning ensures they gather accurate data, translating into better temperature control and energy savings. Avoid common mistakes that can skew readings.
Where to Place Your Sensors
Focus on the rooms you use most frequently. These are your priority zones for comfort.
Consider these ideal locations:
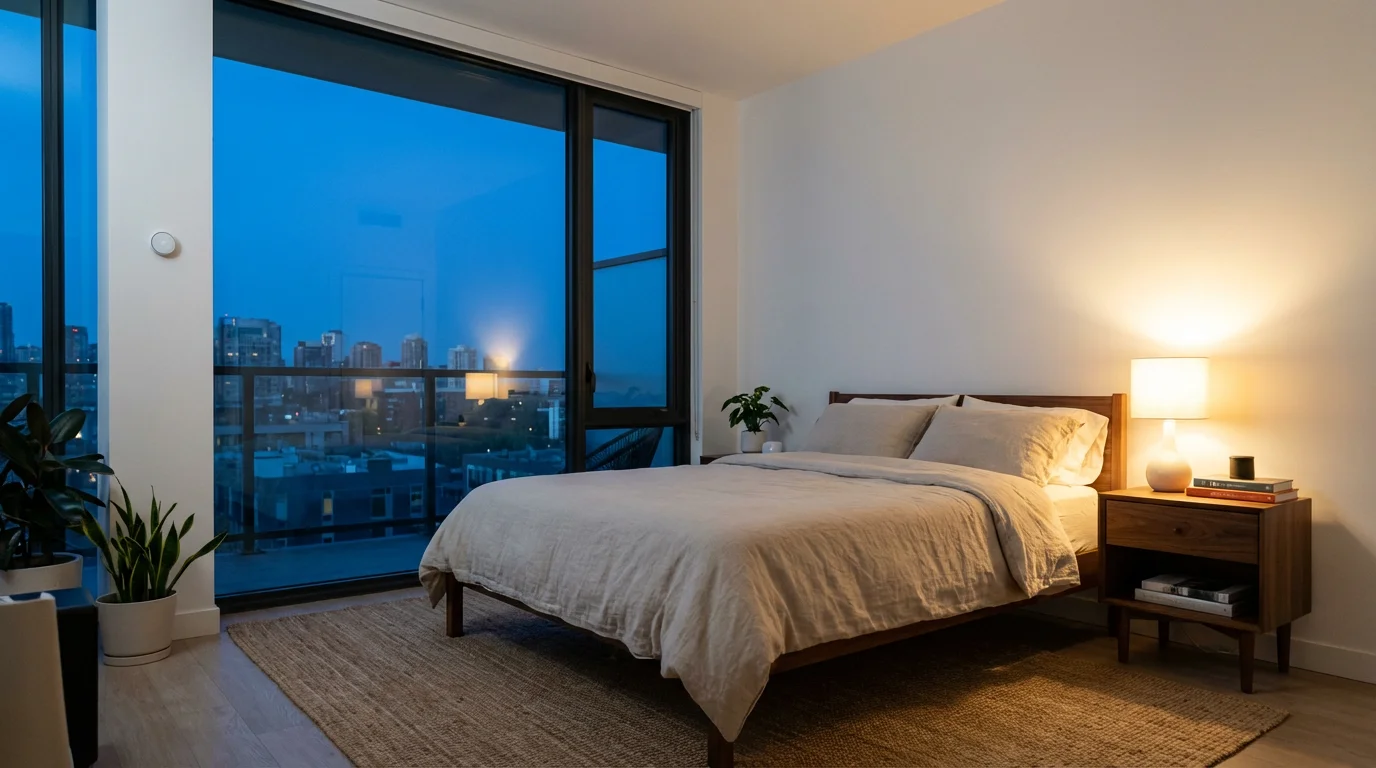
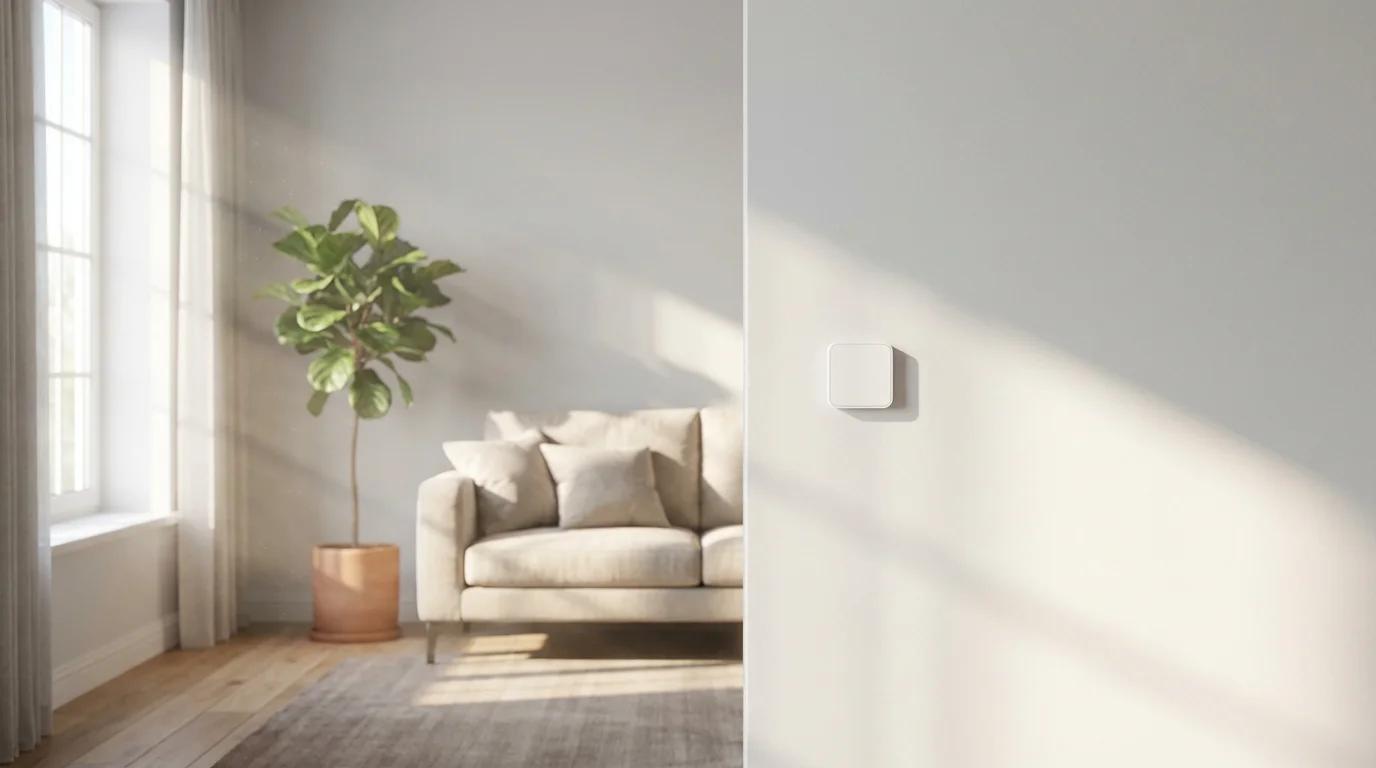
- Main Living Areas: Place a sensor in your living room or family room. This ensures your primary gathering space maintains a comfortable temperature.
- Bedrooms: Each occupied bedroom benefits from its own sensor. This allows for personalized comfort while you sleep.
- Home Office or Workspace: If you work from home, a sensor in your office guarantees a productive and comfortable environment during work hours.
- Rooms with Significant Temperature Differences: Identify any rooms consistently colder or warmer than the rest of the house, like a sunroom or a basement den. A sensor here helps balance the overall temperature.
Mount sensors on an interior wall, ideally at eye level (around 4-5 feet from the floor). This height provides an average room temperature reading, away from floor-level drafts or ceiling heat.
Where to Avoid Placing Your Sensors
Incorrect placement can provide misleading data, negating the benefits of your sensors.
Avoid these locations:
- Direct Sunlight: Sunlight heats the sensor itself, causing it to report a higher temperature than the actual room air.
- Near Windows or Doors: Drafts from windows or exterior doors skew temperature readings, leading to unnecessary heating or cooling.
- Above or Near Heat Sources: Avoid placing sensors above radiators, near heat registers, or close to electronics that generate heat, such as televisions or computers. These sources artificially inflate the sensor’s reading.
- Near HVAC Vents: The immediate air blowing from a vent does not represent the room’s average temperature.
- Inside Closets or Behind Furniture: Obstructions block airflow and limit accurate temperature measurement.
- Near your Main Thermostat: Placing a sensor too close to your main thermostat provides redundant data and offers no additional benefit.
Think of each sensor as an eye for your thermostat. You want those eyes to see a clear, representative picture of the room’s temperature, not distorted views.
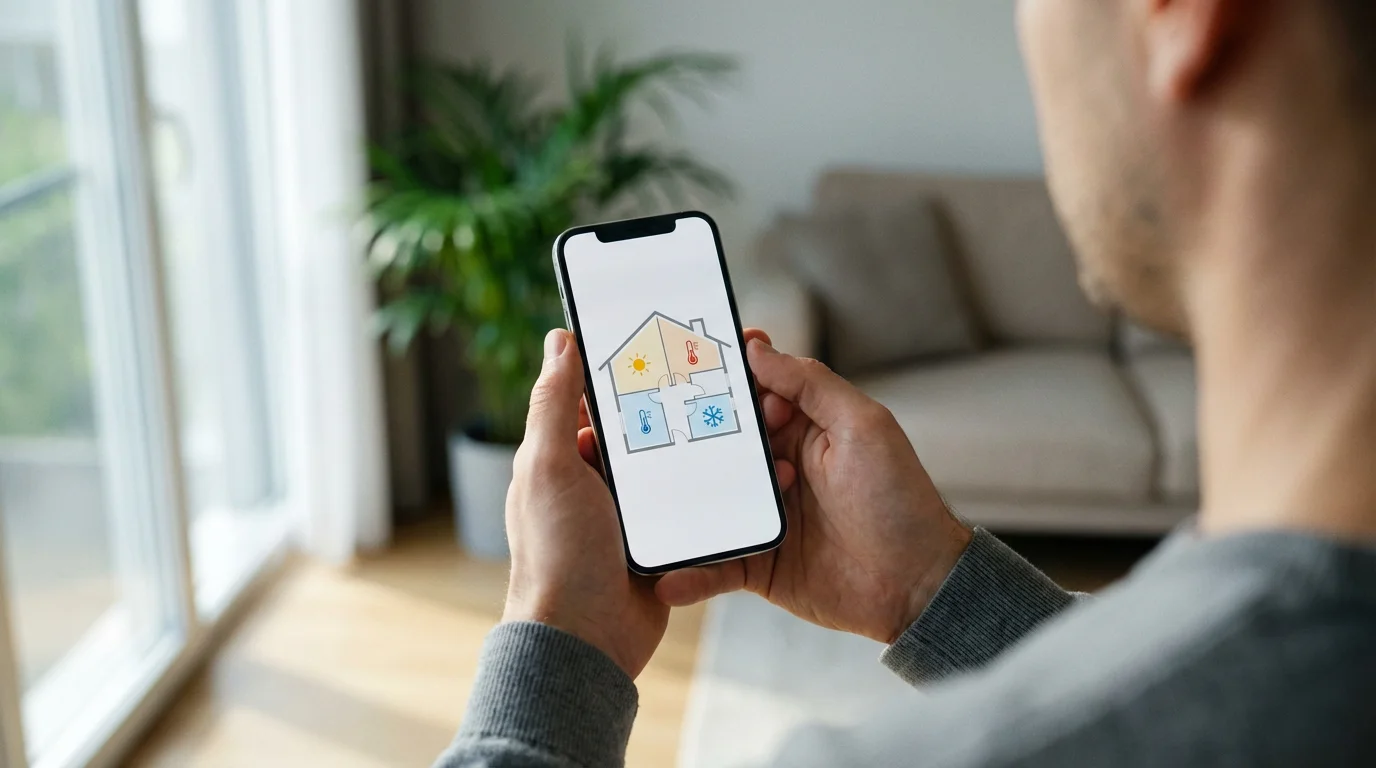
Configuring Your Sensors for Smart Temperature Control
Once you have installed and strategically placed your room sensors, the next crucial step involves configuring them within your smart thermostat’s app. This process allows you to define how your thermostat uses the data from each sensor. Each smart thermostat brand offers a slightly different interface, but the core principles remain consistent.
Step-by-Step Configuration Guide
Follow these general steps to configure your room sensors:
- Pair Sensors with Your Thermostat: Open your smart thermostat’s mobile app or navigate to the settings on the thermostat itself. Look for an option to “Add Sensor” or “Manage Sensors.” Follow the on-screen prompts, which usually involve pulling a battery tab or pressing a button on the sensor to initiate pairing.
- Name Your Sensors: Assign a descriptive name to each sensor, such as “Living Room,” “Master Bedroom,” or “Home Office.” This helps you easily identify them within the app.
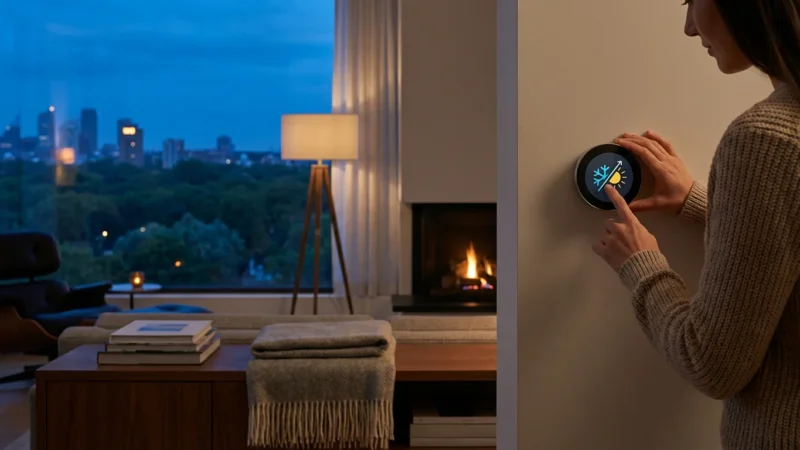
- Create Schedules and Comfort Settings: Access your thermostat’s scheduling features. Here, you define specific comfort profiles for different times of the day or week. This is where room sensors truly shine.
- Assign Sensors to Comfort Settings: For each comfort setting (e.g., “Sleep,” “Away,” “Home,” “Work”), select which sensors your thermostat should prioritize.
For example, during your “Sleep” schedule, you might configure your Ecobee sensors to only consider the temperature in the master bedroom. During your “Home” schedule, you might average the temperatures from the living room, kitchen, and any occupied bedrooms.
“The best smart home is the one you don’t have to manage. Room sensors help your thermostat disappear into the background, working silently for your comfort.”
Understanding Sensor Prioritization
Smart thermostats typically offer different ways to utilize sensor data:
- Average Temperature: The thermostat averages the readings from all selected sensors, aiming for a consistent temperature across those rooms. This works well for general “Home” or “Away” settings.
- Follow Me/Occupancy Based: Sensors with occupancy detection (like Ecobee sensors) can tell your thermostat to prioritize the temperature in rooms where it detects motion. If you move from the living room to the office, the thermostat shifts its focus to the office’s temperature.
- Specific Sensor Priority: You can explicitly tell your thermostat to only consider a single sensor’s reading during a particular schedule. This is ideal for night settings where you only care about your bedroom’s temperature.
Experiment with these settings to find what works best for your home and lifestyle. Adjusting priorities based on daily routines maximizes both comfort and energy savings.

Advanced Strategies and Automation with Room Sensors
Beyond basic temperature control, room sensors unlock powerful automation possibilities, integrating with other smart home devices. You can create intricate routines that respond to occupancy, temperature, and your personal preferences. These advanced strategies elevate your smart home experience.
Integrating with Smart Vents
Smart vents represent an excellent pairing for room sensors. Devices like Keen Home Smart Vents or Flair Pucks work with certain smart thermostats (often Ecobee or Nest) to provide true zonal heating and cooling.
When a room sensor identifies a specific room as too warm or too cool, and you designate that room as a priority, the smart vents in that room can adjust. They can open or close to direct conditioned air precisely where it is needed. This fine-tuned control dramatically reduces hot and cold spots, enhancing comfort and efficiency.
Imagine this automation:
- Scenario: Your Ecobee sensor detects occupancy in your home office and reports a temperature of 74°F, while your thermostat is set to 70°F.
- Automation: Your smart thermostat, in conjunction with your smart vent system, instructs the vent in the office to open fully. Vents in unoccupied or already comfortable rooms partially close. This directs more cool air into the office until it reaches the desired 70°F, without overcooling other areas.
This level of intelligent air distribution provides unparalleled climate precision.
Automating Lighting and Fans
Many occupancy-detecting room sensors offer capabilities beyond just temperature. You can often use their motion detection to trigger other smart home actions.
Consider these examples:
- Automated Lighting: When your living room sensor detects motion after sunset, your smart lights can automatically turn on to a comfortable brightness. The lights then turn off after a set period of no occupancy.
- Smart Fan Control: If a room sensor detects both high temperature and occupancy, it can trigger a smart ceiling fan to turn on. This helps circulate air and improve comfort before your HVAC system even needs to activate, potentially saving energy.
These automations create a responsive and intuitive living environment. They make your home feel more connected and anticipate your needs.
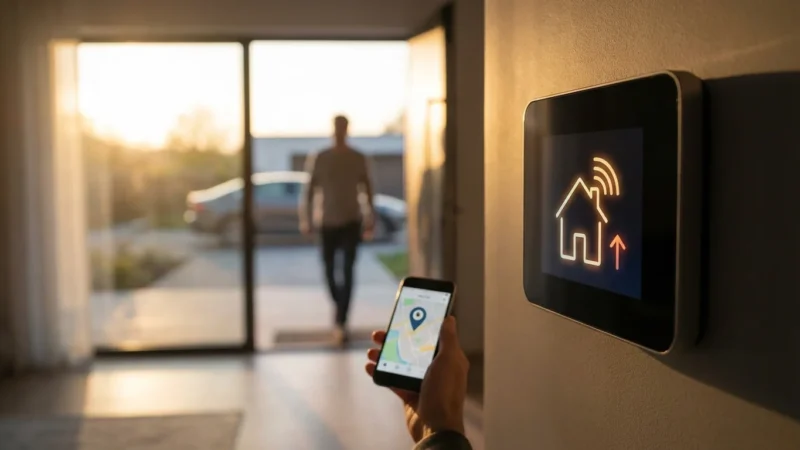
Geofencing and Away Modes
Combine your room sensors with your thermostat’s geofencing feature for maximum efficiency. Geofencing uses your smartphone’s location to determine if you are home or away.
Here’s how this integration works:
- Leaving Home: As you leave your home’s geofence, your thermostat automatically switches to an “Away” mode. In this mode, it might disregard all room sensors, setting a higher cooling or lower heating temperature to save energy.
- Returning Home: As you re-enter your geofence, your thermostat begins to pre-condition your home. It can then prioritize specific sensors, such as the living room or master bedroom, to ensure those areas are comfortable by the time you arrive.
This proactive approach ensures your home is comfortable precisely when you need it, avoiding wasted energy when no one is present.

Troubleshooting Common Sensor Issues
While room sensors generally provide reliable performance, you may occasionally encounter issues. Most problems are minor and easily resolved with a few simple troubleshooting steps. Addressing these issues promptly ensures your temperature control remains precise and effective.
Common Problems and Solutions
- Sensor Not Reporting Data:
- Check Battery: The most frequent cause is a dead battery. Replace the battery with a fresh one. Most sensors use standard coin-cell or AAA batteries.
- Range Issues: The sensor might be too far from your smart thermostat or a smart home hub. Try moving the sensor closer to the thermostat or a signal repeater.
- Interference: Other wireless devices, large metal objects, or thick walls can interfere with the signal. Relocate the sensor or the interfering device if possible.
- Re-pair Sensor: Sometimes, the connection simply drops. Try removing the sensor from your thermostat’s app and then re-pairing it.
- Inaccurate Temperature Readings:
- Improper Placement: Review the “Optimal Placement” section of this guide. Ensure the sensor is not in direct sunlight, near vents, or close to heat-generating electronics.
- Calibration (if available): Some advanced thermostats or sensors allow for minor temperature calibration within their app. Consult your specific device’s manual for this feature.
- Occupancy Detection Not Working:
- Blocked Sensor: Ensure no furniture or objects obstruct the sensor’s view, especially if it uses passive infrared (PIR) detection.
- Sensitivity Settings: Some apps allow you to adjust the occupancy sensor’s sensitivity. Increase it if the sensor misses motion.
- Delay Settings: Check if there’s a delay set for occupancy detection. The thermostat might wait a few minutes after detecting motion before changing the settings.
- Thermostat Not Prioritizing Sensors Correctly:
- Review Schedule Settings: Double-check your comfort settings and schedules within your thermostat’s app. Ensure you have selected the correct sensors to prioritize for each time block.
- Firmware Update: Ensure both your smart thermostat and sensors have the latest firmware installed. Manufacturers often release updates that improve performance and resolve bugs.
If you continue to experience persistent issues, consult your smart thermostat’s support documentation or contact customer service for your specific brand. They often provide model-specific troubleshooting steps and advanced diagnostics.
Maximizing Energy Savings with Sensor Data
Room sensors are not just about comfort; they are powerful tools for optimizing energy consumption. By effectively utilizing the data they collect, you can significantly reduce your heating and cooling costs. The key lies in intelligent scheduling, strategic prioritization, and understanding your home’s unique energy profile.
Leveraging Smart Scheduling
Your smart thermostat’s scheduling features, combined with room sensors, offer immense energy-saving potential.
- Occupancy-Based Schedules: Use occupancy-detecting sensors to ensure you only heat or cool rooms when they are in use. For example, set your thermostat to maintain a comfortable temperature in your home office during work hours, but allow other rooms to drift to a more energy-efficient temperature until they become occupied.
- Time-of-Use Prioritization: If your utility company offers time-of-use electricity rates, schedule your sensors to prioritize comfort in specific rooms during off-peak hours, allowing temperatures to relax in less important areas during expensive peak times.
- “Away” Mode Enhancement: Configure your “Away” mode to disengage all room sensors, letting your entire home shift to an energy-saving setback temperature. Only when occupancy is detected again, or you approach your home via geofencing, do the sensors become active, restoring comfort efficiently.
This proactive scheduling ensures you never waste energy conditioning empty spaces.
Monitoring Usage Data and Reports
Most smart thermostats provide detailed energy usage reports within their mobile apps. These reports offer valuable insights into your heating and cooling patterns.
- Identify Trends: Analyze how your HVAC system runs based on sensor data. You might notice certain rooms consistently require more heating or cooling, indicating areas for improvement, such as better insulation or sealing.
- Track Savings: Many apps provide estimated energy savings, often comparing your usage to similar homes or previous periods. This helps you quantify the benefits of your sensor setup.
- Optimize Settings: Use the data to fine-tune your comfort settings and schedules. If a room is consistently warmer than desired, even with a sensor, you might need to adjust your vent settings or consider smart vents.
Regularly reviewing these reports empowers you to make informed decisions that lead to greater energy efficiency and lower bills. Organizations like Consumer Reports Smart Home often publish guides on interpreting these energy reports to maximize savings.
Integration with Utility Rebate Programs
Many utility companies offer rebates or incentives for installing smart thermostats. These programs aim to encourage energy efficiency among consumers.
- Check Eligibility: Research if your local utility provides rebates for Energy Star certified smart thermostats. Often, the purchase of compatible room sensors also counts towards qualifying for these programs.
- Application Process: Follow your utility’s specific application process. This usually involves providing proof of purchase and installation.
Taking advantage of these rebates further reduces the upfront cost of your smart home investment, making the transition to sensor-driven temperature control even more appealing.
Frequently Asked Questions
Are room sensors compatible with all smart thermostats?
No, room sensors are typically brand-specific. For example, Ecobee sensors only work with Ecobee thermostats, and Nest Temperature Sensors only work with Google Nest thermostats. Always verify compatibility before purchasing.
How many room sensors do I need for my home?
The ideal number of sensors depends on your home’s size, layout, and how many rooms you want to actively monitor for comfort. Start by placing sensors in your most frequently used rooms, like living areas and bedrooms. Many users find 3-5 sensors sufficient for a typical home.
Do room sensors use Wi-Fi?
Most room sensors do not directly connect to your home Wi-Fi network. They typically use a low-power wireless protocol, such as Zigbee or Bluetooth Low Energy, to communicate directly with your smart thermostat. The thermostat then uses your home Wi-Fi to connect to the internet and its app.
How long do room sensor batteries last?
Battery life varies by brand and usage, but most room sensors use long-lasting batteries (e.g., coin-cell or AAA) that can last anywhere from 1-3 years. Your smart thermostat app usually provides low battery warnings.
Can I use room sensors to control different temperatures in different rooms simultaneously?
Yes, to an extent. Your central HVAC system can only heat or cool your entire home. However, room sensors allow your smart thermostat to prioritize specific rooms or average temperatures across selected rooms, making your home *feel* more zoned. For true multi-room temperature control with individual setpoints, you would need a multi-zone HVAC system combined with smart vents.
Disclaimer: This article is for informational purposes only. Smart home devices involve electrical connections and data privacy. Always follow manufacturer instructions for installation. For complex wiring or HVAC work, consult a licensed professional.
Before diving into specific models, you might want to see how the top brands compare in our guide on Nest vs Ecobee vs Honeywell.

Leave a Reply