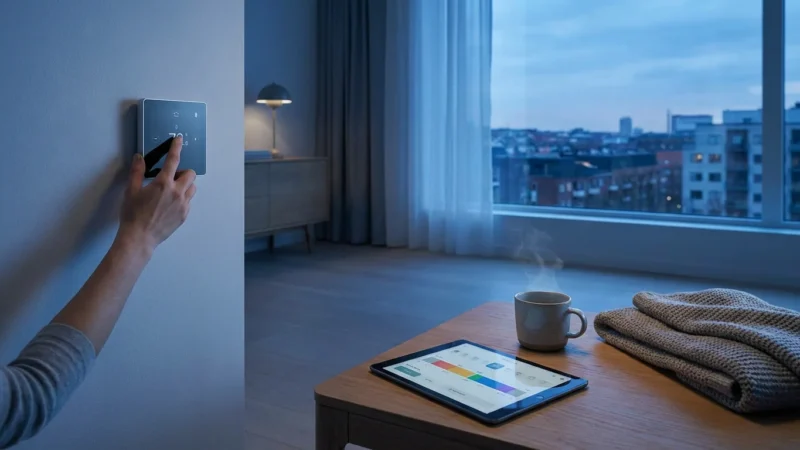
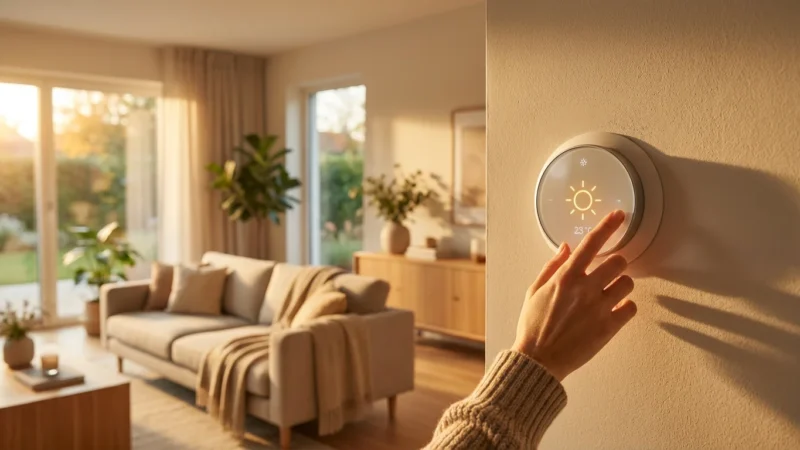
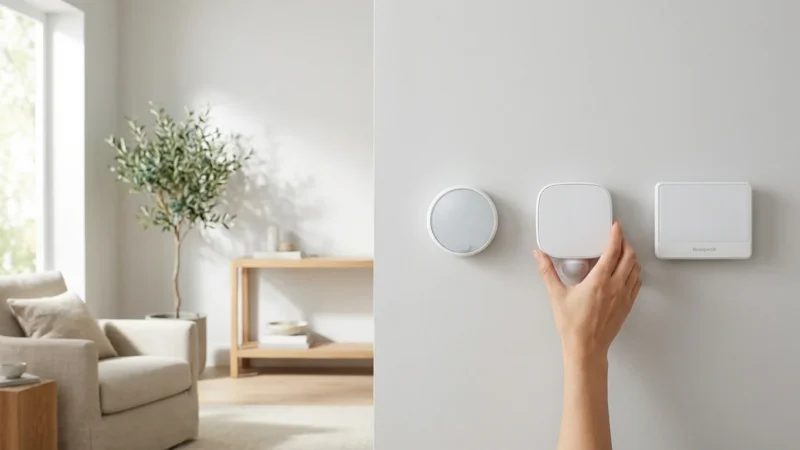
Upgrading to a smart thermostat transforms your home’s climate control, offering convenience, energy savings, and enhanced comfort. Many homeowners hesitate at the thought of electrical work, but installing a smart thermostat often represents a straightforward DIY project. This guide walks you through each step, empowering you to modernize your home’s heating and cooling system with confidence. You gain precise control over your indoor environment, often saving money on utility bills in the process.
Why Upgrade to a Smart Thermostat?
A smart thermostat offers more than basic temperature control. It learns your preferences, adapts to your schedule, and optimizes energy use, contributing significantly to a more efficient and comfortable home. These devices often pay for themselves through reduced energy costs over time.
Consider the core benefits you unlock:
- Energy Savings: Smart thermostats intelligently adjust temperatures based on occupancy, weather, and your schedule. This optimization can reduce your heating and cooling expenses. According to Energy Star, a smart thermostat can save homeowners an average of 8% on heating and cooling costs, translating to roughly $50 annually.
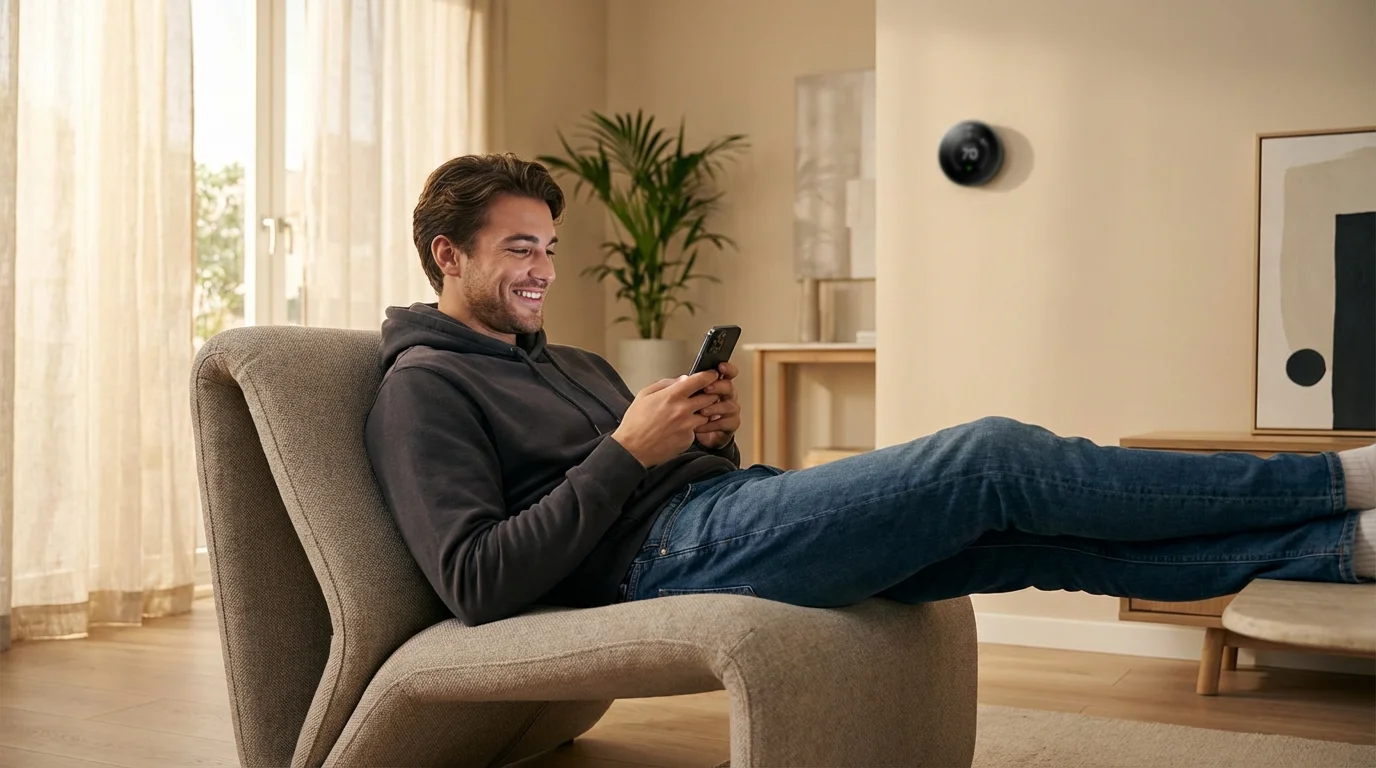
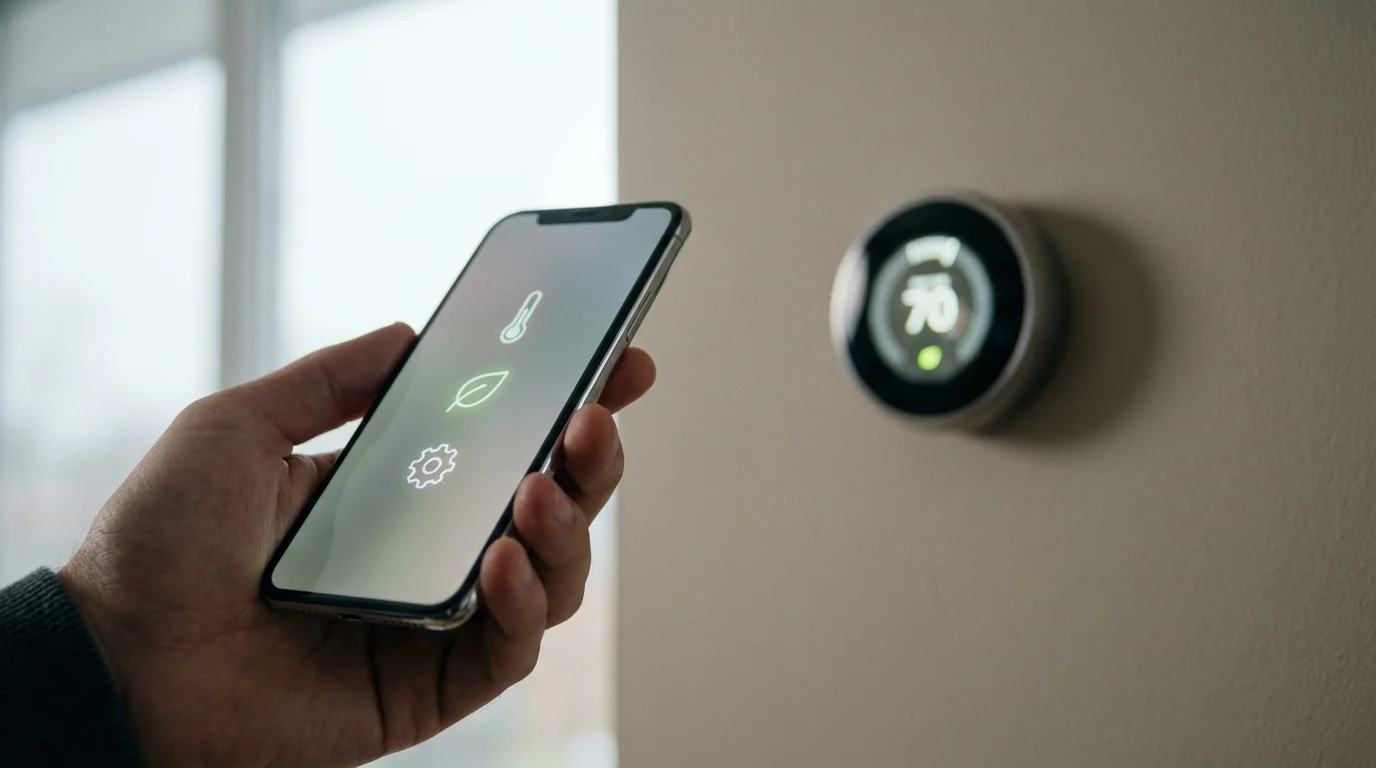
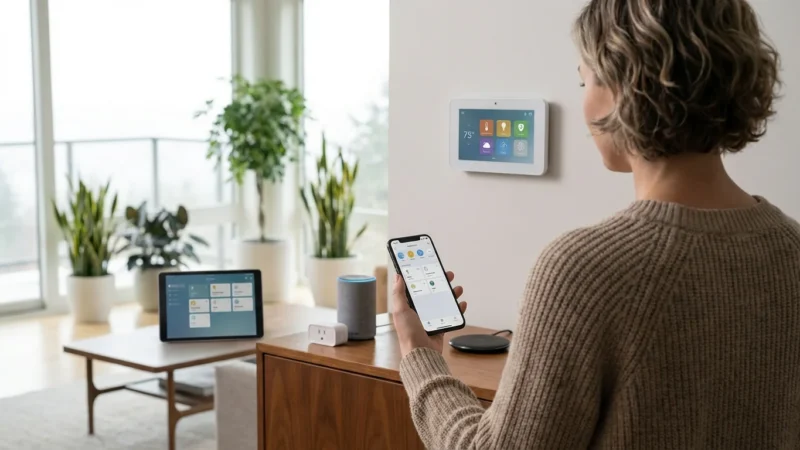
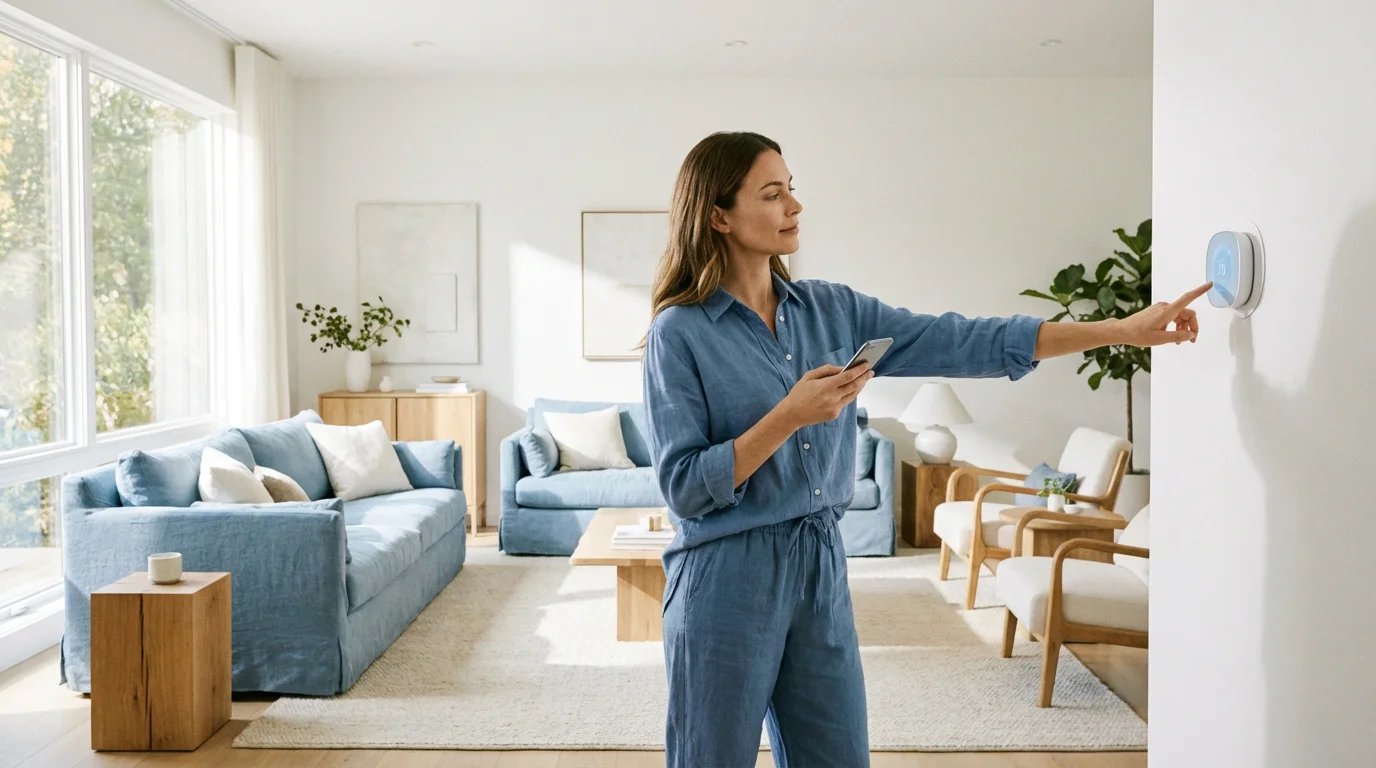
- Remote Control: Manage your home’s temperature from anywhere using your smartphone. Adjust the climate before you arrive home or check settings while on vacation.
- Scheduling and Learning: Program custom schedules or allow the thermostat to learn your daily routines and preferences. Many models recognize when you are home or away through geofencing.
- Enhanced Comfort: Maintain consistent temperatures and improve indoor air quality with intelligent fan control and humidity management features.
- Smart Home Integration: Connect your thermostat with other smart devices like smart speakers, lighting, and security systems. Create automation routines, for example, your smart lights turn on when the thermostat detects you are home.
- Utility Rebates: Many energy providers offer rebates or incentives for installing a smart thermostat. Check with your local utility company for available programs.
Choosing the Right Smart Thermostat for Your Home
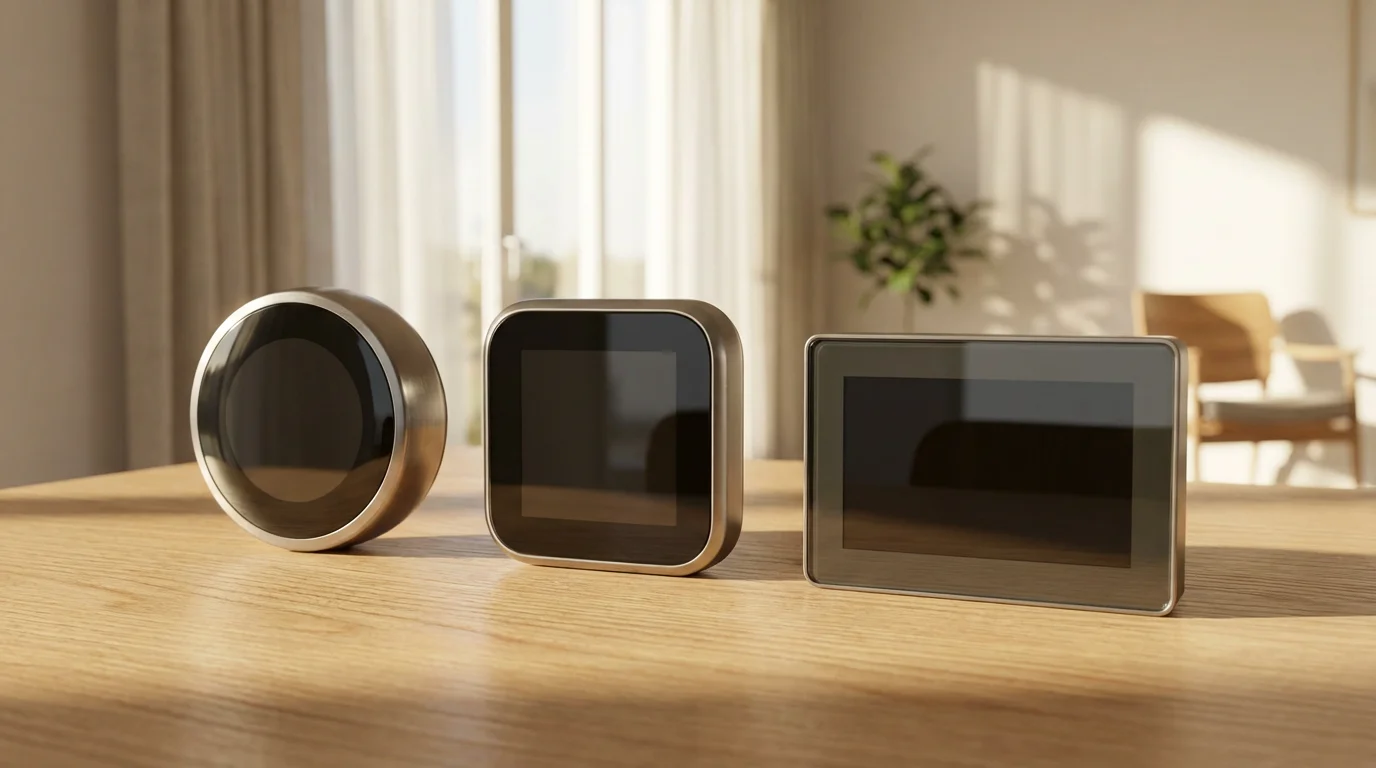
Selecting the ideal smart thermostat depends on your HVAC system, desired features, and budget. Evaluate options from leading brands like Nest, Ecobee, and Honeywell Home. Each brand offers unique strengths you should consider.
Key considerations when making your selection:
- HVAC System Compatibility: Most smart thermostats work with conventional 24V heating and cooling systems. Verify compatibility with your specific furnace, air conditioner, or heat pump.
- C-Wire Requirement: A common wire (C-wire) provides continuous power to the thermostat. Many smart thermostats require a C-wire for consistent operation. If your system lacks a C-wire, some models offer power extenders, or you may need professional installation. We discuss the C-wire in detail shortly.
- Features You Need:
- Learning Capabilities: Do you want a thermostat that learns your habits, like Nest?
- Room Sensors: Do you need sensors to detect temperature and occupancy in multiple rooms, a feature prominent in Ecobee models?
- Geofencing: Do you want the thermostat to adjust when you leave or arrive home based on your phone’s location?
- Voice Control: Is integration with Alexa, Google Assistant, or Apple HomeKit important for you?
- Energy Reporting: Do you want detailed insights into your energy consumption?
- Budget: Smart thermostats range in price from around $100 to over $250, depending on features. Factor in potential utility rebates, which can offset the initial cost.
- Aesthetics: Consider the design and display. Smart thermostats become a visible part of your home decor, so choose a style that complements your interior.
For detailed comparisons and reviews, resources like Wirecutter and CNET provide in-depth analyses of various models, helping you identify the best fit for your needs and system.
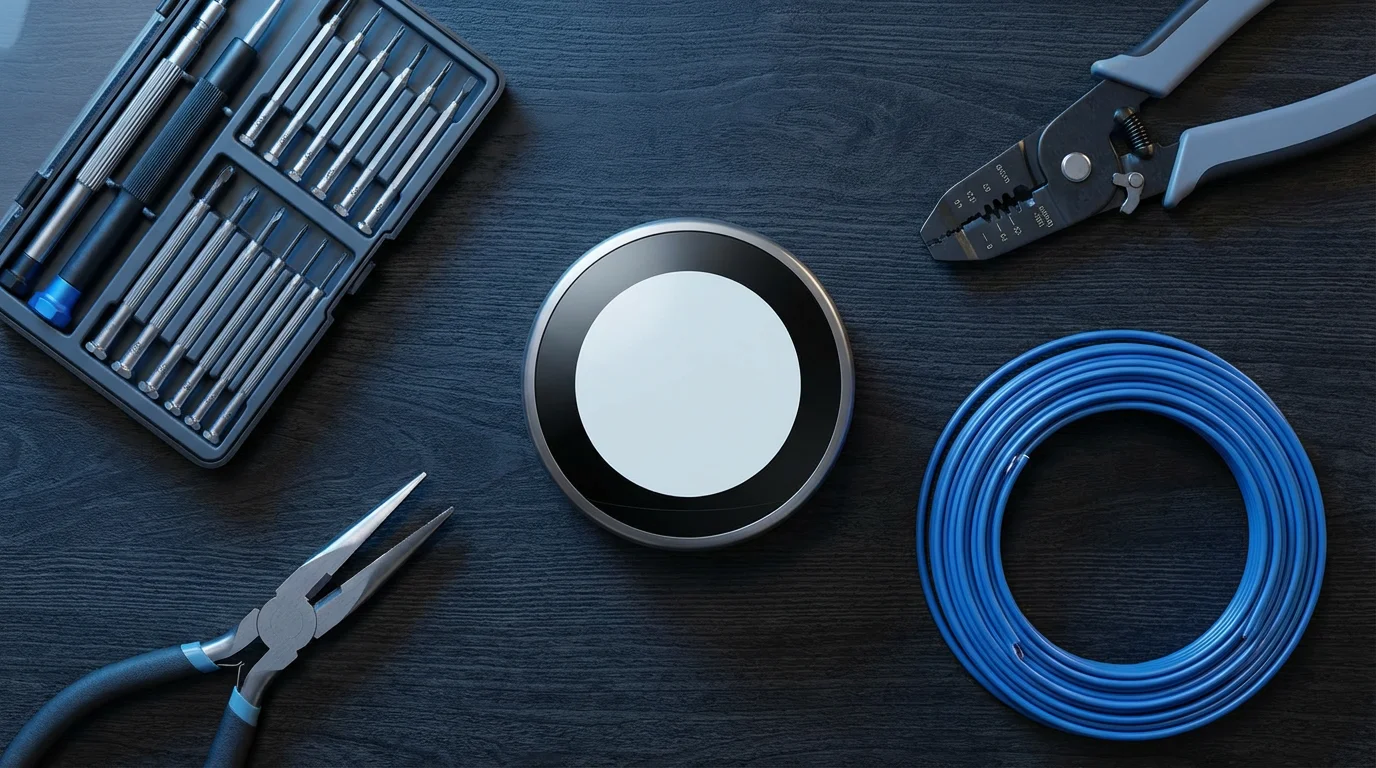
Essential Pre-Installation Checks and Tools
Before you begin the installation, gather your tools and perform a few crucial checks. Proper preparation ensures a smooth and safe installation process. You avoid unexpected delays when you have everything ready.
Tools You Will Need:
- Screwdriver set (Phillips and flathead)
- Needle-nose pliers (for bending wires)
- Wire stripper (optional, but helpful for damaged wires)
- Drill with appropriate bits (if mounting new backplate)
- Level
- Pencil or marker
- Smartphone or tablet (for setup and instructions)
- Your new smart thermostat kit (includes backplate, mounting screws, often a C-wire adapter)
Crucial Pre-Installation Checks:
- Turn Off Power: Locate your home’s circuit breaker panel. Find the breaker that controls your HVAC system (furnace, air handler, or air conditioner). Flip it to the “OFF” position. This step is non-negotiable for your safety.
- Test Power is Off: Go back to your old thermostat. Try to change the temperature or turn the system on. If the display is blank and the system does not respond, the power is off.
- Inspect Your Old Thermostat: Remove the cover of your current thermostat. Take a clear photo of the wiring. This picture serves as an invaluable reference if you need to revert or troubleshoot. You can refer to it if any questions arise about the wiring configuration.
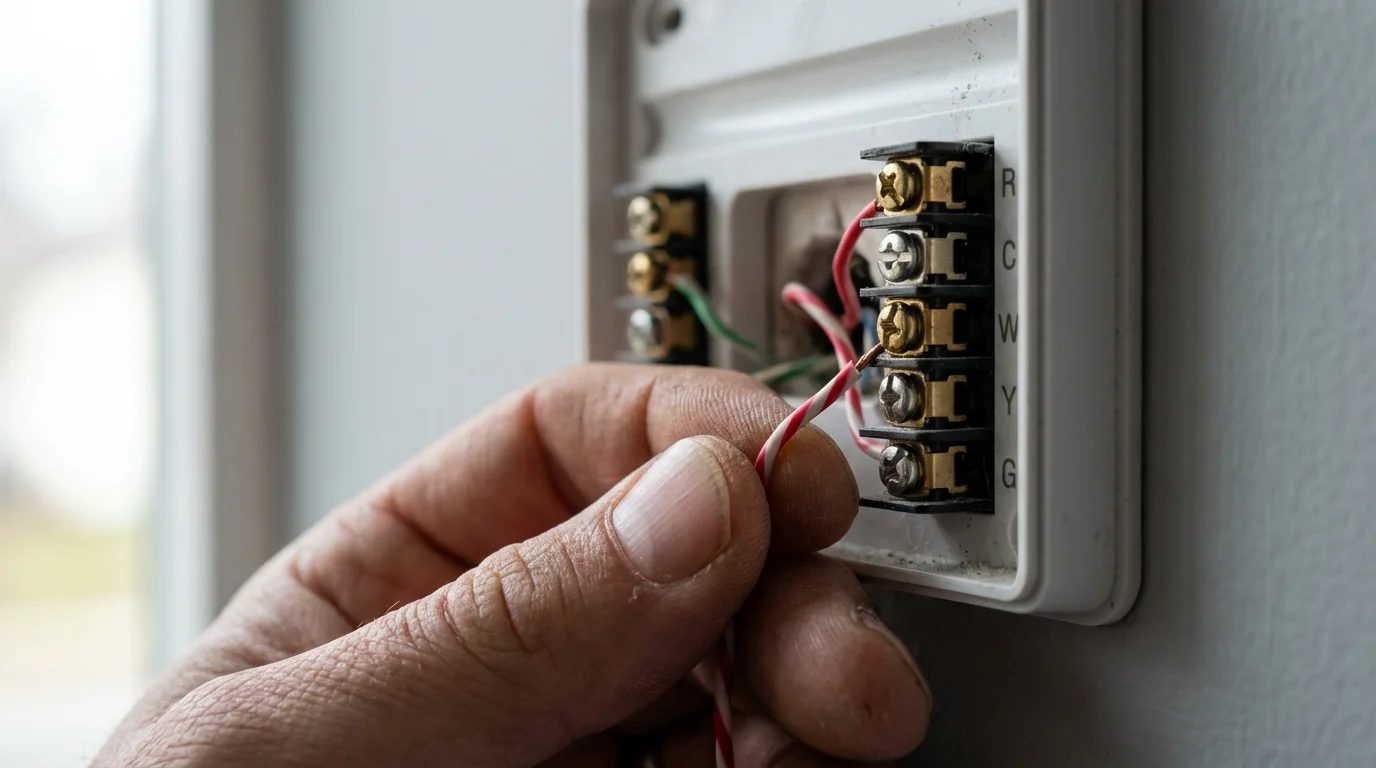
- Identify Your Wires: Note the wire colors and the terminals they connect to. Standard wire designations include R (power), W (heating), Y (cooling), G (fan), and C (common).
- Check for a C-Wire: Look for a wire connected to a “C” terminal. If you see one, your installation will likely be straightforward. If not, don’t worry, many smart thermostats include a power extender kit, or you might have an unused wire you can convert.
- Confirm Wall Space: Ensure the new thermostat’s backplate covers the existing hole in your wall. If it does not, a wall plate is often included or available separately.
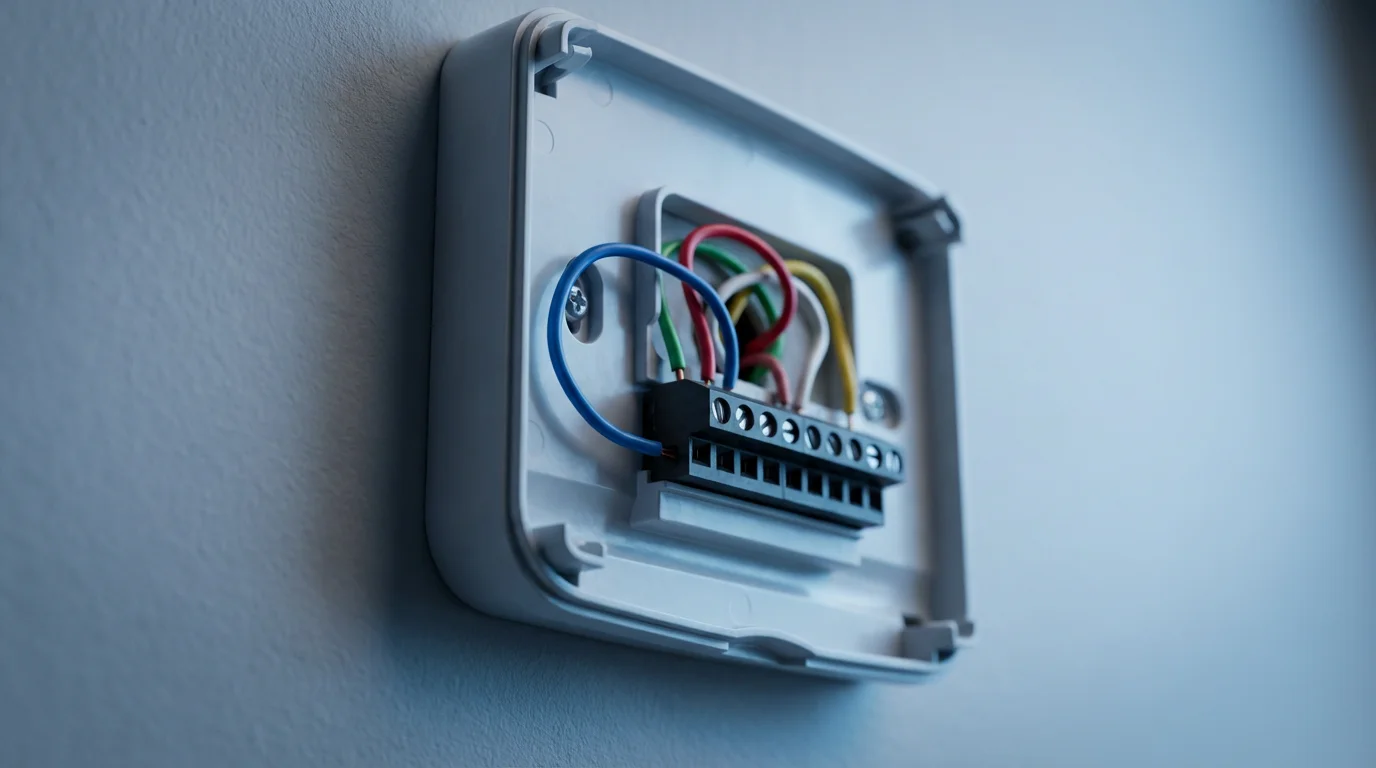
Understanding Your Existing Thermostat Wiring: The C-Wire Explained
Understanding your thermostat’s wiring is the most critical part of a successful DIY installation. The C-wire, or common wire, provides continuous 24VAC power to your thermostat. Traditional thermostats operate on battery power or “power stealing” from the heating/cooling wires, which can be unreliable for smart devices.
Common Wire Terminals and Their Functions:
- R (Red): This is the 24V power wire from your transformer. It might be labeled R, Rc (cooling power), or Rh (heating power). You may have one R wire or separate Rc and Rh wires.
- G (Green): Controls the fan. When you turn on the fan, this wire sends a signal to your HVAC system.
- Y (Yellow): Controls cooling. This wire signals your air conditioner to turn on.
- W (White): Controls heating. This wire signals your furnace to turn on.
- C (Blue or Black, but can be any color): The common wire completes the 24V circuit, providing continuous power. This is essential for smart thermostats that require constant power for Wi-Fi and advanced features.
What if You Don’t Have a C-Wire?
Many older homes lack a C-wire. You have several options if your system does not include one:
- Check for an Unused Wire: Sometimes, an extra wire is tucked into the wall, unused. If you find one, you can connect it to the ‘C’ terminal on your furnace’s control board and the ‘C’ terminal on your new smart thermostat. Ensure you label both ends correctly.
- Use a Power Extender Kit: Most smart thermostats, particularly Nest and Ecobee, include a power extender kit (sometimes called an adapter or PEK). This kit usually installs at your furnace control board and uses one of your existing wires (often the G wire) to provide power, while still allowing fan control. Follow the kit’s specific instructions meticulously.
- Install a Dedicated C-Wire: This option involves running a new wire from your HVAC system to the thermostat. This can be complex and may require professional assistance, especially if you need to run the wire through walls.
- Choose a Thermostat That Doesn’t Require a C-Wire: Some smart thermostats can operate without a C-wire by using batteries or more advanced power-stealing techniques, though their functionality might be limited or battery life shorter. Read product specifications carefully.
Always consult your smart thermostat’s specific wiring diagrams. They provide detailed guidance for various system configurations.
The C-wire is the lifeline for modern smart thermostats. Without a constant power supply, advanced features like Wi-Fi connectivity and learning algorithms cannot function reliably. Confirming its presence, or planning for its absence, is a critical pre-installation step.
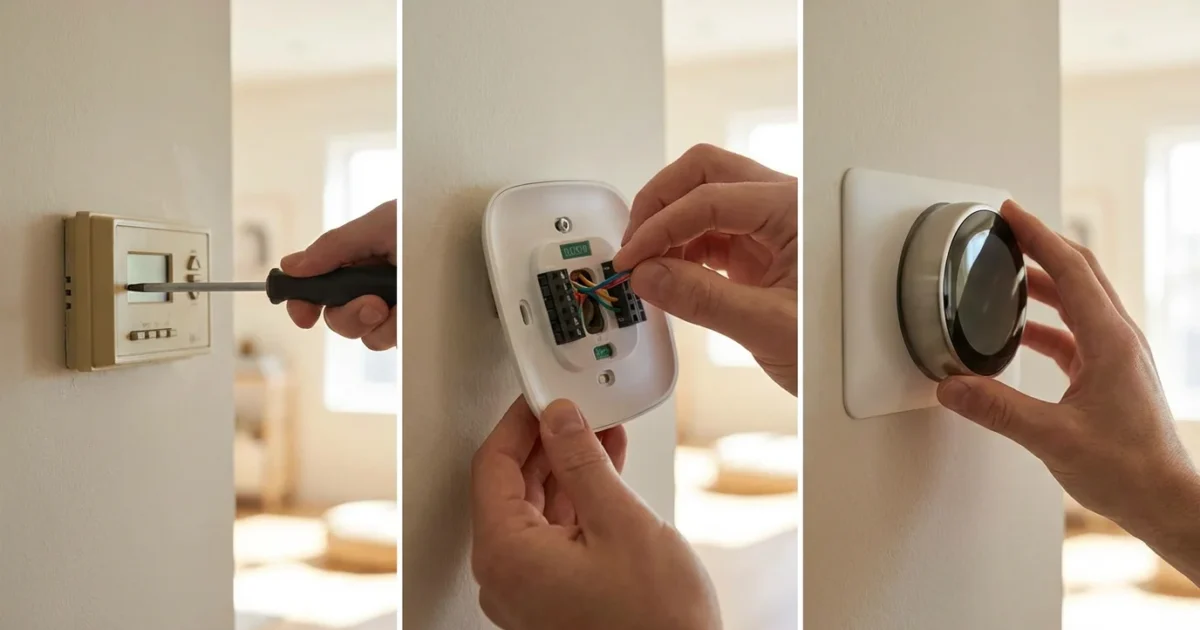
Step-by-Step Smart Thermostat Installation Guide
You have chosen your smart thermostat, gathered your tools, and understood your wiring. Now, proceed with the installation process. Take your time with each step for a successful DIY install.
- Turn Off Power (Again): Double-check that you have switched off the power to your HVAC system at the breaker. Safety remains your top priority.
- Remove the Old Thermostat Cover: Gently pull the cover off your existing thermostat. Some covers snap off, while others may have small latches or screws.
- Photograph Existing Wiring: Take several clear photos of your current wiring setup. Capture which wire connects to which terminal. This serves as your safety net.
- Label the Wires: Use the labels provided with your new smart thermostat (or masking tape and a marker) to label each wire according to the terminal it connects to (e.g., R, W, Y, G, C). Remove wires one by one, labeling as you go.
- Disconnect the Old Wires: Carefully disconnect each wire from its terminal on the old thermostat. You usually press a release button or loosen a screw.
- Remove the Old Thermostat Backplate: Unscrew the old backplate from the wall. You may find a hole in the wall with a bundle of wires sticking out.
- Install the New Backplate:
- Thread the wires through the center opening of your new smart thermostat’s backplate.
- Position the new backplate on the wall. Use a level to ensure it sits straight.
- Mark the screw holes with a pencil.
- If necessary, drill new pilot holes for the mounting screws.
- Secure the new backplate to the wall using the provided screws. Do not overtighten.
- Connect the Wires to the New Backplate:
- Refer to the wiring diagram in your smart thermostat’s manual and your photos.
- Connect each labeled wire to the corresponding terminal on the new backplate.
- Gently push each wire into its terminal or tighten the screw, ensuring a secure connection. Avoid loose strands.
- Ensure no bare wire touches another terminal or the wall.
- Install the C-Wire Adapter (If Needed): If your system lacked a C-wire and your thermostat kit included an adapter, now is the time to install it. This typically involves wiring it into your furnace or air handler’s control board. Follow the specific instructions provided with your adapter kit meticulously. This often requires opening your HVAC unit and making connections there.
- Attach the Smart Thermostat Display: Align the smart thermostat display unit with the installed backplate. Gently push it into place until it clicks or snaps securely.
- Restore Power: Return to your circuit breaker panel and flip the HVAC breaker back to the “ON” position.
- Initial Power-Up: Your smart thermostat should power on. It will likely guide you through an initial setup process on its screen.
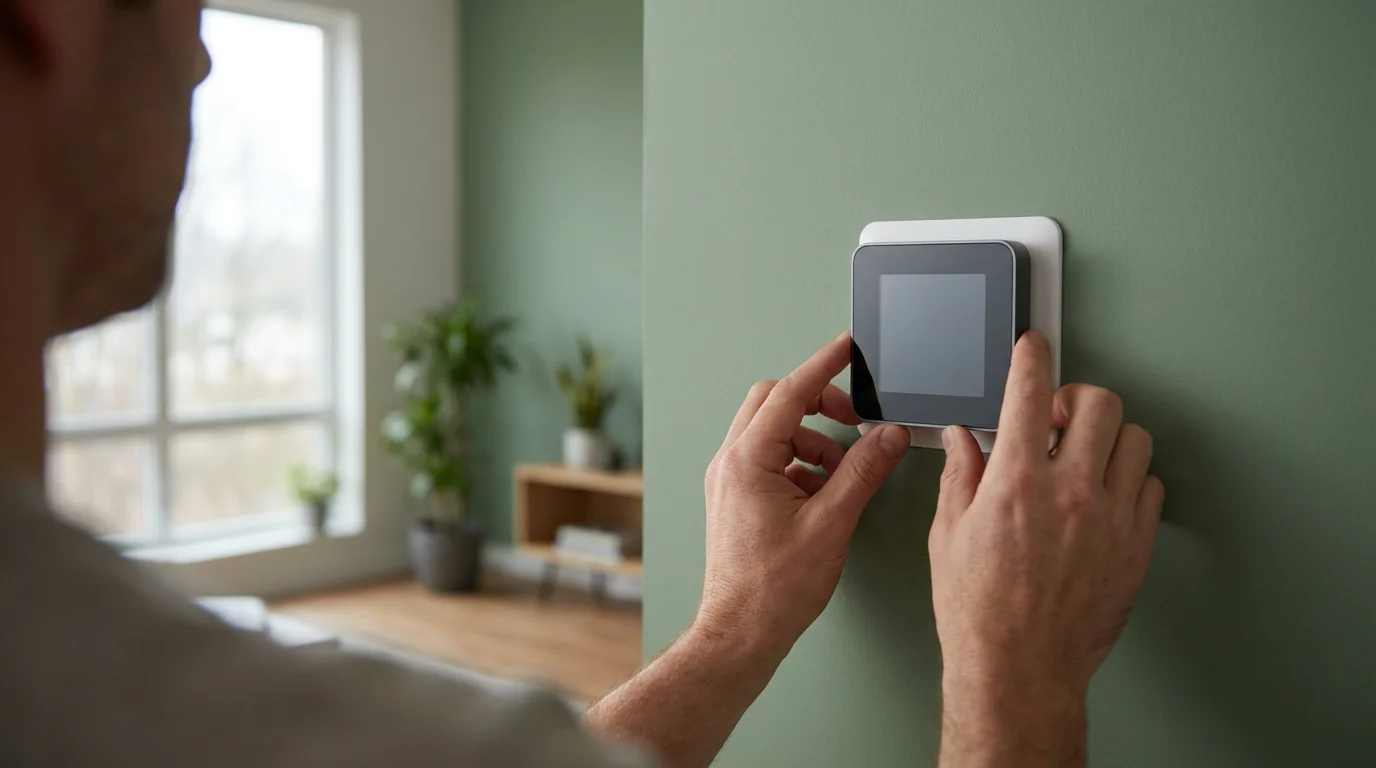
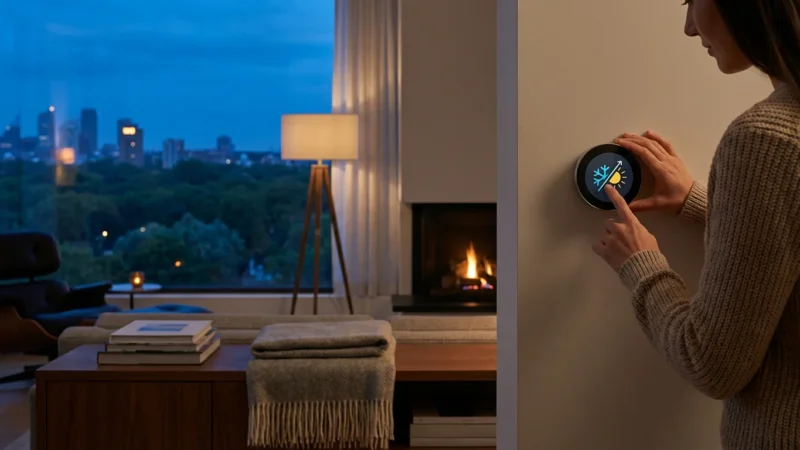
Configuring Your New Smart Thermostat
After installation, you need to configure your smart thermostat to work with your home’s Wi-Fi and optimize its settings. This setup process typically occurs directly on the device’s screen or through a companion smartphone app.
Initial Setup Steps:
- Connect to Wi-Fi: The thermostat will prompt you to connect to your home’s Wi-Fi network. Select your network and enter your password. This enables remote control and smart features.
- Download the App: Download the manufacturer’s dedicated app (e.g., Nest, Ecobee, Honeywell Home) to your smartphone or tablet. Create an account or log in.
- Register Your Device: Follow the in-app instructions to add your new thermostat to your account. This often involves scanning a QR code on the thermostat or manually entering a serial number.
- Configure HVAC System Type: The thermostat will ask about your HVAC system type (e.g., conventional furnace and AC, heat pump with auxiliary heat, etc.). Correctly configure this setting to ensure proper operation.
- Set Up Location: Input your home address. This allows the thermostat to access local weather data for smarter scheduling and adjustments.
- Establish Schedule and Preferences:
- Manual Scheduling: Create a personalized heating and cooling schedule for different times of the day and week.
- Learning Mode: If your thermostat has learning capabilities, allow it to observe your habits for a week or two. It will then propose an optimized schedule.
- Geofencing: Enable geofencing in the app to have your thermostat automatically switch to an “away” setting when you leave and “home” when you return.
- Set Temperature Limits: Define minimum and maximum temperature settings to prevent extreme fluctuations or unauthorized changes.
- Integrate with Smart Assistants: Connect your thermostat to your preferred smart home ecosystem (e.g., Amazon Alexa, Google Assistant, Apple HomeKit). This allows for voice control and integration into broader automation routines.

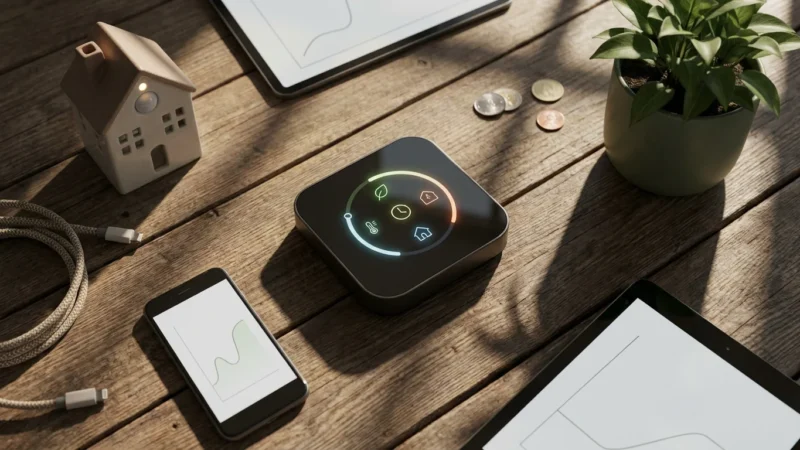
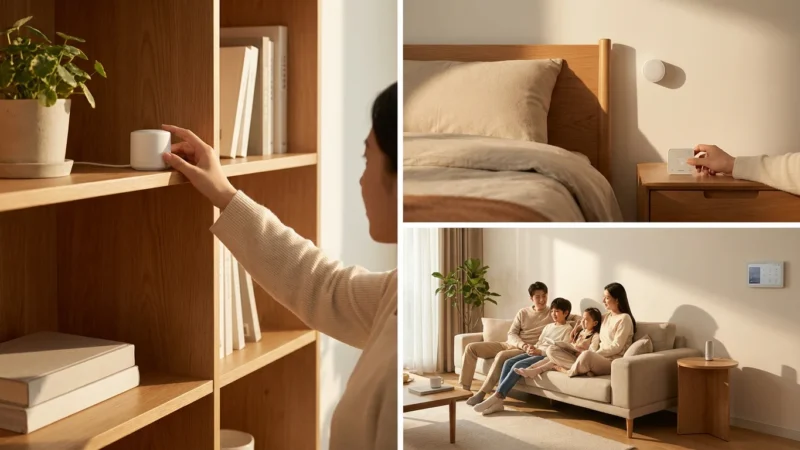
Maximizing Your Smart Thermostat’s Potential
Once installed and configured, unlock the full power of your smart thermostat to enhance comfort and achieve maximum energy savings. Explore advanced features and integrations to truly make your home smarter.
- Utilize Room Sensors: If your thermostat supports them (like Ecobee), place remote sensors in commonly used rooms. This helps the thermostat average temperatures across your home, addressing hot or cold spots. Sensors can also detect occupancy, ensuring comfort where people are.
- Refine Learning Algorithms: Over time, your thermostat’s learning capabilities improve. Provide feedback by adjusting temperatures when needed; the system will adapt. Review energy reports to see the impact of your settings.
- Set Up Geofencing: Ensure geofencing is enabled and calibrated in the app. This feature automatically adjusts temperatures when you leave or return, preventing wasted energy when no one is home and ensuring comfort upon arrival.
- Create Smart Home Routines: Integrate your thermostat with other smart devices. For example:
- When your security system detects you are home, your lights turn on and the thermostat adjusts to your preferred “home” temperature.
- Set your smart blinds to close if the thermostat detects extreme outdoor temperatures, reducing heat gain or loss.
- Use voice commands: “Hey Google, set the thermostat to 72 degrees.”
- Participate in Demand Response Programs: Check with your utility company for demand response programs. These programs offer incentives for allowing your smart thermostat to make small, temporary temperature adjustments during peak energy demand periods, helping the grid and saving you money. Energy Star provides information on these programs.
- Monitor Energy Usage: Regularly check the energy usage reports provided by your thermostat’s app. These insights help you understand your consumption patterns and identify further opportunities for savings. Many users find they save 10-15% on their heating and cooling bills after optimizing their smart thermostat settings.
- Firmware Updates: Keep your thermostat’s firmware updated. Manufacturers regularly release updates that improve performance, add new features, and patch security vulnerabilities.
Troubleshooting Common Installation Issues
Even with careful planning, you might encounter minor hiccups during or after installation. Most common issues have straightforward solutions. You can resolve many problems yourself with a little investigation.
Common Problems and Solutions:
- No Power to the Thermostat:
- Check Breaker: Ensure the HVAC breaker is fully in the “ON” position.
- C-Wire Connection: Verify the C-wire is securely connected at both the thermostat and the HVAC control board (if applicable, with an adapter).
- Loose Wires: Recheck all wire connections at the thermostat backplate to ensure they are firmly seated.
- HVAC System Not Responding (No Heat/AC/Fan):
- Wiring Mismatch: Compare your current wiring to the photo you took of your old thermostat. Ensure each wire connects to the correct terminal.
- System Type Misconfiguration: Double-check your thermostat’s settings to ensure you selected the correct HVAC system type (e.g., conventional, heat pump).
- Clogged Air Filter: A very dirty air filter can restrict airflow, causing your system to struggle or shut down. Replace it if needed.
- Wi-Fi Connection Problems:
- Password Error: Re-enter your Wi-Fi password carefully.
- Router Distance: Ensure your Wi-Fi router is not too far from the thermostat. Consider a Wi-Fi extender if necessary.
- Network Compatibility: Some older smart thermostats only support 2.4GHz Wi-Fi networks. Check your router settings if you have a dual-band network.
- Inaccurate Temperature Readings:
- Direct Sunlight: Avoid placing the thermostat in direct sunlight, which can artificially inflate temperature readings.
- Drafts: Ensure no drafts from windows or doors directly affect the thermostat’s sensor.
- Obstructions: Keep the area around the thermostat clear of furniture or decor that might block airflow to its sensor.
- Thermostat Frequently Loses Power or Reboots (Without C-Wire):
- If you are “power stealing” without a C-wire, the thermostat might struggle to maintain power for Wi-Fi and learning features. Consider installing a C-wire adapter or a dedicated C-wire.
Many smart thermostat manufacturers offer detailed troubleshooting guides and customer support. Refer to their online resources or contact their support team if you cannot resolve an issue.

When to Call a Professional HVAC Technician
While DIY smart thermostat installation is achievable for many homeowners, certain situations warrant calling a licensed HVAC professional. Recognizing your limits protects your safety and prevents costly damage to your system. You ensure proper and safe operation when you consult an expert for complex tasks.
You should contact a professional if:
- You Lack a C-Wire and Cannot Use an Adapter: If your system does not have an unused wire, and you are uncomfortable installing a power extender kit at your furnace or air handler, a professional can run a new C-wire or properly install the adapter.
- Your HVAC System is Unusual: If you have a multi-zone system, a millivolt system, or an older, less common HVAC setup, the wiring can be more complex than standard 24V systems.
- You Encounter Electrical Issues: If you see sparks, smell burning, or the breaker repeatedly trips during installation, immediately turn off the power and call an electrician or HVAC technician.
- You Are Uncomfortable Working with Wires: If you feel uncertain or intimidated by electrical wiring, it is always safer to defer to a professional.
- Your System Uses High Voltage: Some very old systems use line voltage (120V or 240V). Smart thermostats are almost exclusively designed for low-voltage (24V) systems. Installing a low-voltage thermostat on a high-voltage system is extremely dangerous and can damage your home and thermostat.
- The Thermostat Still Does Not Work After Troubleshooting: If you have followed all troubleshooting steps and your HVAC system still does not respond correctly, a professional can diagnose underlying issues with your heating or cooling equipment.
Investing in professional installation for complex scenarios ensures your system operates safely and efficiently. You gain peace of mind knowing the job is done correctly.
Frequently Asked Questions
Can I install any smart thermostat myself?
Most standard 24V smart thermostats are designed for DIY installation. However, compatibility with your specific HVAC system, especially the C-wire requirement, dictates the ease of installation. Always check the manufacturer’s compatibility checker before purchasing. If your system is high voltage or highly complex, professional help is advisable.
How long does it take to install a smart thermostat?
For most homeowners with basic tools and a compatible system, the physical installation of a smart thermostat takes 30 to 60 minutes. The configuration and setup process in the app might add another 15-30 minutes. Factors like C-wire installation or unexpected wiring complexities can extend the time.
Do smart thermostats really save money?
Yes, smart thermostats can significantly save you money on energy bills. Features like remote control, intelligent scheduling, geofencing, and learning capabilities optimize your heating and cooling usage. Energy Star estimates an average saving of 8% on annual heating and cooling costs, which can equate to approximately $50 per year for typical households.
What if my smart thermostat needs a C-wire but my system doesn’t have one?
If your system lacks a C-wire, you have a few options. First, check if there is an unused wire tucked into the wall that you can convert to a C-wire by connecting it to your HVAC control board. Second, many smart thermostats include a power extender kit (PEK) that allows the device to function without a dedicated C-wire. Third, you can hire an HVAC professional to install a new C-wire. Some thermostats also operate on battery power or advanced power-stealing, requiring no C-wire at all.
Is a smart thermostat worth the investment?
Absolutely. Beyond the potential energy savings, a smart thermostat offers unparalleled convenience, comfort, and control over your home’s climate. Remote access, automated scheduling, and integration with other smart home devices enhance your living experience. Many homeowners find the convenience and peace of mind alone justify the initial cost, not to mention the long-term utility bill reductions.
Disclaimer: This article is for informational purposes only. Smart home devices involve electrical connections and data privacy. Always follow manufacturer instructions for installation. For complex wiring or HVAC work, consult a licensed professional.
Leave a Reply