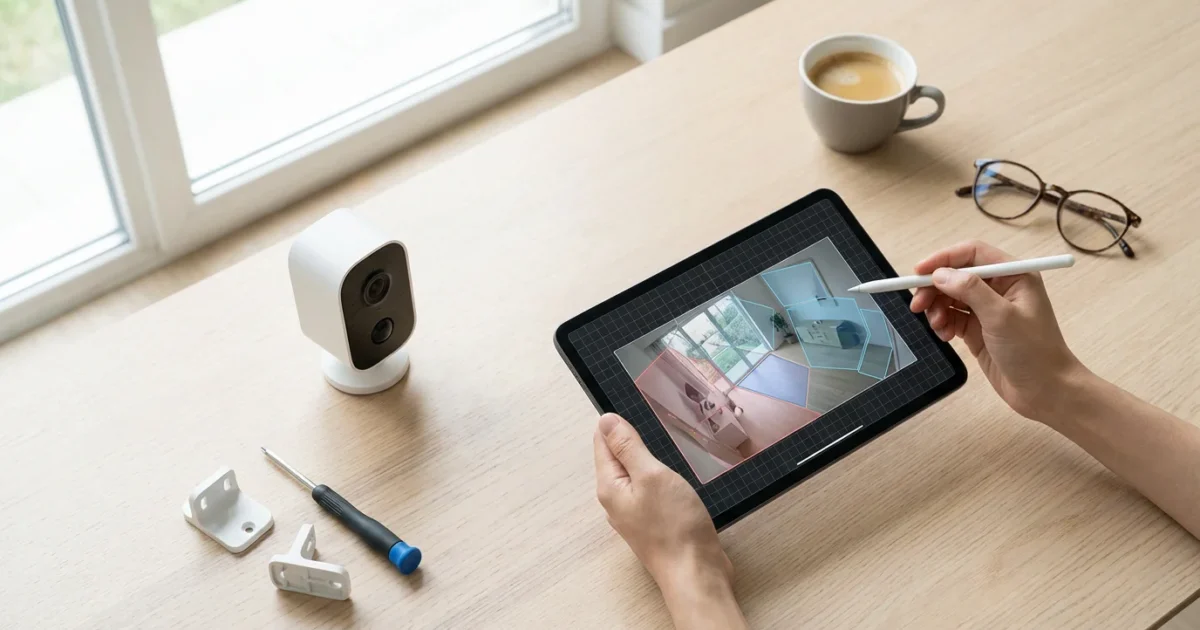
Security cameras offer crucial peace of mind, allowing you to monitor your property whether you are home or away. However, a common frustration for many users is the constant barrage of notifications triggered by every rustling leaf, passing car, or stray animal. These frequent false alarms can quickly diminish the value of your security system, leading you to ignore important alerts.
The solution lies in harnessing the power of motion detection zones. By precisely defining specific areas within your camera’s field of view that should trigger an alert, you dramatically reduce false notifications. This guide walks you through the practical steps to set up motion zones on your security cameras, ensuring you receive alerts that truly matter.
Understanding Motion Detection Zones and Their Importance
Motion detection zones, sometimes called activity zones or masked areas, are virtual boundaries you draw within your security camera’s view. Instead of the camera monitoring the entire frame for movement, it focuses only on the areas you designate. This feature is vital for enhancing the effectiveness of your security system.
Imagine your outdoor camera constantly alerts you to cars driving down the street or trees swaying in the wind. These are examples of nuisance triggers, and they make it difficult to identify genuine threats. Implementing motion zones allows you to exclude these irrelevant areas, significantly improving your ability to detect relevant activity, such as someone approaching your front door or entering your backyard.
The primary benefit of carefully configured motion zones is significant false alarm reduction. By focusing detection on critical areas, you conserve storage space, extend battery life for wireless cameras, and most importantly, ensure that when your camera sends an alert, it typically signals something worth your attention. This strategic focus transforms your camera from a source of constant noise into a reliable sentinel.
How Motion Detection Works on Security Cameras
To effectively configure your camera, it helps to understand how it detects motion. Most modern security cameras use one of two primary methods, or a combination, to identify movement within their field of view.
- Pixel Change Detection: This is the most common method. The camera’s software analyzes changes in pixel patterns between consecutive frames. If a significant number of pixels change color or brightness in a specific area, the camera registers it as motion. This method is effective but can be prone to false alerts from shadows, light changes, or swaying branches, which is why refined motion zones are critical.
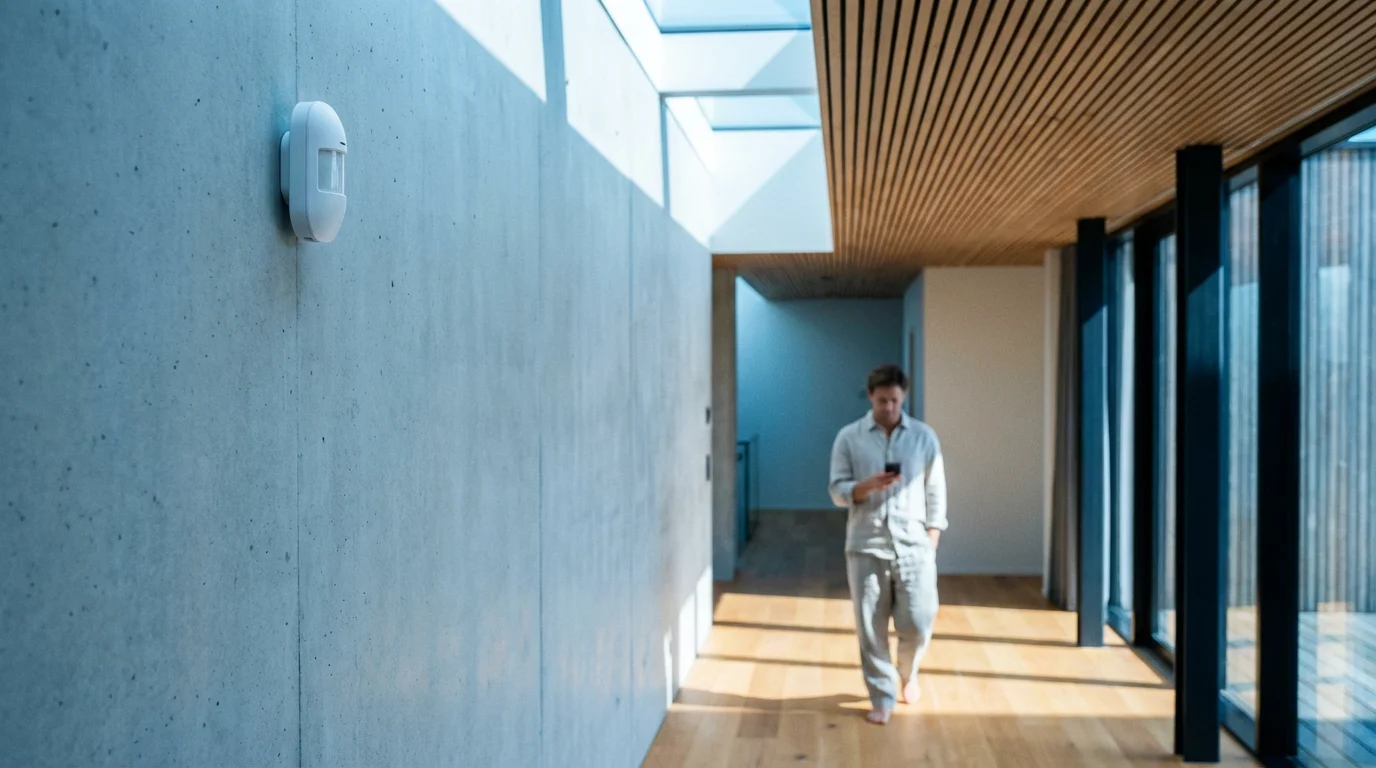
- Passive Infrared (PIR) Sensors: Many outdoor and battery-powered cameras incorporate PIR sensors. These sensors detect changes in infrared energy, which is emitted by warm bodies like humans and animals. PIR detection is less susceptible to environmental changes like shadows or wind, but it might not detect objects that do not emit heat, like a car without its engine running, or changes in the background scenery.
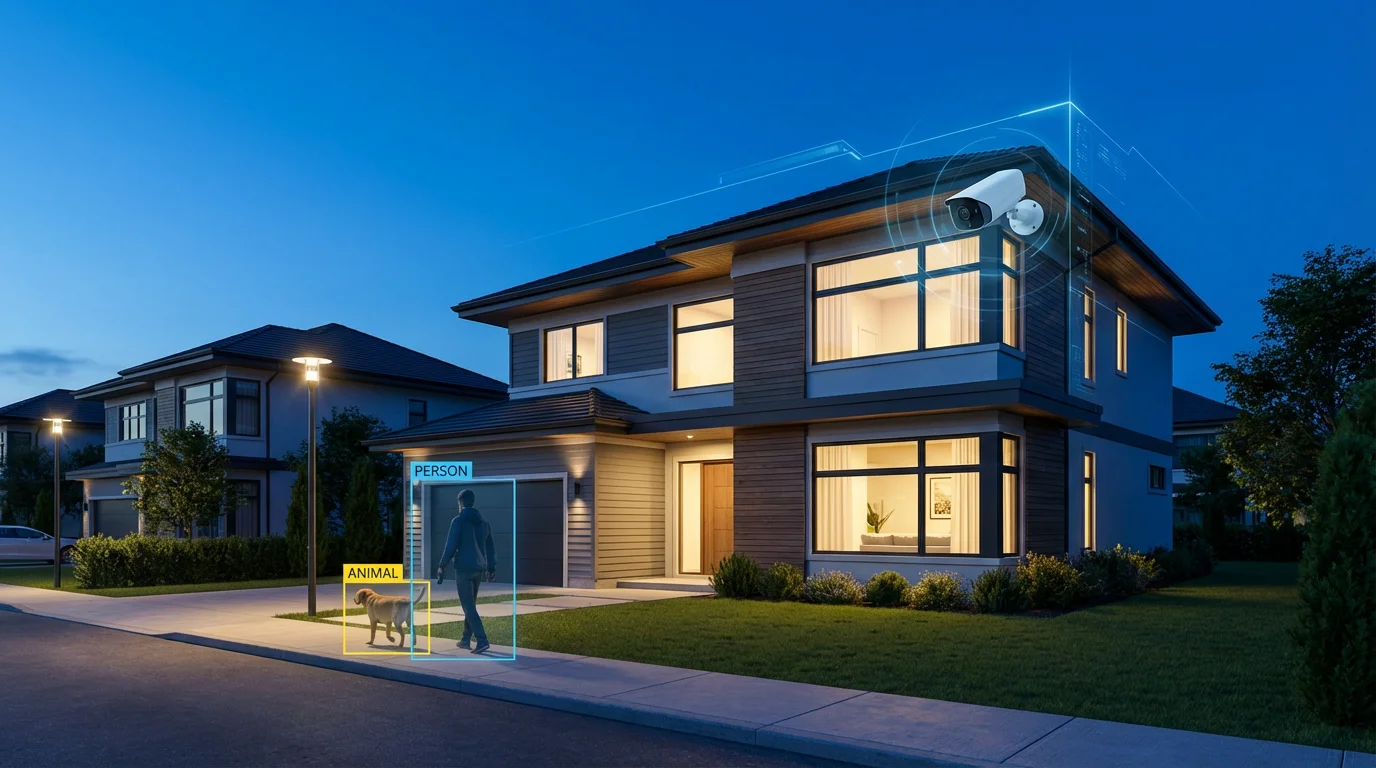
Advanced cameras often integrate artificial intelligence (AI) and machine learning (ML) to refine motion detection. These intelligent systems can differentiate between people, vehicles, and animals, further reducing false alarms. Even with AI, precisely defined motion zones remain essential to tell the camera where to apply its intelligence, focusing its processing power on the most relevant areas of your property.

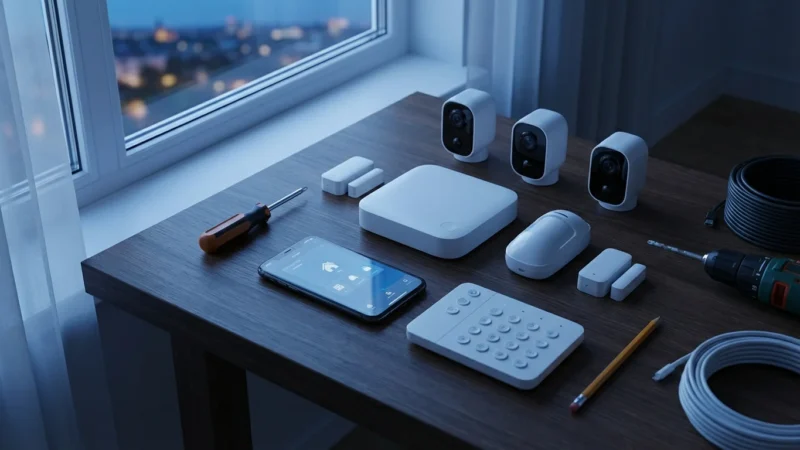
Pre-Setup Checklist: What You Need Before You Start
Before you dive into your camera’s settings, a little preparation ensures a smoother and more effective setup process. Taking these steps proactively will save you time and frustration.
Before you begin the configuration, it is wise to learn how to secure your smart home from hackers to protect your camera feed.
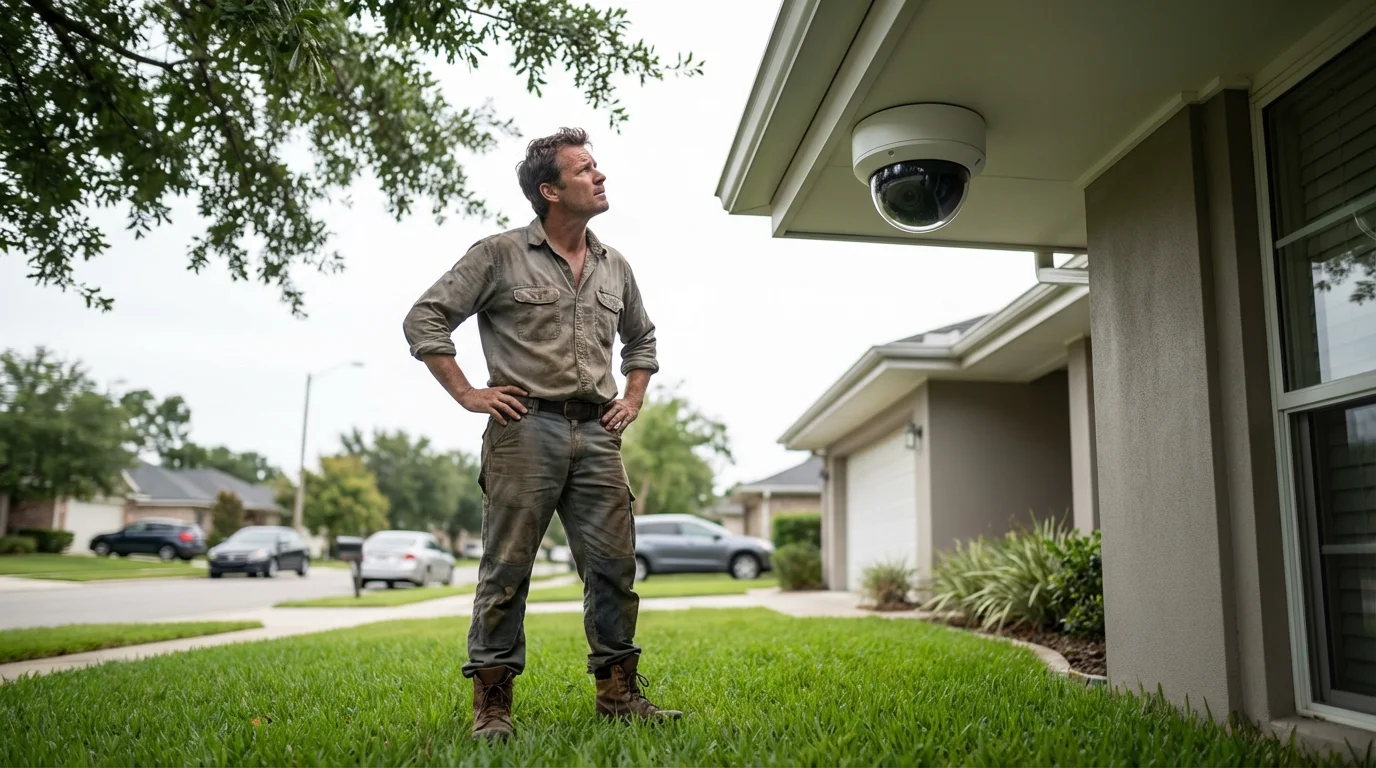
- Camera Placement Confirmed: Ensure your camera is mounted in its final position. The angle and height directly impact what your camera sees and, consequently, where you will draw your motion zones. Adjusting the physical camera after setting zones means you will likely need to reconfigure them.
- Stable Power Supply: Verify your camera has a consistent power source. For wired cameras, this means a reliable connection to an an outlet. For battery-powered models, ensure the battery is fully charged or has sufficient power. Intermittent power can disrupt settings or camera operation.
- Strong Wi-Fi Connection: Your camera needs a stable and robust Wi-Fi signal to communicate with its app and cloud services. A weak signal can cause delays in alerts, dropped connections, or difficulties accessing live feeds and settings. Consider a Wi-Fi extender if your camera is far from your router.
- Camera App or Web Portal Access: Have the manufacturer’s official app downloaded and installed on your smartphone or tablet, or ensure you can access the camera’s settings via a web portal on your computer. You will perform all motion zone configurations through this interface. Make sure you are logged in and your camera is online and accessible.
- Understanding Your Property: Take a moment to observe the camera’s view. Identify areas that regularly trigger unwanted alerts, for example, a busy street, your neighbor’s yard, or trees, and critical areas you want to monitor closely, such as your front door, garage, or gate. This mental mapping helps you define your motion zones precisely.
Step-by-Step Guide: How to Set Up Motion Detection Zones on Your Security Camera
Setting up motion zones is a straightforward process, though the exact interface might vary slightly between different camera brands. Follow these general steps to configure your detection settings and achieve optimal false alarm reduction.
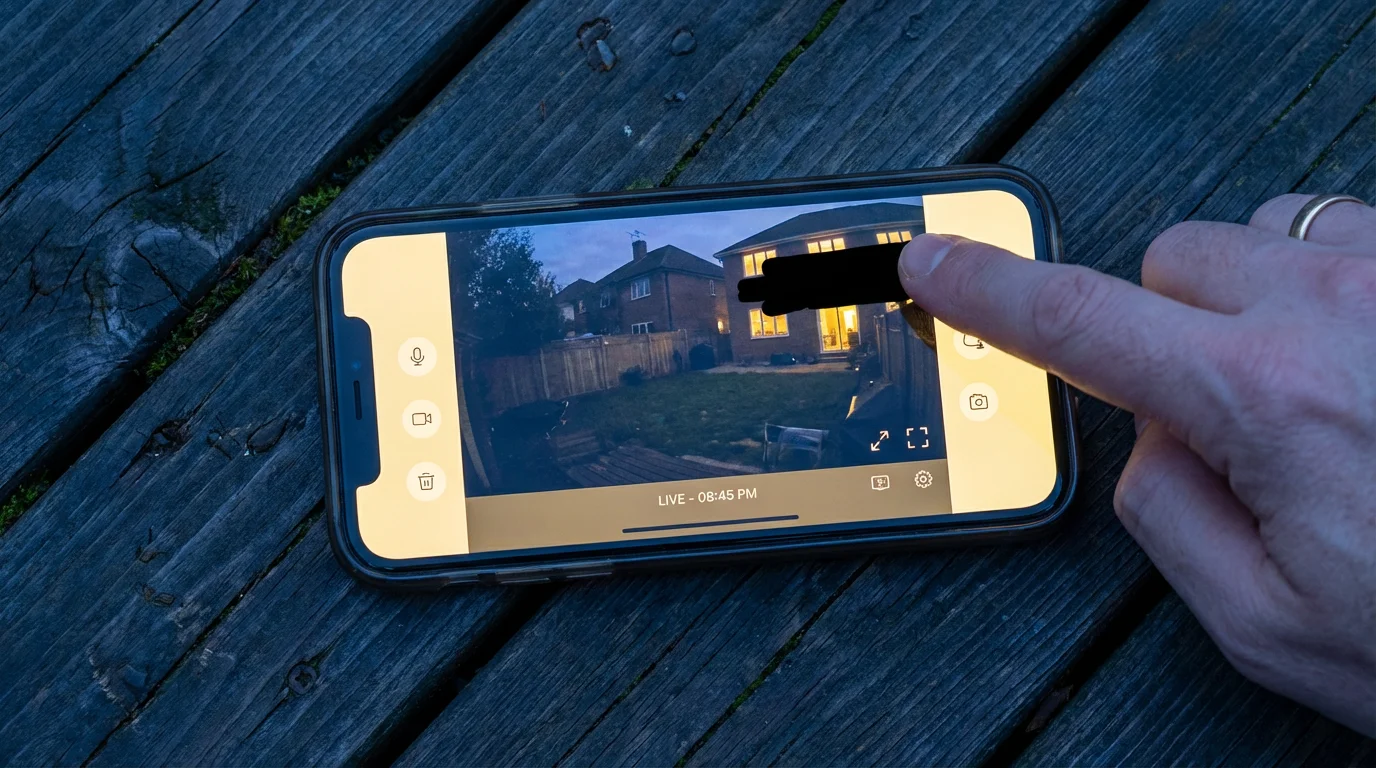
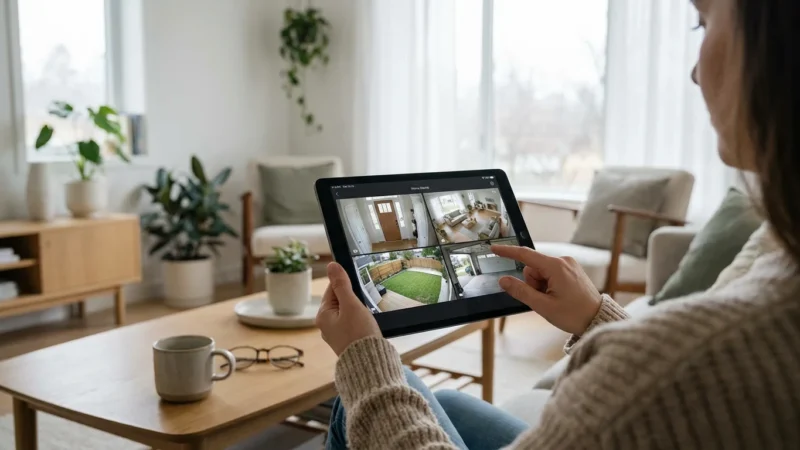
Once your zones are set, you can monitor your home security remotely to check on events in real-time.
-
Access Your Camera’s Settings:
- Open the security camera’s dedicated app on your smartphone or tablet.
- Select the specific camera you wish to configure from your list of devices.
- Navigate to the camera’s settings menu. This is often represented by a gear icon, three dots, or a “settings” label.
- Look for options related to “Motion Detection,” “Detection Settings,” “Activity Zones,” or “Monitoring.”
-
Identify the Motion Zone Configuration Area:
- Once in the motion detection settings, you should find an option to “Edit Motion Zones,” “Draw Activity Zones,” or something similar.
- Many apps will display a live view from your camera with an overlay that allows you to draw.
-
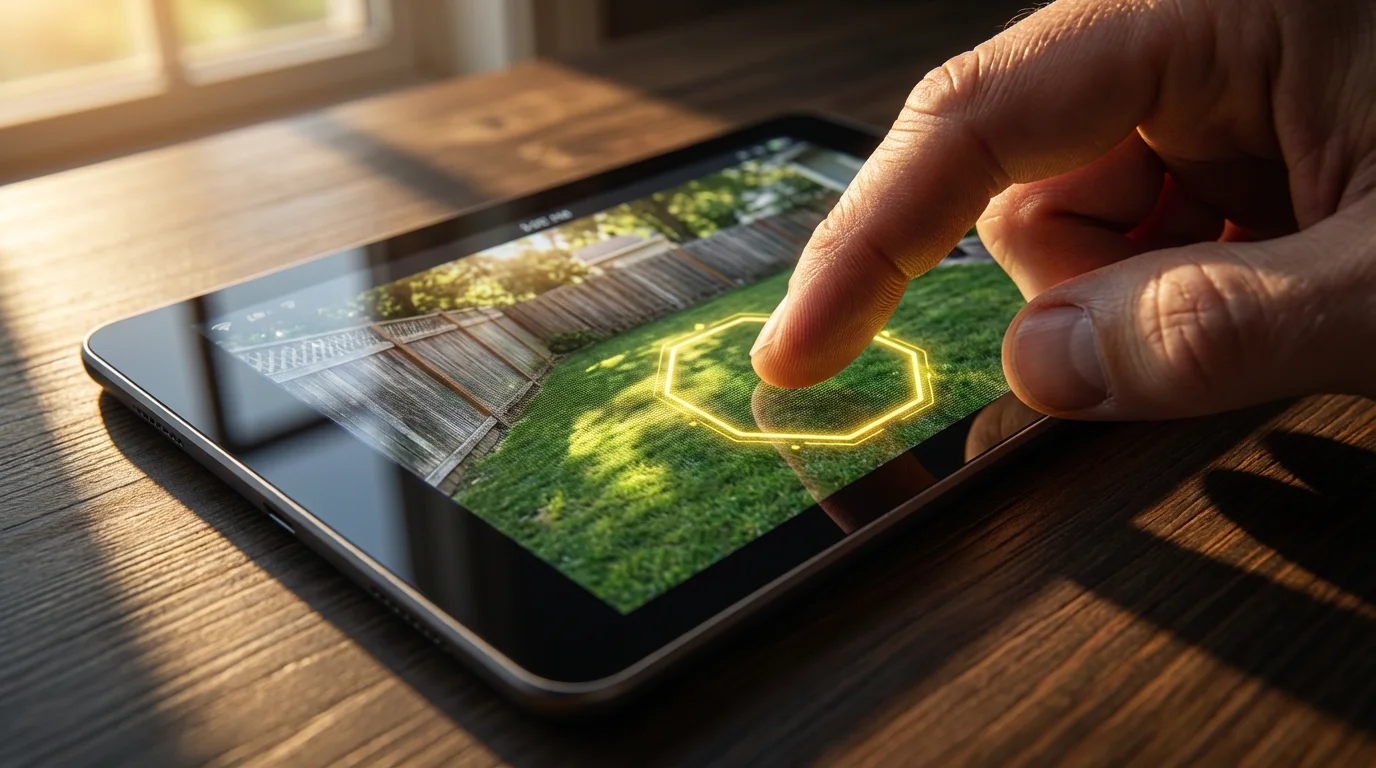
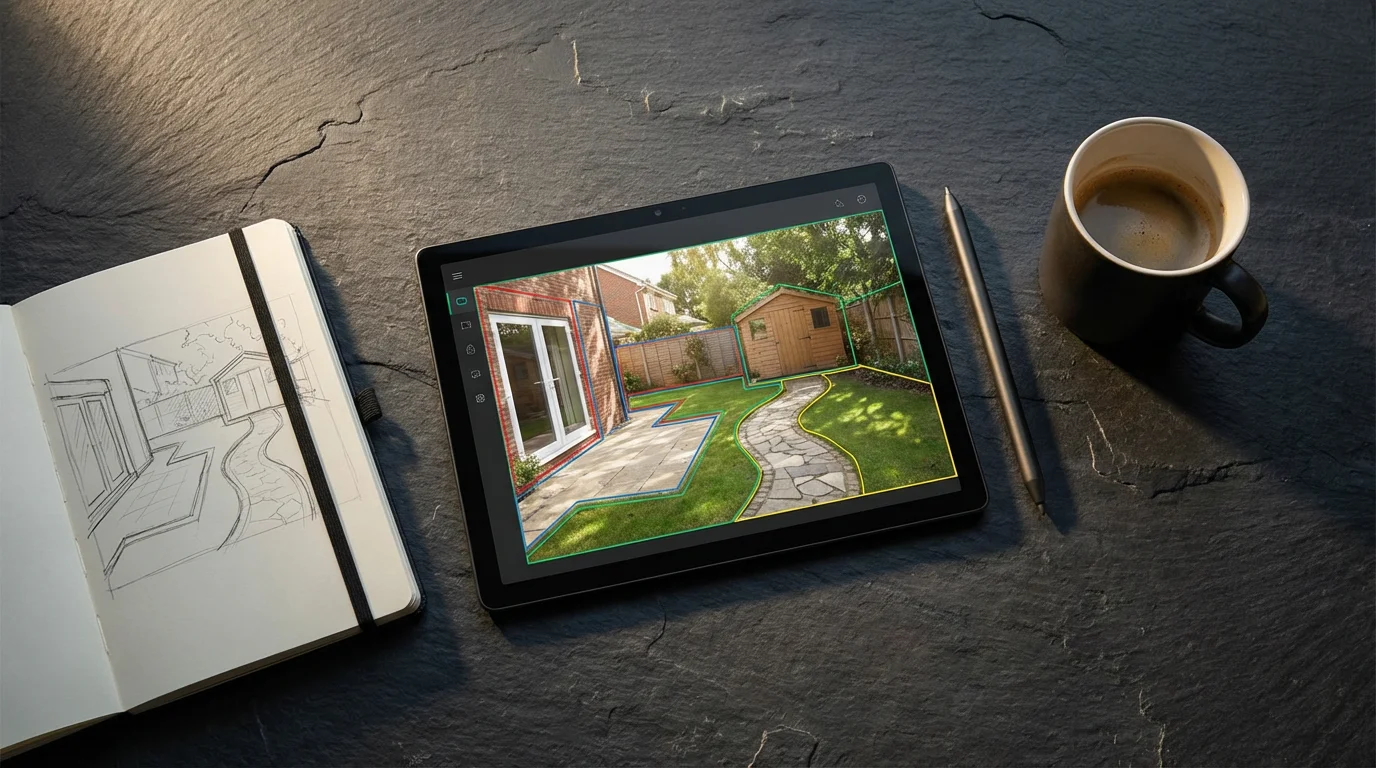
Draw or Define Your Motion Zones:
- Most systems allow you to drag and drop points to create a rectangular or polygonal shape. Some offer a grid system where you select individual squares.
- Focus on Critical Areas: Draw zones around areas where you expect legitimate activity, such as pathways, your front porch, the driveway, or specific entry points.
- Exclude Nuisance Areas: Carefully draw to exclude areas like public sidewalks, busy roads, trees, bushes, or water features that frequently cause false alerts.
- Create multiple zones if your camera supports it. For instance, you might create one zone for the front door and another for the mailbox. This provides granular control.
-
Adjust Sensitivity and Thresholds:
- After defining your zones, most cameras offer additional detection settings.
- Sensitivity: This determines how much movement is required to trigger an alert. A higher sensitivity detects smaller movements, while lower sensitivity requires more significant activity. Start with a medium setting and adjust as needed.
- Threshold/Detection Level: Some cameras allow you to set a threshold for the size or duration of an object within the zone. For example, you might tell the camera to ignore anything smaller than a small animal or motion lasting less than two seconds.
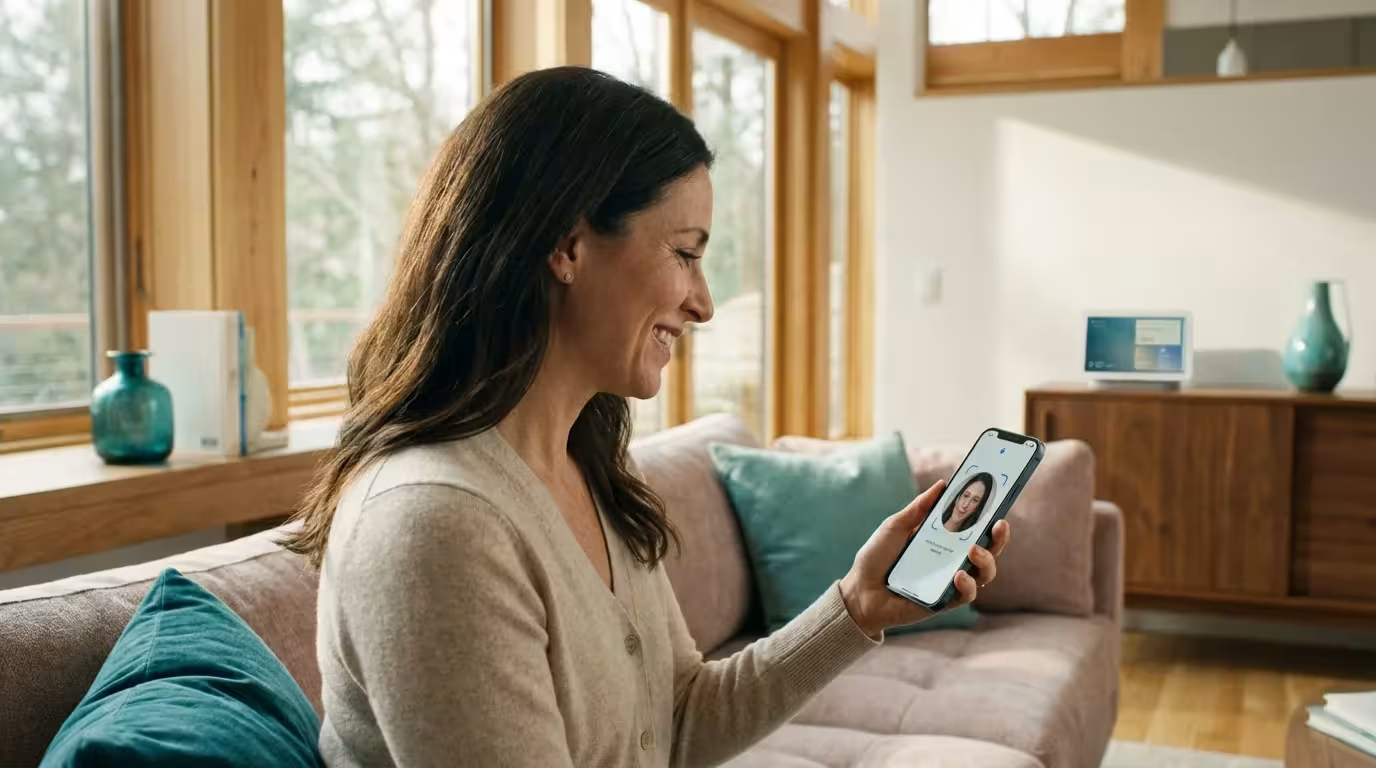
- Object Detection (if available): If your camera has AI capabilities, you can often specify what types of objects it should detect within your zones, such as a “Person,” “Vehicle,” or “Animal.” Enable this for precise false alarm reduction.
-
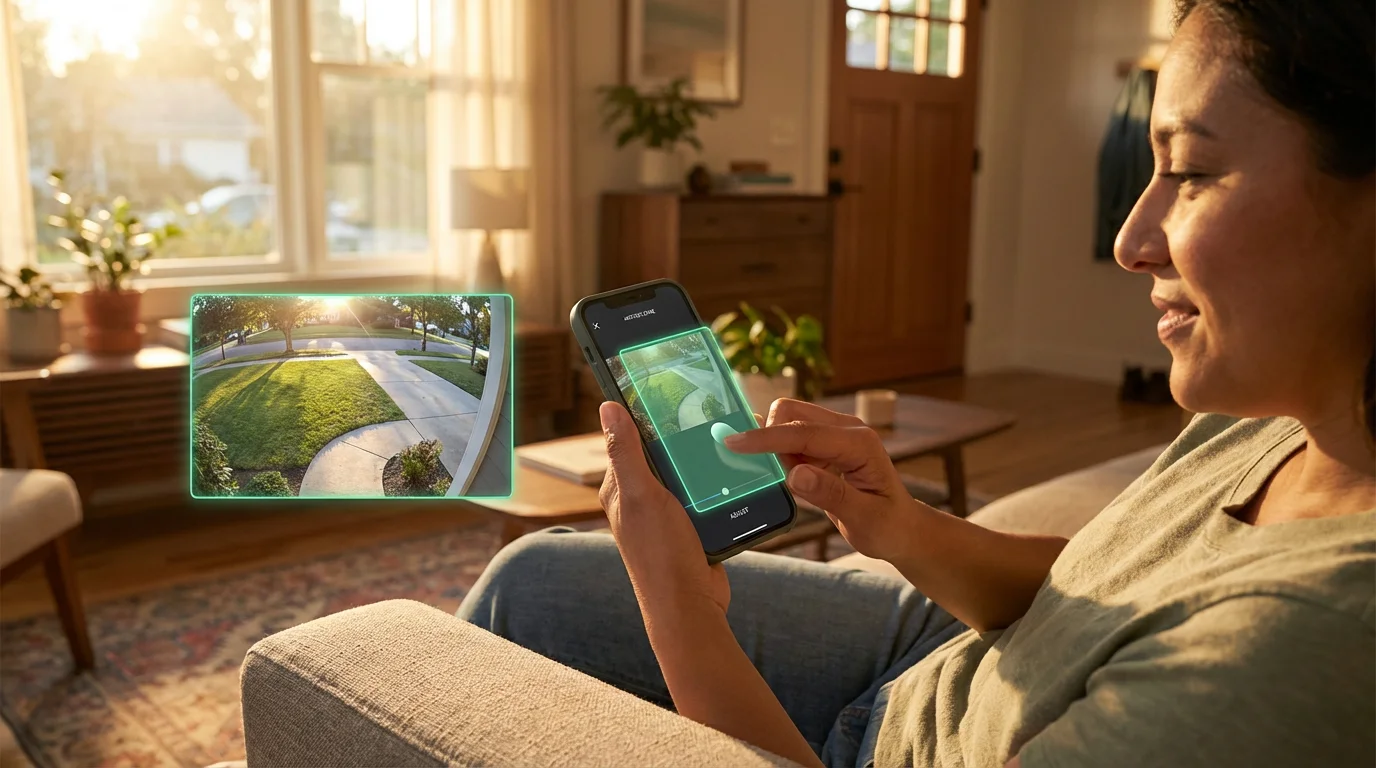
Configure Alerts and Notifications:
- Determine how you want to be notified when motion is detected within your defined zones.
- Options typically include push notifications to your phone, email alerts, or even audible alarms from the camera itself.
- Consider setting different notification preferences for different zones, if your system allows. For example, instant push alerts for the front door, but only email summaries for the garden.
-
Test and Refine Your Settings:
- This is a critical, often overlooked, step. After configuring your zones and settings, actively test them.
- Walk through your designated zones and have someone else do the same. Verify that you receive alerts when expected.
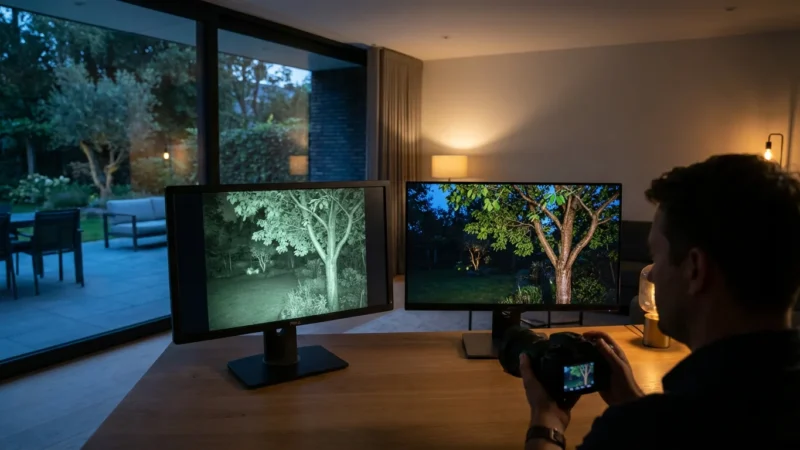
- Observe the camera’s view during different times of day, including sunrise and sunset, to see how shadows and lighting changes impact detection.
- If you receive false alerts, revisit your motion zones and fine-tune them. Adjust sensitivity, redraw boundaries, or enable object detection if available. Patience here ensures long-term effectiveness.
“A well-configured smart home security system should work quietly in the background, only notifying you when something truly important happens. Over-notification quickly leads to user fatigue and ignored alerts, defeating the purpose of security.”
Advanced Motion Zone Strategies for Enhanced Security
Once you master the basics of setting up motion zones, you can implement more sophisticated strategies to further enhance your security and streamline your alerts. These advanced techniques help you get the most out of your camera’s capabilities and reduce false alerts on security cameras.
- Prioritize High-Traffic Areas: Focus your most sensitive detection zones on critical entry points or high-value areas. For example, draw a tight zone around your front door, garage door, or a side gate. These zones should have higher sensitivity and potentially immediate notifications.
- Exclude Public Spaces and Foliage: Be aggressive in masking out public sidewalks, roads, and areas with frequent, irrelevant movement. Wind-blown trees, bushes, and even shadows from moving objects are common culprits for false alarms. If a section of your property is prone to natural movement, consider lowering its sensitivity or excluding it entirely if it is not a critical monitoring area.
- Utilize Multiple Zones for Granular Control: Many cameras allow you to create several independent motion zones. Use this to your advantage. For instance, you could have one zone covering the main pathway to your door with a “person detection” filter, and a separate, larger zone covering your yard with lower sensitivity that alerts you to any large movement.
- Integrate with Other Smart Devices: Your motion zones can become triggers for other smart home automations. Imagine a motion detection in your backyard zone at night triggering your smart lights to turn on. This not only deters potential intruders but also provides better illumination for your camera’s night vision. You can set up such automations through your camera app or a broader smart home platform like Google Home, Amazon Alexa, or Apple HomeKit.
- Schedule Motion Detection: Some cameras offer scheduling options. You might only need motion detection active when you are away from home, or perhaps only at night for certain cameras. Configure schedules to avoid unnecessary alerts when family members are typically moving around the house or yard.
Common Challenges and Troubleshooting Tips
Even with careful setup, you might encounter issues. Addressing these challenges promptly ensures your security system remains effective. Understanding how to refine your motion zones is key to reliable performance.
Persistent False Alerts
If you continue to receive unwanted notifications, several factors could be at play:
- Overly Broad Zones: Review your motion zones. Are they extending into areas with frequent irrelevant movement? Tighten the boundaries to focus only on critical areas.
- High Sensitivity: Reduce the motion sensitivity setting. Experiment with lower levels until you find a balance that captures real events without triggering on minor disturbances.
- Environmental Factors: Consider what is in your camera’s view. Is there a flag flapping, a reflective surface, or a pet moving? Adjust the camera angle if possible, or further refine your zones to exclude these specific elements.
- Lighting Changes: Shadows moving across the frame due to sun position or passing clouds can trigger pixel-based detection. If your camera has an “ignore light changes” or “intelligent detection” feature, ensure it is enabled.
Missed Events
The opposite problem, your camera failing to detect legitimate movement, is equally concerning:
- Zones Are Too Small or Miss Critical Areas: Expand your motion zones slightly to ensure they cover the entire pathway or area of interest. Someone might walk just outside your defined boundary.
- Low Sensitivity: Increase the motion sensitivity. If movements are not consistently triggering alerts, the threshold might be too high.
- Obstructions: Are there new plants, decorations, or vehicles blocking a portion of your camera’s view? Clear any obstructions that might prevent the camera from “seeing” activity within your zones.
- Camera Angle: Sometimes, a slight adjustment to the camera’s physical angle can significantly improve detection by giving it a better line of sight to the activity.
- Power Issues: Ensure the camera has consistent power. Intermittent power or low battery can cause the camera to miss events or operate erratically.
Maximizing Your Security: Beyond Motion Zones
While motion detection zones are powerful tools, they are just one component of a comprehensive smart home security strategy. Integrating other smart devices and practices creates a more robust and responsive system, providing you with greater control and peace of mind.
- Video Doorbells: A smart video doorbell provides an additional layer of entry point security. It offers two-way audio, live video, and often its own customizable motion zones for package delivery areas. This allows you to see and speak to visitors, or receive alerts even before someone reaches your main security camera’s primary zone.
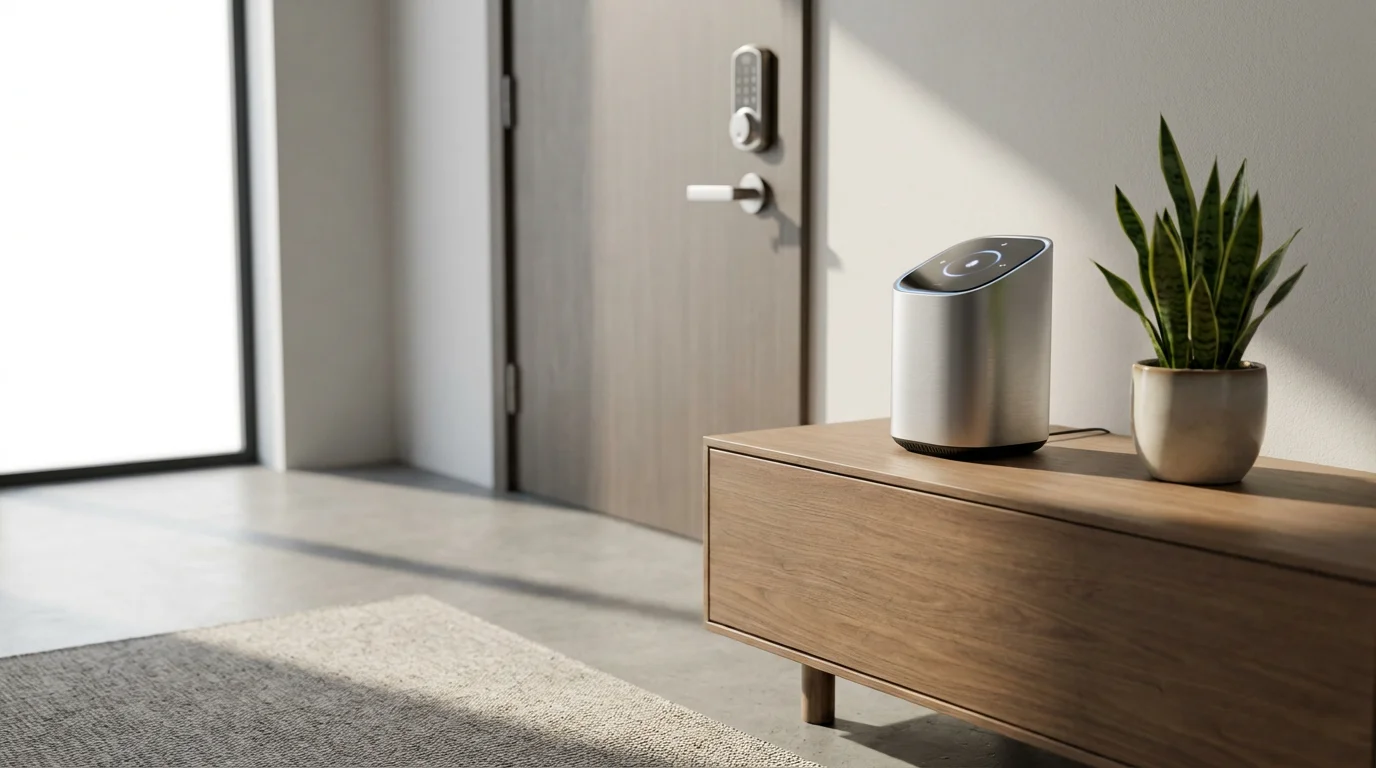
- Smart Locks and Keyless Entry Systems: Pair your cameras with smart locks to manage access to your home securely. You can grant temporary access codes, remotely lock or unlock doors, and receive notifications when doors are opened or closed. Some systems can even be set to record camera footage when a smart lock is accessed. For details on various options, consider resources like CNET’s Smart Home section, which frequently reviews smart lock technologies.
- Window and Door Sensors: These simple, often inexpensive, devices provide instant alerts if a window or door is opened. They complement motion detection by offering a direct, physical breach alert, making your home more resilient to unauthorized entry.
- Professional Monitoring: For the highest level of security, consider integrating your smart security cameras and sensors with a professional monitoring service. In the event of an alarm triggered by your motion zones or other sensors, a monitoring center can verify the threat and dispatch emergency services.
- Cloud vs. Local Storage: Understand your camera’s recording options. Cloud storage offers remote access to footage and redundancy against camera theft or damage. Local storage, like an SD card or NVR, provides privacy and no subscription fees. Many systems offer a hybrid approach, ensuring your crucial moments are always captured and accessible.
Privacy Considerations with Motion Detection
As you deploy and configure security cameras with motion detection, it is important to consider the privacy implications for yourself, your family, and your neighbors. Thoughtful use of technology ensures security without compromising privacy.
- Camera Placement: Be mindful of where your cameras are pointing. Avoid aiming them directly at neighbors’ windows, yards, or public spaces where there is no legitimate security concern. While motion zones help, the camera still captures the full field of view, and you are responsible for that footage.
- Data Storage and Access: Understand where your camera’s footage is stored. Is it on a local SD card, a network video recorder (NVR), or a cloud service? Who has access to this data? Most reputable brands offer secure cloud storage with encryption. Regularly review who has access to your camera feeds in your app settings.
- Notifications and Sharing: Consider who receives motion detection notifications. Only share access to your camera feeds with trusted individuals. Be cautious about sharing clips or live feeds, especially if they capture private moments or individuals without their consent.
- Legal and Ethical Use: Familiarize yourself with local laws regarding surveillance, especially if your cameras can record audio. Always use your security cameras ethically and responsibly, prioritizing the safety and privacy of others.
Frequently Asked Questions
Can I set different sensitivity levels for different motion zones?
Yes, many advanced security cameras and systems allow you to assign unique sensitivity settings to individual motion zones. This gives you granular control, letting you make a zone covering your front door highly sensitive for people detection, while a zone covering a tree in your yard might have a lower sensitivity to ignore swaying branches.
What is the ideal number of motion zones for a single camera?
The ideal number of motion zones depends on your camera’s capabilities and the complexity of the area you are monitoring. Most cameras allow for at least one primary zone, with many supporting three to five or more. Aim to create just enough zones to cover all critical detection areas and effectively exclude all nuisance areas, without making the configuration overly complex. For optimal performance, focus on defining specific, purposeful zones rather than creating many small, overlapping ones.
Why do I still get false alerts even after setting up motion zones?
Even with motion zones, false alerts can occur due to several reasons. Your zones might still be too broad, encompassing areas with frequent irrelevant movement like public sidewalks or tree branches. The motion sensitivity might be too high, picking up subtle changes. Environmental factors such as strong sunlight, shadows, or reflective surfaces can also trick pixel-based detection. If your camera supports AI-based object detection, for example, distinguishing people from animals, ensure it is enabled within your zones. Regularly reviewing and refining your zones and sensitivity settings will help reduce these persistent false alerts.
Do motion detection zones affect my camera’s recording quality?
No, setting up motion detection zones does not directly affect your camera’s video recording quality or resolution. Motion zones simply instruct the camera’s software on where to look for movement and trigger recording or alerts. The camera will still record in its set resolution, for instance, 1080p or 4K, when an event is detected within an active zone. However, by reducing false alerts, you will have fewer unnecessary recordings, which can make reviewing footage more efficient and save on cloud storage costs or local storage space.
Can I temporarily disable motion zones without turning off the camera?
Yes, most modern security camera apps allow you to temporarily disable motion detection or specific motion zones without powering down the camera entirely. This is useful when you are performing yard work, having guests over, or simply want to avoid alerts for a short period. Look for options like “Disable Motion Detection,” “Mute Notifications,” or scheduling features within your camera’s app settings. Some systems even offer a “Home” and “Away” mode that automatically adjusts detection settings.
Disclaimer: This article is for informational purposes only. Smart home devices involve electrical connections and data privacy. Always follow manufacturer instructions for installation. For complex wiring or HVAC work, consult a licensed professional.

Leave a Reply