Smart LED strip lights offer homeowners an incredibly versatile way to transform their living spaces. You can elevate ambiance, enhance security, and even save energy with these adaptable light sources. This comprehensive guide helps you understand, install, and creatively integrate smart LED strip lights into your home, ensuring both beginners and seasoned enthusiasts find actionable insights.

What Are Smart LED Strip Lights?
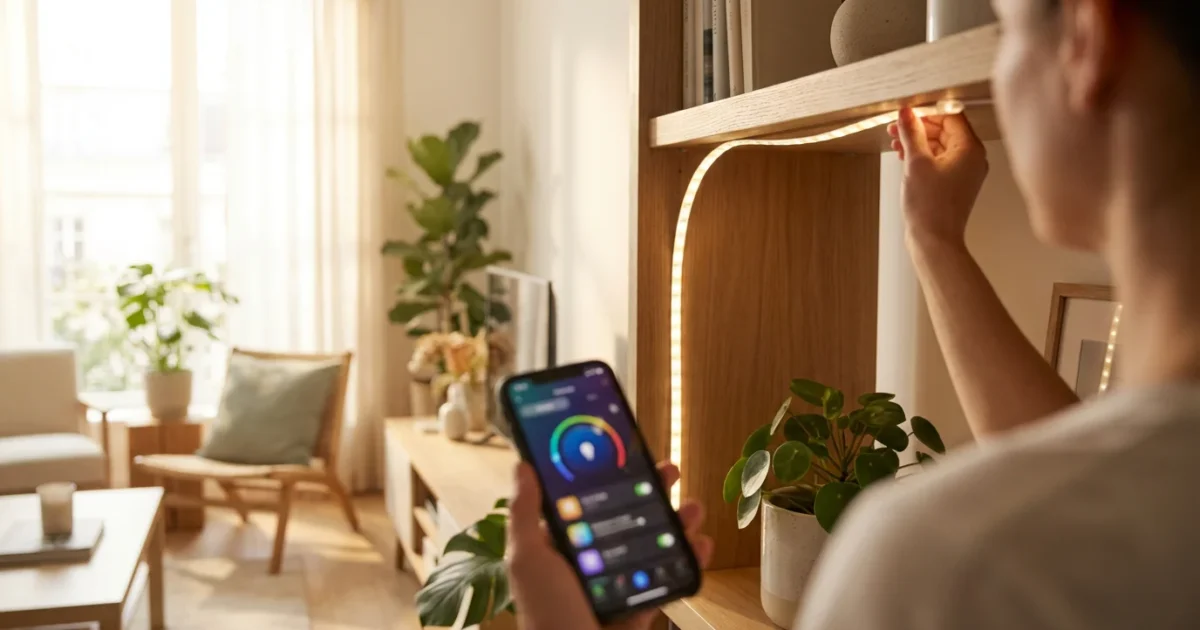
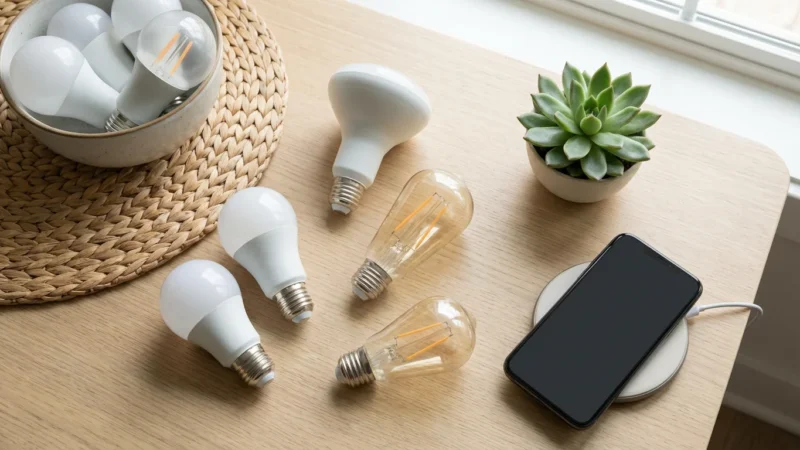
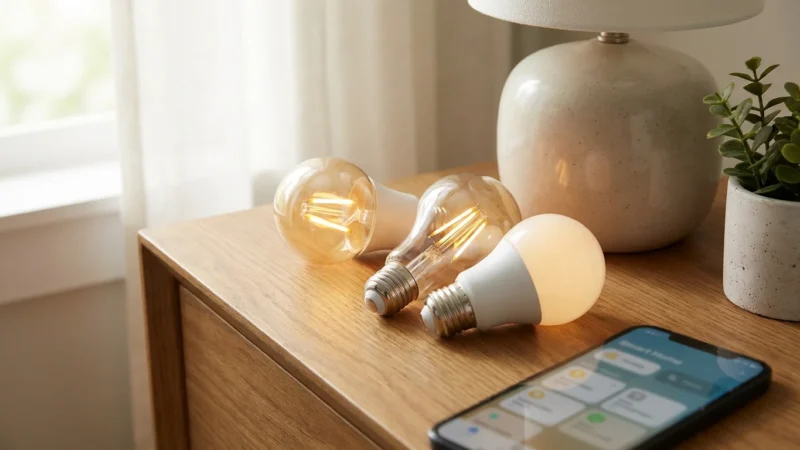
Smart LED strip lights consist of a flexible circuit board embedded with light-emitting diodes, or LEDs. These strips come with an adhesive backing, allowing for easy installation on various surfaces. Their “smart” designation means you control them wirelessly through a smartphone app, voice assistant, or smart home hub.
Unlike traditional lighting, smart LED strip lights offer a spectrum of colors and tunable white light options. You adjust brightness, change colors, and set dynamic lighting scenes with simple commands. This functionality allows for personalized lighting experiences in any room.
Why Incorporate Smart LED Strip Lights into Your Home?
Integrating smart LED strip lights into your home offers multiple practical benefits beyond basic illumination. They enhance your living experience through improved aesthetics, efficiency, and control. You gain significant advantages over conventional lighting solutions.
Here are key reasons to choose smart LED strip lights:
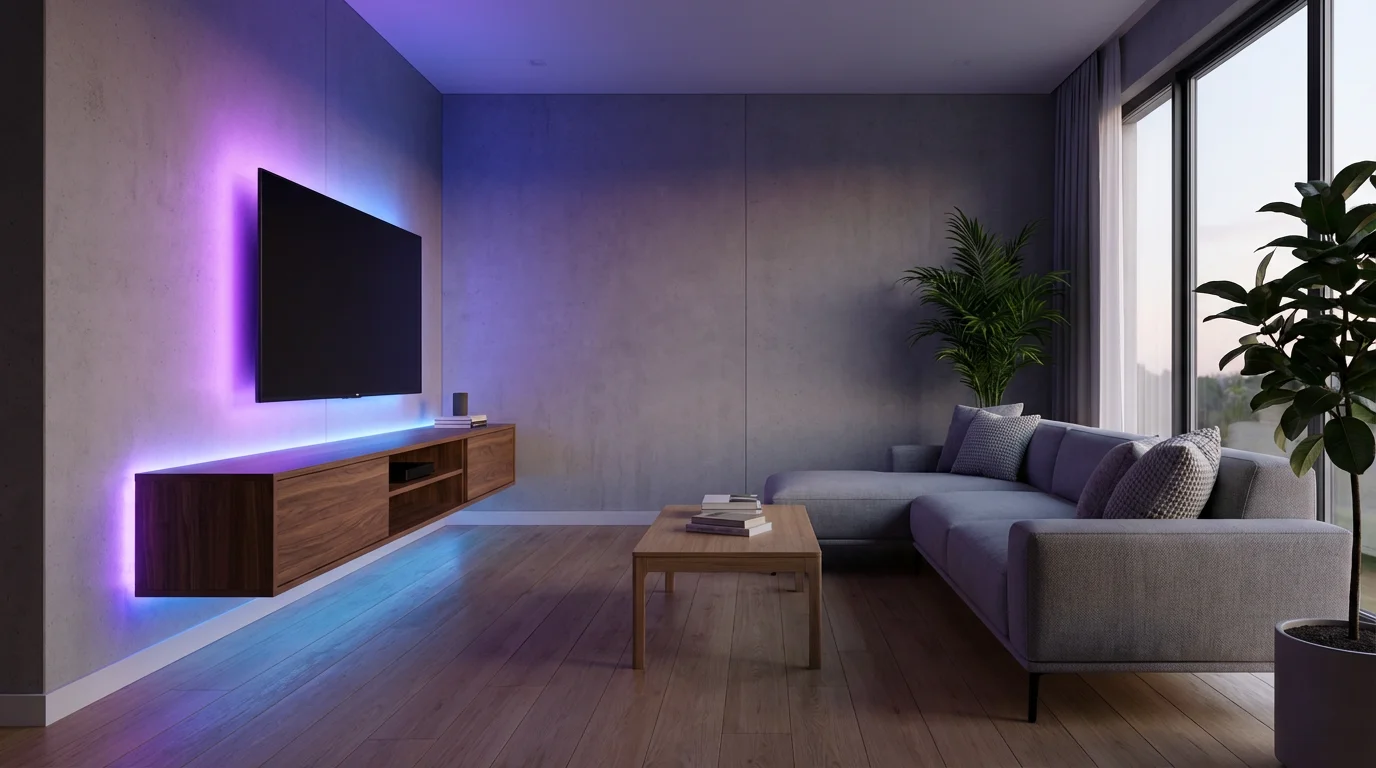
- Enhanced Ambiance and Accent Lighting: You can instantly change the mood of a room. Use soft, warm tones for relaxation or vibrant colors for entertaining. These strips excel at creating subtle accent lighting.
- Energy Efficiency: LED technology uses significantly less electricity than incandescent bulbs. This translates to lower energy bills and a reduced carbon footprint for your home. According to Energy Star, smart thermostats save energy, and the same principle applies to energy-efficient LED lighting.
- Personalized Customization: Control millions of colors and various shades of white light. Create custom scenes, synchronize lights with music, or set them to match circadian rhythms for better sleep and focus.
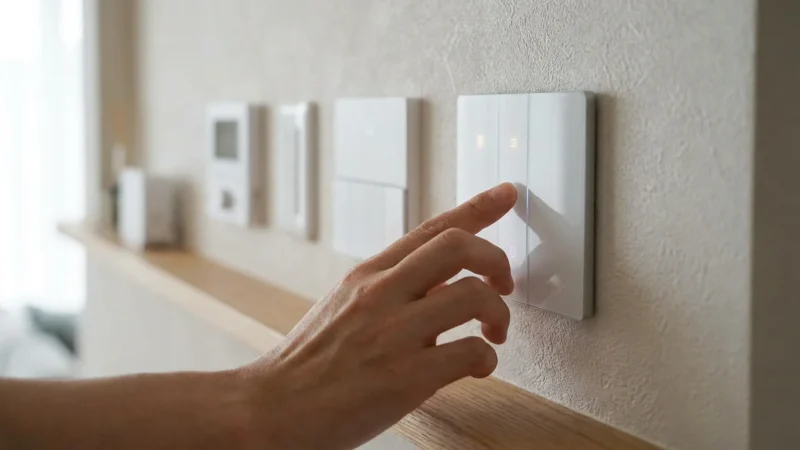
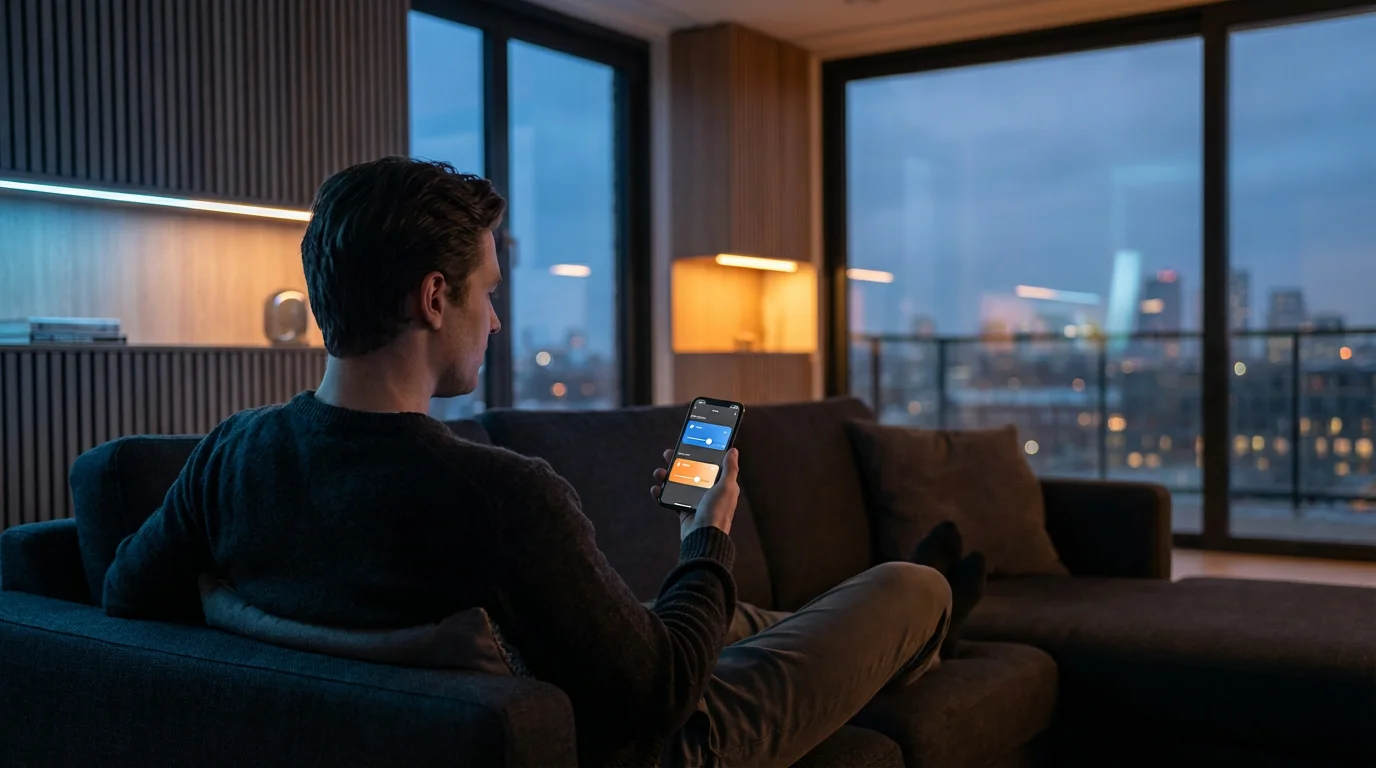
- Convenience and Control: Manage your lighting from anywhere using your smartphone. Integrate with voice assistants like Amazon Alexa or Google Assistant for hands-free control. You no longer need to get up to adjust the lights.
- Versatile Application: Their flexible design and adhesive backing allow for installation in previously difficult-to-light areas. Think under cabinet lights, behind TVs, or along staircases.
You gain a powerful tool for home improvement by choosing smart LED strip lights. They make your home more comfortable, efficient, and visually appealing.

Planning Your LED Strip Light Project
Successful installation and creative use of smart LED strip lights begin with careful planning. Before you purchase any equipment, consider the specific needs and layout of your space. Thorough preparation ensures you select the right products and achieve your desired lighting effects efficiently.
Consider these critical planning steps:
- Measure Your Space: Accurately measure the length where you intend to install the strip lights. Many strips come in specific lengths and offer extensions, so knowing your exact requirement prevents gaps or excess.
- Determine Power Requirements and Placement: Smart LED strips require a power source, usually a wall outlet for an adapter. Identify accessible outlets near your installation area. Plan where to conceal the power supply and controller box for a clean look.
- Evaluate the Installation Surface: The adhesive on LED strips works best on clean, smooth, non-porous surfaces. Roughened, dusty, or greasy surfaces will not provide adequate adhesion. Clean the area thoroughly with rubbing alcohol before installation.
- Indoor or Outdoor Use: If you plan outdoor installation, ensure your chosen LED strip lights have an appropriate IP (Ingress Protection) rating. This rating indicates their resistance to dust and water. Look for IP65 or higher for outdoor applications.
- Consider Connectivity and Smart Home Integration: Decide whether you want Wi-Fi, Zigbee, Bluetooth, or Matter-compatible strips. This choice impacts how they integrate with your existing smart home ecosystem and your control options.
Careful planning saves you time and frustration during the installation process. It also ensures your smart LED strip lights meet your expectations.
Choosing the Best Smart LED Strip Lights
Selecting the right smart LED strip lights involves understanding various brands, features, and connectivity options. Your choice impacts performance, ease of use, and compatibility with your smart home system. Focus on products that align with your specific needs and budget.
Consider these factors when making your selection:
- Leading Brands:
- Philips Hue: Offers excellent color quality and robust smart home integration, often requiring a Hue Bridge. They feature extensive ecosystem support.
- LIFX: Known for bright, vibrant colors and hub-free Wi-Fi connectivity. They offer diverse light strip options.
- Govee: Provides a wide range of affordable options with impressive features like music synchronization and unique lighting effects. Govee products often use Wi-Fi and Bluetooth.
- Wyze: Delivers budget-friendly smart home devices, including LED strip lights, with straightforward app control and good basic functionality.
- Connectivity Options:
- Wi-Fi: Connects directly to your home network, often without a hub. This offers easy setup but can sometimes add congestion to your Wi-Fi.
- Zigbee: A mesh network protocol that requires a hub (like Philips Hue Bridge or SmartThings hub). Zigbee devices consume less power and create a more robust network for many devices.
- Bluetooth: Offers direct control from your smartphone over short distances. Bluetooth devices typically do not integrate with full smart home systems without a bridge.
- Matter: The emerging universal smart home standard designed for interoperability across different brands and ecosystems. Products supporting Matter will simplify future smart home setups, as noted by the Connectivity Standards Alliance. You can learn more about this standard at csa-iot.org/all-solutions/matter/.
- Key Features:
- Brightness (Lumens): Higher lumen counts indicate brighter lights. Consider if you need accent lighting or primary illumination.
- Color Accuracy (CRI): Color Rendering Index measures how accurately a light source reveals the true colors of objects. A higher CRI (90+) ensures colors look natural.
- Length and Extendability: Ensure the strip length matches your needs, and check if you can extend it with additional segments.
- IP Rating: Essential for outdoor or bathroom installations to ensure resistance against dust and water.
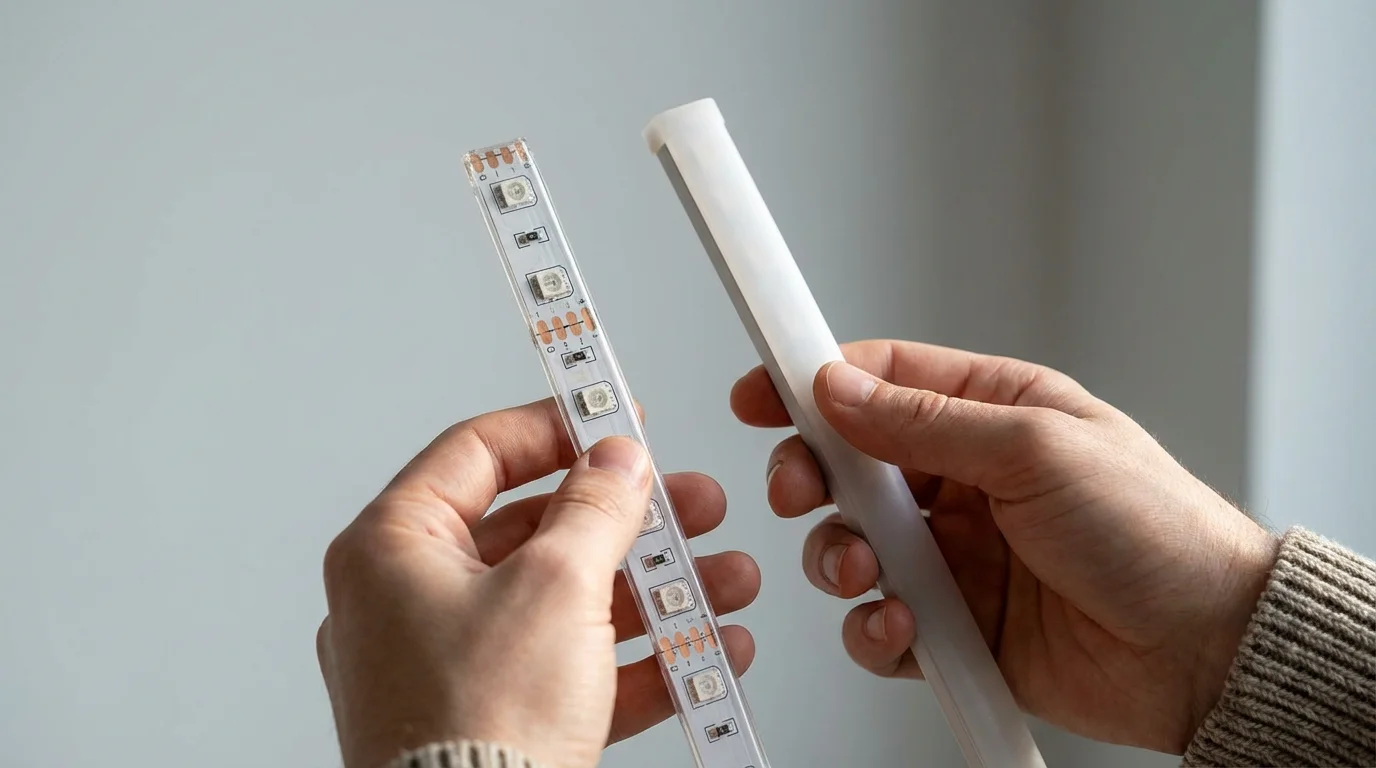
- Cut Points: Most strips have marked cut points, allowing you to customize the length. Always cut at these designated spots.
- Gather Your Tools:
- Smart LED strip lights kit (strips, controller, power adapter)
- Measuring tape
- Scissors (or utility knife)
- Rubbing alcohol and a clean cloth
- Optional: Cable clips, extension cables, corner connectors
- Prepare the Surface:
- Clean the installation surface thoroughly with rubbing alcohol. This removes dust, grease, and grime that could compromise the adhesive.
- Allow the surface to dry completely before proceeding. A clean, dry surface is crucial for strong adhesion.
- Measure and Cut (If Necessary):
- Measure the desired length for your LED strip lights.
- Identify the designated cut points on the strip, usually marked with a copper line or scissor icon.
- Carefully cut the strip at these points using scissors. Never cut anywhere else, as this can damage the circuitry.
- Connect the Components:
- Connect the cut or full-length LED strip to the controller box. Ensure the pins align correctly.
- If using corner connectors or extensions, attach them now, making sure all connections are secure.
- Plug the power adapter into the controller box. Do not plug it into a wall outlet yet.
- Test Before Sticking:
- Before peeling off the adhesive backing, plug the power adapter into a wall outlet.
- Turn on the lights using the app or controller. Verify that the entire strip illuminates correctly and changes colors as expected.
- This step helps identify any faulty connections or strips before permanent installation.
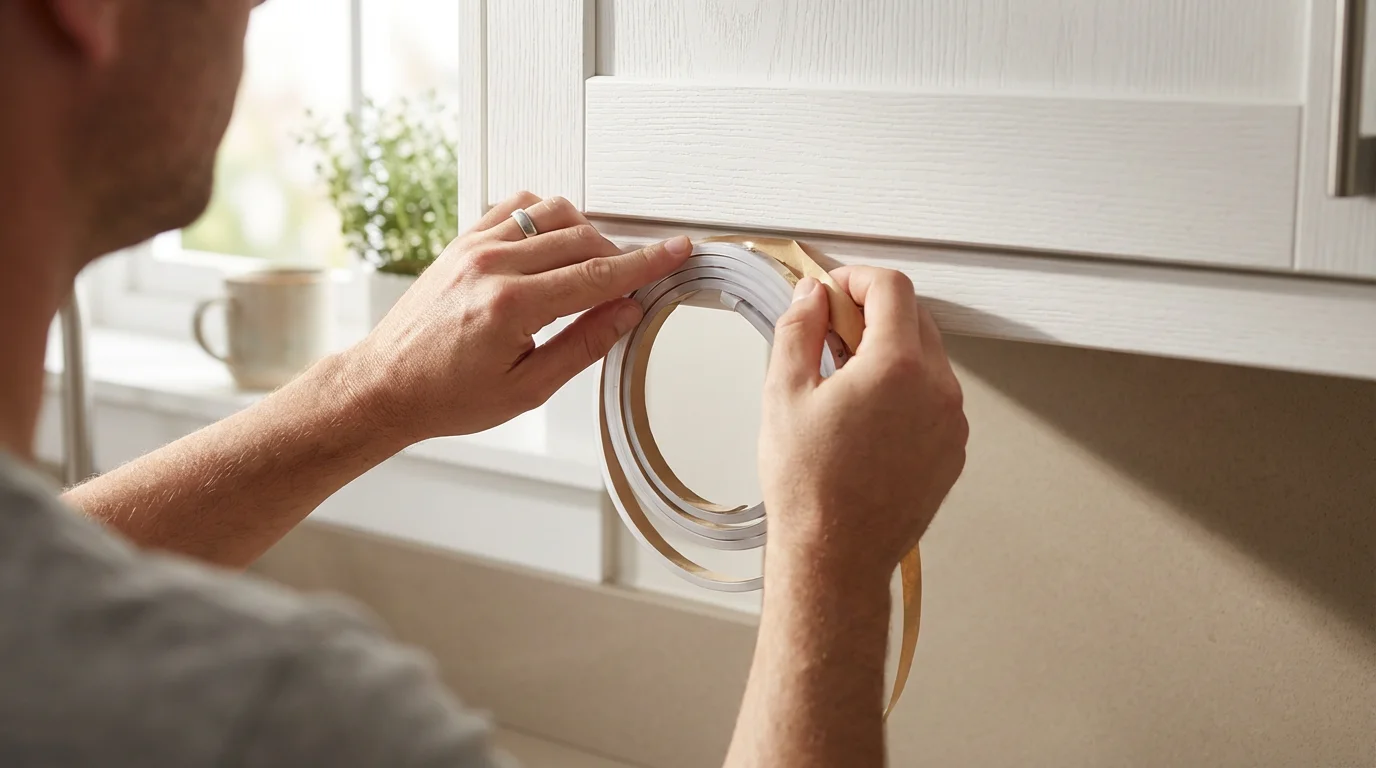
- Peel and Stick the Strip:
- Unplug the power adapter.
- Carefully peel off a small section of the adhesive backing from one end of the strip.
- Press the exposed adhesive firmly onto your prepared surface, working your way along the strip, peeling more backing as you go. Apply even pressure to ensure good contact.
- Avoid stretching the strip during application.
- Secure Cables and Power On:
- Use cable clips if needed to tidy up any loose wires or to provide extra support for the strip, especially on vertical surfaces.
- Once everything is secured, plug the power adapter back into the wall outlet.
- Open your smart LED strip light app and follow the on-screen instructions to pair your new lights with your Wi-Fi network or smart home hub.
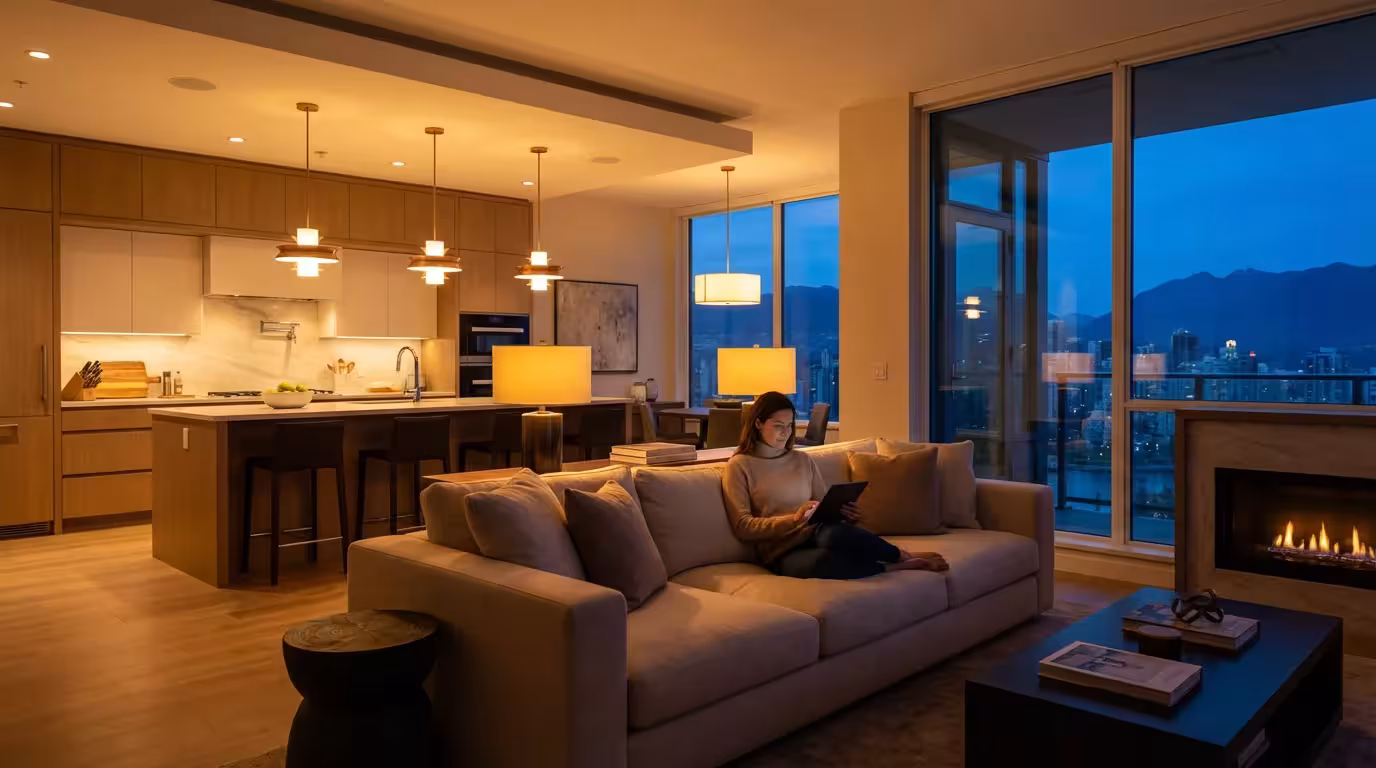
- Under Cabinet Lights in the Kitchen: Install LED strips beneath your kitchen cabinets for practical task lighting and stylish accent lighting. This illuminates your countertops, making food preparation easier and adding a modern glow. These under cabinet lights are both functional and visually appealing.
- TV Backlighting: Attach LED strips to the back of your television. This reduces eye strain in dark rooms and enhances the perceived contrast of your screen, creating a more immersive viewing experience. Many strips offer synchronization with screen content for dynamic effects.
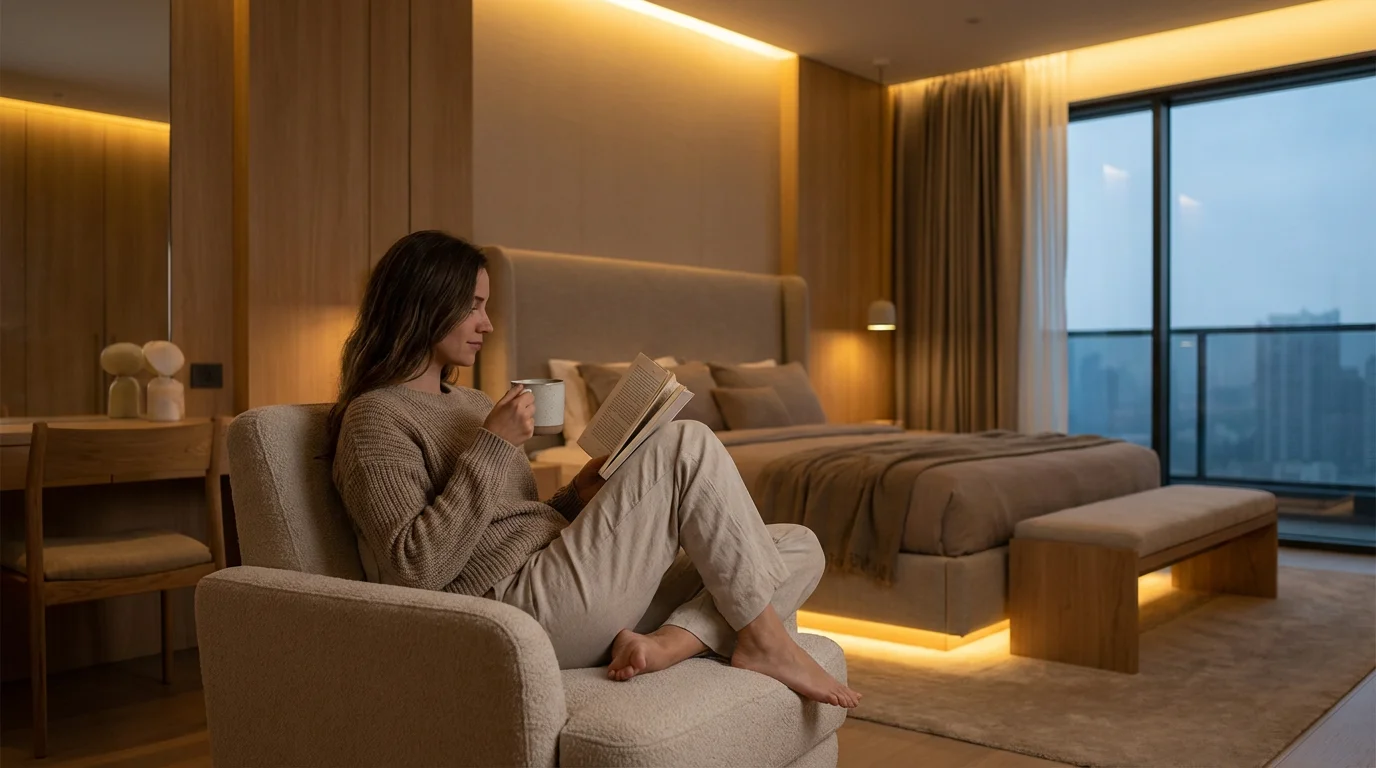
- Bedroom Ambiance: Mount strips behind your headboard, under your bed frame, or along crown molding to create soft, indirect lighting. This provides a relaxing atmosphere perfect for unwinding. You can set the mood with warm whites or soothing blues.
- Stairwell Safety and Style: Apply LED strips along the underside of stair treads or beneath handrails. This improves visibility and safety, especially at night. It also adds a sophisticated, floating light effect to your staircase.
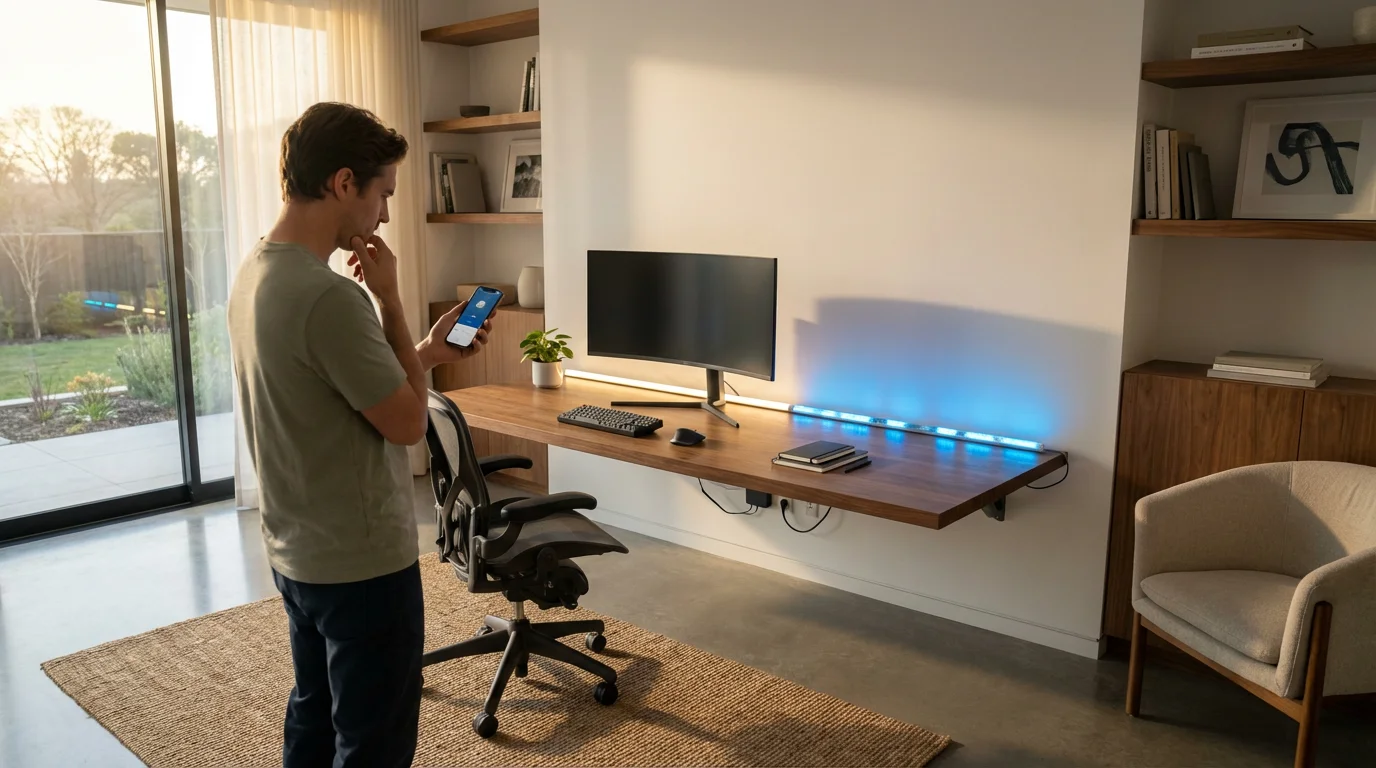
- Gaming Setup Enhancement: Integrate LED strips behind monitors, desks, or shelves in your gaming area. Dynamic lighting synchronized with games or audio enhances immersion and creates an exciting environment.
- Cove Lighting: Place strips in architectural coves or recessed areas in ceilings. This creates a luxurious, soft glow that washes the ceiling, making the room feel larger and more inviting.
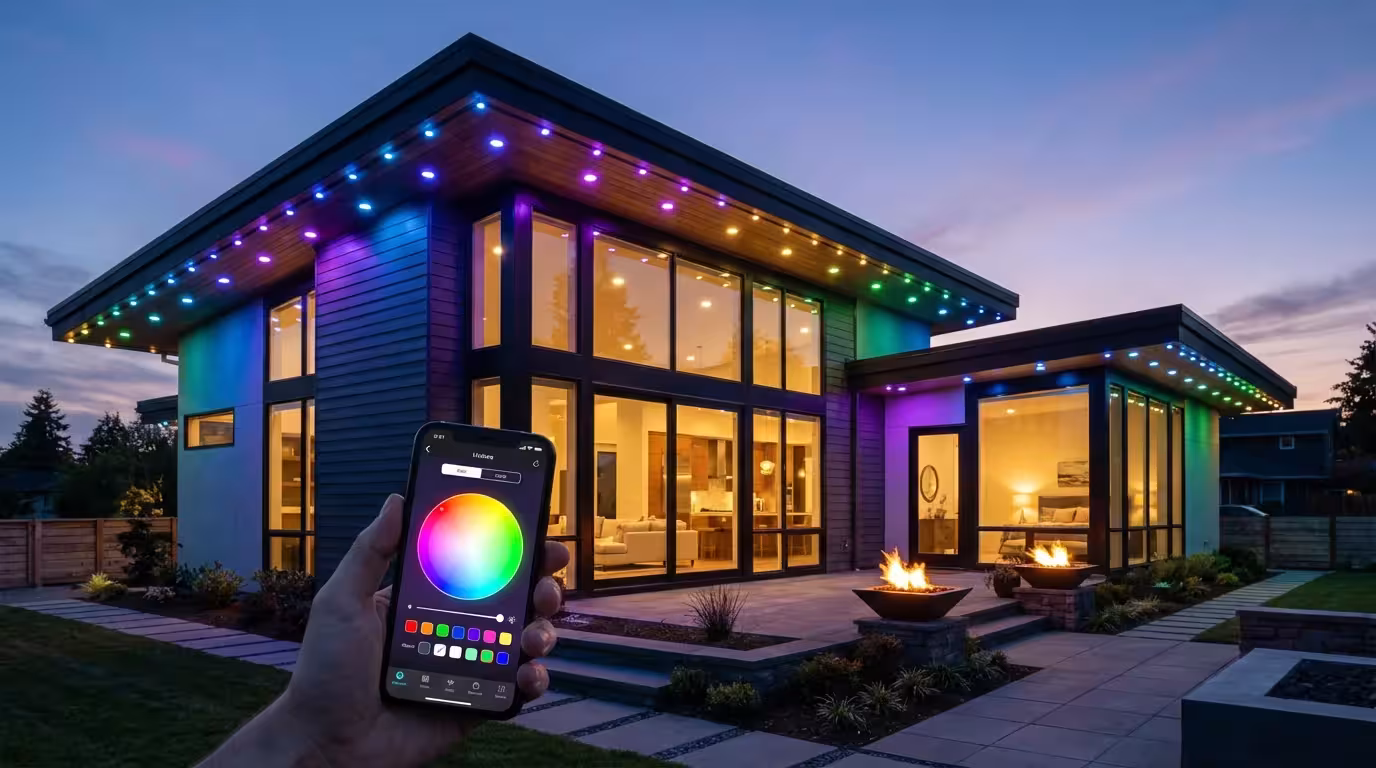
- Outdoor Accents (with IP-rated strips): Line pathways, deck railings, or patio covers with weather-resistant LED strips. This provides ambient light for outdoor entertaining and adds security. Ensure you use strips specifically rated for outdoor conditions.
- Scheduled Lighting: Set your LED strip lights to turn on or off at specific times. You can have them brighten gradually in the morning as a gentle alarm or turn off automatically after bedtime. Utilize sunrise and sunset schedules for natural transitions, ensuring lights activate only when needed.
- Voice Control Integration: Connect your smart LED strip lights to voice assistants like Amazon Alexa or Google Assistant. You can then use simple voice commands to adjust brightness, change colors, or activate scenes. For example, say, “Alexa, set kitchen under cabinet lights to warm white” or “Hey Google, turn living room strip lights blue.”
- Motion and Occupancy Sensors: Pair your strips with motion sensors to activate lighting when you enter a room. For instance, lights can turn on when you open the pantry door, illuminating the shelves, and turn off automatically after a period of inactivity. This is especially useful for hallways and closets.
- Integration with Smart Home Platforms: Link your LED strips to a central smart home hub or platform such as SmartThings, Apple HomeKit, or Home Assistant. This allows you to create complex routines that involve multiple devices. For example, your bedroom strip lights could dim as your smart thermostat adjusts the temperature for sleep.
- Circadian Rhythm Lighting: Program your lights to automatically adjust their color temperature throughout the day. Warmer, more relaxing tones can appear in the evening, while brighter, cooler tones can encourage focus during the day. This supports your natural sleep-wake cycle.
- Geofencing: Set your lights to respond to your location. Your outdoor accent lighting can turn on automatically as you approach your home, providing a welcoming illuminated path.
- Connectivity Problems (Lights Not Responding):
- Check Wi-Fi Connection: Ensure your home Wi-Fi network is active and your router functions correctly. Smart LED strips, especially Wi-Fi models, require a stable connection.
- Power Cycle: Unplug the LED strip’s power adapter from the wall outlet, wait 10-15 seconds, then plug it back in. This often resolves minor glitches.
- Router Proximity: Move the strip or your Wi-Fi router closer to each other if connectivity is consistently poor. Thick walls or other electronics can interfere with signals.
- App Re-pairing: If the strip loses connection, try re-pairing it through its dedicated app. Follow the manufacturer’s reset and pairing instructions.
- Uneven Brightness or Dead Sections:
- Check Connections: Ensure all connectors between strip segments, the controller, and the power supply are firmly seated. Loose connections are a common cause of uneven lighting.
- Power Supply Adequacy: Verify that your power adapter provides sufficient wattage for the length of your LED strip. Adding extensions sometimes requires a more powerful adapter.
- Physical Damage: Inspect the strip for visible damage, such as bends or cuts outside the designated cut points. This can cause sections to fail.
- Adhesion Problems (Strip Falling Off):
- Surface Preparation: Re-clean the surface thoroughly with rubbing alcohol. Any dust, grease, or moisture prevents proper adhesion.
- Use Adhesion Promoter: For difficult surfaces, consider using a specialized adhesion promoter before applying the strip.
- Additional Fasteners: Supplement the adhesive backing with clear mounting tape, silicone adhesive, or small cable clips for extra security, especially on vertical or textured surfaces.
Make an informed decision to ensure your smart LED strip lights integrate seamlessly into your smart home vision.
How to Install Smart LED Strip Lights Yourself
Installing smart LED strip lights yourself is a straightforward process, empowering you to create stunning lighting effects without needing a professional. Follow these step-by-step instructions to ensure a smooth and successful setup. Remember to prioritize safety throughout the installation.
Here is how to install LED strip lights yourself:
You have now successfully completed the process of how to install LED strip lights yourself. Enjoy your new smart lighting! For any complex electrical wiring beyond simple plug-and-play, always consult a licensed electrician to ensure safety and compliance with local codes.

Creative LED Strip Light Ideas for Home
Smart LED strip lights offer endless possibilities for enhancing your home’s aesthetics and functionality. Their flexibility and color-changing capabilities make them perfect for various applications, transforming ordinary spaces into extraordinary ones. Explore these creative LED strip light ideas for home to inspire your next project.
“The best smart home is the one you don’t have to manage. Automation and thoughtful lighting design should enhance, not complicate, your daily life.”
Beyond the kitchen and bedroom, you can use these versatile strips to create smart lighting for home offices that helps improve focus and energy throughout the day.
Consider these innovative uses:
These creative LED strip light ideas for home demonstrate how you can leverage smart lighting to improve both the beauty and utility of your living space.

Automating Your Smart LED Strip Lights
The true power of smart LED strip lights lies in their automation capabilities. You can move beyond manual control to create a truly responsive and intelligent lighting system. Integrating your strips with smart home platforms and sensors enhances convenience, energy savings, and security.
Implement these automation strategies:
Automating your smart LED strip lights ensures your lighting works intelligently in the background, making your home more comfortable and efficient. You transform simple lights into an integral part of your smart living experience.
Troubleshooting Common Smart LED Strip Light Issues
While smart LED strip lights generally offer reliable performance, you might occasionally encounter minor issues. Many problems have straightforward solutions that you can address yourself. Understanding common troubleshooting steps helps you quickly resolve problems and restore full functionality.
Here are solutions for frequent issues:
Addressing these common issues typically resolves most problems you might encounter with your smart LED strip lights. If problems persist, consult the manufacturer’s support resources or consider professional assistance.
Frequently Asked Questions
Are smart LED strip lights energy efficient?
Yes, smart LED strip lights are highly energy efficient. LED technology consumes significantly less power than traditional incandescent or halogen bulbs, leading to lower electricity bills. Their “smart” features also allow for automation and scheduling, further reducing unnecessary energy consumption.
Can I cut LED strip lights anywhere?
No, you should only cut LED strip lights at the designated cut points. These points are typically marked with a copper line, a small scissor icon, or a set of solder pads. Cutting elsewhere can permanently damage the strip and prevent electrical flow to subsequent segments.
Do I need a hub for smart LED strip lights?
It depends on the specific brand and model of LED strip lights you choose. Many modern smart LED strips connect directly to your home Wi-Fi network and do not require a separate hub. Others, particularly those using Zigbee or Z-Wave protocols, do require a compatible hub for full functionality and smart home integration.
How long do LED strip lights last?
High-quality LED strip lights typically boast a lifespan of 25,000 to 50,000 hours of operation. This translates to several years of continuous use, significantly longer than traditional light bulbs. Factors like usage frequency, operating temperature, and manufacturer quality influence their exact lifespan.
Can I use LED strip lights outdoors?
You can use certain LED strip lights outdoors, but you must select models specifically designed and rated for outdoor use. Look for an IP (Ingress Protection) rating of IP65 or higher, which indicates resistance to dust and water exposure. Indoor-only strips are not suitable for outdoor environments and will fail prematurely.
Disclaimer: This article is for informational purposes only. Smart home devices involve electrical connections and data privacy. Always follow manufacturer instructions for installation. For complex wiring or HVAC work, consult a licensed professional.


Leave a Reply