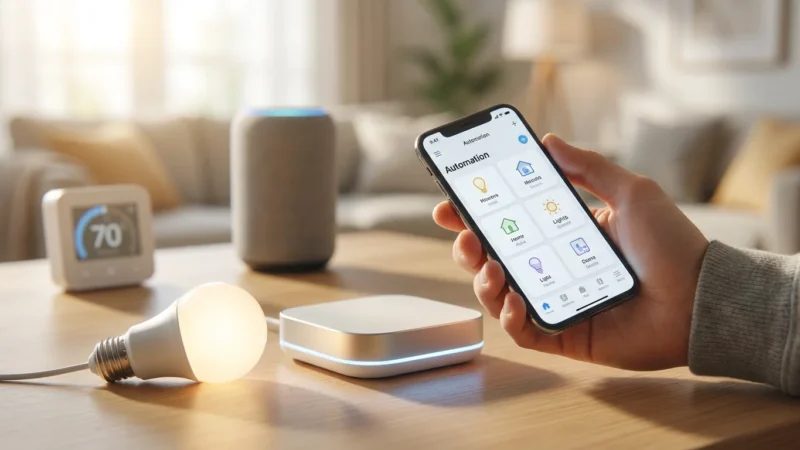
Buying a robot vacuum is often the first step homeowners take toward automation. It promises a future where you never have to sweep again. However, simply unboxing an iRobot Roomba or a Roborock and pressing “clean” rarely delivers that seamless experience. Without proper integration, you might find your vacuum running while you are trying to watch a movie, getting stuck on cables, or waking the baby during nap time.
To truly unlock the value of your device, you need to weave it into the fabric of your smart home ecosystem. When your vacuum communicates with your door locks, lighting, and location sensors, it stops being a gadget and becomes a utility. The goal is to move from manually starting the cleaning cycle to a system where the floor is simply always clean, and you never see the robot doing the work.
This guide will walk you through setting up advanced logic, geofencing, and scene-based triggers to make your robot vacuum an invisible, efficient part of your daily life.

Foundation: Preparing Your Home for Automation
Before you program a single line of logic or set up an Alexa routine, you must address the physical environment. A smart robot cannot overcome a dumb obstacle. If your vacuum gets stuck three times a week, you will stop trusting your automations and revert to manual control.
Automation requires reliability. You need to “robot-proof” your home to ensure the cleaning cycle completes successfully without your intervention.
- Cable Management: Zip-tie loose electrical cords behind entertainment centers. Use cable raceways along baseboards. Cables are the number one enemy of vacuum rollers.
- Furniture Clearance: Check if your robot can fit under your sofa and bed. If it gets wedged tight, consider using furniture risers to add the necessary half-inch of clearance.
- Threshold Check: Ensure the robot can climb over door thresholds. If a transition strip is too high, you may need to install a small ramp or set a “no-go” zone in the app.
- Digital Boundaries: Use your vacuum’s mapping software to draw “no-go zones” around pet bowls, thick shag rugs, or areas cluttered with kids’ toys.
Once the physical path is clear, you can confidently schedule cleaning sessions knowing the device will return to its dock 99% of the time.

Moving Beyond Simple Time Schedules
Most beginners set a timer: “Clean every day at 10:00 AM.” While better than nothing, fixed timers are rigid and often inconvenient. Life is dynamic, but a simple timer is not.
If you work from home, a vacuum roaring to life during a Zoom call is a disaster. If you are sick and sleeping in, the vacuum becomes a nuisance. Smart home routines replace fixed times with conditions. You want the vacuum to clean only when the conditions are right.
Effective conditions usually look like this:
- Time Window: Between 9:00 AM and 5:00 PM (to avoid night noise).
- Presence: Only if no one is home.
- State: Only if the security alarm is armed away.
By layering these conditions, you ensure the cleaning happens without interrupting your life.
The Magic of Geofencing: Cleaning When You Leave
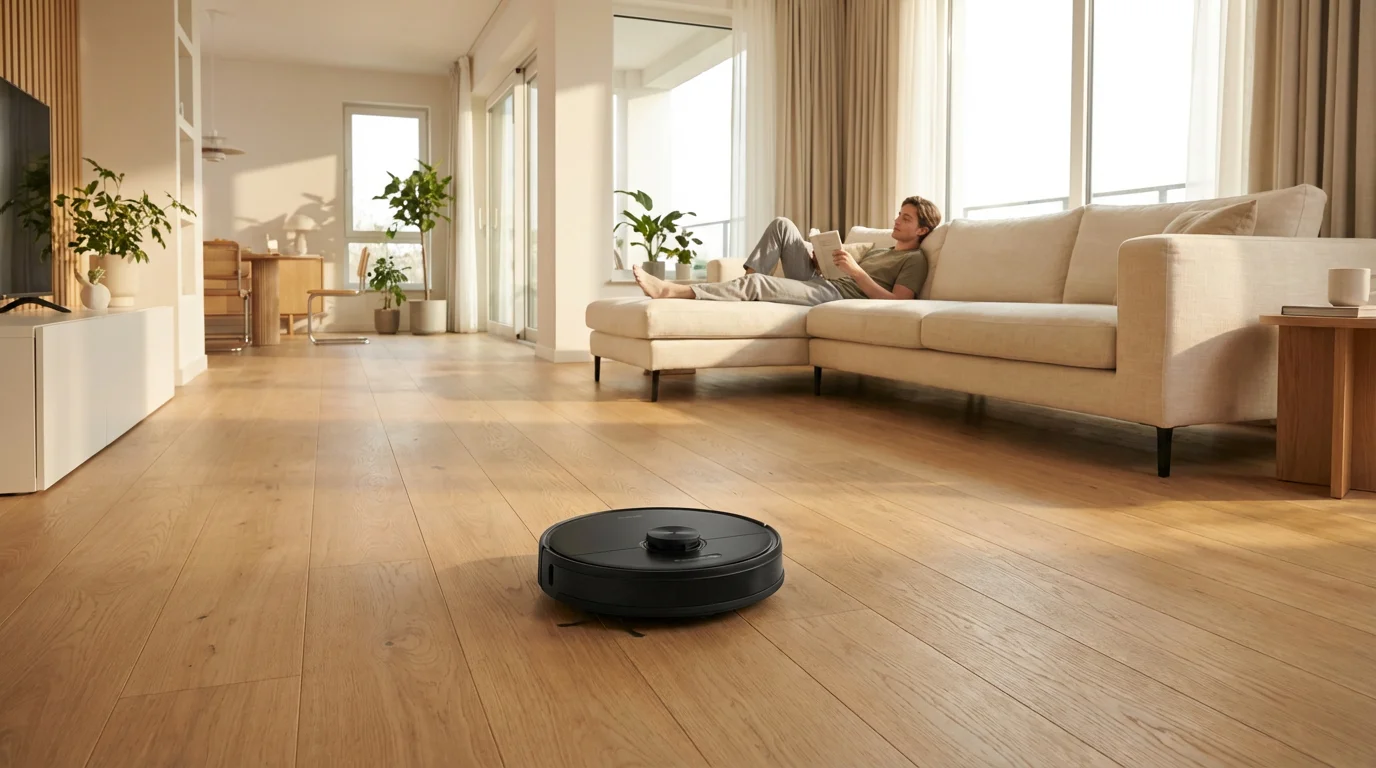
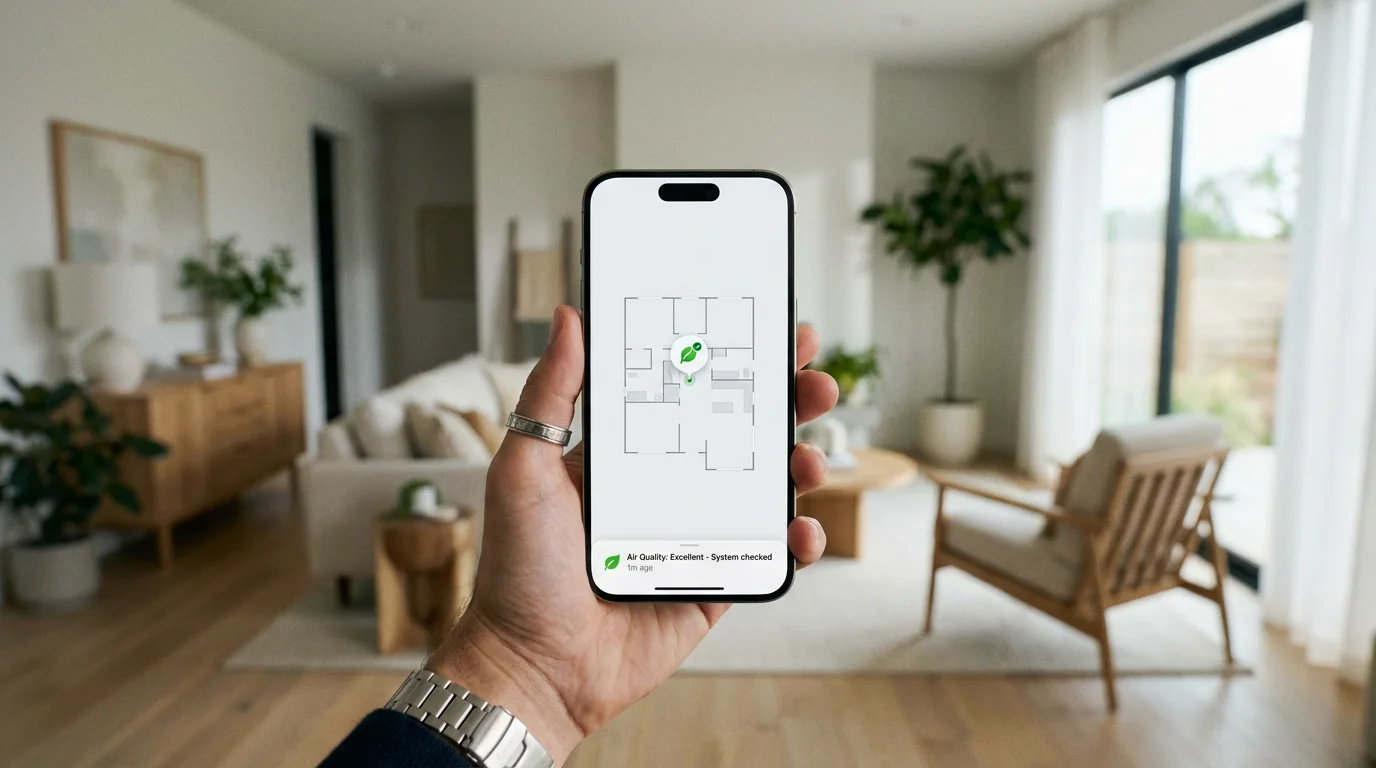
The most practical automation for a robot vacuum is geofencing. This uses the GPS location of your smartphone to trigger the vacuum when you leave a defined radius around your house.
This creates the “magic” effect: you leave for work with a dirty floor and return to a clean one, yet you never hear the vacuum running.
Setting Up Single-User Geofencing
If you live alone, this is straightforward. Most companion apps (like iRobot OS or the Roborock app) have native integration for this. You enable location services, and the app triggers the clean cycle when you cross the geofence boundary.
Multi-User Geofencing Challenges
If you live with a partner or roommates, simple geofencing fails. If you leave, the vacuum might start while your partner is still sleeping. You need a “Last Person Leaves” trigger.
To achieve this, you typically need a central smart home hub or a third-party service like IFTTT (If This Then That), Apple HomeKit, or Google Home.
- Google Home / Alexa: Create a “Household” routine. Use the presence sensing feature to detect when all associated phones have left the geofence.
- HomeKit: Use the “When the last person leaves” automation. Select your vacuum (if supported via Matter or Homebridge) to start cleaning.
- Life360 + IFTTT: For advanced users, link a Life360 family circle to IFTTT. Trigger the vacuum only when the circle status changes to “Everyone is away.”
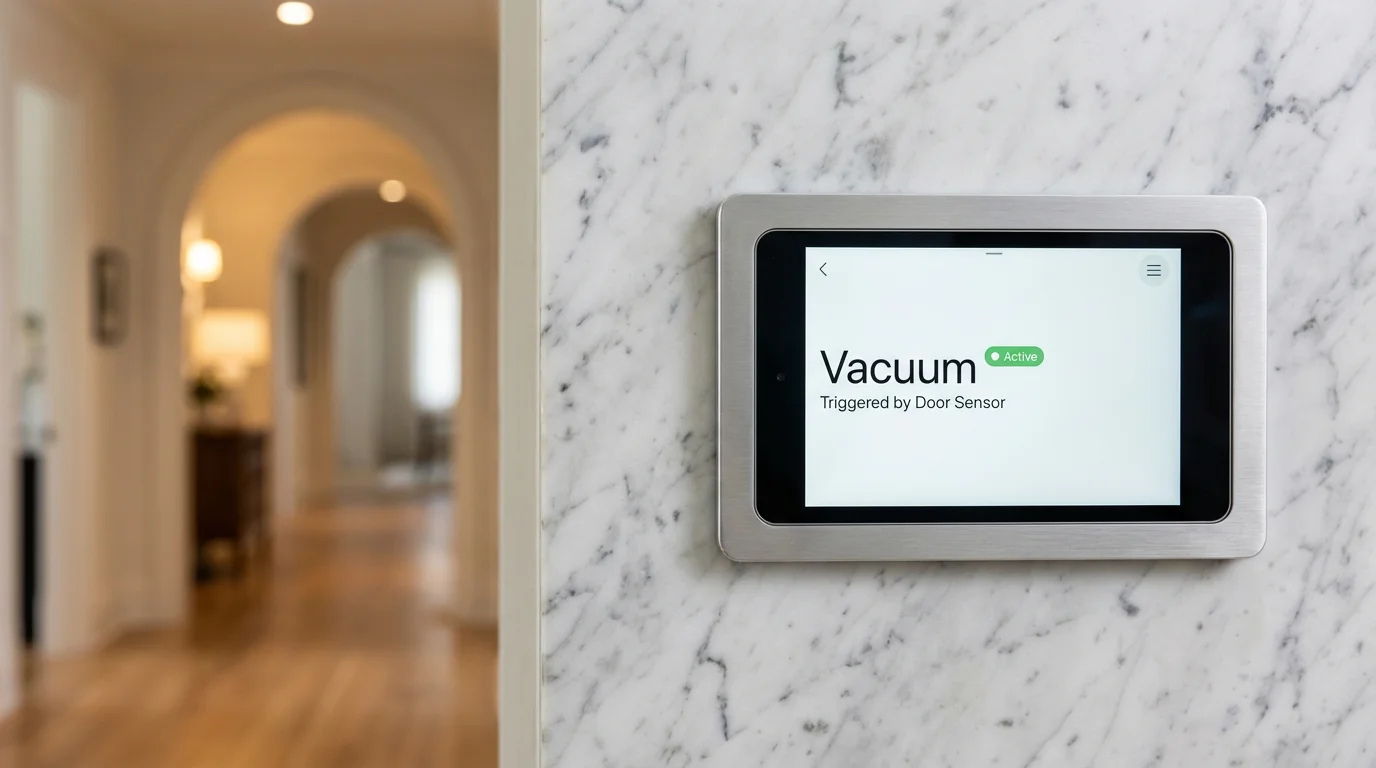
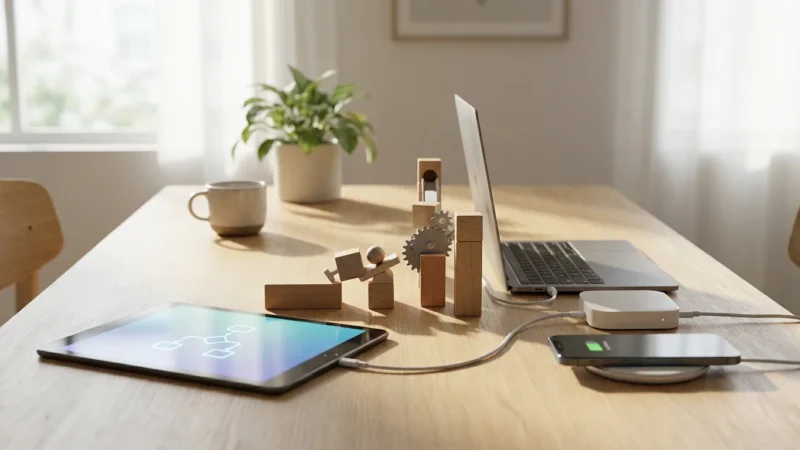
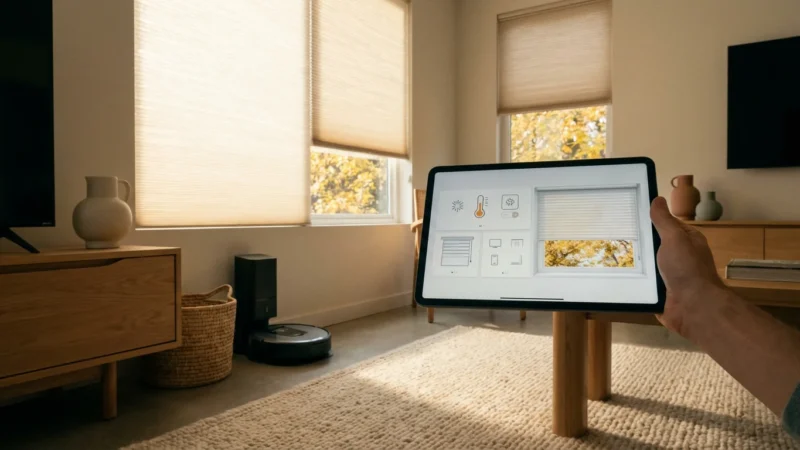
Event-Based Triggers and Smart Home Integration
Beyond location, you can use other devices in your home to signal that it is time to clean. This creates a cohesive ecosystem where devices react to one another.
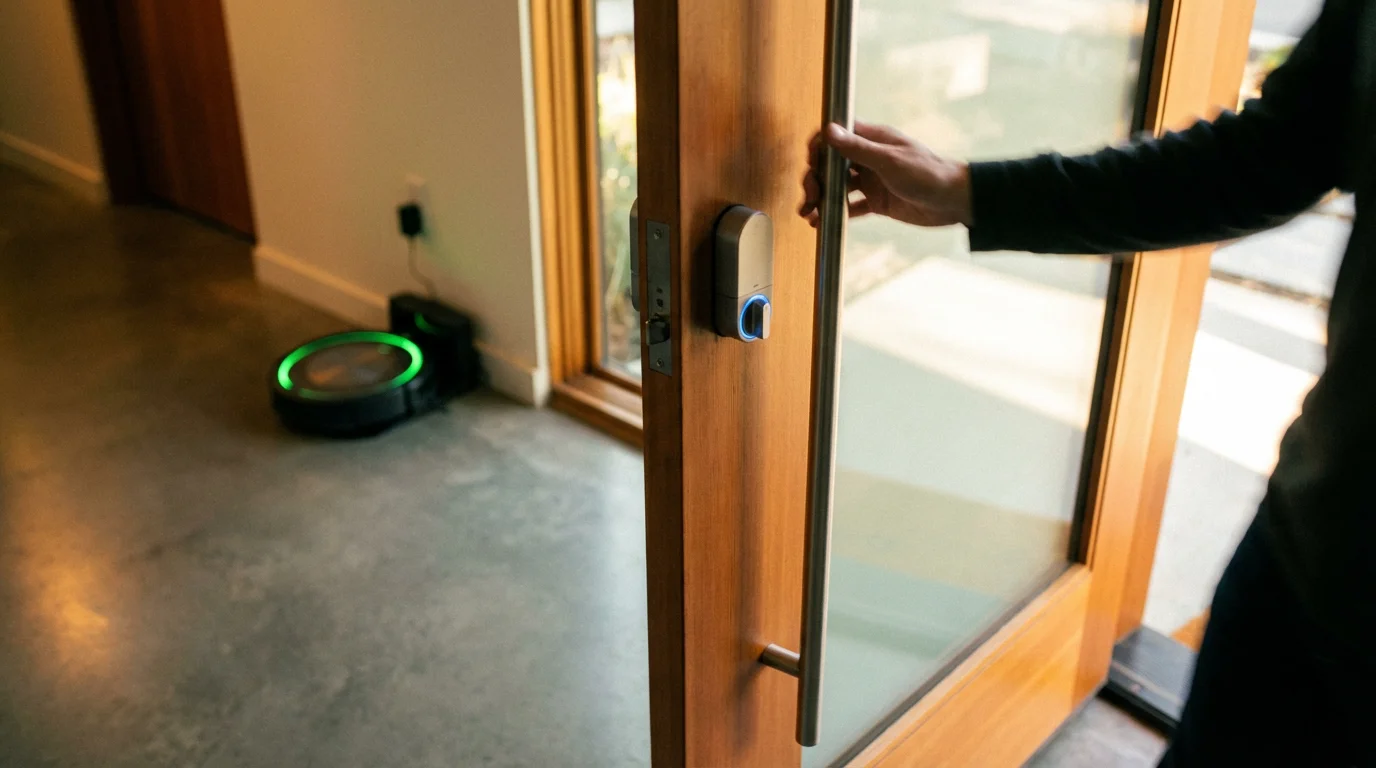
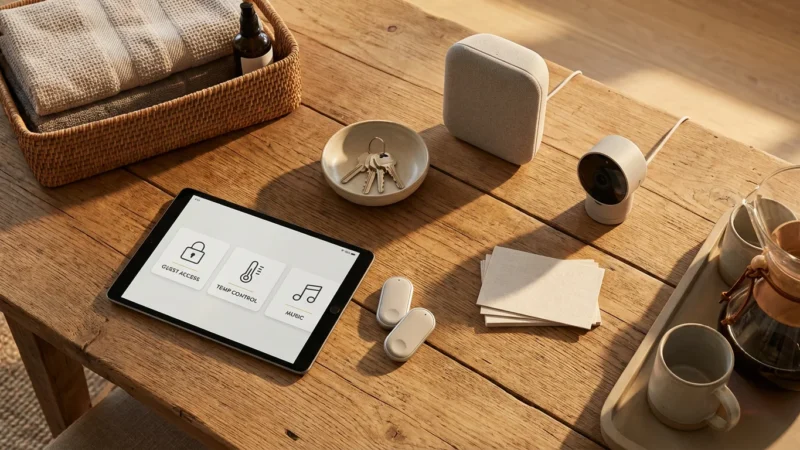
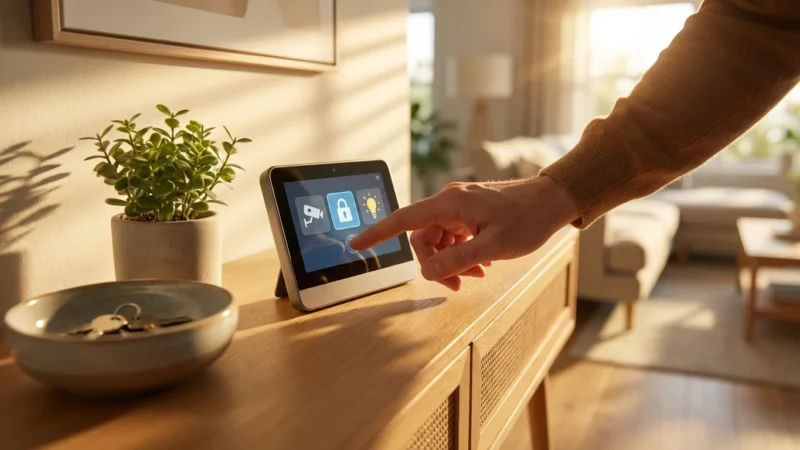
The “Good Bye” Scene
Instead of relying solely on GPS, you likely have a routine you perform when leaving the house. You can tie the vacuum into this sequence. For example, if you use a smart lock or a keypad to lock your front door from the outside, that action can serve as the trigger.
Example Routine:
- Trigger: Front door smart lock is locked + Keypad button pressed.
- Action 1: Arm security system to “Away.”
- Action 2: Turn off all smart lights.
- Action 3: Adjust smart thermostat to Eco mode.
- Action 4: Wait 15 minutes (to ensure you haven’t forgotten something and returned).
- Action 5: Start robot vacuum.
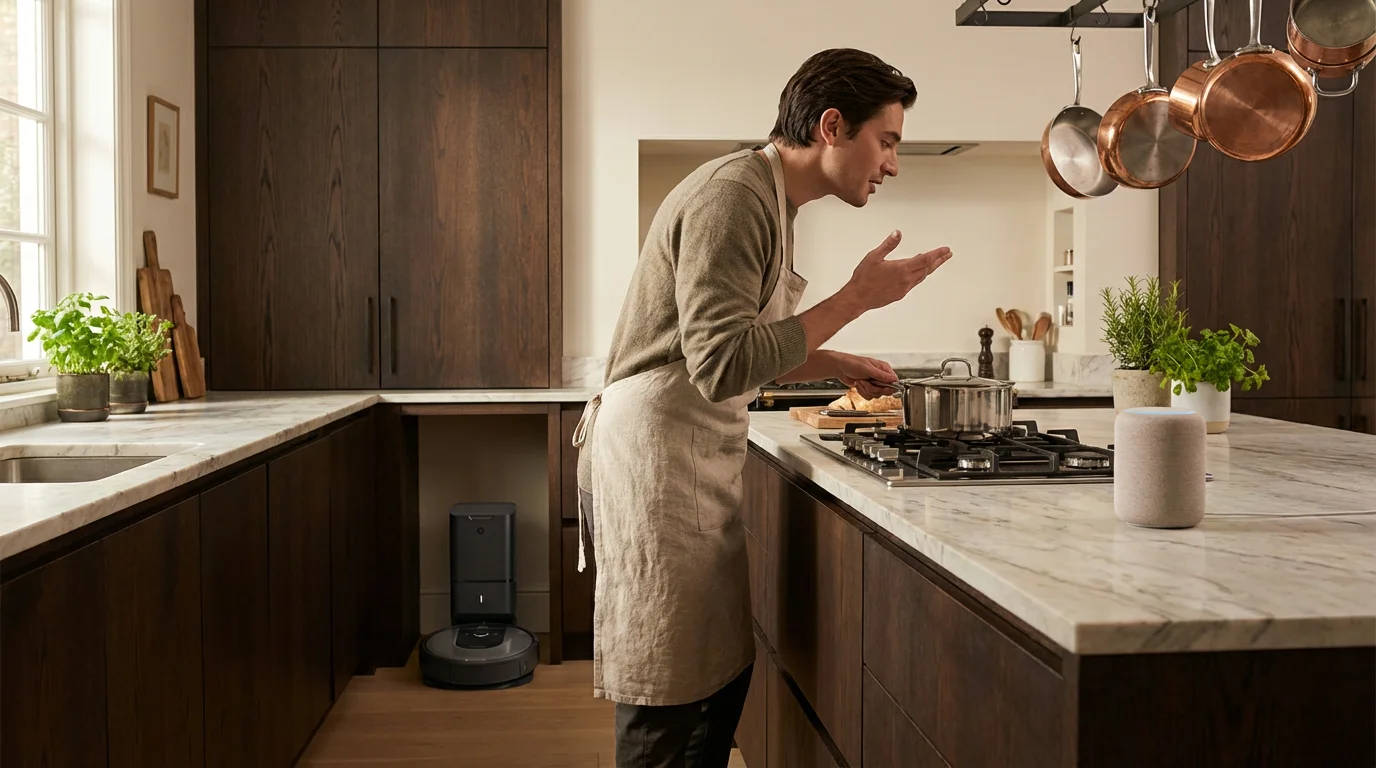
The “After Dinner” Cleanup
Kitchen floors collect crumbs rapidly. Instead of running a whole-house clean, automate a targeted cleaning zone. If you have a robot vacuum that supports room mapping, you can trigger a specific zone cleaning via voice or a button.
According to CNET, utilizing zone cleaning significantly extends the battery life of your device and reduces wear and tear, as the robot focuses only on high-traffic areas rather than the entire floor plan.

Why Your Vacuum Needs Your Smart Lights
Many homeowners overlook how the vacuum “sees.” Models that use LiDAR (laser navigation) work perfectly in pitch darkness. However, models that rely on vSLAM (visual Simultaneous Localization and Mapping), such as many iRobot Roomba models or Samsung Jet Bots, use cameras to navigate. They need light to see landmarks.
If your automation runs when you are away, your house is likely dark. This causes the robot to get lost, miss spots, or fail to dock.
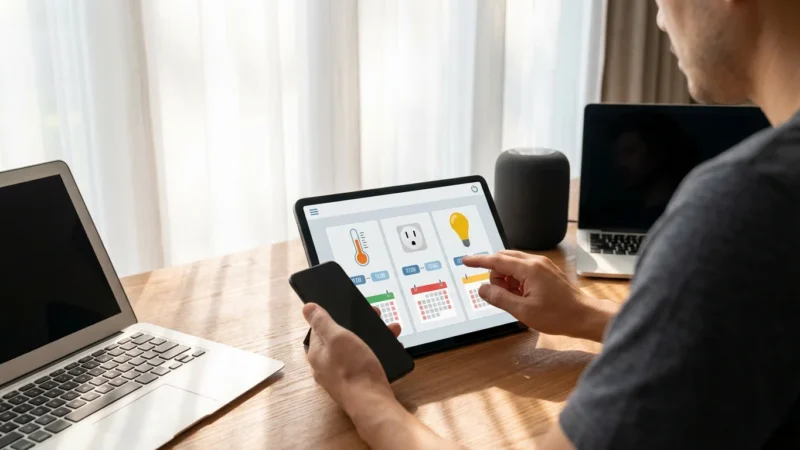
Creating a “Cleaning Mode” Lighting Scene
You can solve this by linking your lighting to your vacuum’s state. Using a platform like Samsung SmartThings, Amazon Alexa, or Home Assistant, you can create the following logic:
- Trigger: Robot vacuum status changes to “Cleaning.”
- Condition: It is after sunset (or lux sensor reads below 50%).
- Action: Turn hallway and living room lights to 30% brightness.
You must also create the closing loop:
- Trigger: Robot vacuum status changes to “Docked.”
- Action: Turn off hallway and living room lights.
This ensures your camera-based robot always has navigation visibility, regardless of the time of day, without wasting energy on full-brightness lighting.
Optimizing Voice Assistant Commands
Voice control is often the most immediate way to interact with your smart home. However, shouting “Alexa, tell the vacuum to clean” is clunky. You can refine this experience by creating aliases and specific routines.
Simplify the Syntax
Create a routine so you only have to say “Clean the kitchen.”
Inside the Alexa or Google Home app, map the phrase “Clean the kitchen” to the custom action provided by the vacuum manufacturer (e.g., “Ask Roomba to clean the kitchen”). This removes the need to remember specific, robotic syntax.
The “Spill” Routine
Accidents happen. If you drop a bowl of popcorn, you don’t want to open an app. Set up a “Clean up the mess” routine.
- Phrase: “Hey Google, cleanup on aisle four” (or any fun phrase).
- Action: Send the robot to the specific coordinates of the living room sofa or the kitchen island.
Automating Maintenance and Upkeep
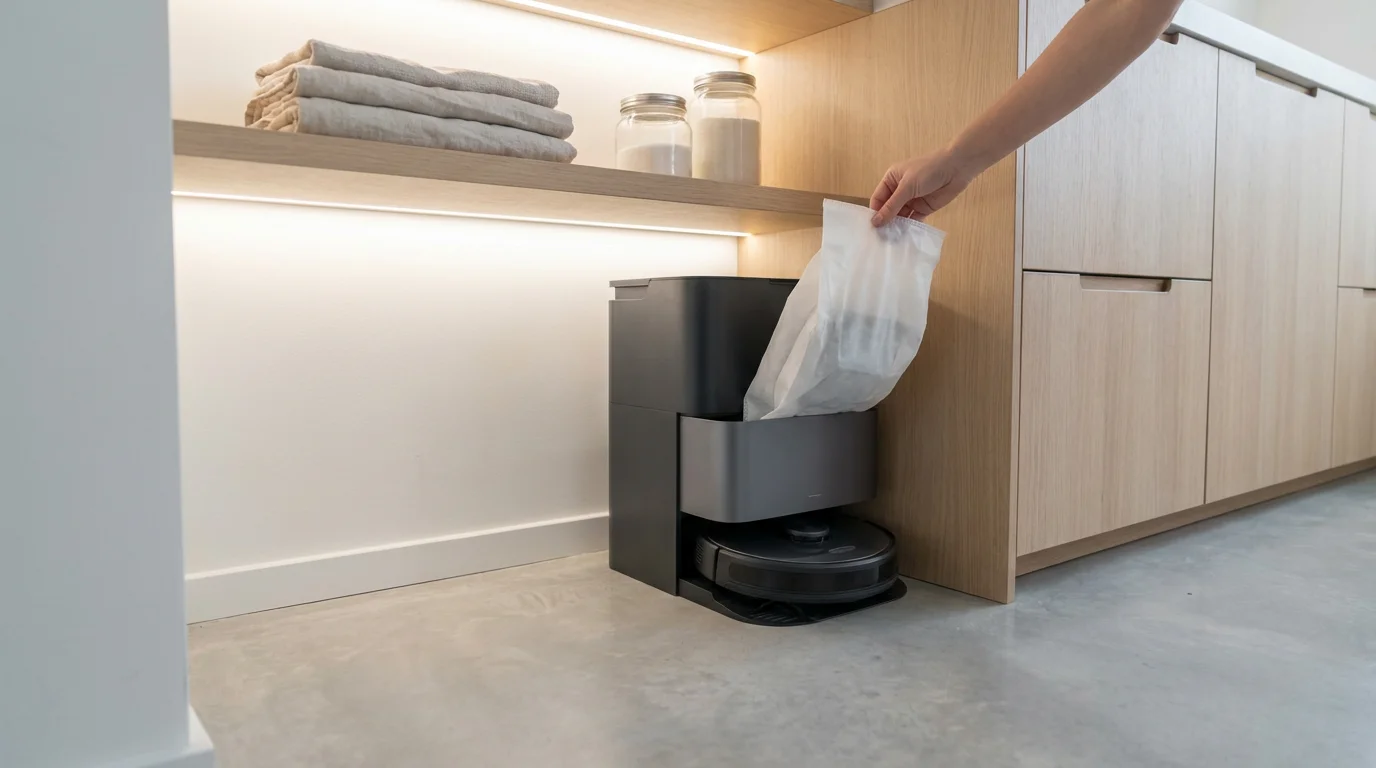
A robot vacuum is high-maintenance for an automated device. It needs its bin emptied (unless self-emptying), brushes cleaned, and sensors wiped. You can use your smart home system to remind you of these tasks before they cause a failure.
The “Bin Full” Announcement
If your vacuum connects to Alexa or Google Home, you can set up announcements. When the vacuum sends a “Bin Full” error code, have your smart speakers announce: “The vacuum requires attention,” rather than just sending a silent push notification to your phone that you might miss.
Filter and Brush Reminders
Native apps track usage hours, but they often bury the data in sub-menus. Set a recurring reminder in your preferred task manager (Todoist, Apple Reminders) every Sunday to spend five minutes wiping the cliff sensors. Clean sensors prevent the robot from throwing itself down stairs or spinning in circles due to “ghost” obstacles.
Troubleshooting Common Routine Failures
Even the best-planned automations fail. Here is how to diagnose and fix the most common issues when integrating a robot vacuum.
The Robot Starts at 3 AM
This usually happens due to a timezone mismatch. Check the settings in the robot’s native app to ensure it is set to your local time, not the manufacturer’s server time (often China Standard Time or UTC).
Geofencing Doesn’t Trigger
If the vacuum doesn’t start when you leave, check your phone’s battery optimization settings. Ensure the smart home app (Alexa/Life360/Home) has “Always Allow” location permissions. Aggressive battery saving modes often kill background location checks.
Vacuum Gets Stuck on “Smart” Rugs
Thick rugs are difficult for robots. If you have a rug that constantly traps the robot, don’t fight it. Edit your map to place a “No-Go Zone” over that specific rug. It is better to vacuum that one rug manually once a week than to have your automation fail daily.
Frequently Asked Questions
Can I run my robot vacuum at night while I sleep?
Yes, but with caveats. LiDAR-based vacuums (like many Roborock or Neato models) navigate perfectly in the dark, while camera-based models (vSLAM) need lights on to see. However, the noise level can be disruptive. If you run it at night, check if your app allows a “Quiet” or “Eco” mode to reduce suction power and fan noise.
How do I stop the vacuum from triggering my motion sensors?
This is a common issue with security systems. A moving robot can trip the alarm. You can often solve this by mounting your motion sensors higher or adjusting them to “Pet Immune” mode if available. Alternatively, advanced users can configure their smart home hub to ignore specific motion sensors or bypass them automatically when the vacuum state is “Cleaning.”
Does geofencing work with multiple people in the house?
Native vacuum apps usually struggle with multi-user geofencing, triggering when you leave even if your spouse is home. The best solution is to use a third-party hub like Google Home, Apple HomeKit, or IFTTT. These platforms can monitor the presence of multiple smartphones and only trigger the vacuum when the “Last Person Leaves” condition is met.
How often should I schedule my robot vacuum to run?
For most homes, running the vacuum 3 to 5 times a week maintains clean floors. If you have shedding pets, daily cleaning is recommended to prevent hair buildup. Interestingly, frequent runs are often better for the robot. The dust bin fills slower, preventing clogs, and the battery stays healthier through regular cycling.
Disclaimer: This article is for informational purposes only. Smart home devices involve electrical connections and data privacy. Always follow manufacturer instructions for installation. For complex wiring or HVAC work, consult a licensed professional.


Leave a Reply