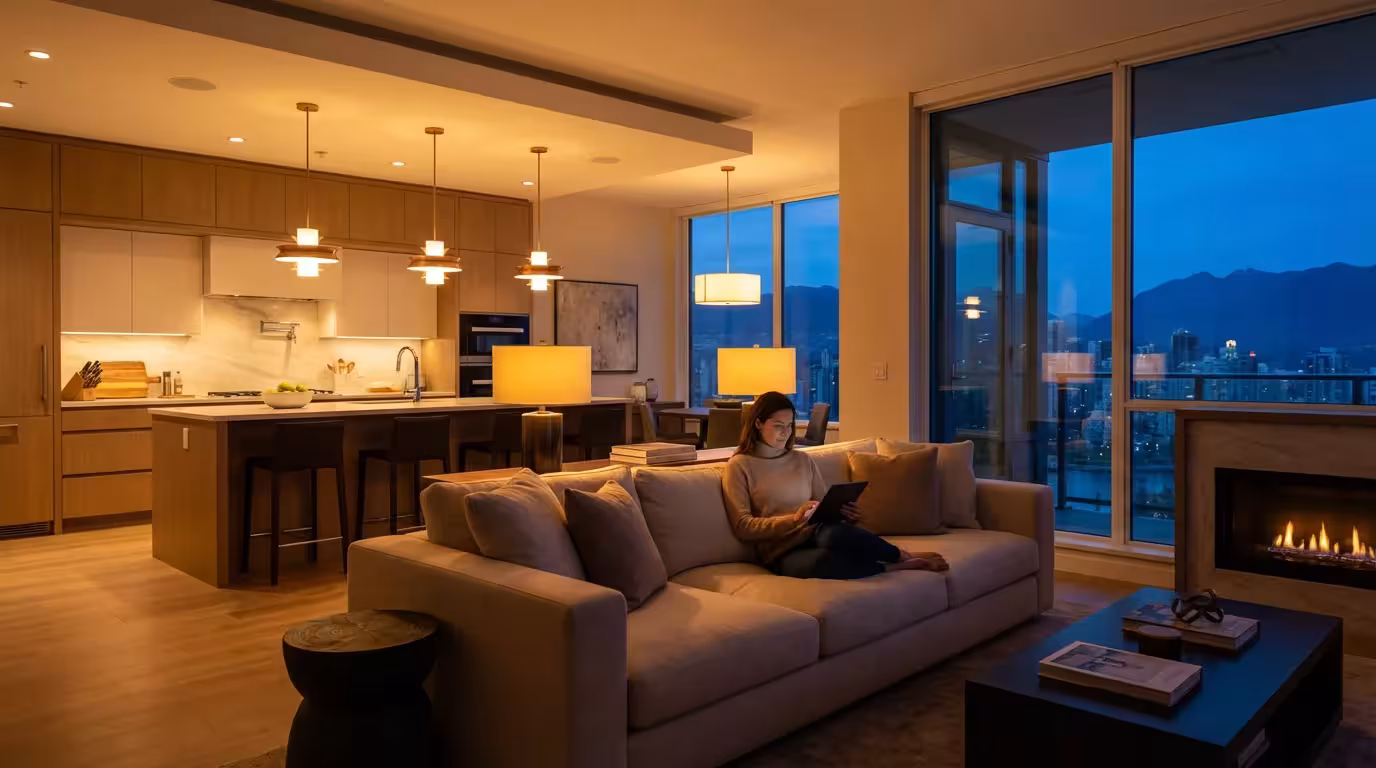
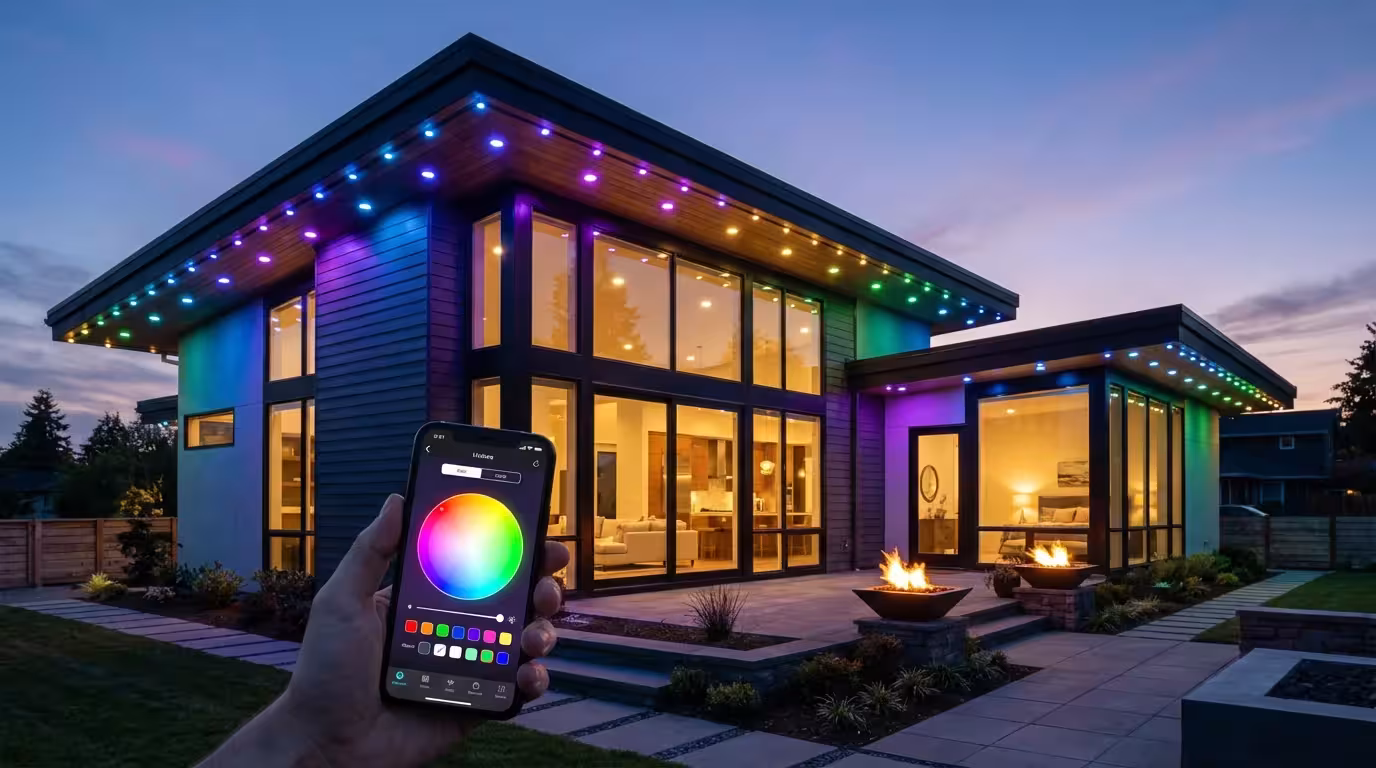
You walk into your kitchen late at night for a glass of water. You flip the switch, and suddenly, every overhead light blazes to life at 100% brightness, blinding you and waking up the rest of the house. This all-or-nothing approach to lighting is outdated. The true power of a smart home lies not just in turning lights on with your phone, but in creating precise, functional smart lighting zones that adapt to how you actually use your space.
Zoning allows you to control specific clusters of lights independently within a single room. It enables you to dim the living room lamps for a movie while keeping the hallway illuminated, or light up just the kitchen island for meal prep without flooding the dining area with light. By grouping lights based on function rather than just location, you gain control over the atmosphere, energy consumption, and utility of your home.
Understanding the Difference Between Rooms and Zones
Before buying bulbs, you need to understand the hierarchy of smart lighting. Most apps, including Apple Home, Google Home, and Amazon Alexa, organize devices using specific logic. Mixing up “Rooms” and “Zones” is the most common mistake beginners make, leading to frustration when voice commands trigger the wrong devices.
The Room
A “Room” in a smart home app usually corresponds to the physical walls of your home. It acts as the master container. When you say, “Turn off the Living Room,” every smart device assigned to that container shuts down. This includes floor lamps, ceiling cans, and light strips behind the TV.
The Zone (or Group)
A “Zone” is a subset of lights within that room (or spanning multiple rooms) that you want to control together. For example, in an open-concept living space, you might have one physical room that serves as a kitchen, dining area, and living room. However, you rarely want all three lit simultaneously. By creating zones, you treat these areas as distinct entities.
Effective zoning relies on separating lights by their utility:
- Functional Zones: Lights used for specific tasks (e.g., “Kitchen Counters”).
- Ambient Zones: Lights used for mood (e.g., “TV Bias Lighting”).
- Transit Zones: Lights used for navigation (e.g., “Hallway Night Lights”).
Choosing the Right Hardware for Zoning
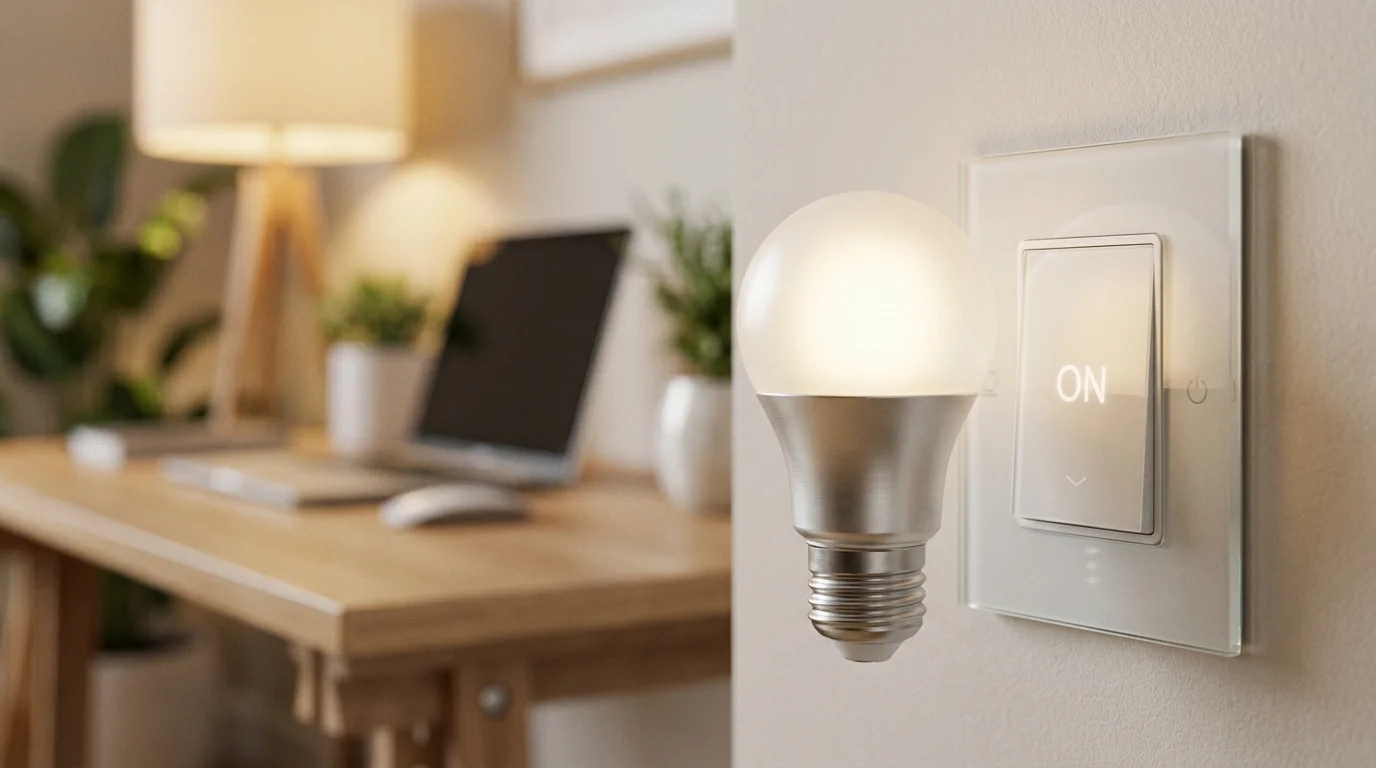
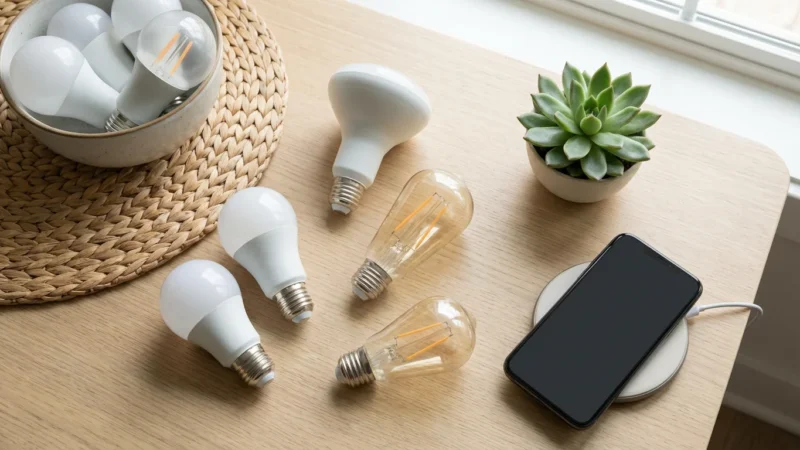
Hardware selection dictates how granular your control will be. If you install a smart switch, you control the entire circuit. If you install smart bulbs, you control every individual socket. To build effective zones, you generally need individual control.
Smart Bulbs vs. Smart Switches
For the best zoning experience, smart bulbs are usually superior to smart switches. A smart switch turns an entire chandelier or track lighting rail on or off. You cannot dim just the left side of the track. Smart bulbs, however, allow you to group three bulbs from a six-bulb fixture into one zone and the remaining three into another.
Ecosystem Recommendations
Different brands handle grouping differently. Here is how the major players stack up for zoning purposes:
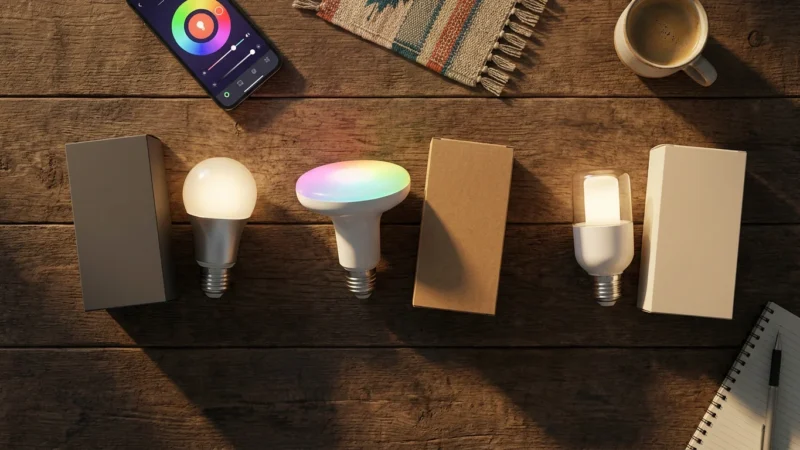
- Philips Hue: Widely considered the gold standard for zoning. The Hue app allows you to create “Zones” that sit on top of “Rooms,” giving you flexible control without breaking your room structure. Their reliable Zigbee mesh network ensures that when you change a zone, all lights respond instantly and in perfect sync.
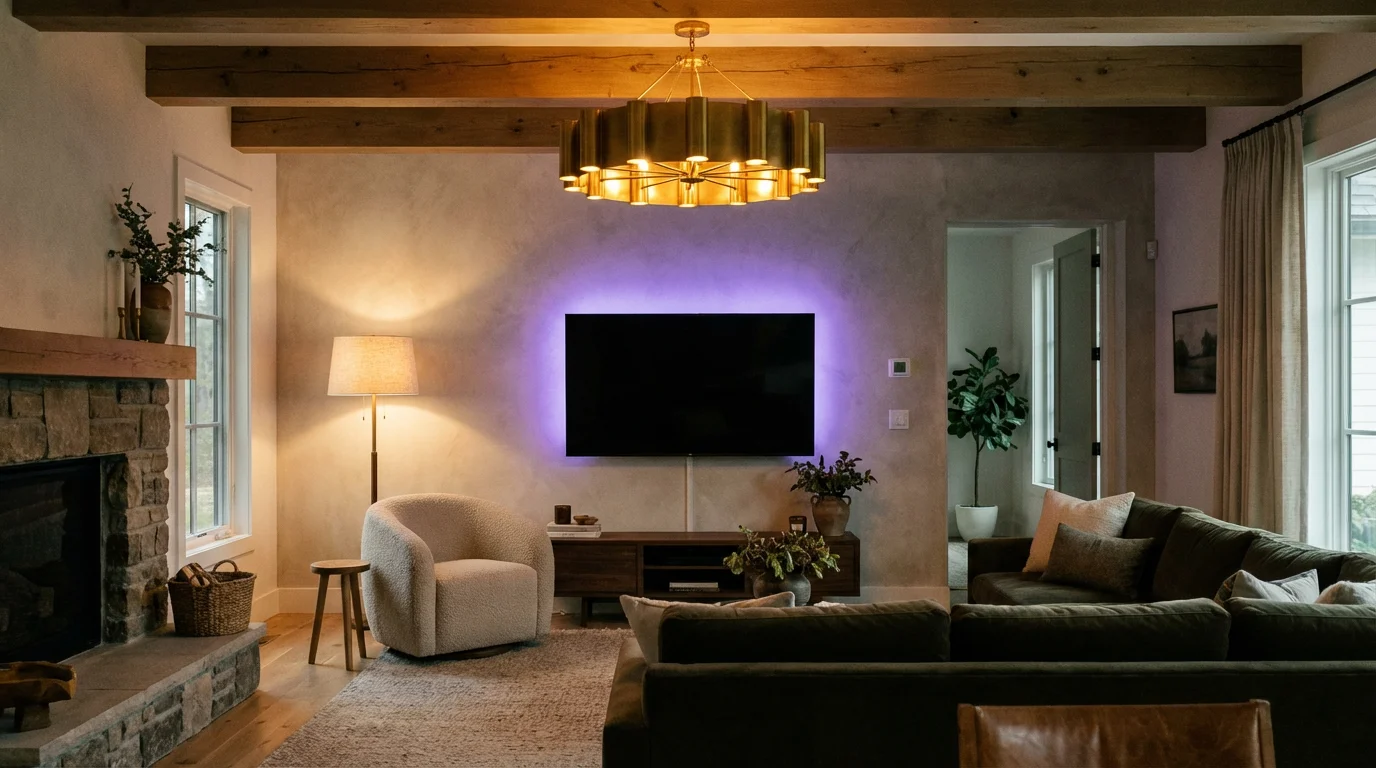
- LIFX: Known for incredible brightness and vivid colors. LIFX bulbs connect via Wi-Fi, meaning they don’t require a hub. They are excellent for “Accent” zones where you want deep colors, like behind a television or under a cabinet.
- Nanoleaf and Wyze: These offer budget-friendly entry points. Nanoleaf is particularly strong if you use Apple HomeKit, as they support Thread for faster response times. Wyze is a solid, cost-effective choice for outfitting large numbers of standard sockets, though their grouping logic is basic compared to Hue.
According to The Verge, reliability is key when mixing brands; sticking to a unified protocol like Matter or a dedicated hub system often results in fewer “light unavailable” errors when triggering complex zones.
Designing Your Zones by Room Function
You should map out your zones on paper or mentally before naming your devices. A good zone setup mirrors your daily routine. Here are practical examples of how to zone the three most used rooms in a home.
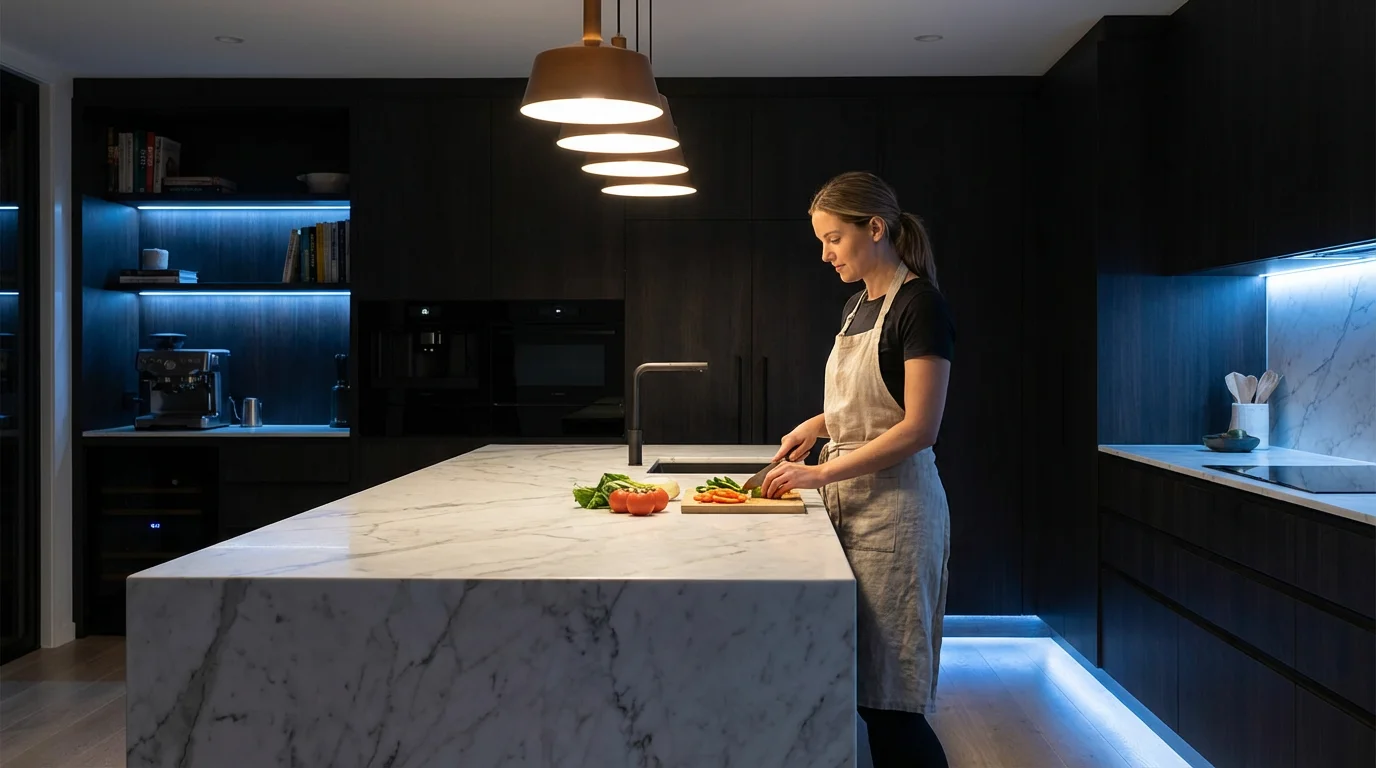
The Kitchen
The kitchen requires high utility. You need bright light on surfaces but softer light for late-night snacking.
Suggested Zones:
- Prep Zone: Under-cabinet strips and pendant lights over the island. These should be bright white (cool temperature) for focus.
- Overhead Zone: Recessed ceiling cans. These provide general fill light but are often too harsh for dining.
- Night Zone: A single strip along the toe-kick of the cabinets or above the cabinets. This provides just enough light to navigate without waking you up.
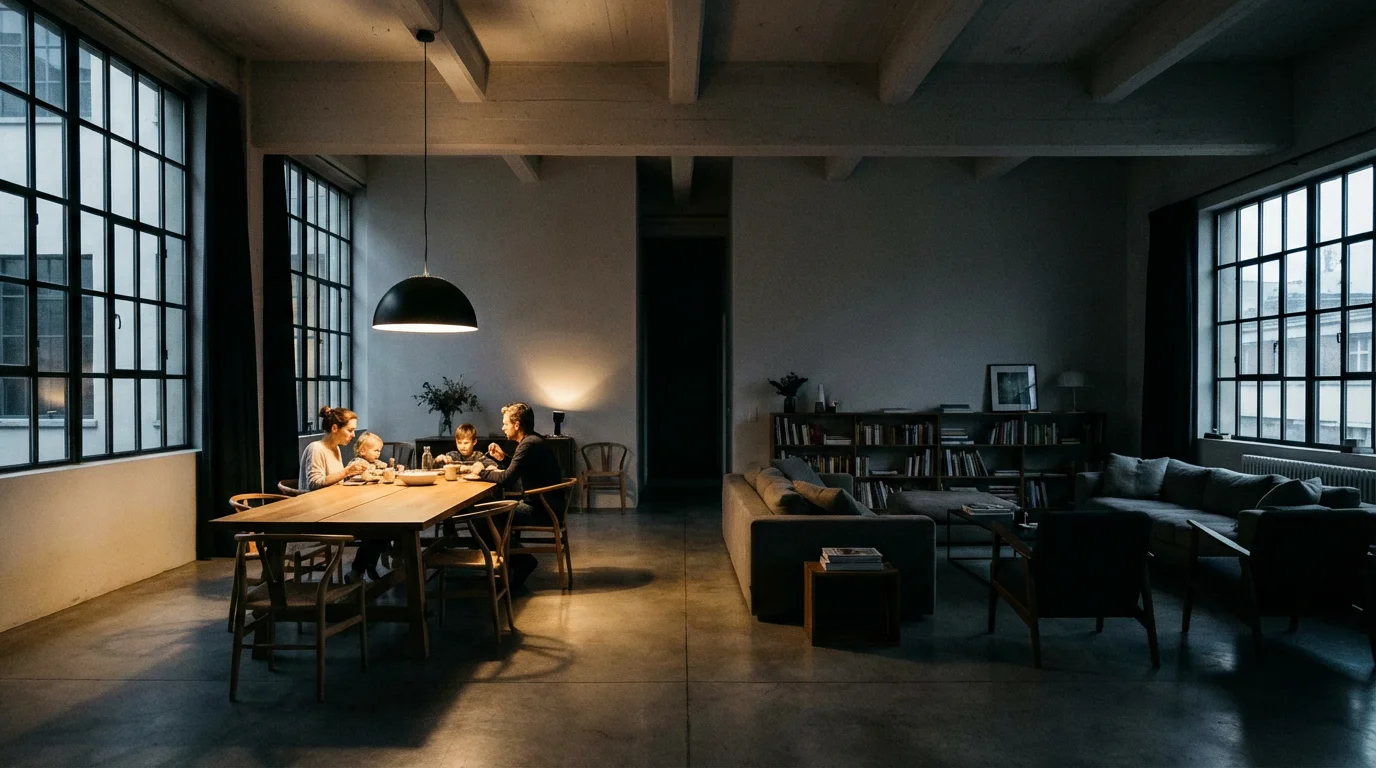
The Living Room
This space serves multiple purposes, from reading to entertaining to watching movies.
Suggested Zones:
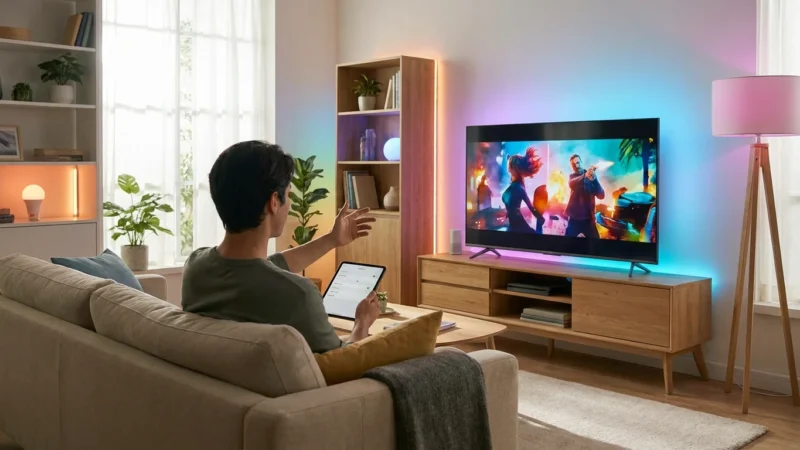
- Entertainment Zone: Light strips behind the TV and perhaps one dim bulb in a far corner. This reduces eye strain without causing glare on the screen.
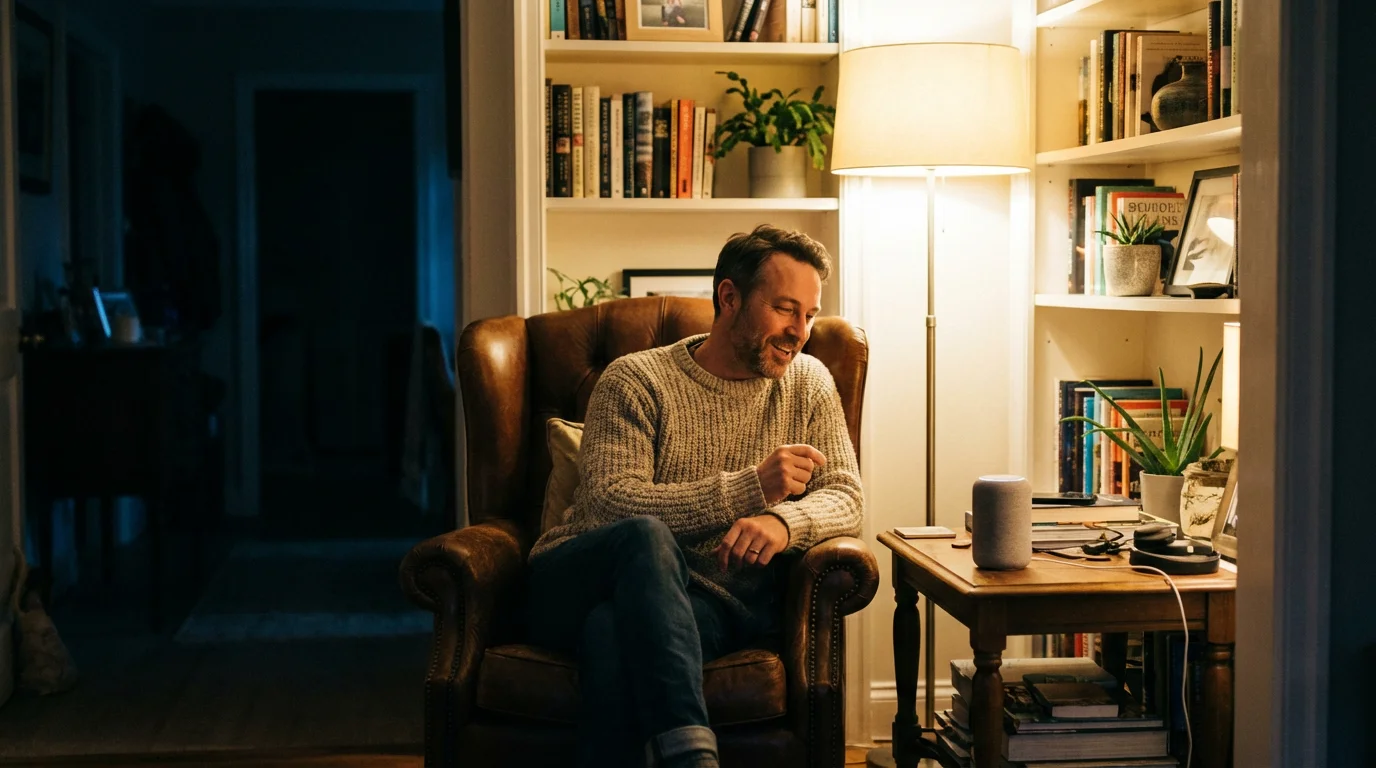
- Reading Zone: Specific floor or table lamps positioned near seating areas.
- Social Zone: All lamps and overheads set to a warm, inviting temperature (2700K).
The Bedroom
Lighting here directly impacts sleep hygiene.
Suggested Zones:
- Wake-Up Zone: Lights that simulate sunrise, perhaps on the nightstand.
- Closet/Vanity Zone: Bright, high-CRI (Color Rendering Index) lights to help you see colors accurately when dressing.
- Relax Zone: Warm, dim indirect lighting used 30 minutes before sleep.
The Role of Layered Lighting in Automation
Interior designers use three layers of lighting: ambient, task, and accent. Smart lighting zones allow you to manipulate these layers dynamically. When setting up your smart home scenes, you shouldn’t just think about “on” and “off.” You should think about which layer you need active.
Ambient Lighting constitutes the base layer. This is usually your overhead lighting. In a smart home, this zone is often kept at 50% brightness to save energy, only going to 100% when you are cleaning or searching for a lost item.
Task Lighting is the functional layer. This includes reading lamps and under-cabinet lights. These zones should be automatable based on presence. For instance, you can use a motion sensor to trigger only the task lights in the kitchen when you walk in to make coffee, keeping the harsh overhead ambient lights off.
Accent Lighting draws attention to architectural features or sets a mood. This is where smart light strips shine. By separating accent lights into their own zone, you can keep them on for hours as low-energy decoration while the rest of the room is dark.
Step-by-Step Guide to Grouping Your Lights
Once you have your bulbs installed, the setup process generally follows these steps. While interfaces vary between Google Home, Alexa, and Apple Home, the logic remains consistent.
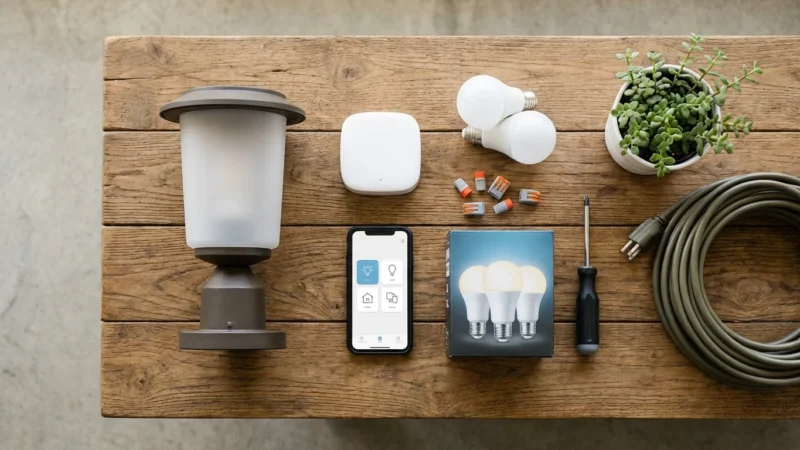
- Individual Installation: Screw in your bulbs and pair them with the manufacturer’s app (e.g., Hue app, LIFX app).
- Naming Convention: This is critical. Do not name a bulb “Bulb 1.” Name it by its specific location, such as “Couch Lamp Left” or “Kitchen Island Right.” Clear naming makes grouping much easier later.
- Create the Room: Assign all relevant bulbs to their physical room (e.g., “Living Room”).
- Create the Group/Zone:
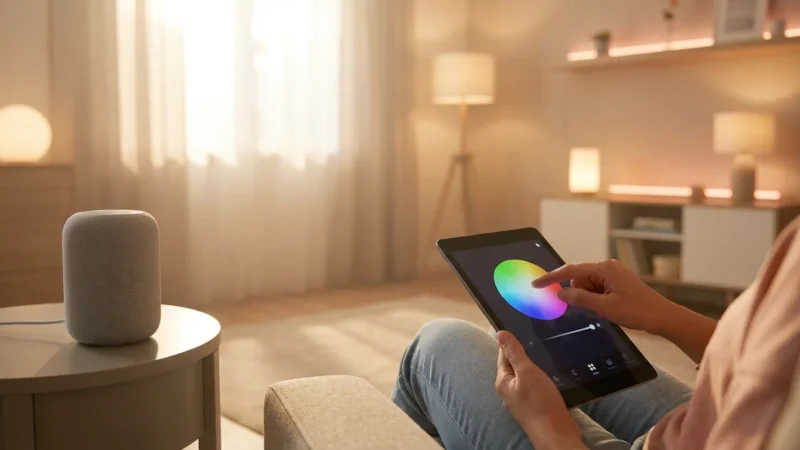
- In Alexa: Go to Devices > Plus Icon > Add Group. Select the specific lights you want (e.g., “Reading Lights”). You can put the same bulb in multiple groups.
- In Google Home: Google relies heavily on Rooms. To create sub-zones, you often have to get creative with naming or create “virtual rooms” (e.g., a room called “Kitchen Table” separate from “Kitchen”), though this can complicate voice commands.
- In Apple Home: Long press a light > Accessory Details > Group with Other Accessories. This merges them into a single tile. Alternatively, use “Zones” in Room Settings to group rooms together (like “Upstairs”), but for grouping lights within a room, Scenes are your best tool.
- Test the Zone: Use your app to toggle just that group. Ensure the latency is low and all lights respond simultaneously.
Advanced Zoning with Sensors and Schedules
Manual control via an app is only step one. The real magic happens when your zones react to you automatically. Using sensors and time-based triggers transforms your home into a truly smart environment.
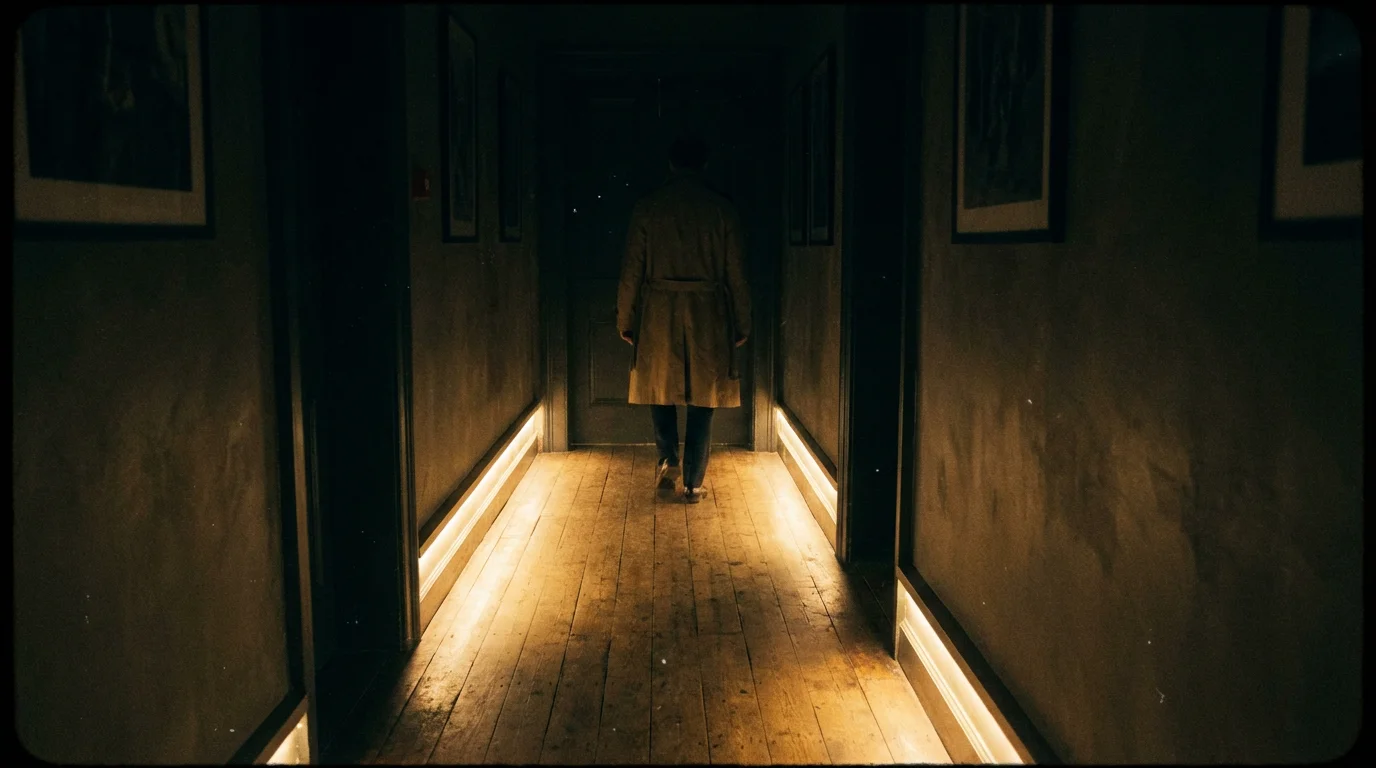
Motion-Activated Transit Zones
Place a motion sensor at the top and bottom of your stairs or in the hallway. Program the sensor to trigger only the “Transit Zone” (lights that guide the way) rather than the main overhead lights. You can also set time constraints: between 8:00 AM and 8:00 PM, the motion sensor triggers lights at 100% brightness. Between 8:00 PM and 8:00 AM, it triggers them at 10% warm white to avoid disrupting melatonin production.
Circadian Rhythm Lighting
You can automate your zones to change color temperature throughout the day. This is often called “Adaptive Lighting” (Apple) or “Bio-rhythm” (various apps).
How to implement it:
- Morning: Set your “Kitchen Prep Zone” to cool white (4000K-5000K) to energize you.
- Afternoon: Shift to a neutral white.
- Evening: Automatically shift your “Living Room Social Zone” to warm white (2700K) and remove blue light spectrums as bedtime approaches.
Sunrise and Sunset Triggers
Outdoor lighting zones benefit most from this. Group your porch, garage, and garden lights into an “Exterior Zone.” Set an automation to turn this zone on at sunset and off at sunrise. This ensures you never come home to a dark house and never waste electricity during the day.
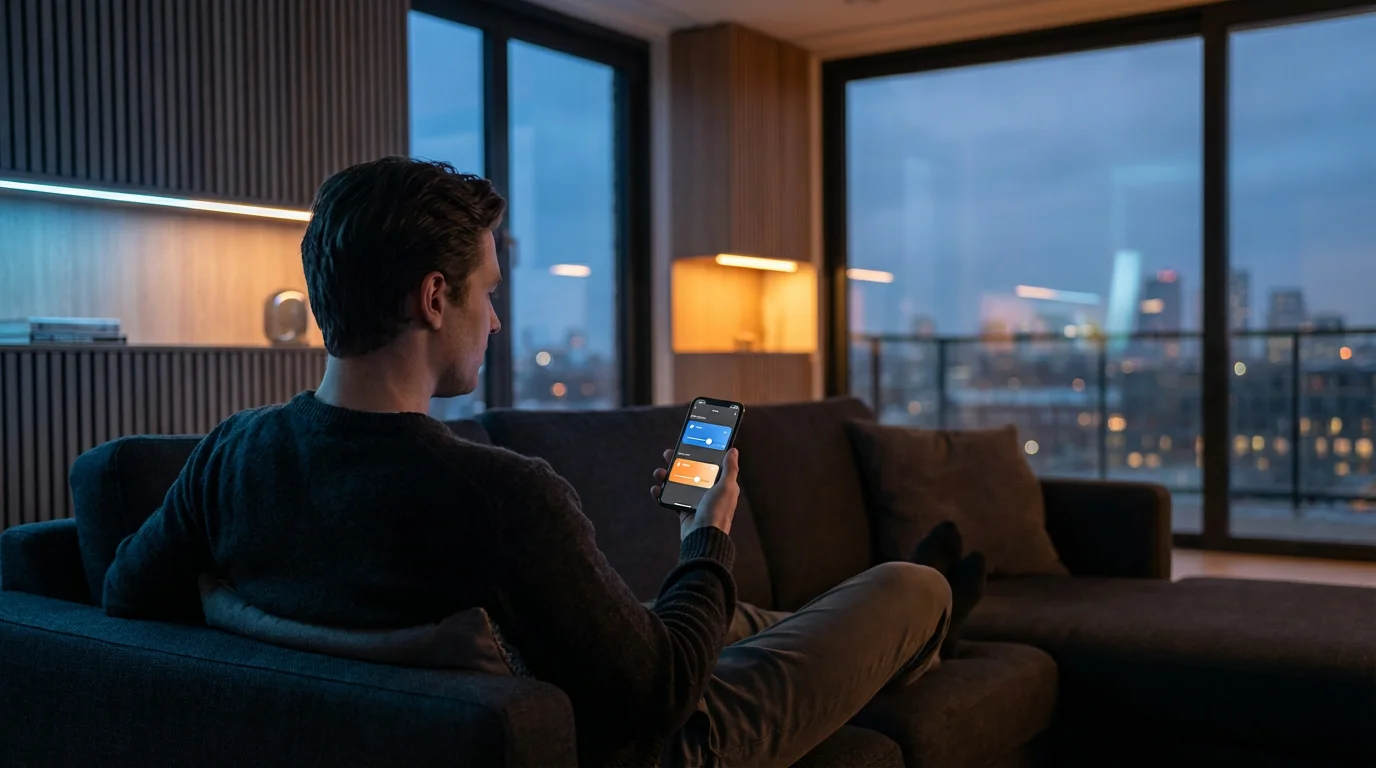
Mastering Voice Control for Specific Areas
Once your zones are set, you need to know how to speak to them. Voice assistants are literal; if you aren’t specific, they will default to the largest container (the Room).
If you say, “Turn on the Kitchen,” the assistant turns on every device in the Kitchen room.
If you say, “Turn on the Island,” the assistant checks for a device or group named “Island.”
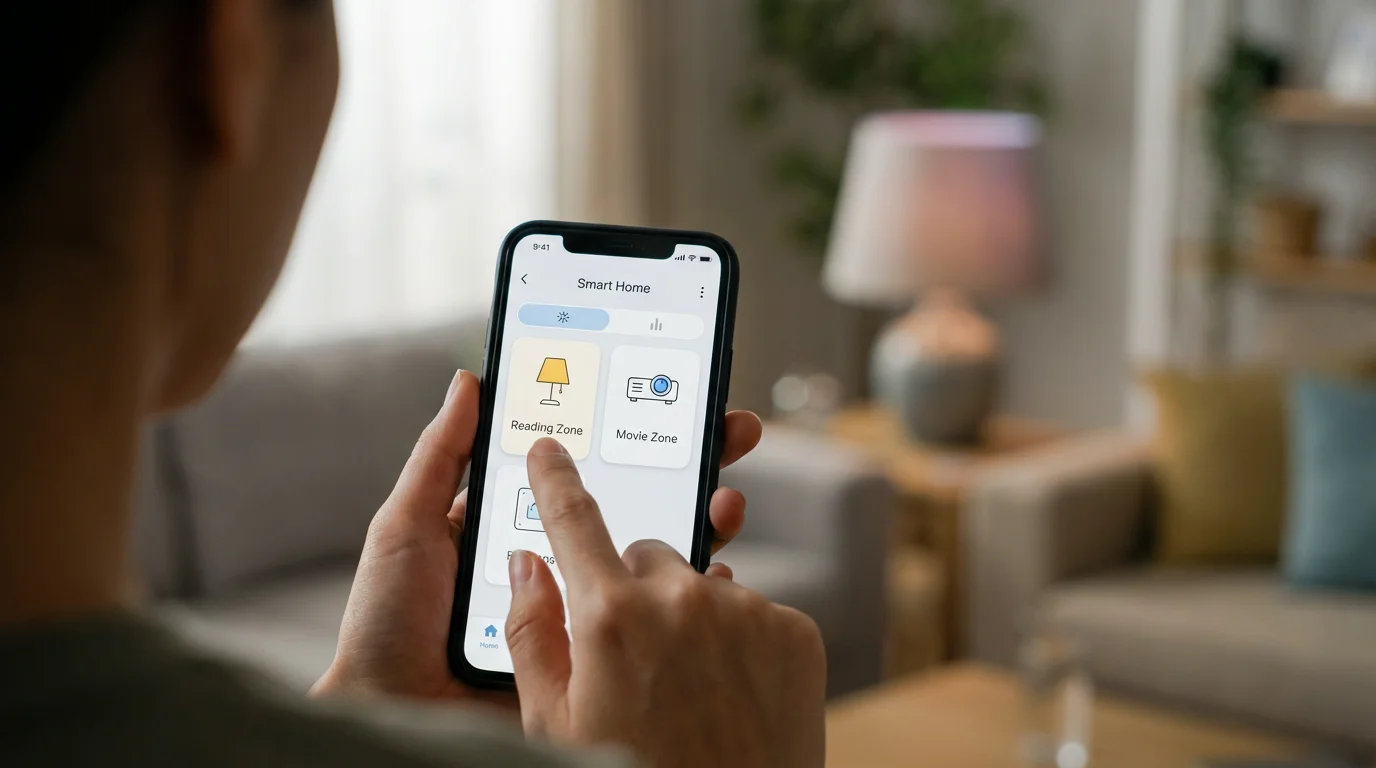
Using “Scenes” for Complex Commands
Sometimes you want to control multiple zones across different rooms simultaneously. This is where “Scenes” come in. A Scene captures the state of various devices.
For example, a “Movie Night” scene might:
- Turn off the “Kitchen Overhead Zone.”
- Dim the “Kitchen Snack Zone” (under cabinets) to 10%.
- Turn off the “Living Room Reading Zone.”
- Turn on the “TV Bias Zone” to purple at 30% brightness.
Instead of issuing four separate voice commands, you simply say, “Activate Movie Night.” This simplifies the interaction for family members or guests who may not know the specific names of your lighting zones.
Frequently Asked Questions
Can I group smart bulbs from different brands into one zone?
Yes, provided you are using a third-party platform like Alexa, Google Home, or Apple Home to manage them. These platforms act as a bridge, allowing you to create a group that contains, for example, a Philips Hue bulb and a LIFX bulb. However, they may not change colors at exactly the same speed due to different connection protocols (Zigbee vs. Wi-Fi).
Do I need a hub to create lighting zones?
It depends on the bulbs you choose. Wi-Fi bulbs (like LIFX or Wyze) do not require a hub and can be grouped via the cloud. Zigbee or Z-Wave bulbs (like Philips Hue or Sengled) require a compatible hub to function and maintain their grouping logic. Hub-based systems are generally more reliable for larger zones.
What happens to my smart lighting zones if the internet goes down?
If you use a hub-based system like Philips Hue, your internal automations and physical dimmer switches will likely still work because they communicate locally. However, voice control (Alexa/Google) and remote access will fail. Wi-Fi bulbs may lose all smart functionality and function only as standard bulbs via the physical switch until the internet is restored.
Does grouping lights slow down my Wi-Fi?
If you use Wi-Fi based smart bulbs, having 30 or 40 individual devices connected to your router can cause congestion, potentially slowing down other devices. If you plan to install more than 15-20 smart lights, it is highly recommended to use a hub-based system (Zigbee/Thread) which keeps the lighting traffic off your main Wi-Fi network. CNET frequently highlights this congestion issue as a primary reason to choose hub-based ecosystems for whole-home setups.
Disclaimer: This article is for informational purposes only. Smart home devices involve electrical connections and data privacy. Always follow manufacturer instructions for installation. For complex wiring or HVAC work, consult a licensed professional.


Leave a Reply