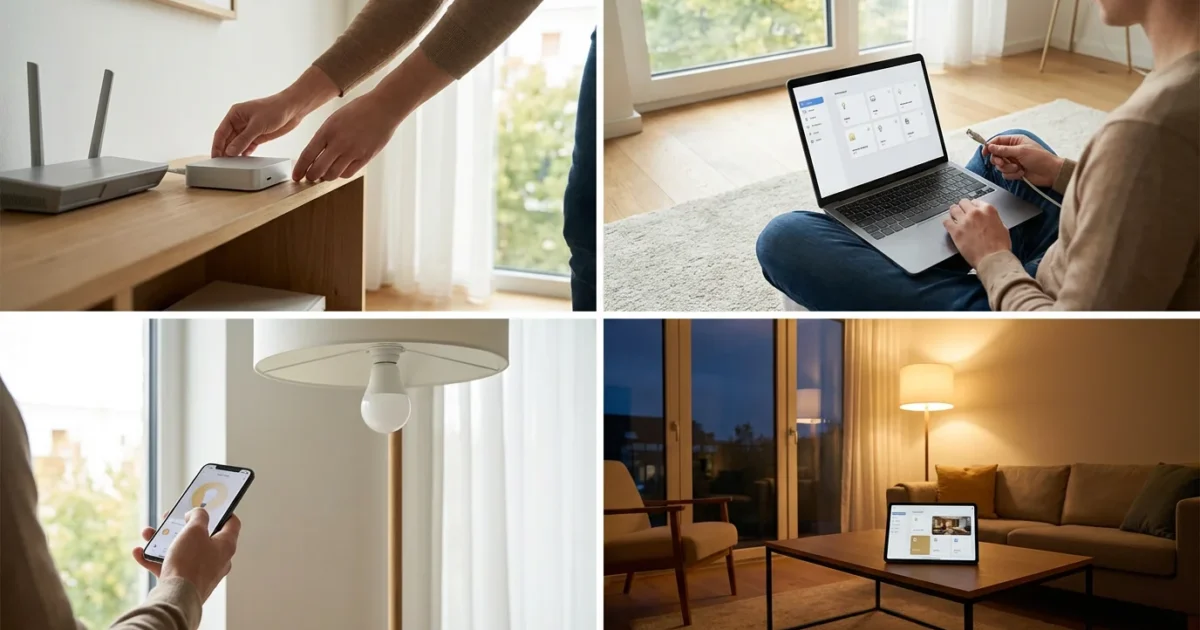
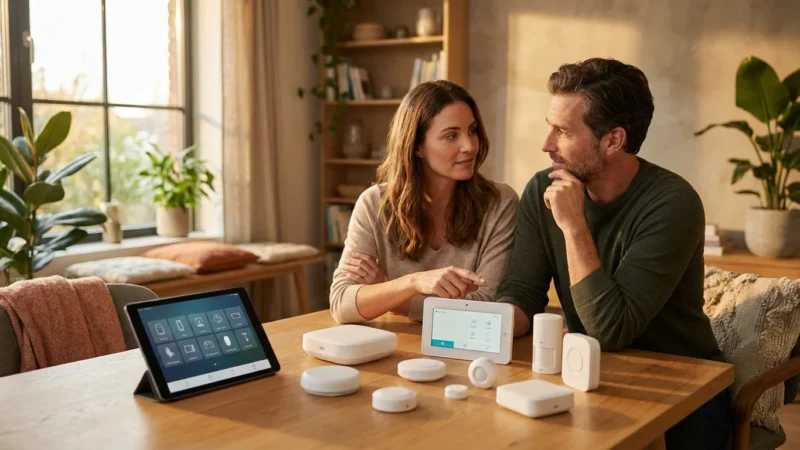
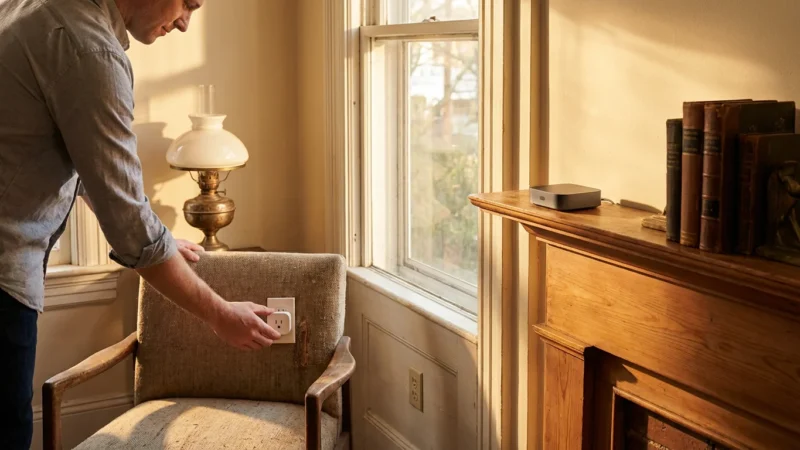
Building a smart home offers unparalleled convenience, energy savings, and peace of mind. Many homeowners begin their journey with popular consumer platforms, but if you seek ultimate control, privacy, and customization, Home Assistant provides an empowering alternative. This guide helps you navigate the exciting world of open-source DIY automation, showing you how to unlock the full potential of your connected devices.
Home Assistant empowers you to integrate virtually any smart device, regardless of brand, into a unified system. You gain complete ownership of your data and create sophisticated automations that truly adapt to your lifestyle. We will walk you through the essential steps, from selecting your hardware to crafting your first smart home routines.
What is Home Assistant and Why Choose It?
Home Assistant stands as a powerful, open-source home automation platform that places you in command of your smart home. Unlike many commercial ecosystems, Home Assistant runs locally on a device within your home. This approach guarantees privacy by keeping your data on your network, away from cloud servers. You receive robust control over your devices without reliance on external companies.
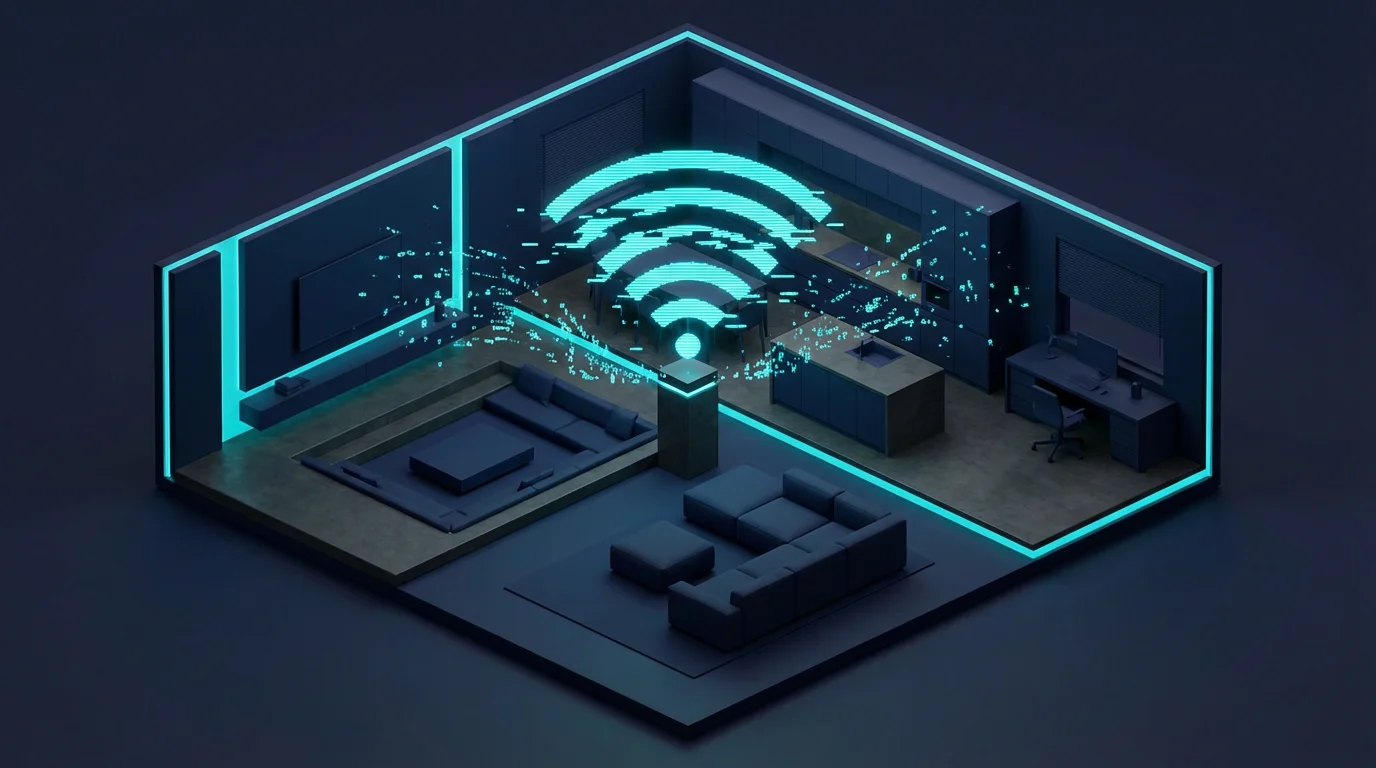
Home Assistant offers unmatched flexibility, allowing you to connect thousands of different devices from various brands. It acts as a universal translator for your smart gadgets, bringing together everything from Wi-Fi light bulbs to Zigbee sensors and Z-Wave locks. You achieve truly integrated DIY automation, breaking free from proprietary limitations.
Understanding Home Assistant: An Open-Source Powerhouse
At its core, Home Assistant is a software application designed to orchestrate your smart devices. Its open-source nature means a global community of developers constantly improves and expands its capabilities. This community-driven development ensures frequent updates, new integrations, and strong support resources.
The platform operates on a central hub device within your home, providing a unified interface for all your connected tech. This local operation means your automations function even if your internet connection goes down. Your smart home remains responsive and reliable, providing peace of mind. You gain complete ownership of your system, ensuring longevity and adaptability.
Key benefits of choosing Home Assistant include:
- Unmatched Compatibility: Integrate devices from virtually any brand or protocol.
- Local Control and Privacy: Your data stays on your network, not in the cloud.
- Limitless Customization: Create complex automations tailored precisely to your needs.
- Community Support: Access a vast, active community forum and extensive documentation.
- Cost-Effective: Leverage existing hardware or inexpensive single-board computers.
Choosing Your Home Assistant Hardware: The Foundation
Before you can dive into DIY automation, you need a dedicated device to run the Home Assistant software. This device will serve as your smart home’s brain, processing commands and running your automations. Your choice of hardware impacts performance, energy consumption, and ease of setup. Consider your technical comfort level and future expansion plans when making this decision.
Here are the most common hardware options for running Home Assistant:
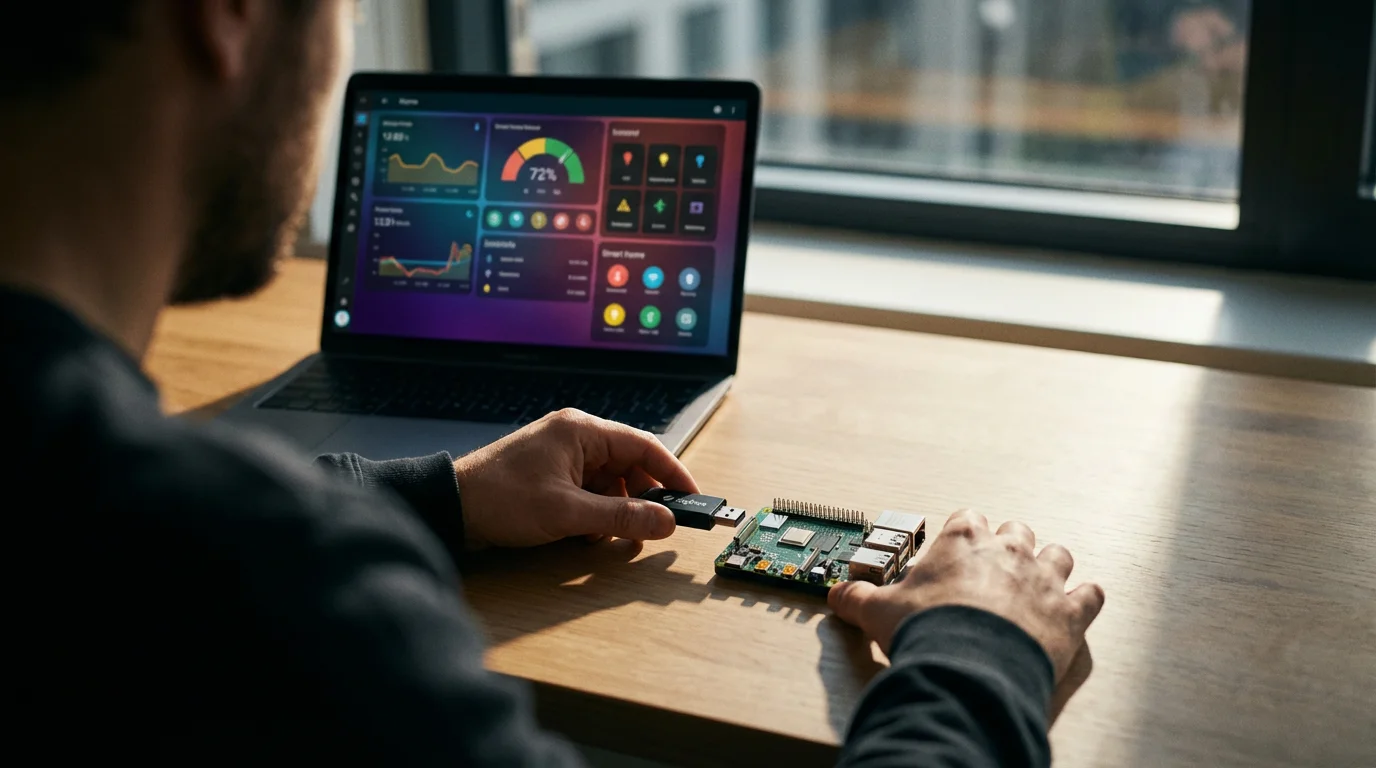
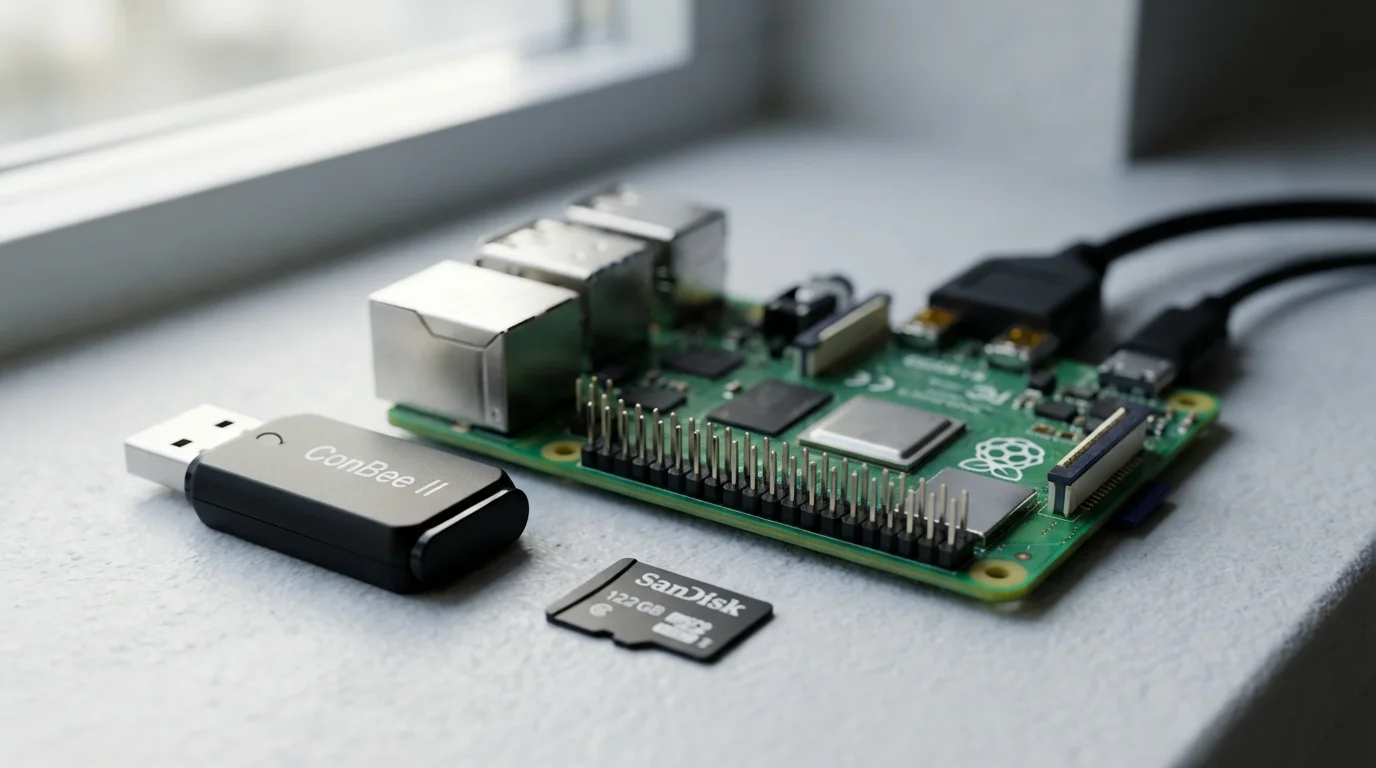
- Raspberry Pi: This budget-friendly, credit-card-sized computer is a popular choice for beginners. It consumes minimal power and offers sufficient performance for most smart homes. You will need a Raspberry Pi 4 for the best experience, along with a high-quality SD card or SSD.
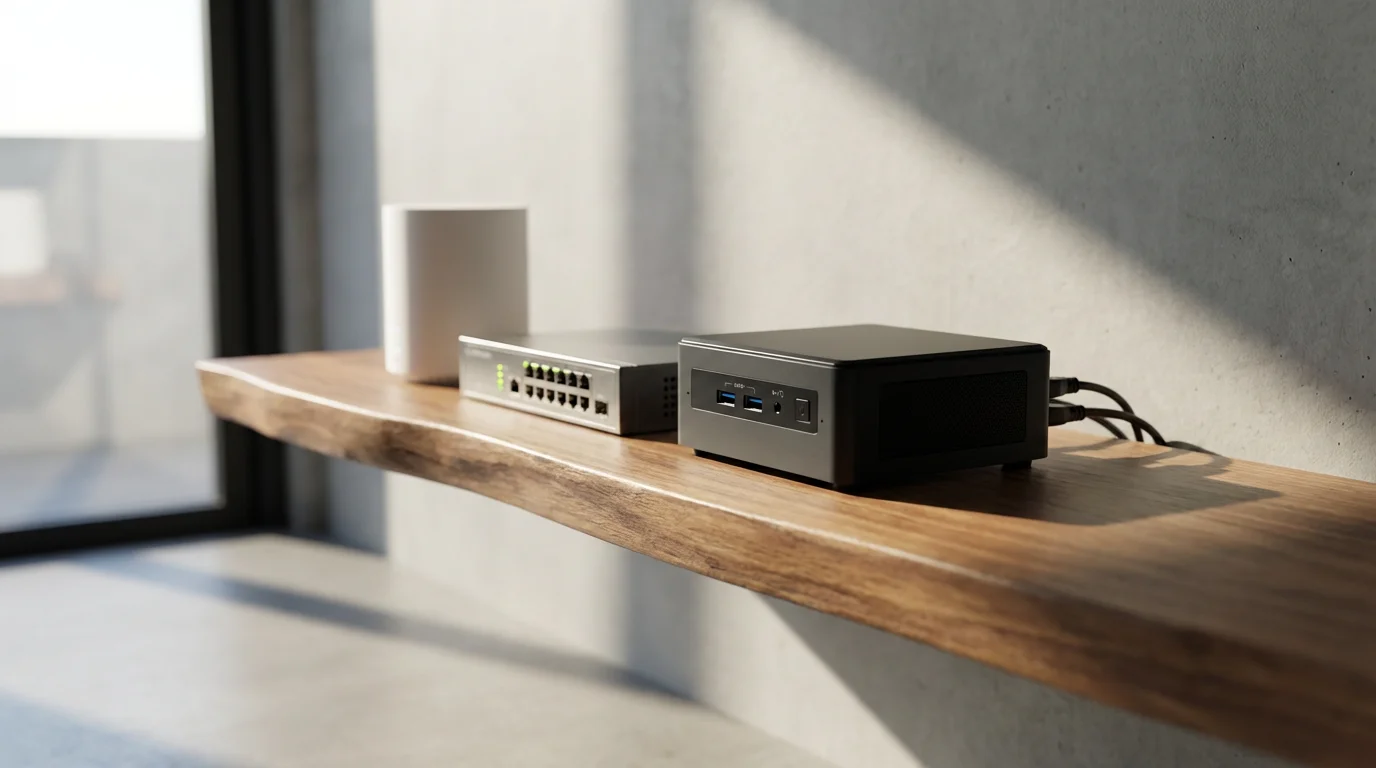
- Mini PC or Old Laptop/Desktop: Repurposing an old computer provides more processing power and storage. This option is ideal if you want to run other services alongside Home Assistant. It might consume more power than a Raspberry Pi, but often offers greater reliability and speed.
- Network Attached Storage (NAS): Many modern NAS devices, like those from Synology or QNAP, support running Home Assistant in a virtual machine or Docker container. This consolidates your home server functions onto a single piece of hardware.
- Virtual Machine (VM): If you already have a powerful home server, you can run Home Assistant as a virtual machine using software like Proxmox or VMware. This offers excellent flexibility and resource management.
It is often helpful to plan your smart home strategy before purchasing hardware to ensure full system compatibility.
For most new users, a Raspberry Pi 4 provides an excellent balance of cost, performance, and ease of installation. It consumes very little energy, making it suitable for 24/7 operation. Ensure you pair it with a reliable power supply and a fast, durable SD card (or even better, a small SSD via USB) to prevent performance issues.

Step-by-Step Installation: How to Set Up Home Assistant for Beginners
The recommended installation method for beginners is Home Assistant OS. This dedicated operating system comes optimized for Home Assistant and simplifies the setup process significantly. We will focus on installing Home Assistant OS on a Raspberry Pi 4.
You will need the following items:
- A Raspberry Pi 4 (2GB, 4GB, or 8GB RAM model)
- A high-quality microSD card (32GB or larger, Class 10/U1/A1 recommended) or an SSD with a USB adapter
- A power supply for your Raspberry Pi 4 (USB-C, 3A recommended)
- An Ethernet cable (for initial setup)
- Another computer to flash the operating system
Follow these steps to get your Home Assistant hub running:
- Download the Imager: On your computer, download and install the official Raspberry Pi Imager tool from the Raspberry Pi website. This tool streamlines the process of writing operating systems to SD cards or SSDs.
- Choose Home Assistant OS: Open the Raspberry Pi Imager. Click “CHOOSE OS” and select “Other specific-purpose OS” then “Home assistant and home automation” then “Home Assistant OS.” Choose the correct version for your Raspberry Pi model (e.g., Raspberry Pi 4).
- Select Storage: Click “CHOOSE STORAGE” and select your microSD card or SSD. Double-check that you have selected the correct drive to avoid overwriting important data.
- Write the Image: Click “WRITE” to begin flashing Home Assistant OS to your chosen storage device. This process can take several minutes. Once complete, safely eject the storage device from your computer.
- Boot Your Raspberry Pi: Insert the microSD card (or connect the SSD via USB) into your Raspberry Pi. Connect an Ethernet cable from your Raspberry Pi to your home router. Finally, connect the power supply to the Raspberry Pi.
- Initial Boot-up: The Raspberry Pi will now boot up for the first time. This initial boot can take anywhere from 5 to 20 minutes as Home Assistant performs its first-time setup and downloads necessary components. The device might appear to do nothing during this period, but it is working in the background.
- Access Home Assistant: After about 20 minutes, open a web browser on a computer connected to the same network. Navigate to `http://homeassistant.local:8123` or `http://[YOUR_PI_IP_ADDRESS]:8123`. You can find your Raspberry Pi’s IP address through your router’s administration page or a network scanning tool.

First Steps After Installation: Navigating Home Assistant and Adding Devices
Once you access the Home Assistant interface in your browser, you will see a welcome screen. This guides you through creating your first user account and setting up your home location. Take a moment to complete these initial steps.
The Home Assistant user interface (UI) is intuitive, designed to put all your smart home controls at your fingertips. You will primarily interact with the following areas:
- Overview: Your main dashboard, displaying the status of your devices and automations. You can customize this extensively.
- Developer Tools: Essential for understanding how devices communicate and for debugging automations.
- Settings: Where you manage integrations, devices, automations, users, and the system itself. This is your primary configuration hub.
- Integrations: This section in Settings allows Home Assistant to discover and connect to your smart devices and services.
Home Assistant automatically attempts to discover compatible devices on your network. Check the “Integrations” section within “Settings” to see any detected devices. For example, if you have Philips Hue lights or a Sonos speaker, Home Assistant often finds them immediately. Click “CONFIGURE” to set up these discovered devices.

Connecting Your Smart Devices: Integrations Explained
The true power of Home Assistant lies in its ability to integrate with a vast array of smart home devices and services. An “integration” is effectively a plugin that teaches Home Assistant how to communicate with a specific brand or type of device. There are thousands of official and community-contributed integrations available.
To add devices manually, navigate to “Settings” > “Devices & Services” > “Integrations.” Click the “ADD INTEGRATION” button (often a plus sign in the bottom right corner). Search for your device brand or protocol (e.g., “Philips Hue,” “TP-Link Kasa,” “MQTT,” “Z-Wave JS”).
Here are common types of integrations you will use:
- Cloud-Based Integrations: These connect Home Assistant to cloud services provided by device manufacturers (e.g., Philips Hue Bridge, Ecobee thermostat). They often require your login credentials for that service.
- Local Integrations: These communicate directly with devices on your network without relying on external cloud servers (e.g., ESPHome, some smart plugs with custom firmware). This method is highly preferred for privacy and reliability.
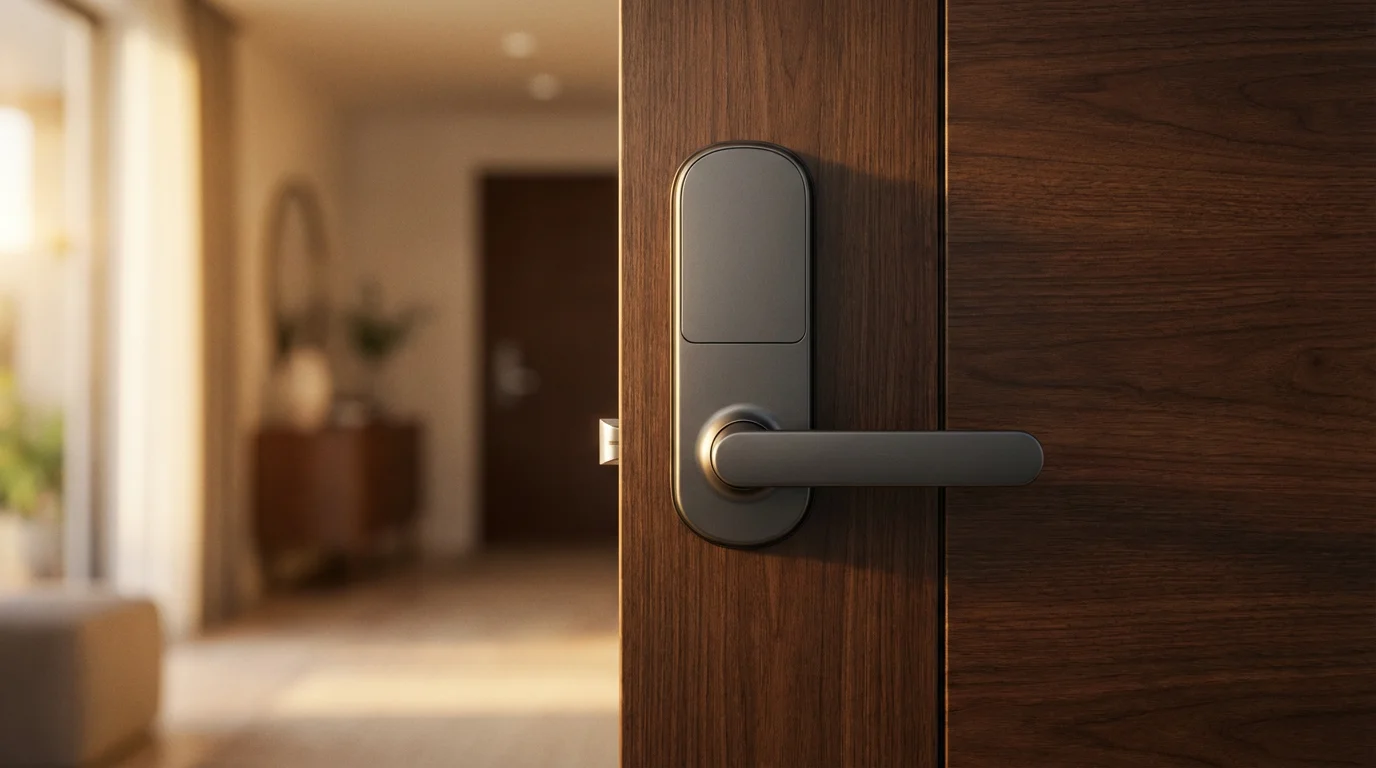
- Protocol-Specific Integrations: For devices using protocols like Zigbee or Z-Wave, you will need a USB dongle connected to your Home Assistant hub. Integrations like Z-Wave JS or Zigbee Home Automation then manage communication with these devices.
Consider these examples for integrating common devices:
- Smart Lights: If you use Philips Hue, install the Philips Hue integration. Home Assistant will discover your Hue Bridge and all connected lights. For Wi-Fi bulbs like TP-Link Kasa, install the Kasa integration.
- Smart Plugs: Similar to Wi-Fi lights, search for the brand’s integration. Many generic Wi-Fi plugs can also be flashed with open-source firmware like Tasmota or ESPHome for local control.
- Thermostats: Install the integration for your specific smart thermostat brand, such as Ecobee or Nest (though Nest requires more advanced setup).

Building Your First Automations: Bringing Your Smart Home to Life
Automations are the heart of any smart home, allowing devices to respond to events without your manual input. Home Assistant provides a robust automation editor, letting you define precise triggers, conditions, and actions. This enables powerful DIY automation scenarios.
Home Assistant automations consist of three main parts:
- Triggers: What initiates the automation. This could be a device state changing (e.g., a door sensor opens), a time of day, a sensor reading (e.g., motion detected), or a button press.
- Conditions: Optional requirements that must be true for the automation to run after being triggered. For example, “only run if it’s after sunset,” or “only if someone is home.”
- Actions: What happens when the trigger fires and conditions are met. This could be turning on a light, adjusting a thermostat, sending a notification, or locking a door.
Let’s create a simple yet practical automation: turning on a light when you open the front door after sunset.
Follow these steps to build your first automation:
- Navigate to Automations: In Home Assistant, go to “Settings” > “Automations & Scenes” > “Automations.” Click the “CREATE AUTOMATION” button.
- Choose “Start with an empty automation”: This gives you full control.
- Add a Trigger: Click “ADD TRIGGER.” Select “Device” and choose your front door sensor. Set the trigger type to “Door opened.”
- Add a Condition: Click “ADD CONDITION.” Select “Sun” and choose “Sunset.” You can add an offset, such as “minus 30 minutes” to have it activate before true sunset.
- Add an Action: Click “ADD ACTION.” Select “Device” and choose your desired entryway light. Set the action to “Turn on.” You can also specify brightness or color if your light supports it.
- Name and Save: Give your automation a descriptive name, like “Entryway Light On After Sunset.” Add a clear description. Click “SAVE.”
You have just created your first intelligent routine. Now, when you open the front door, Home Assistant checks if the sun has set. If it has, your entryway light automatically illuminates.
“The best smart home is the one you don’t have to manage. Automations transform devices from useful gadgets into a truly intelligent environment.”
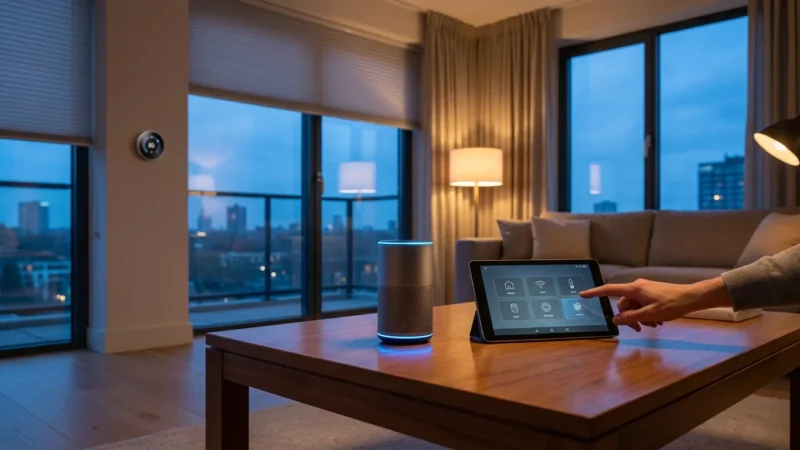
Expanding Your Smart Home: Advanced Features and Connectivity
As you become more comfortable with Home Assistant, you will discover numerous ways to expand its capabilities. This platform supports a vast ecosystem of devices and advanced features. You can continually enhance your smart home’s intelligence and responsiveness.
Key areas for expansion include:
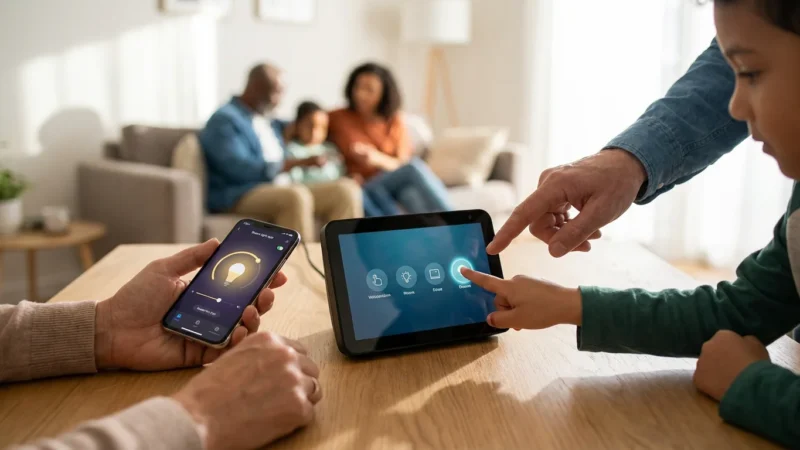
- Dashboards: Create custom dashboards to visualize and control your home. Home Assistant allows you to design multiple views, showing specific devices, sensor data, or controls for different rooms or users.
- Voice Assistants: Integrate with popular voice assistants like Google Assistant or Amazon Alexa. This enables voice control over your Home Assistant devices and automations.
- Scripting and Blueprints: For more complex tasks, explore scripts to combine multiple actions. Blueprints offer shareable, pre-configured automations and scripts that you can easily import and adapt.
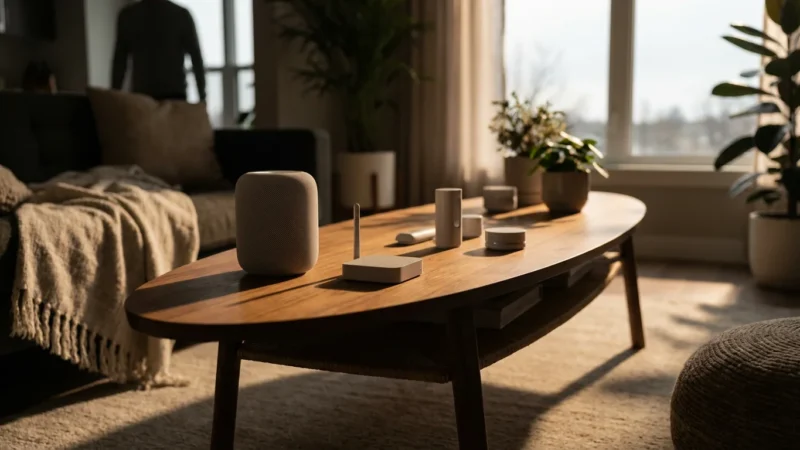
- Adding Z-Wave, Zigbee, and Matter Devices: To connect a wider range of low-power, mesh-network devices, you will need a compatible USB dongle.
These wireless communication protocols form the backbone of many smart home devices:
- Zigbee: A popular, low-power mesh network protocol for devices like smart lights, sensors, and switches. Requires a Zigbee USB coordinator.
- Z-Wave: Another low-power mesh network, commonly found in door locks, thermostats, and security sensors. Requires a Z-Wave USB stick.
- Matter: A newer, open-source connectivity standard designed to simplify smart home interoperability across brands. Home Assistant actively supports Matter, allowing you to integrate Matter-compatible devices seamlessly. Learn more about the Matter standard from the Connectivity Standards Alliance.
Integrating a Z-Wave or Zigbee dongle is straightforward. Once plugged into your Home Assistant hub, install the corresponding integration (e.g., Z-Wave JS, Zigbee Home Automation). This empowers Home Assistant to directly communicate with and control these devices, bypassing proprietary hubs.

Maintaining and Securing Your Home Assistant Setup
A well-maintained Home Assistant installation ensures smooth operation, robust security, and continued performance. Regular maintenance is crucial for a reliable smart home.
Follow these best practices for optimal performance and security:
- Regular Updates: Home Assistant frequently releases updates that include new features, bug fixes, and security patches. Regularly update your Home Assistant OS and core software. You can perform updates directly from the UI under “Settings” > “System” > “Updates.”
- Backups: Implement a robust backup strategy. Home Assistant allows you to create full backups (snapshots) of your entire configuration. Store these backups locally and also off-site, perhaps in cloud storage, to protect against hardware failure.
- Strong Passwords: Use unique, strong passwords for your Home Assistant user account. If you expose your Home Assistant interface to the internet (e.g., for remote access), ensure you have strong authentication methods enabled.
- Network Security: Keep your home network secure. Use a strong Wi-Fi password, enable WPA2/WPA3 encryption, and keep your router’s firmware updated.
- Community Resources: Leverage the Home Assistant community forum for troubleshooting, inspiration, and assistance. The official documentation is also an invaluable resource.
Consider setting up automated backups to a network share or a cloud service for peace of mind. This ensures that in the event of any issues, you can quickly restore your entire smart home configuration. A proactive approach to maintenance prevents potential headaches later on.
Frequently Asked Questions
Is Home Assistant free to use?
Yes, Home Assistant is entirely open-source and free to download and use. You might incur costs for the hardware you choose to run it on, such as a Raspberry Pi or a USB dongle for Zigbee/Z-Wave devices, but the software itself comes without charge.
Do I need an internet connection for Home Assistant to work?
No, one of Home Assistant’s biggest advantages is its local control. Your automations and device communications primarily occur on your local network. An internet connection is only needed for initial setup, downloading updates, integrating with cloud-based services, or accessing your Home Assistant remotely.
What if my device brand is not listed in Home Assistant integrations?
If a specific device brand lacks an official integration, you might still connect it using generic protocols (like MQTT for many IoT devices) or by flashing custom firmware onto the device. The Home Assistant community is very active, so search their forums for solutions or workarounds. Many generic Wi-Fi devices can be integrated this way.
Is Home Assistant difficult to learn for beginners?
Home Assistant does have a steeper learning curve compared to plug-and-play smart home hubs. However, following guides like this one and utilizing the extensive community documentation simplifies the process for beginners. Starting with Home Assistant OS and basic automations helps you build confidence and understanding step-by-step.
Can Home Assistant integrate with Google Home or Amazon Alexa?
Yes, Home Assistant offers official integrations for both Google Assistant and Amazon Alexa. These integrations allow you to expose your Home Assistant-controlled devices and automations to your preferred voice assistant, enabling convenient voice commands for your smart home.
Disclaimer: This article is for informational purposes only. Smart home devices involve electrical connections and data privacy. Always follow manufacturer instructions for installation. For complex wiring or HVAC work, consult a licensed professional.


Leave a Reply